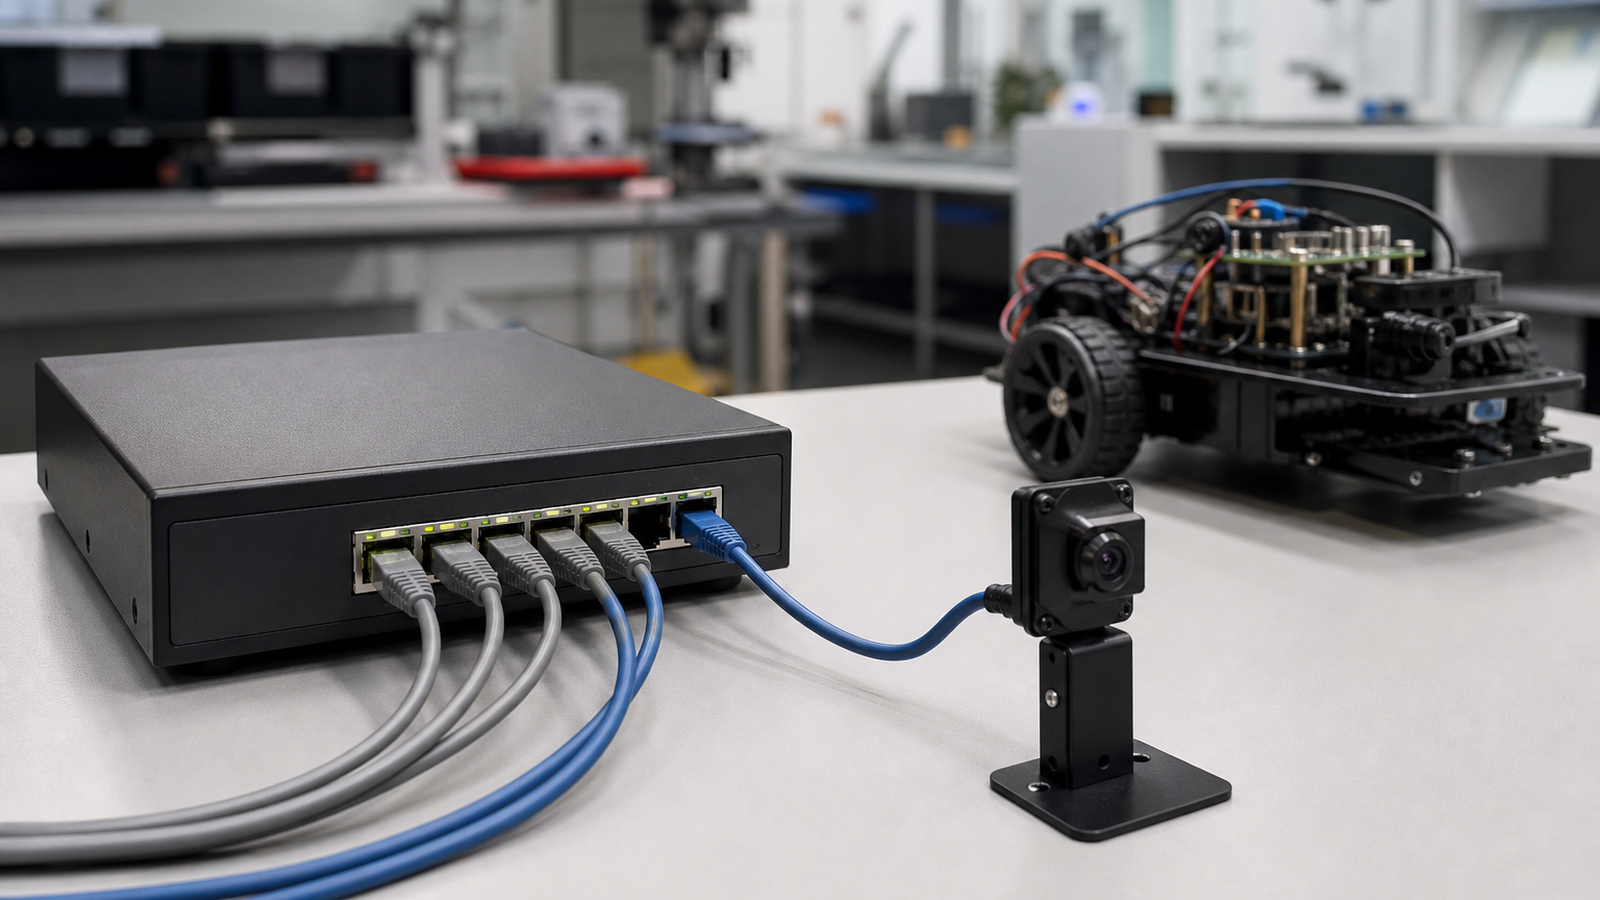
A fixed camera over a practice field can save a student robot team hours of guesswork. The harder question is how to power and cable that camera without adding another messy wall adapter. Power over Ethernet, or PoE, is often the cleanest answer when the camera is stationary and the network path is planned.
Raspberry Pi’s official PoE HAT pages describe the basic idea clearly: compatible boards can be powered through Ethernet when the network has power-sourcing equipment. Networking vendors commonly describe standard Ethernet cable segments as reaching up to 100m, which is enough for many classrooms, workshops and practice fields when installed safely.
Why PoE helps debugging
Robot failures are easier to understand when teams can review a consistent angle: wheel slip, pickup alignment, arm timing, driver station behavior or where a sensor view was blocked. A fixed overhead or corner camera gives the team a repeatable record. PoE reduces the number of separate power supplies and keeps the camera tied to the same network path as the recording computer or NAS.
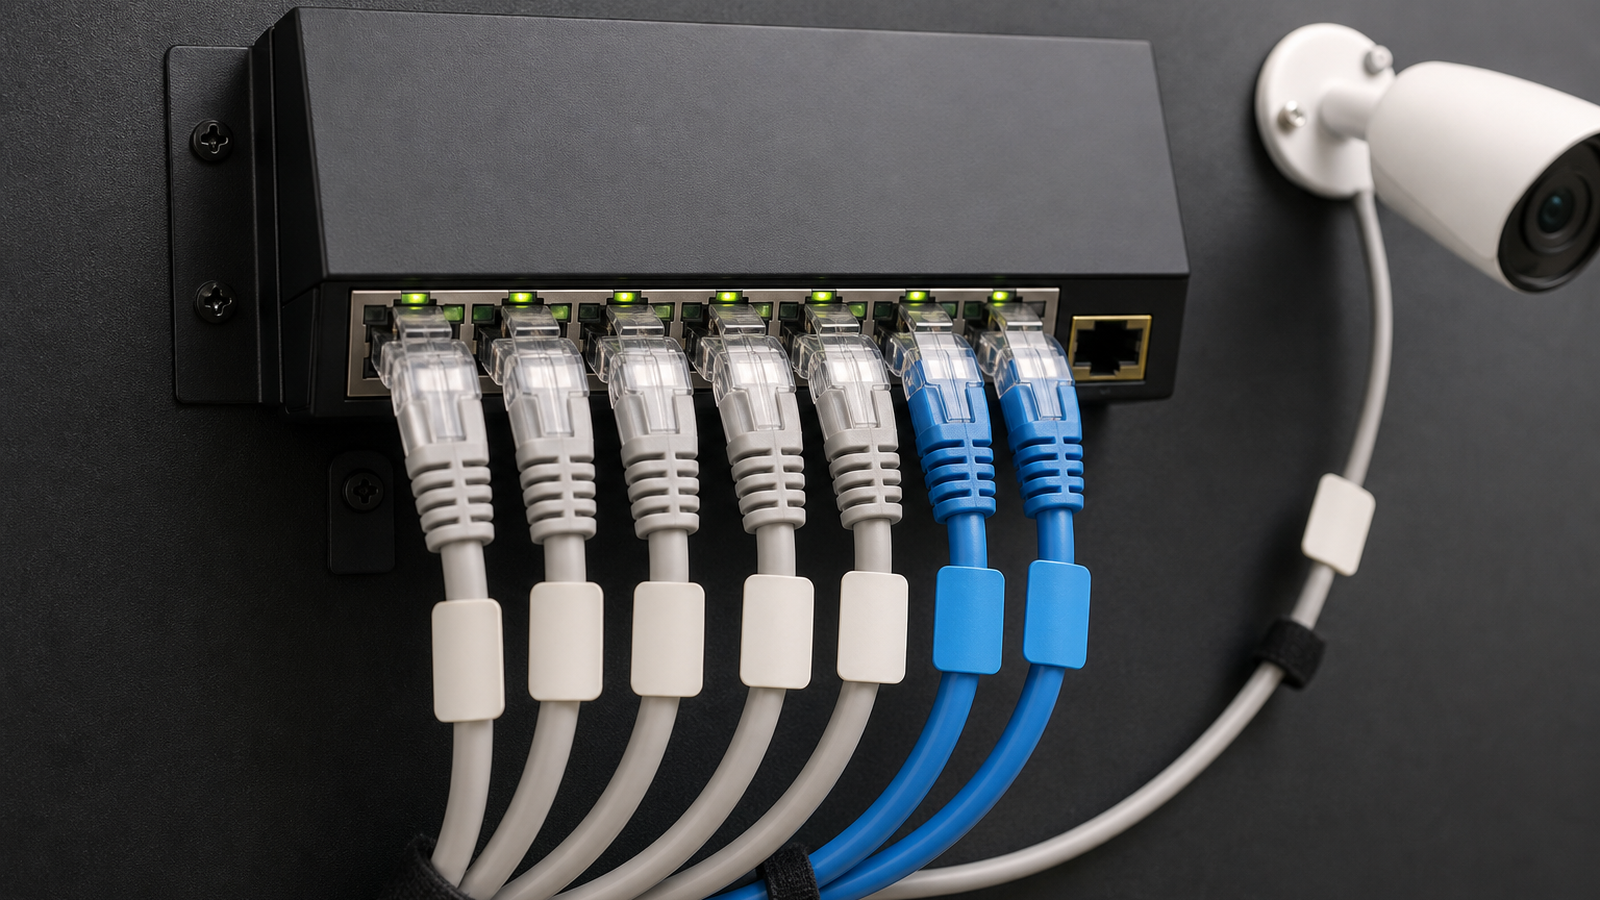
The catch is that PoE is not magic power. A switch has a total wattage budget, each powered device has a class or demand, and long cable runs still need strain relief, safe routing and testing. A camera that works on a short bench cable can behave differently when installed at the far end of the room.
Teams should also decide where recordings live. A single laptop is fine for quick review, but a shared lab may be better served by a small NAS, a rolling external drive or a dedicated recording station. The storage plan should match the coaching workflow: quick replay during practice, longer archive for design review, and a simple cleanup policy so old video does not consume every drive.
Planning checklist
- Count watts: add camera draw, Pi/HAT draw and switch power budget before installing.
- Label both ends: mark switch port, camera location and cable route.
- Test under load: stream or record for a full practice session, not only a two-minute preview.
- Separate robot and building cables: keep trip hazards, pinch points and robot impact zones out of the route.
- Log failures: note disconnects, brownouts, dropped frames and heat.
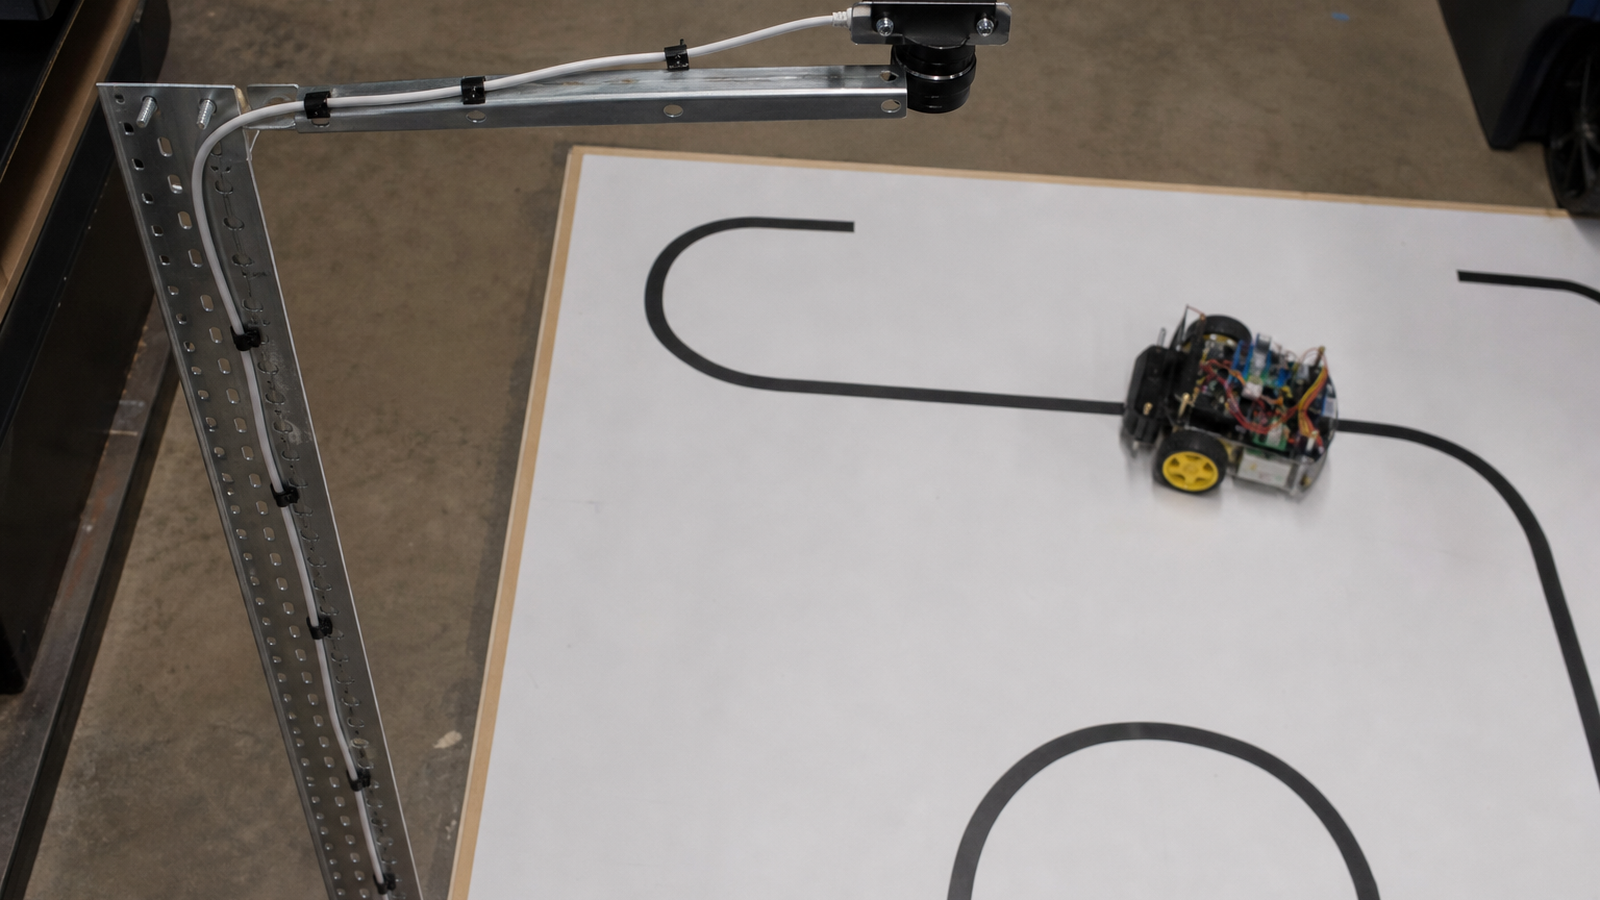
The best installation is boring. Cables should be routed where students will not step on them, strain relief should protect the camera mount, and the switch should be reachable without crawling under the field. If a camera is important enough to debug from, it is important enough to label and document.
TVG Take
PoE is a reliability tool when it is planned, labeled and tested. For student robotics, the win is not just a neater camera install; it is a repeatable view of failures that makes software, controls and mechanical debugging faster. Build the camera run like part of the robot lab, not like a last-minute webcam.