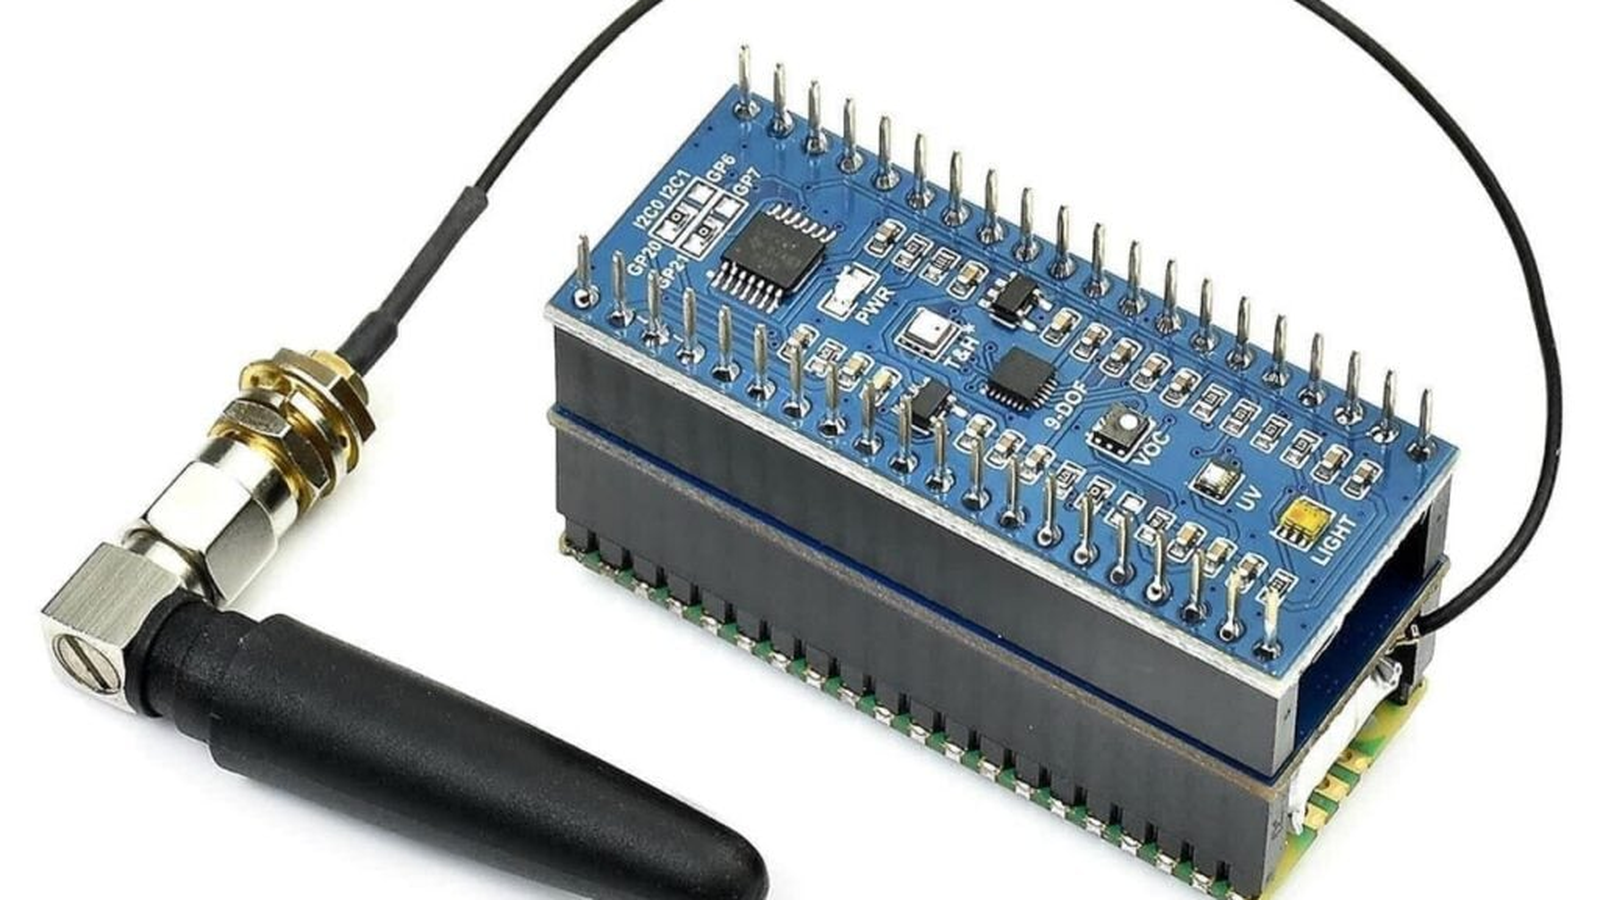
Raspberry Pi’s July roundup of LoRa radio devices is a good prompt for maker labs and STEM teams: the first hard problem in a field sensor project is not the Python script. It is the radio plan.
LoRa is built for small packets over long distances, not high-bandwidth telemetry. Raspberry Pi’s article describes low bit rates from about 300bps to 50kbps and notes that rural range can reach up to 15km under favorable conditions. The same article also warns that LoRa uses ISM radio bands, where builders must follow regional limits for frequency, duty cycle and transmit power.
Start with the payload, not the board
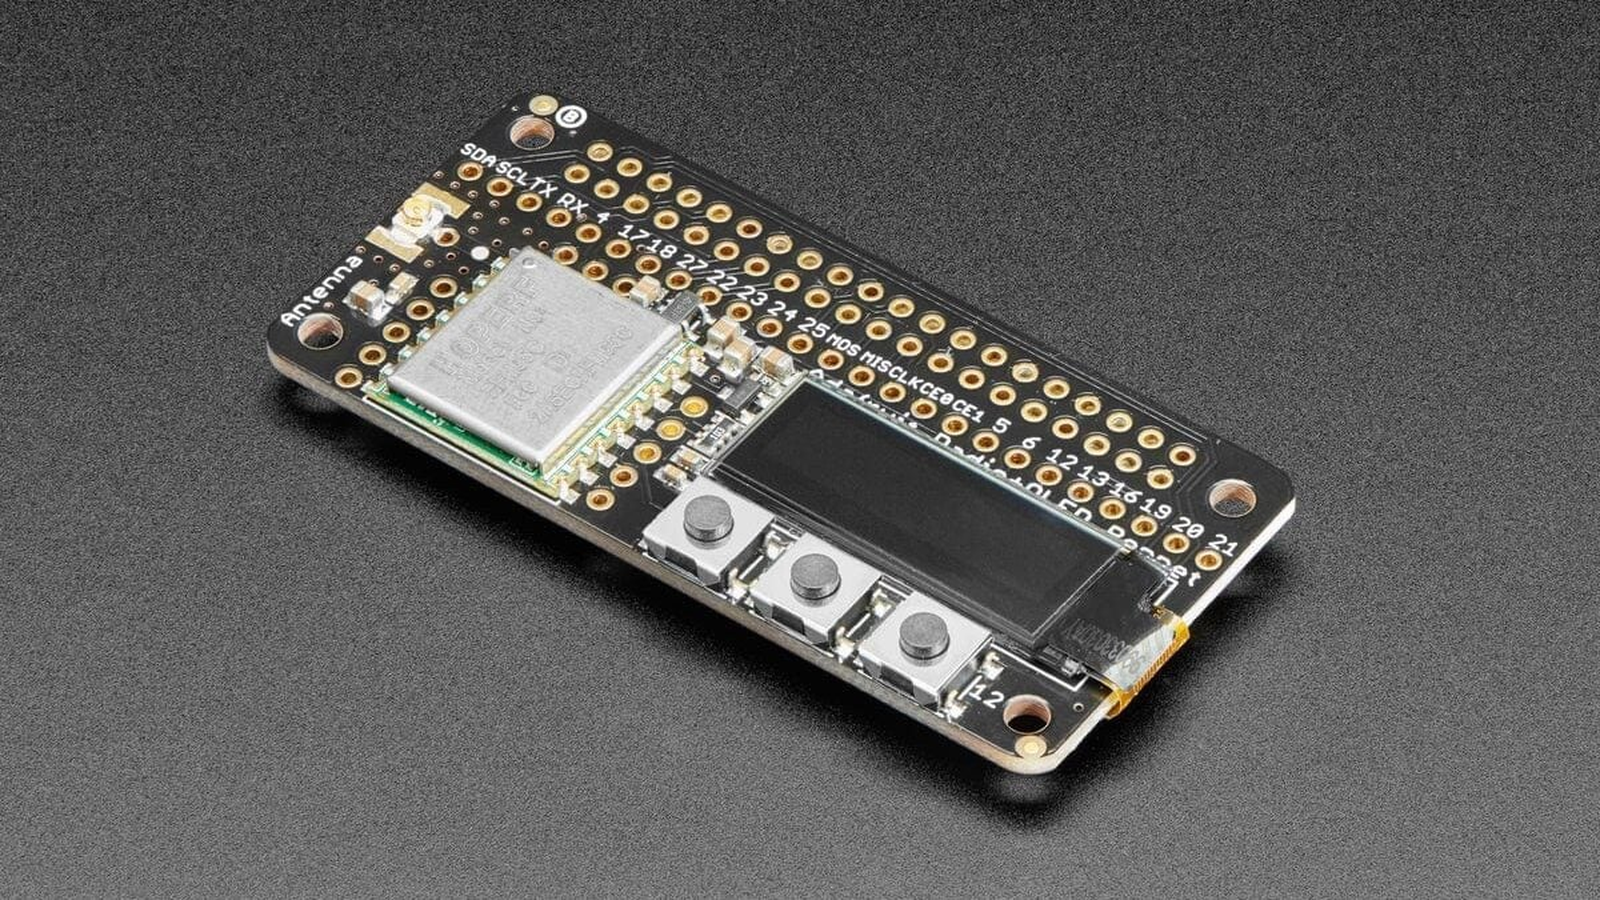
A weather node, gate counter, soil probe or school robotics field marker may only need a few bytes per message. A camera feed, audio stream or full ROS log does not belong on LoRa. Before buying a HAT or Pico add-on, write down the exact payload: sensor ID, timestamp, battery voltage, measurement value, error flag and perhaps a sequence number. If that fits into short periodic messages, LoRa is plausible.
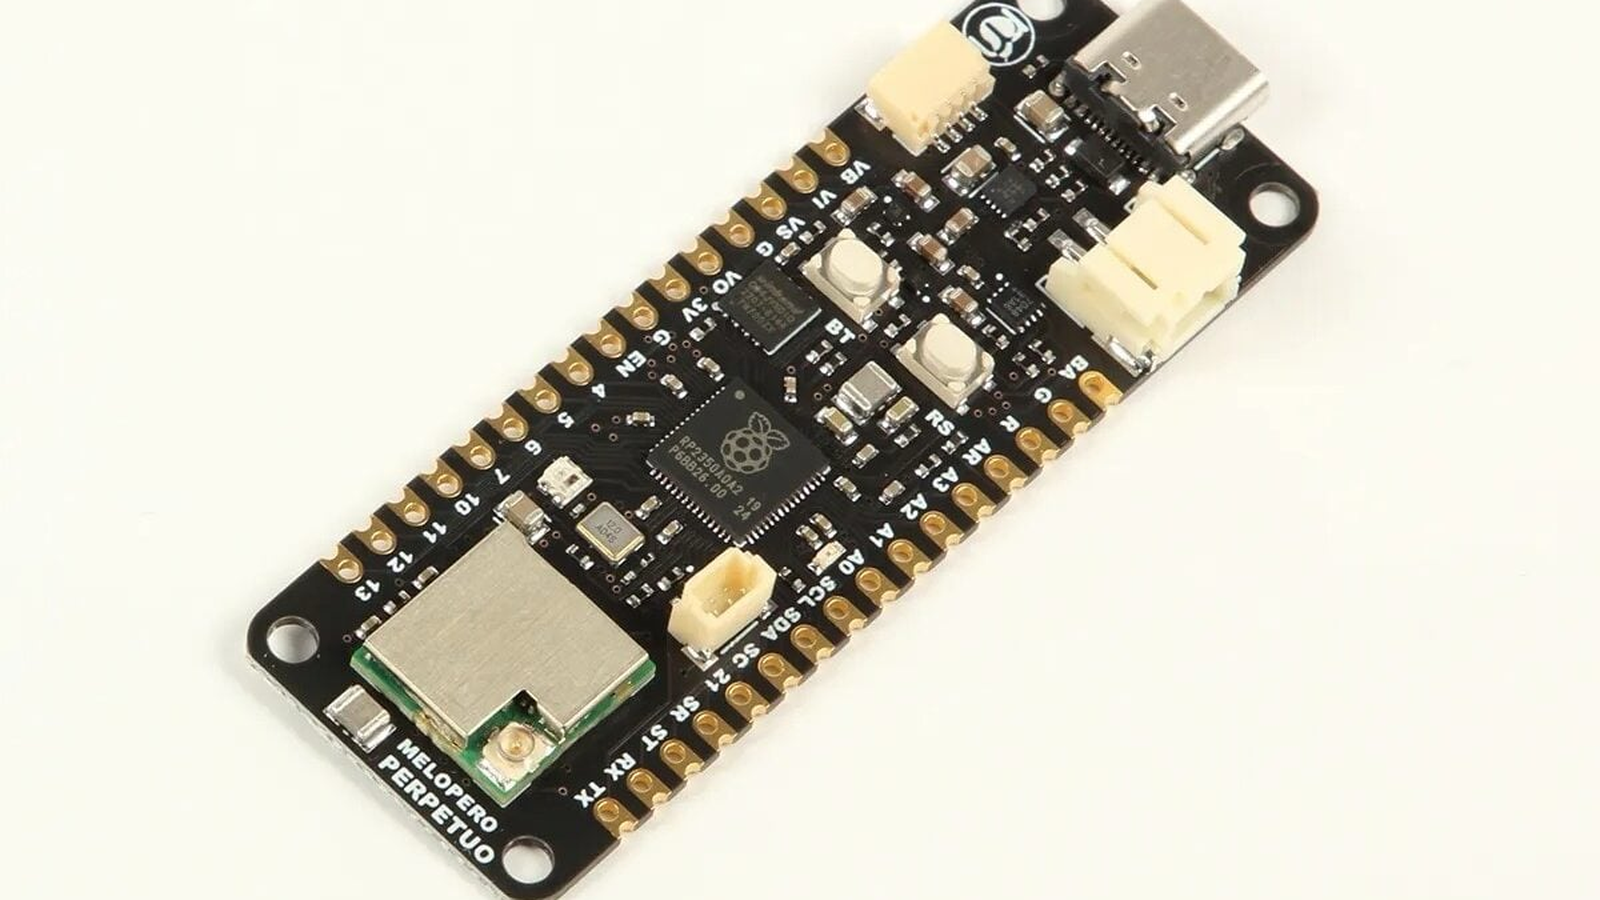
The second decision is topology. A simple pair of LoRa nodes can work for a local project, while a LoRaWAN gateway can receive traffic from multiple nodes and pass it to a server. For a class project, the gateway choice affects cost, setup time, network rules and whether the project still works when the internet connection fails.
That is why TVG would treat the first build as a logging exercise, not a polished product. Put the node ID, firmware version and battery voltage in each packet while the team is still learning. If the project later moves to a cleaner payload, the early diagnostic fields will still help students understand why a node disappeared or why readings changed after relocation.
Reliability checklist for field use
- Range test: measure packet delivery in the actual site, not in a classroom.
- Duty cycle: check regional radio rules before increasing message rate.
- Power budget: estimate sleep current, transmit bursts and battery capacity.
- Timekeeping: decide whether GPS time, network time or local timestamps are good enough.
- Recovery: design for missed packets, duplicate packets and sensor resets.
For student teams, the most useful lab exercise is to log failures intentionally. Put one node behind a wall, one near the edge of range and one with a weak battery. Then compare packet loss and recovery behavior. That exercise teaches more about real wireless systems than a perfect bench demo.
Enclosure design deserves the same attention. A sensor box that is watertight but traps heat, blocks the antenna or makes battery swaps painful will fail in a different way from the radio link. Keep the antenna position documented, leave room for strain relief, and make every field change traceable in the project log.
TVG Take
LoRa is attractive because it makes remote sensors feel simple, but it rewards conservative engineering. The right project is small, slow and tolerant of missed messages. If a build needs fast control loops, live video or guaranteed latency, use Wi-Fi, Ethernet, cellular or a different radio system. For maker labs, LoRa is strongest as a teaching tool for range, regulation, power and resilient data design.