
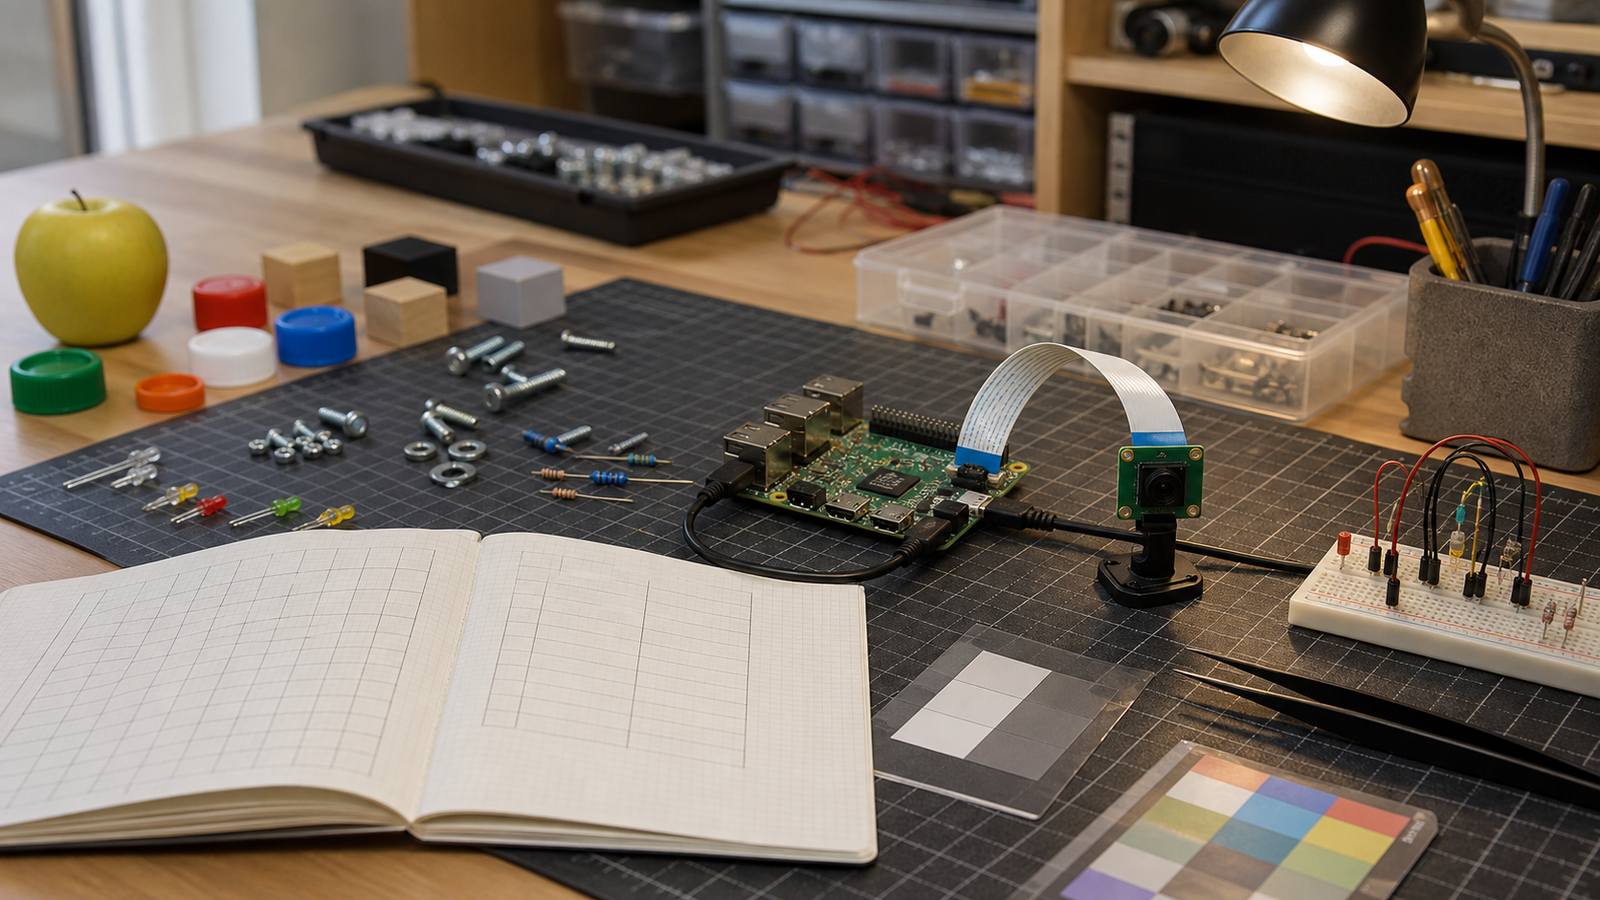
Raspberry Pi AI Camera projects can fail even when the hardware is capable and the first demo looks convincing. The weak point is often the dataset.
For robotics clubs, maker labs, and classroom projects, the temptation is to collect more images as soon as the model makes mistakes. More data can help, but only when the labels, capture conditions, and test plan match the real task.
Quick answer
Before adding hundreds of images, write a labeling rule sheet. Define what counts as the object, what does not count, which edge cases matter, how lighting and distance will vary, and which scenes should be held back for testing rather than training.
Why labels matter as much as hardware
The Raspberry Pi AI Camera combines a camera module with on-sensor AI capability built around Sony’s IMX500 intelligent vision sensor. That makes it appealing for edge-AI projects where a small system needs to detect objects without sending every frame to a larger computer.
But the sensor does not decide what a “correct” label means for your project. A recycling sorter, line-following robot, bird feeder monitor, classroom safety demo, and inventory counter all need different definitions of success.
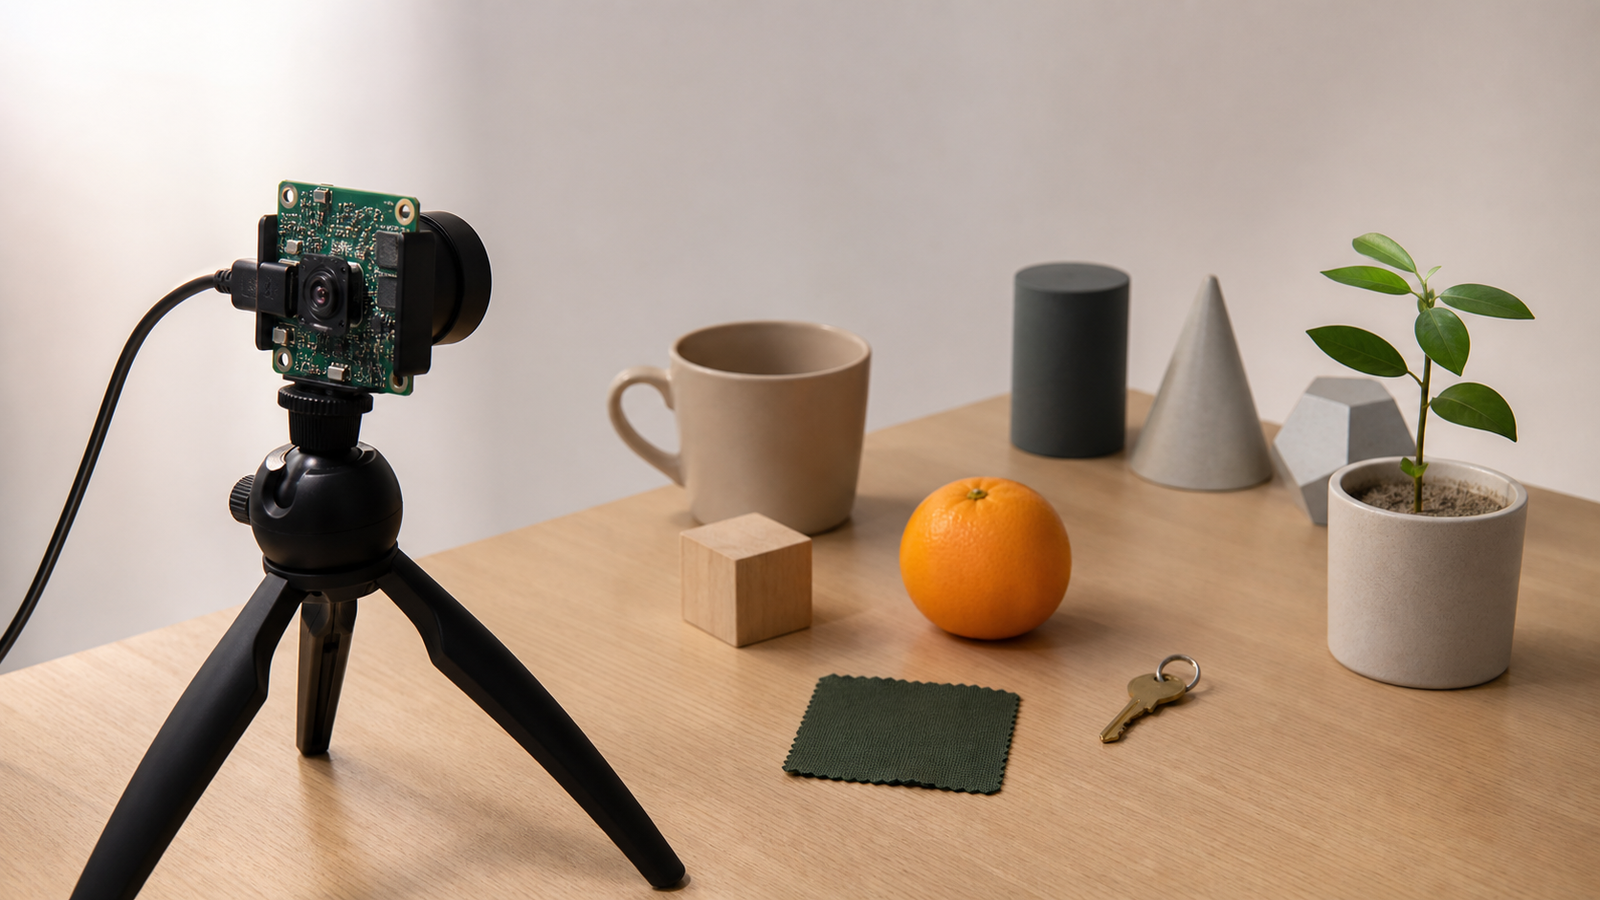
A practical labeling checklist
- Write the class definitions. If two students would label the same image differently, the rule is not clear enough.
- Collect negative examples. Show the model what is not the target, including confusing lookalikes.
- Vary lighting and distance. Field projects rarely run under the same light as the workbench.
- Track camera angle. A detector trained only on top-down images may fail from robot height.
- Hold out real tests. Keep some scenes out of training so the final check is honest.
- Record failures. Save false positives and misses with notes about lighting, blur, occlusion, and distance.
Internal link: where this fits in the TVG cluster
This checklist supports TVG’s recent Raspberry Pi AI Camera and edge-AI coverage by focusing on the step between a promising demo and a project that can survive classroom or field use. It pairs especially well with maker projects that need a repeatable sensor-to-actuator loop rather than a one-time screenshot.
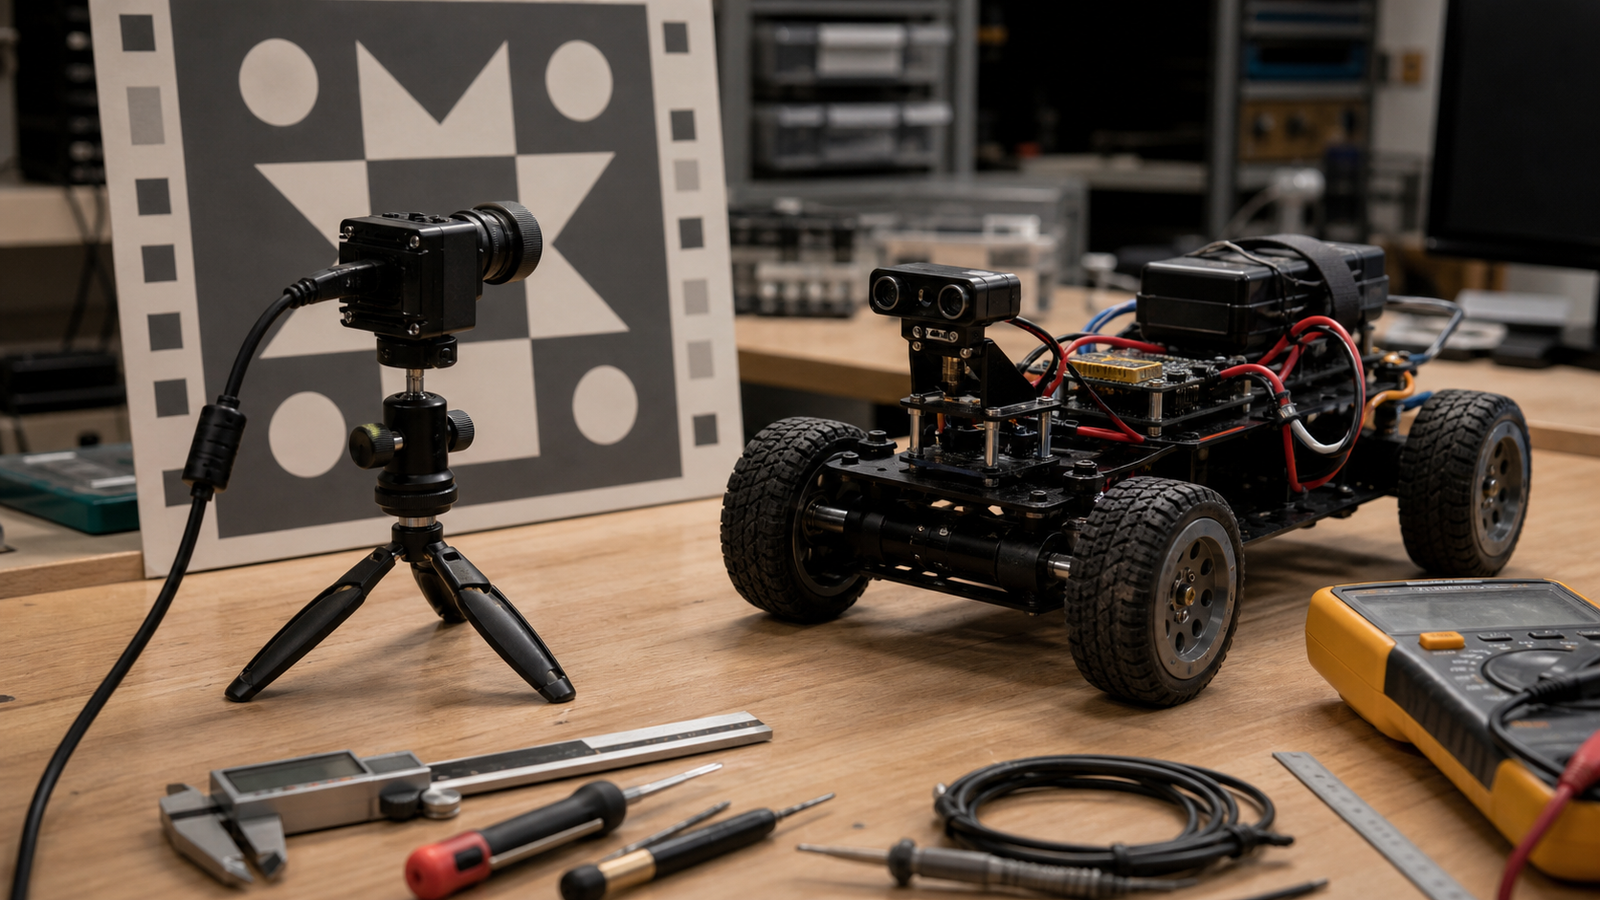
TVG Take
The most useful AI-camera lesson for students is not that vision models are magical. It is that sensing depends on definitions, examples, and test discipline. A small, well-labeled dataset with honest negative cases can teach more engineering than a large folder of inconsistent images.
Before collecting more data, make the labels boring and clear. Then test the model in the room, lighting, angle, and motion pattern where the project is supposed to work.
Common dataset traps
The first trap is background memorization. If every target object appears on the same table, the model may learn the table as much as the object. The second trap is perfect lighting. A project tested only under bench lights may fail near a window, under flickering shop lights, or on a moving robot.
The third trap is label drift. One student labels the whole object, another labels only the visible front face, and a third skips partly hidden examples. The model then receives inconsistent instructions. A short label guide with three good examples and three rejected examples can prevent that problem.
How to make a small dataset stronger
Start with fewer classes and better examples. Include empty scenes, confusing objects, partial views, motion blur, and the camera height used in the final build. Name folders clearly and keep a change log when labels are corrected. If the project is meant to trigger a robot action, test the complete sensor-to-actuator loop instead of only the detection screenshot.
For a club project, assign one person to audit labels before training. That role is not glamorous, but it teaches the most transferable lesson in applied AI: a model inherits the assumptions and mistakes in its data.
Related TVG reading
For readers building out the same technical context, these TVG Report pieces connect the hardware, software, and deployment angles without changing the original reporting.
- Raspberry Pi AI Camera Projects Need a Dataset Checklist Before the Demo Works
- LoRa Sensor Projects Need a Radio Plan Before They Leave Wi-Fi Range
- Portable SRT and NDI Encoders Need a Network Plan Before the Camera Rolls




That’s a really good point about the labeling needing to be more than just quantity. It’s easy to get lost in collecting lots of images without thinking through how they’ll actually be used for training.