
Editorial mode: Template B: Analysis / Guide.
The Raspberry Pi AI Camera makes edge-AI projects feel approachable: connect a camera, run inference close to the sensor, and build a prototype that reacts to the physical world. The part that still decides whether the project survives outside a demo table is the dataset.
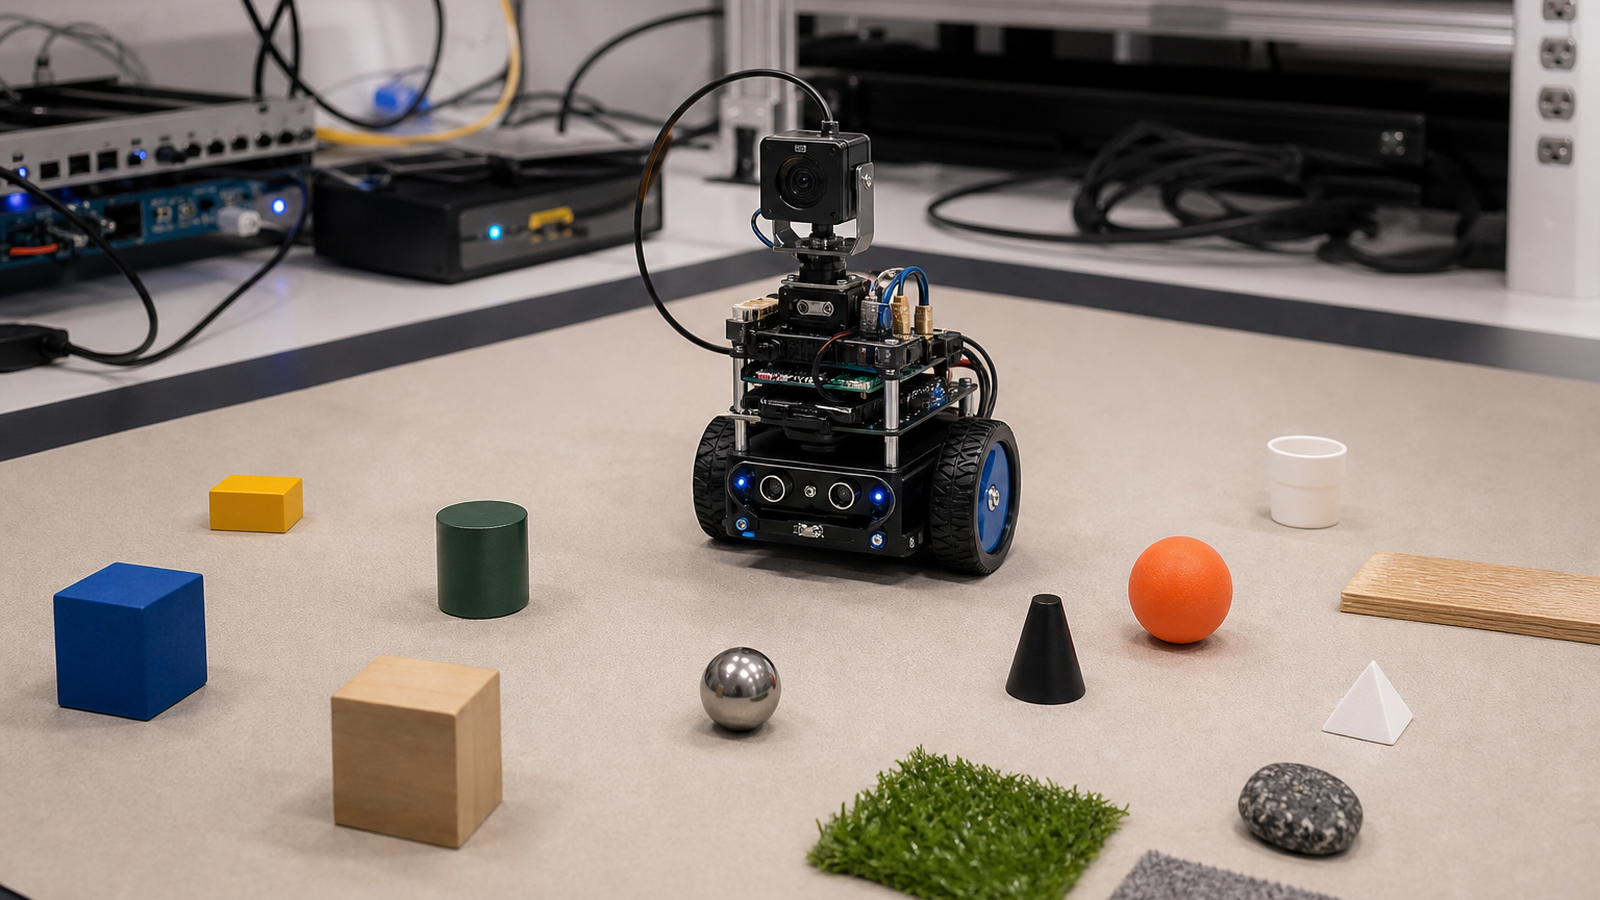
Raspberry Pi has described using the AI Camera with language-driven systems to connect vision recognition with local intelligent workflows. That is a useful direction for makers, but it also raises the bar. If a camera result becomes the trigger for a robot, display, alert, or LLM prompt, weak training images can turn into weak system behavior.
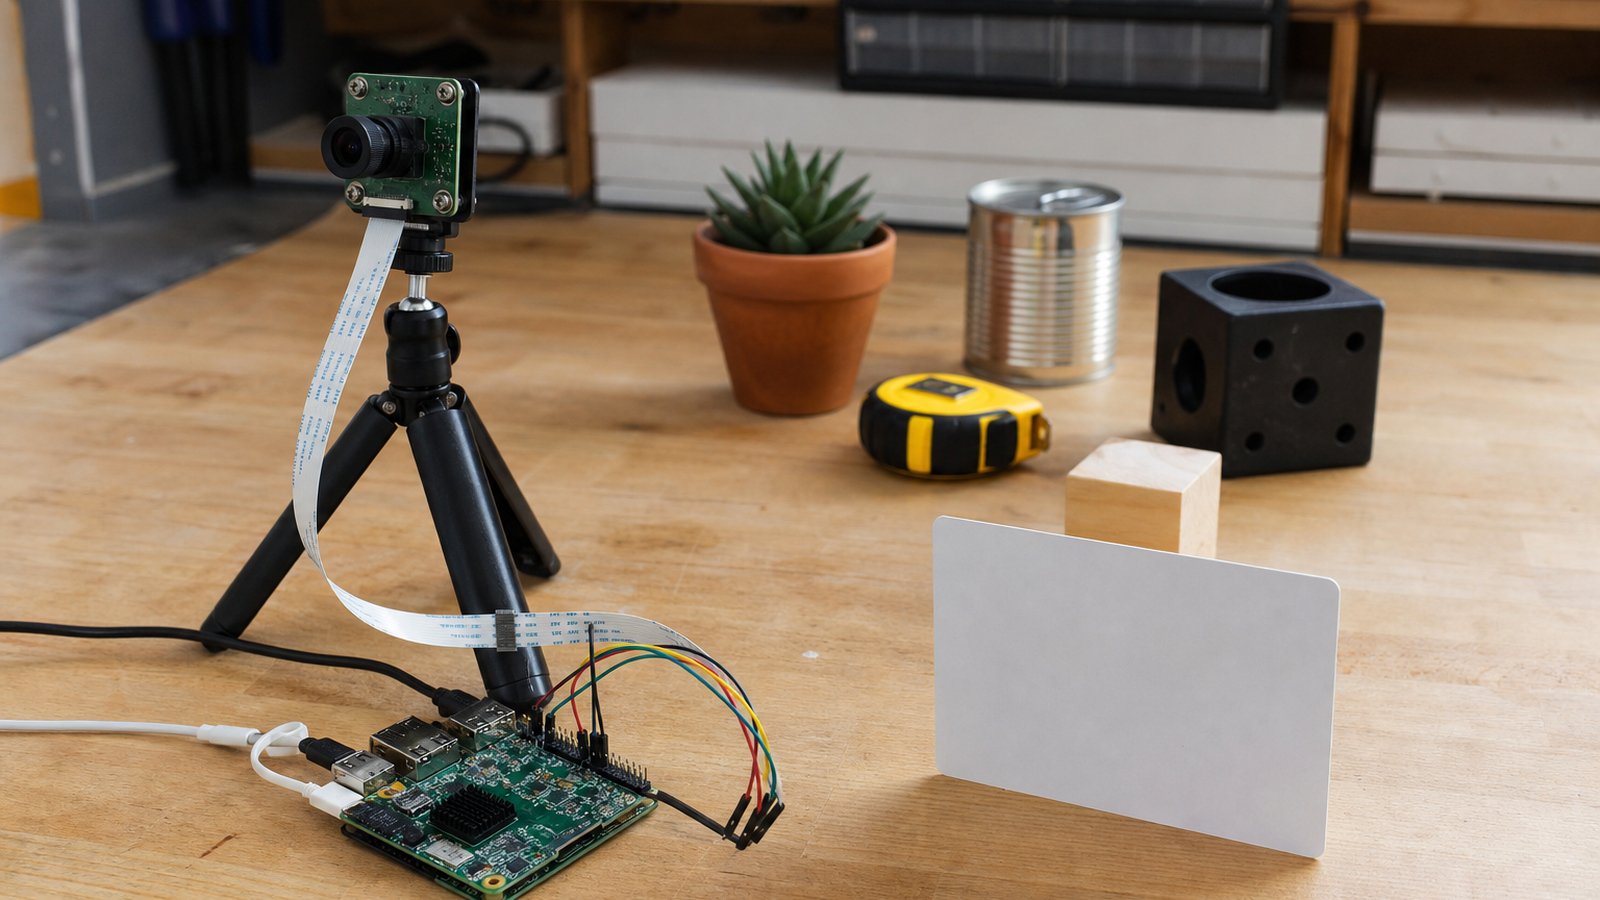
Start with the object or state the project must recognize. A classroom sorter, robot target detector, garage inventory camera, or plant monitor all need examples that match real deployment conditions. Do not train only on clean desk photos if the camera will be mounted above a bin, on a robot, or in a dim corner.
Build a lighting plan before collecting images. Capture morning, afternoon, artificial light, shadows, glare, and the worst lighting you expect. For student robotics, include the field or practice-table lighting. For a maker lab, include the workbench when other tools are running and shadows move across the scene.
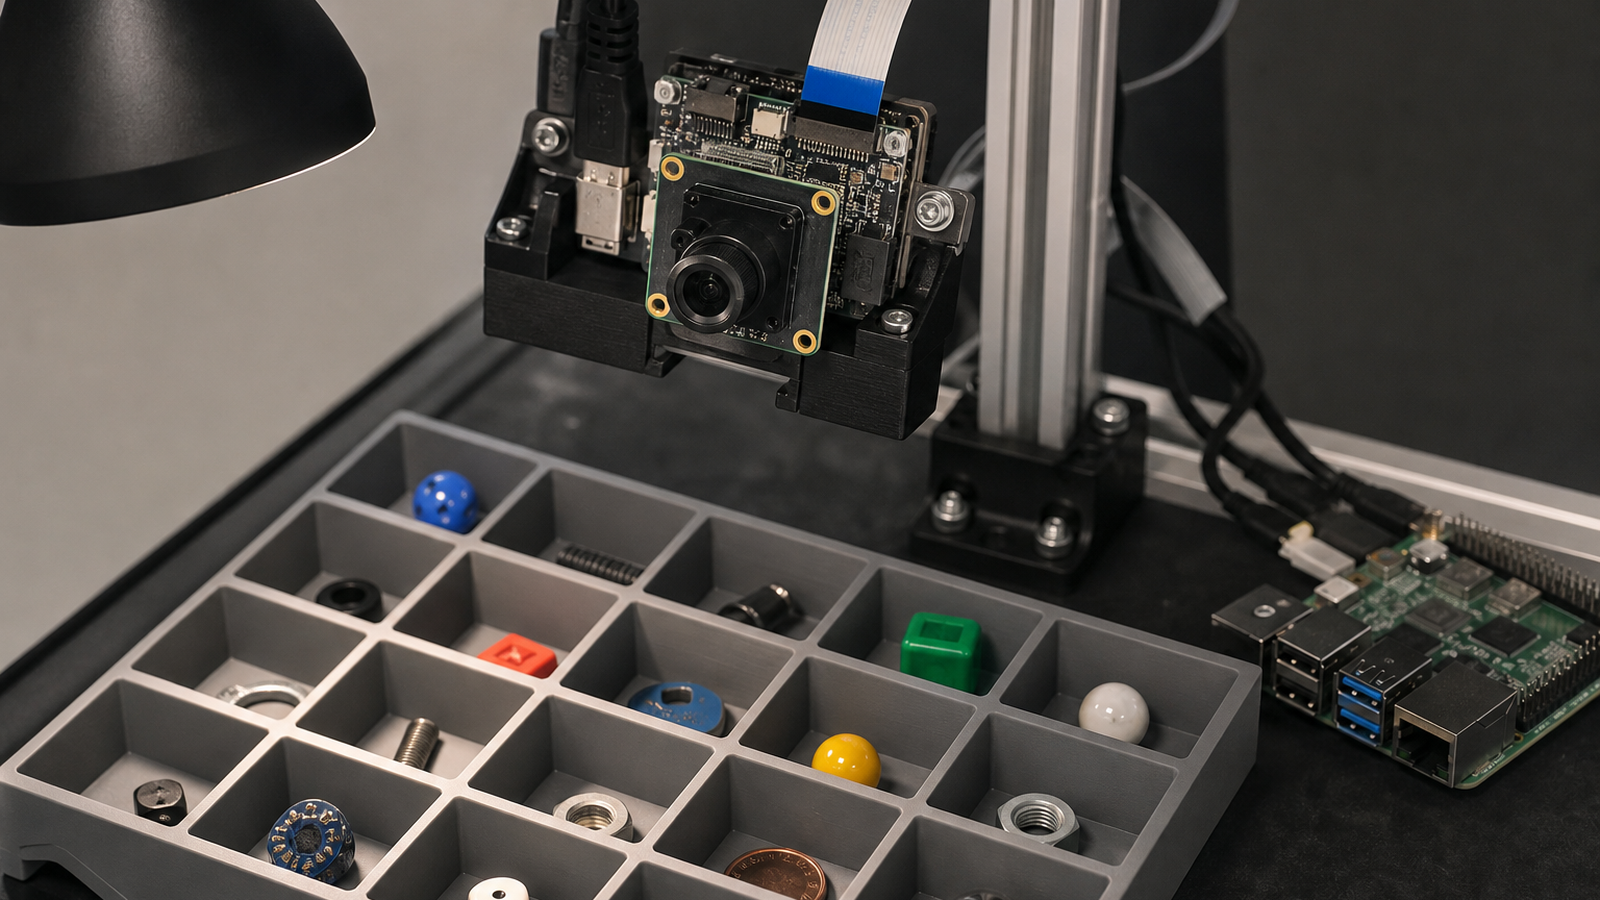
Angles matter more than beginners expect. A model that sees an object only from the front may fail when the same object is rotated, partially blocked, closer to the lens, farther away, or tilted. Collect examples from the camera’s actual mounting height and lens position, not from a handheld phone at eye level.
Label the negative cases. If the camera should detect a tool, include images without the tool, images with similar tools, empty backgrounds, hands entering the frame, cables, packaging, and clutter. A dataset with only positive examples teaches the model what the object looks like, not when it should stay quiet.
Keep a field-validation set separate from training. After the first model works, save new images from the real installation and test against those without mixing them into the training set immediately. That gives teams a clearer picture of whether the system improved or simply memorized the first collection.
Privacy belongs in the checklist. Avoid collecting faces, license plates, student names, whiteboards, or private workspace details unless there is a deliberate reason and permission. Edge AI can reduce cloud exposure, but local processing does not remove the responsibility to collect images carefully.
Use a small naming convention from the beginning. A folder named only “good images” becomes useless after a few collection sessions. Include date, lighting condition, camera mount, object class, and whether the images are training, validation, or held-out field tests.
Balance is another trap. If one object class has hundreds of clean examples and another has ten blurry examples, the project may appear accurate overall while failing on the class the team actually cares about. Count examples per class and deliberately collect weak areas.
Finally, photograph failures. Glare, occlusion, motion blur, dirt on the lens, background clutter, and partially visible objects are not annoyances to delete automatically. They are the cases that reveal whether the system is only a demo or a usable edge-AI workflow.
TVG Take: The AI Camera is a strong maker tool when paired with disciplined data collection. The winning project is not the one that recognizes an object once on a desk; it is the one that keeps working when lighting, angle, background, and mounting change.
This support guide connects TVG’s Raspberry Pi, robot vision, and edge-AI coverage. Dataset quality is the bridge between a clever prototype and a field-ready project, and it is a skill students can practice with ordinary lab materials before they buy more hardware.

That’s a really important point about the datasets – it’s so easy to underestimate how much variation is actually needed for something to work reliably.