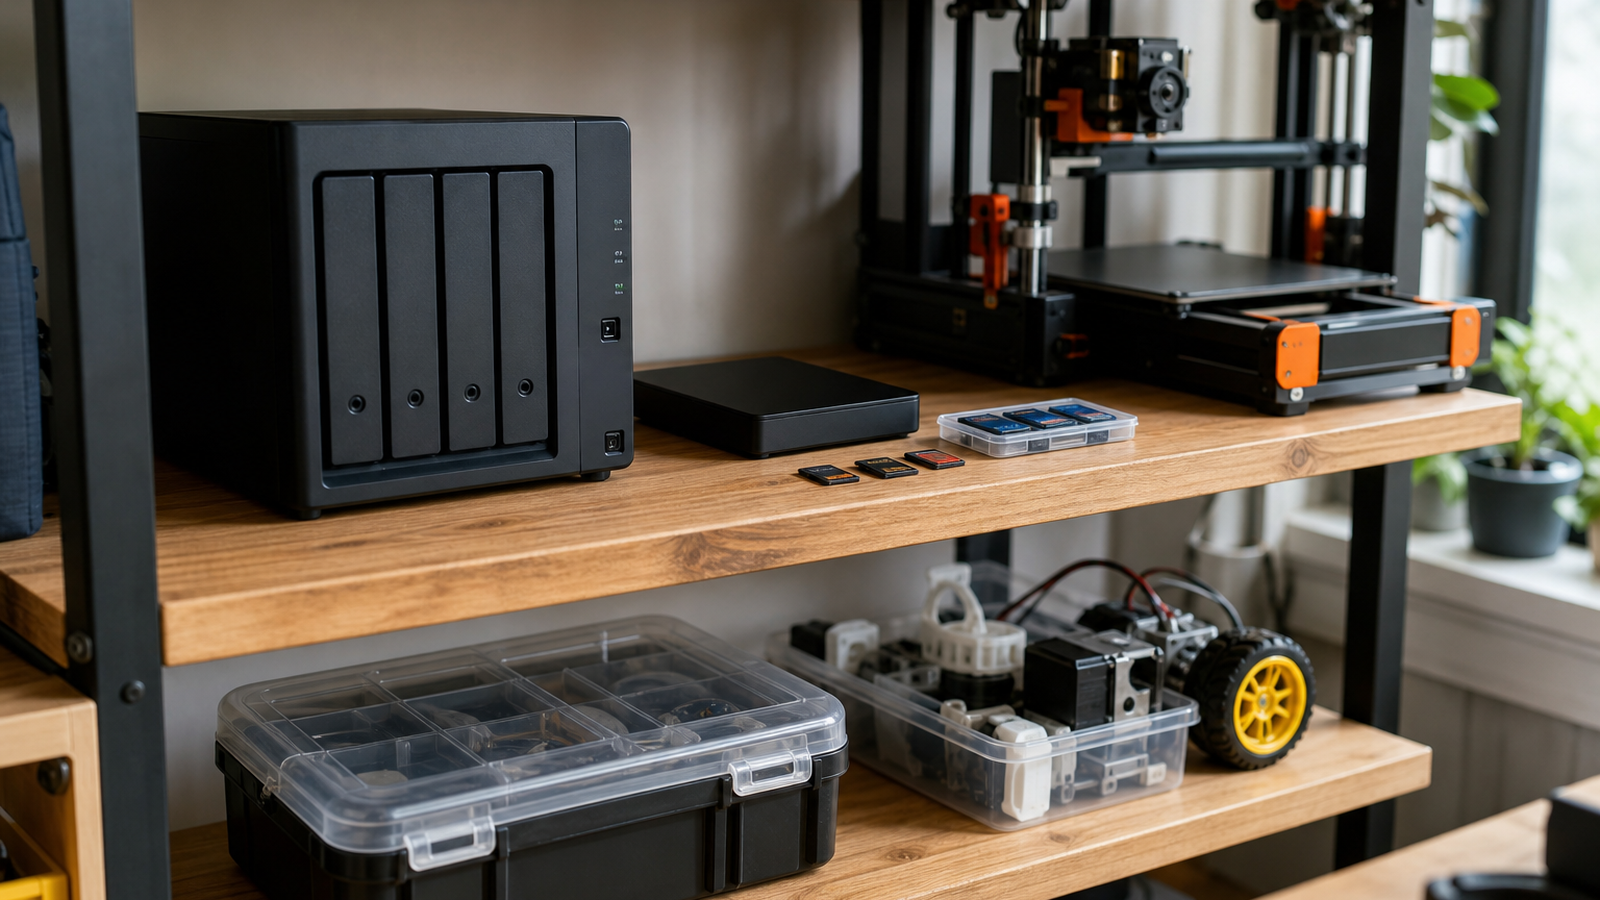
A maker lab can lose more than a broken print. CAD files, slicer profiles, robot code, calibration notes, camera captures and classroom handouts all become part of the project record. If those files live only on one laptop, one SD card or one external drive, the lab has a single point of failure.
Government cybersecurity guidance from NIST NCCoE guidance for protecting data emphasizes maintaining and testing backups, not merely owning a storage device. A NAS can help a maker lab centralize files, but the engineering value comes from the backup plan around it: snapshots, permissions, retention, offsite copies and restore drills.
Start with the files that stop work
The first step is not buying a larger NAS. It is listing what would interrupt a build if it disappeared. For a fabrication space, that usually includes CAD projects, slicer profiles, firmware files, robot repositories, media captures, laser settings, bill-of-material spreadsheets and setup photos. Those files should be grouped by project, not scattered across personal desktops.
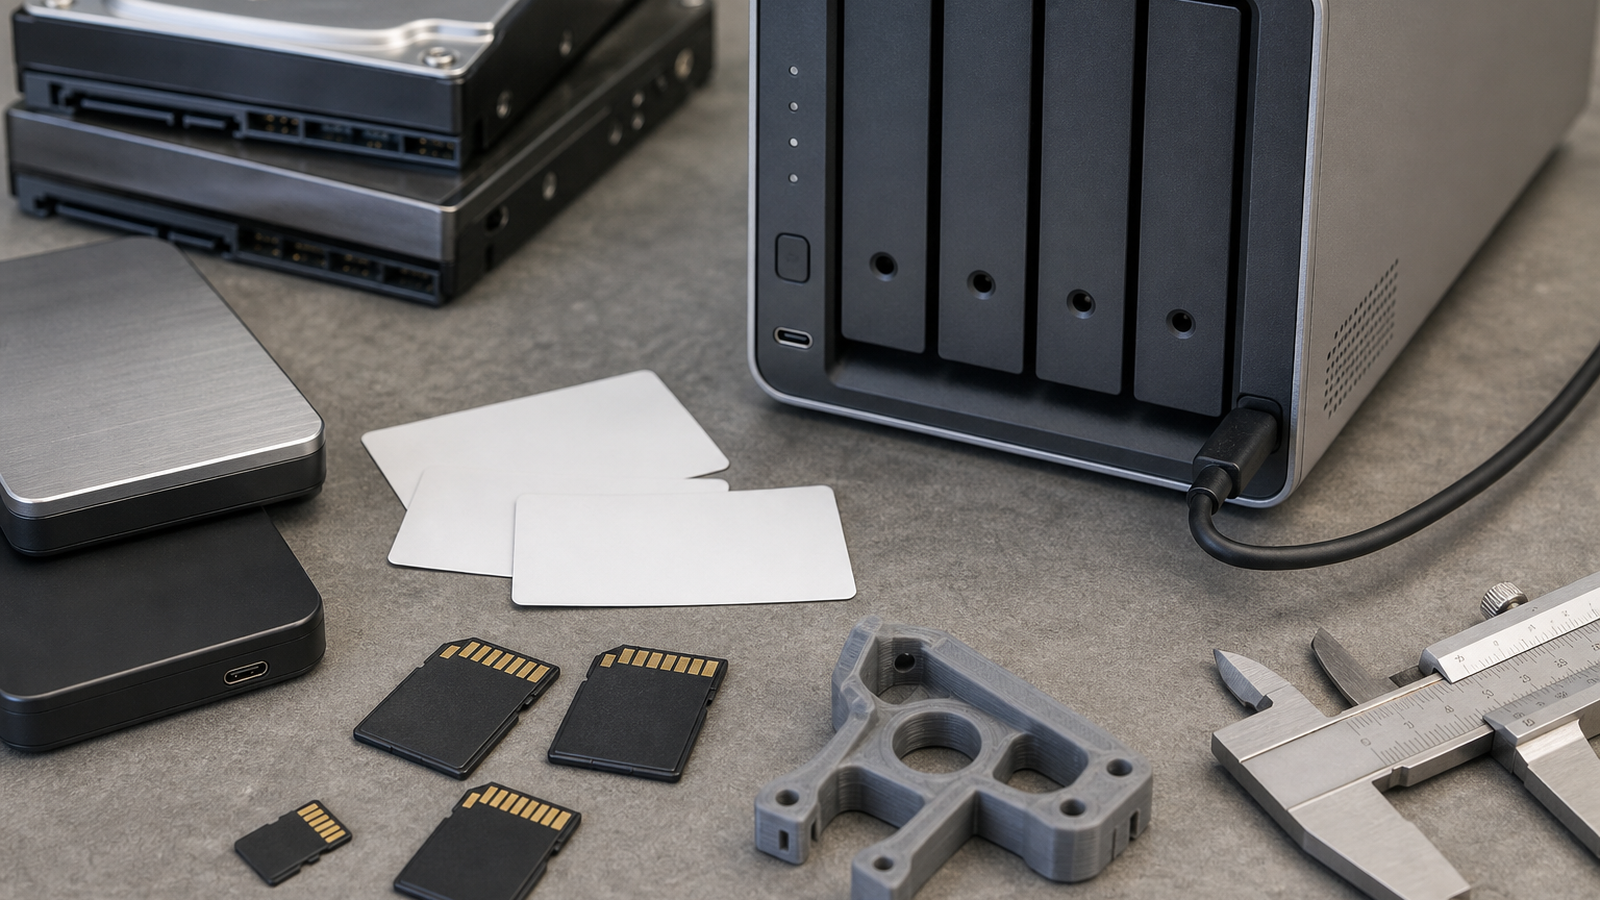
Snapshots are useful because they preserve earlier states of shared folders. That matters when a project file is deleted, overwritten or damaged by a bad sync. But a snapshot on the same device is not the whole backup. It protects against some mistakes; it does not protect the lab if the NAS itself is stolen, flooded, misconfigured or electrically damaged.
Build a restore-first policy
A practical maker-lab plan should define which folders get snapshots, how long versions are retained, who can delete shared files and where a second copy lives. Small labs can start simple: daily snapshots for active project folders, weekly copies to a separate drive or cloud storage, and a monthly restore test using a non-critical file.
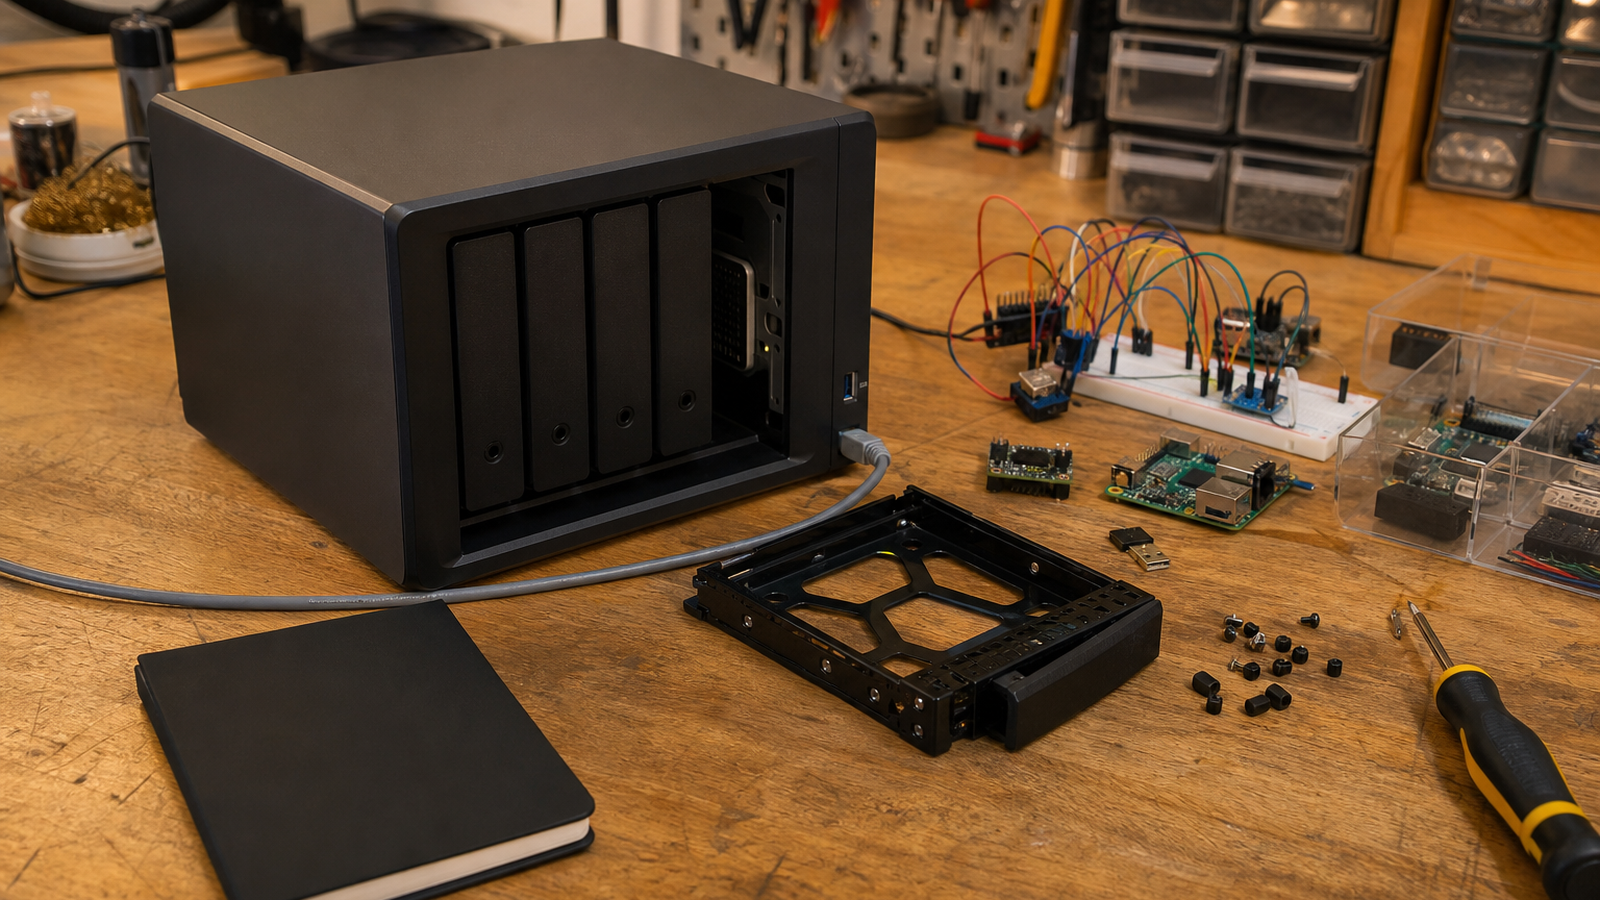
- Keep active projects organized: one shared folder per project with CAD, code, documentation and media grouped together.
- Version slicer and firmware files: printer profiles and robot firmware can be as important as the design itself.
- Limit delete permissions: not every student or visitor needs full control of archive folders.
- Test recovery: a backup that has never restored a file is still an assumption.
- Keep an offsite copy: snapshots alone do not cover device loss or site damage.
TVG Take
The best backup system for a maker lab is boring, visible and tested. A NAS is valuable when it turns scattered project files into a recoverable workflow. It is not enough when it becomes just another box on the shelf. Protect the files that would stop the next build session, then prove the restore path before a real failure forces the issue.
Restore-drill example
A small lab can rehearse recovery without interrupting work. Pick a retired project folder, delete a copy from a test share, restore it from the snapshot or backup target, and open the CAD file, slicer profile and code repository afterward. The goal is to prove that the recovered project is usable, not only that files reappear in a directory.
That drill also exposes naming problems. If three folders are called final, final-v2 and final-real, the backup system preserved confusion. A good storage plan should make the newest approved file easy to find and the old experiments easy to trace.
Related TVG reading: USB-C PD vs portable power stations for field tech.