Template B: Analysis / Guide. HDMI capture cards look simple until a robotics team tries to use one outside a clean desktop setup. The product page may promise 4K input, 1080p recording, plug-and-play USB, and streaming compatibility, but field reliability depends on less glamorous details: UVC behavior, latency, heat, cable strain, power draw, audio handling, driver support, and whether the recording laptop can keep up.
For TVG’s audience, the right question is not “which capture card is best?” It is “which specs reduce failure during a robot demo, classroom stream, field test, or creator shoot?” A $25 dongle may be fine for a bench camera. A multi-camera event kit may need a card with better thermal design, documented formats, and monitoring options.
The workflow to define first
Start with the signal path. A typical field kit might run from an action camera, mirrorless camera, HDMI microscope, FPV receiver, game-console-style robot driver station, or small computer into a capture card, then into a laptop running OBS Studio or another recorder. Every link in that chain can create a failure. HDMI output settings may change when a camera enters record mode. USB bandwidth may drop when several devices share a hub. Audio may arrive through the camera, an interface, or not at all.
OBS Studio’s documentation is a useful starting point because it treats capture as a real production chain rather than a single accessory. Teams should document the resolution, frame rate, color format, audio route, laptop port, storage destination, and monitoring plan before buying hardware. The test should include the same cables and power source used in the field.
UVC support matters more than the headline resolution
Most inexpensive USB capture cards appear to the computer as UVC video devices. That can be good: UVC-class behavior often means less driver friction across Windows, macOS, Linux, and ChromeOS. It can also be limiting if the device exposes only a few formats or falls back to compressed modes that increase latency or reduce image quality.
The USB Implementers Forum’s UVC documentation shows why “USB camera” is not one single behavior. Devices can expose different frame sizes, intervals, controls, and streaming formats. Before standardizing a kit, verify what the operating system actually sees. On Linux, tools such as v4l2-ctl can list modes. On Windows and macOS, OBS, QuickTime, or vendor utilities can show whether the card is delivering the expected frame rate.
Latency: acceptable depends on the job
Latency is not always bad. If a team is recording a camera feed for documentation, 200 milliseconds may be irrelevant. If a student is driving a robot while watching the captured video, that same delay can make the system feel unsafe or unusable. Marketing pages often avoid consistent latency claims, so teams should measure end-to-end delay with the exact camera, capture card, computer, and display path.
A practical test is simple: point the camera at a stopwatch or frame counter, show the captured preview on the laptop, and record both the real counter and preview with a phone. The gap will not be lab-grade, but it is enough to compare cards and settings. Record the result in the kit notes. If the kit is for driver feedback, prioritize direct camera monitoring or low-latency receiver hardware rather than assuming a capture card can do both recording and control feedback.
HDMI versions and input formats
HDMI marketing can be confusing because input support and capture output are different claims. A card may accept a 4K signal but only record 1080p. It may pass through HDR but capture SDR. It may work at 60 frames per second only at certain resolutions or chroma formats. The HDMI specification overview is useful background, but teams still need the device’s own supported-mode table.
For robotics and maker video, 1080p60 is often more valuable than nominal 4K input. Higher resolution increases storage and processing load, while 60 fps can make motion, vibration, and control mistakes easier to review. If the final article, training video, or sponsor recap is web-bound, a stable 1080p feed with synced audio beats a fragile 4K setup.
Heat and power draw are field problems
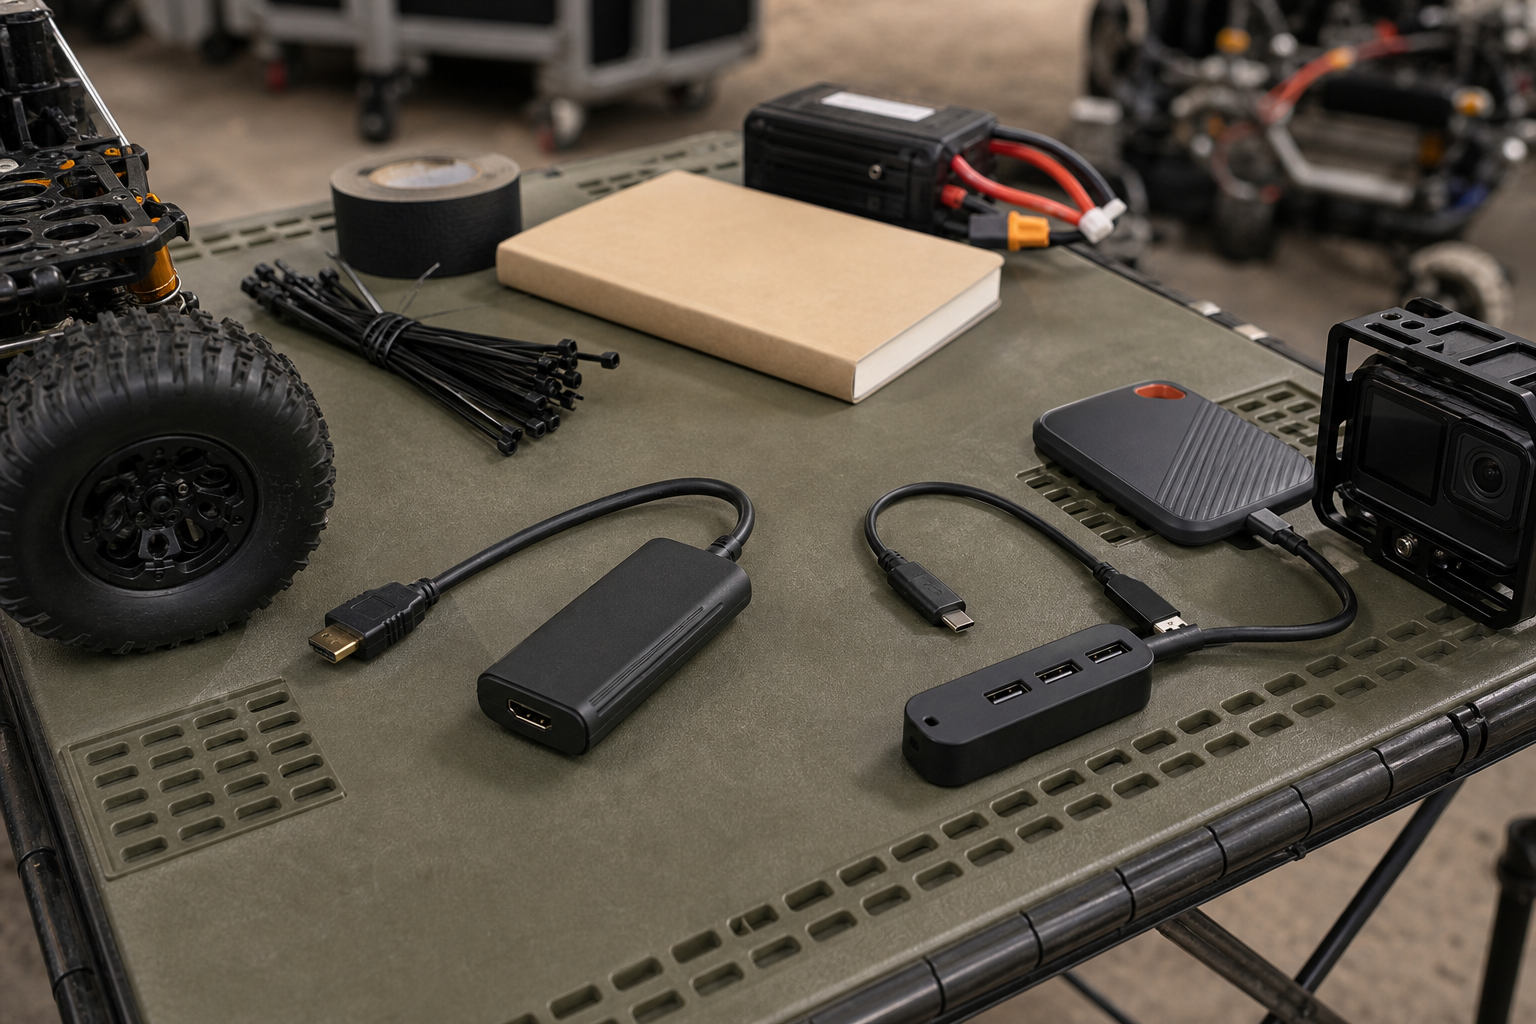
Small capture dongles can get warm. That does not automatically mean failure, but heat can become a real issue when the device is taped to a robot cart, buried in a case, or powered through an overloaded hub. Longer events expose problems that quick bench tests miss. Run a one-hour soak test at the target resolution and frame rate before trusting the kit at a competition, workshop, or client demo.
Power is similar. Bus-powered devices simplify setup, but every USB device draws from the same laptop or hub budget. Cameras, audio interfaces, wireless receivers, lights, and SSDs can crowd the bus. For bigger kits, use a powered hub with known output and strain relief. Keep a short spare HDMI cable and a short spare USB cable in the bag; long, thin cables are common hidden faults.
Audio sync and source selection
Many capture failures are audio failures. If the camera sends audio over HDMI, the capture card may expose it as part of the video device. If a USB microphone or wireless receiver is used, the video and audio paths may drift or start with different delays. OBS can add sync offsets, but only if the team tests and documents the offset for the actual setup.
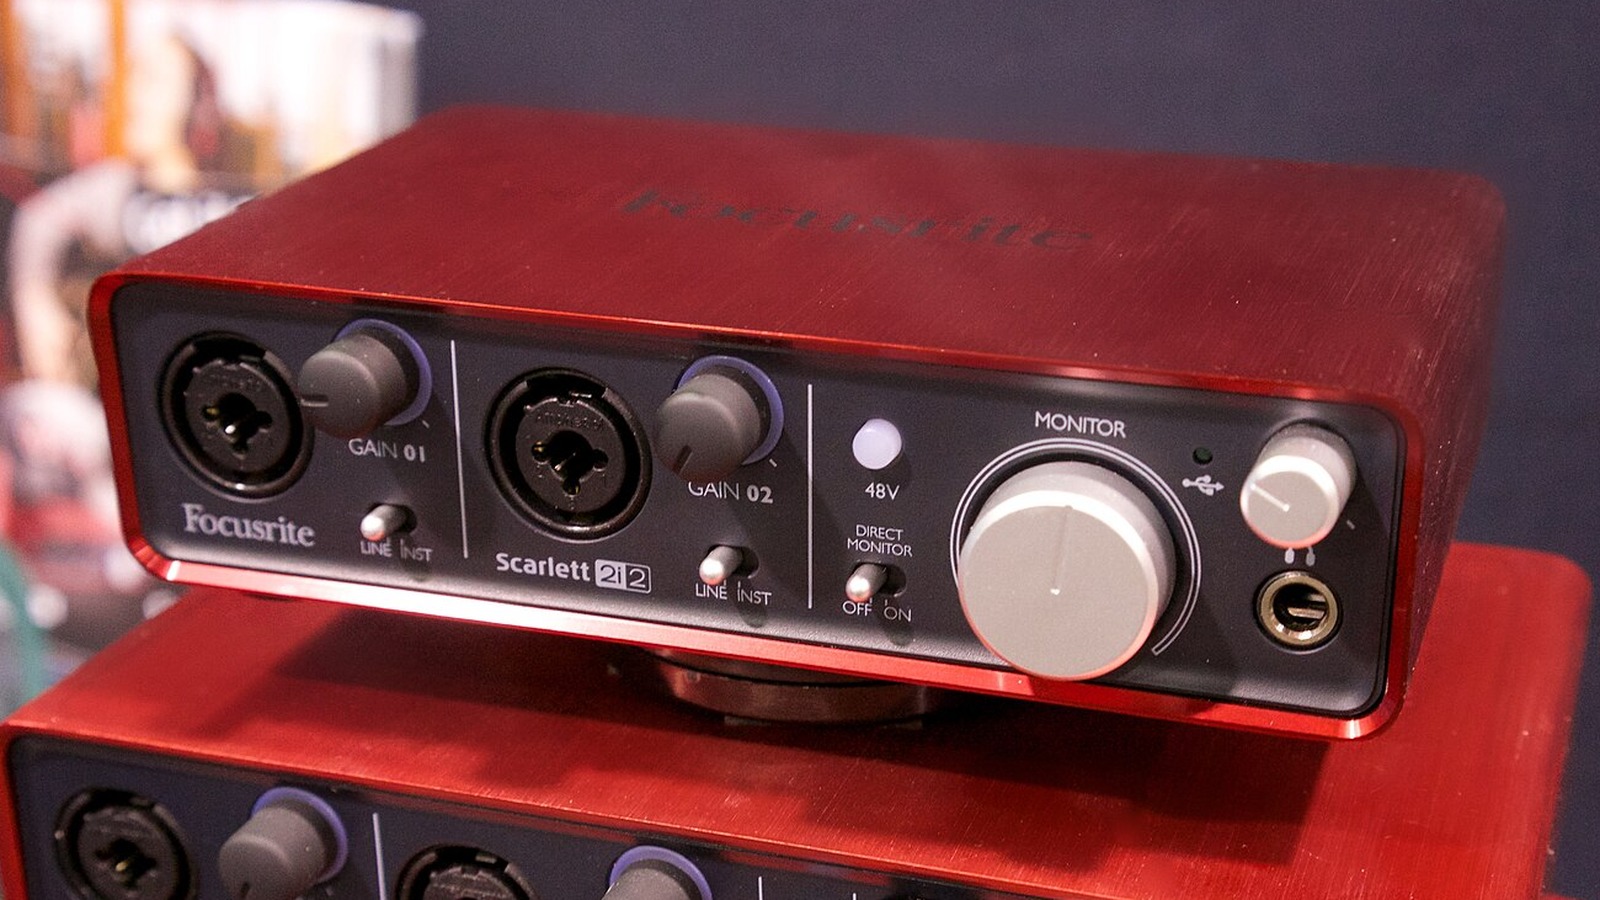
For maker labs, a simple rule helps: use one audio path unless there is a reason not to. If the camera has acceptable audio and the speaker is close enough, use HDMI audio. If narration matters, use a dedicated microphone and test sync before the event. Do not discover the problem after a robot run that cannot be repeated.
Storage and recording codec
Capture hardware is only half the system. Recording a reliable file also depends on the laptop, storage device, codec, and software settings. TVG has already covered related storage tradeoffs in MicroSD vs Portable SSD for Field Cameras and Robot Logs and NAS vs External SSD for Creator and Maker Backups. The short version: do not record critical event video to a nearly full internal drive or a questionable flash drive.
If the computer has hardware encoding, use it carefully and test quality. If it does not, lower the resolution or frame rate before the CPU becomes the bottleneck. A dropped-frame counter is more useful than a prettier settings screen.
A practical buying checklist
- Supported modes: confirm the actual capture output, not just HDMI input.
- UVC behavior: verify the modes exposed to your OS and software.
- Latency: measure end-to-end delay for the intended job.
- Thermals: run a one-hour soak test at target settings.
- Audio: decide whether audio comes through HDMI, USB microphone, or an interface.
- Cables: standardize short, replaceable HDMI and USB leads.
- Storage: record to a tested SSD or known-good internal drive.
- Recovery: pack a spare card or a fallback direct camera recording mode.
TVG Take
For robotics teams and creator field kits, an HDMI capture card is not a magic adapter. It is a small part of a video system that must survive motion, heat, cable pulls, software updates, and hurried setup. Buy for documented modes, test for latency and heat, and write down the working settings. That discipline matters more than chasing the largest number on the box.
Sources
- OBS Studio Knowledge Base
- USB-IF: USB Video Class documentation
- HDMI Licensing Administrator: HDMI specification overview
- Blackmagic Design UltraStudio Recorder 3G technical specifications
Related TVG reading: Action Camera Mounting Guide for Robotics and Field Teams and Thunderbolt 5 vs USB4 for Creator and Maker Field Storage.