
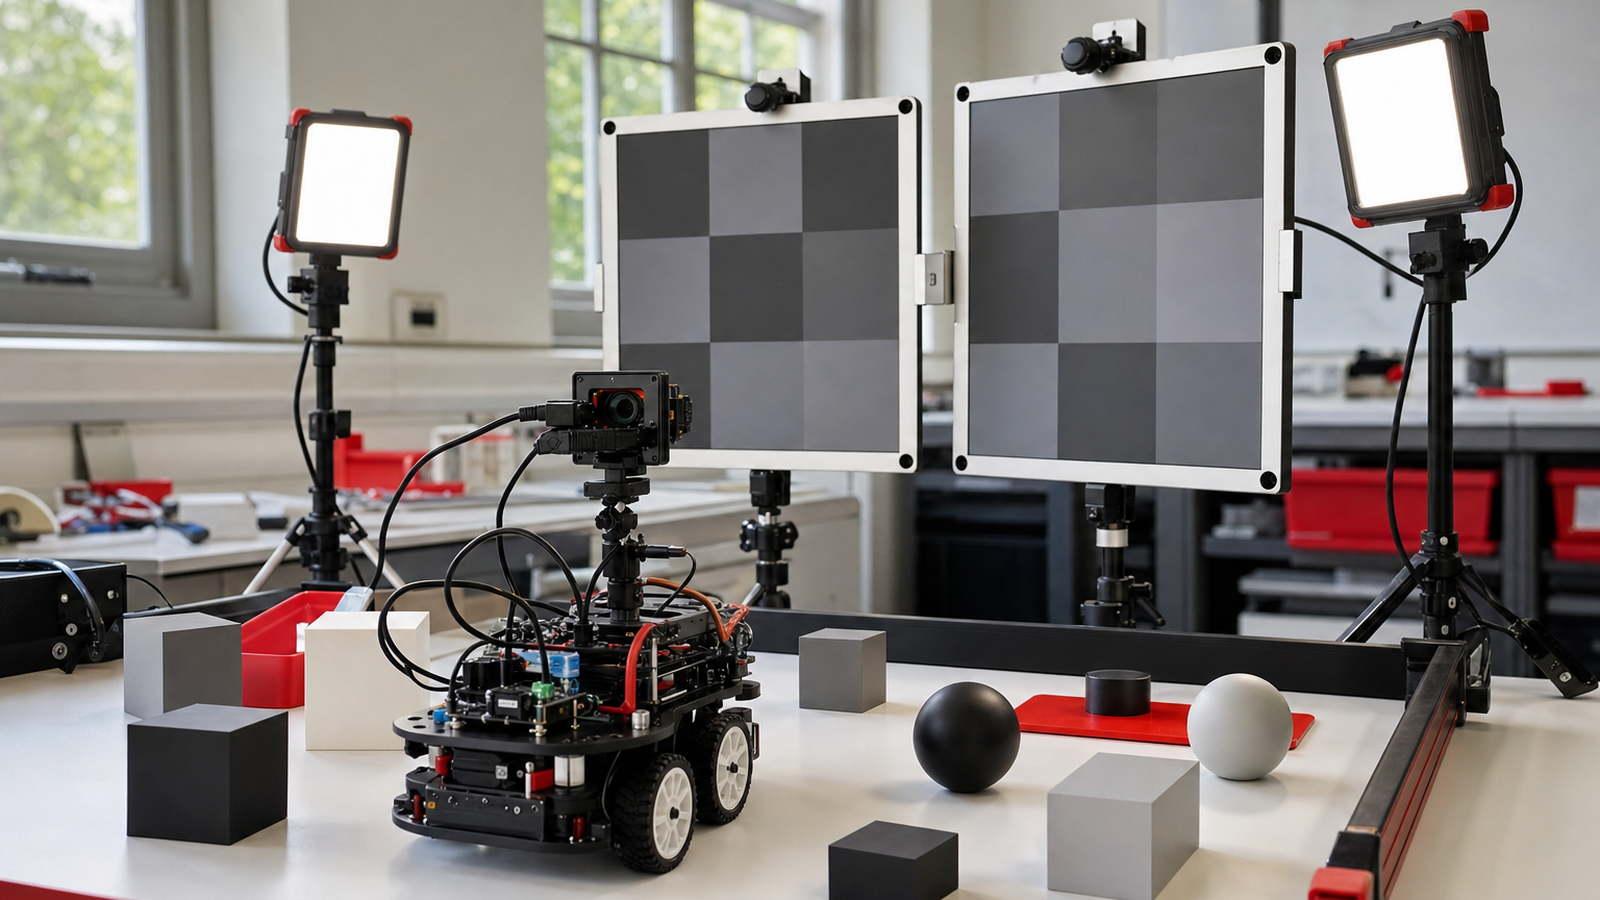
When a student robot misses a target, the first instinct is often to change code. Sometimes that is necessary. But many vision failures begin in the scene: glare, shadows, exposure, reflections, target contrast, camera angle or a mount that moves between runs.
WPILib’s vision-programming documentation emphasizes practical strategy for robot vision work, OpenCV provides the computer-vision toolkit many teams eventually use, and Raspberry Pi’s camera documentation shows how board cameras fit into real projects. The common lesson is that camera software depends on consistent physical conditions.
Check the scene before the pipeline
A robot vision pipeline is only as stable as the images it receives. If a glossy target reflects overhead lights, the threshold that worked at home may fail in a gym. If the camera mount flexes, the target moves in the frame even when the robot has not changed strategy. If auto-exposure hunts during motion, the same object can look different from one second to the next.
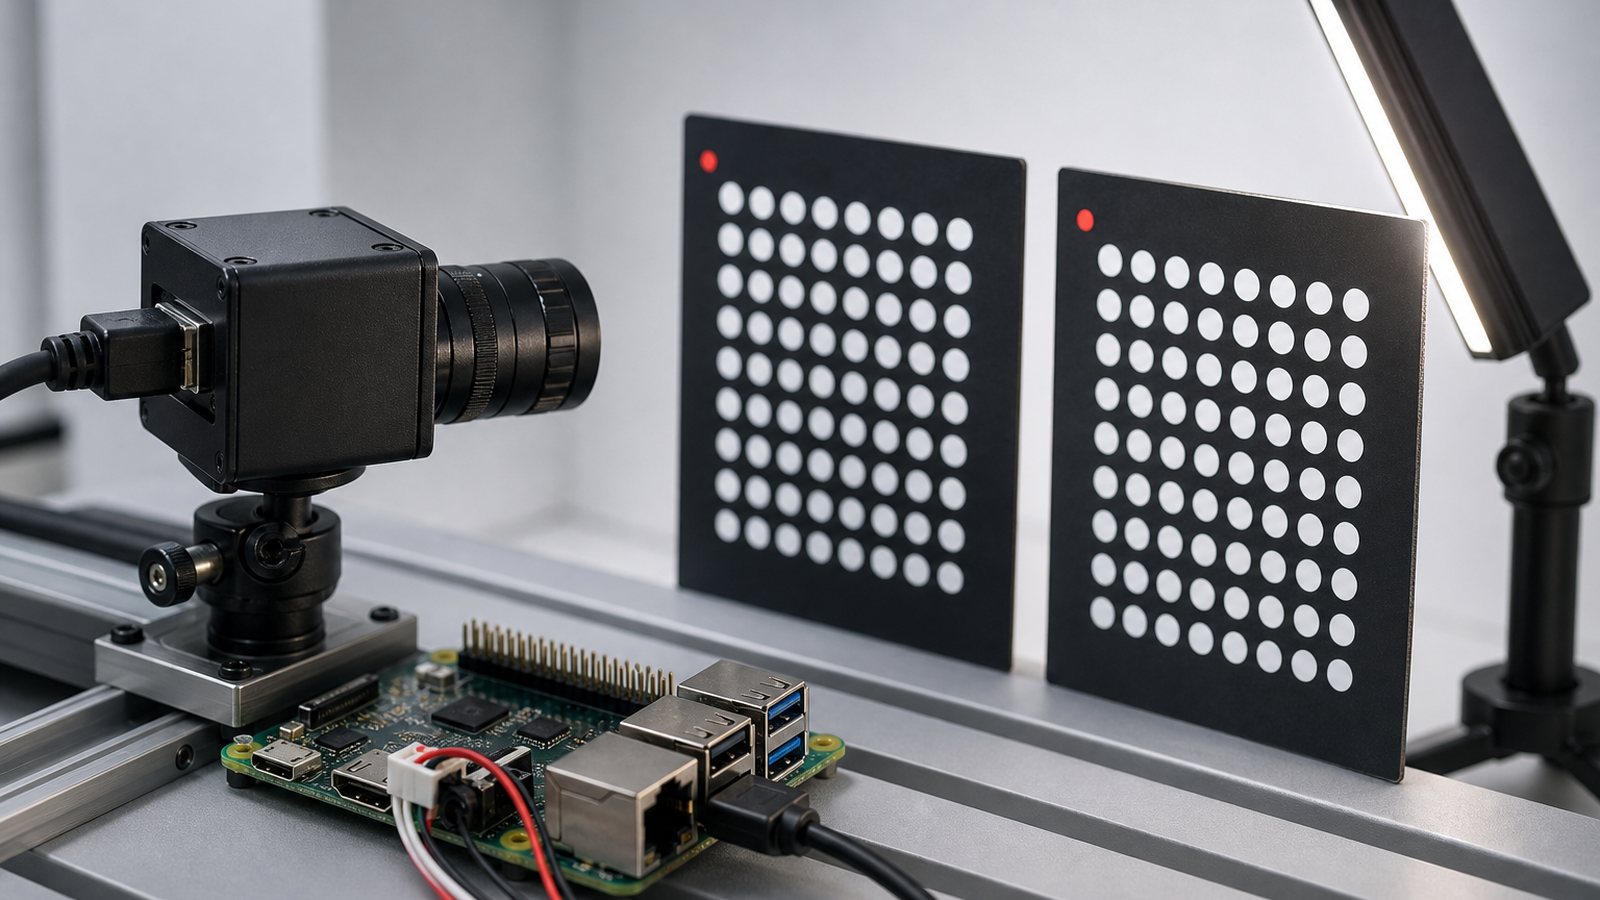
Teams should build a repeatable test scene before tuning parameters. Use the same target material, distance, lighting angle and robot height across multiple runs. Then change one variable at a time. That habit makes debugging more like engineering and less like guessing.
A practical lighting checklist
Start by turning off unnecessary automatic behavior if the camera and software stack allow it. Lock exposure and white balance for testing. Check whether the target is matte or reflective. Move lights to the side to reduce direct glare. Add a shade if overhead fixtures are unavoidable. Re-run the test with the robot moving, because vibration and motion blur can reveal problems a static bench image hides.
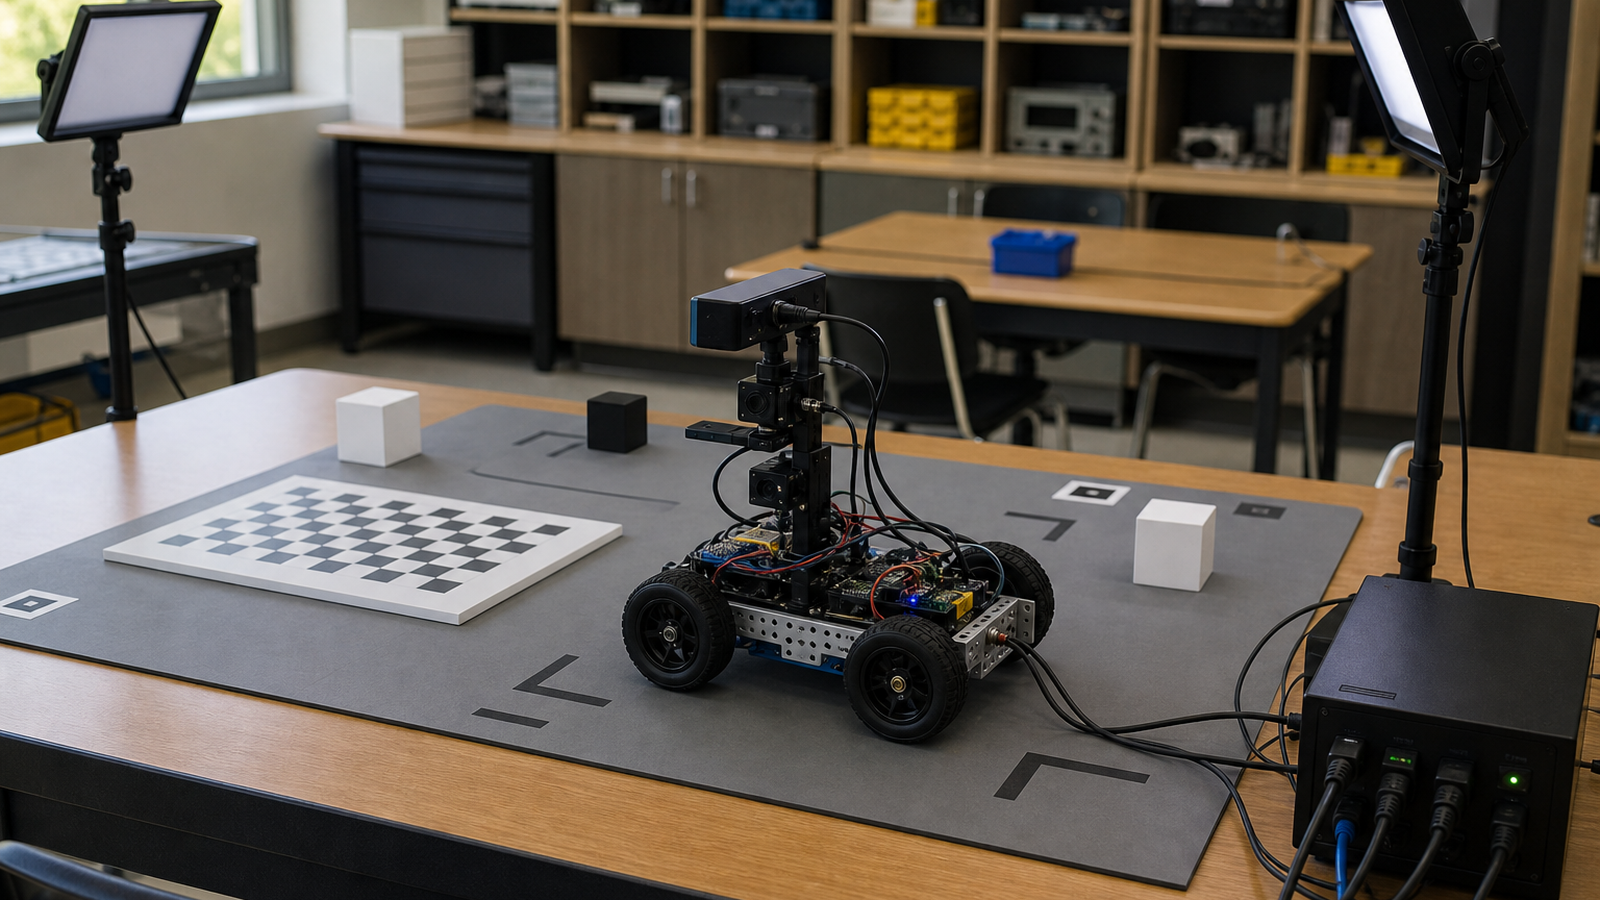
- Control exposure: auto-exposure can make the same target change brightness during a run.
- Reduce glare: glossy tape, plastic and screens can create false highlights.
- Test motion: camera shake and blur matter more on the field than on the bench.
- Check target contrast: the object should stand out under event lighting, not only classroom lighting.
- Document settings: keep camera resolution, exposure, lens position and mounting height with the code.
Make failures repeatable
Good teams keep a small image set from every major lighting condition: classroom, practice field, event field, bright overhead light and dim corner. Save examples where the target is found and where it fails. Those images are more useful than a memory of what the robot seemed to do last week.
If a team changes the camera mount, lens, exposure or target material, rerun the baseline. Vision code often gets blamed for mechanical and lighting changes that were never recorded. Treat the camera view like a sensor calibration artifact, not just a video feed.
Teams can also use this checklist during outreach demos. A portable light, a matte target and a known camera setting make the robot easier to explain to younger students because the demo shows how engineering controls variables instead of hoping the camera behaves.
The code still matters. The point is sequence: make the image stable, then tune the pipeline.
TVG Take
Robot vision is not only an algorithm problem. It is a camera, lighting, mounting and scene-control problem. Student teams that fix the physical image first usually spend less time chasing code changes that only worked under yesterday’s lights.
Related TVG reading: MIPI CSI vs USB cameras for maker robots and PoE camera cable planning for student robot labs.

That’s a really smart approach – focusing on the environment first is so key when debugging robot vision. It makes sense to get the lighting sorted out early.