
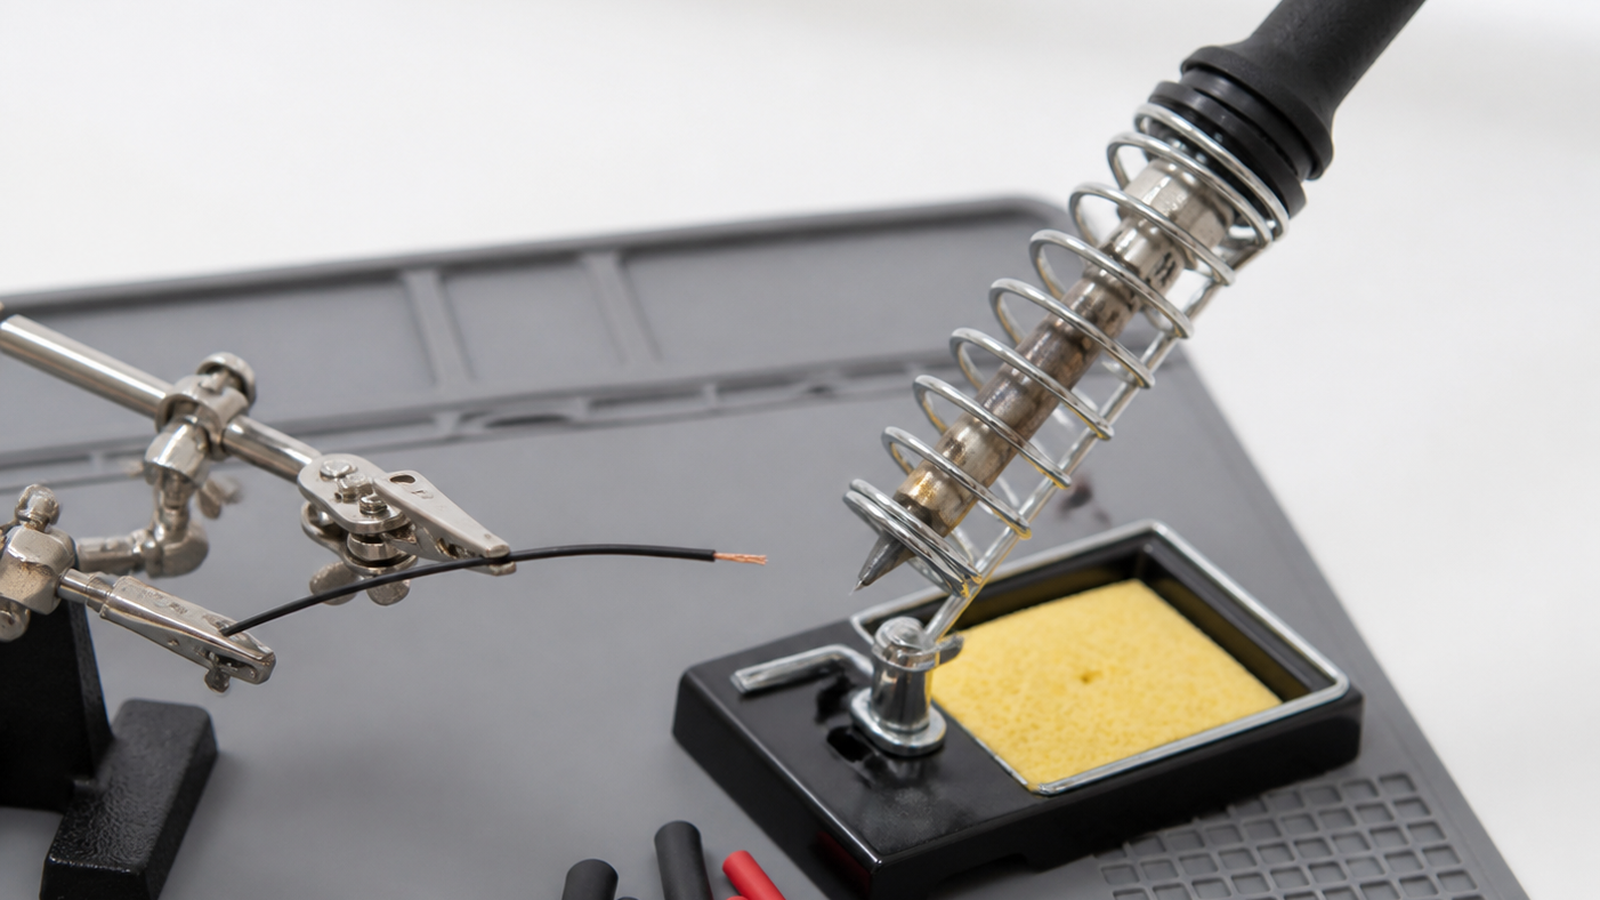
A portable iron does not make every site a soldering station. Proceed only when the equipment can be isolated, the work can be restrained, flux fume can be captured and the repair can be inspected and tested. Otherwise, fit a known-good spare assembly or move the job to a controlled bench.
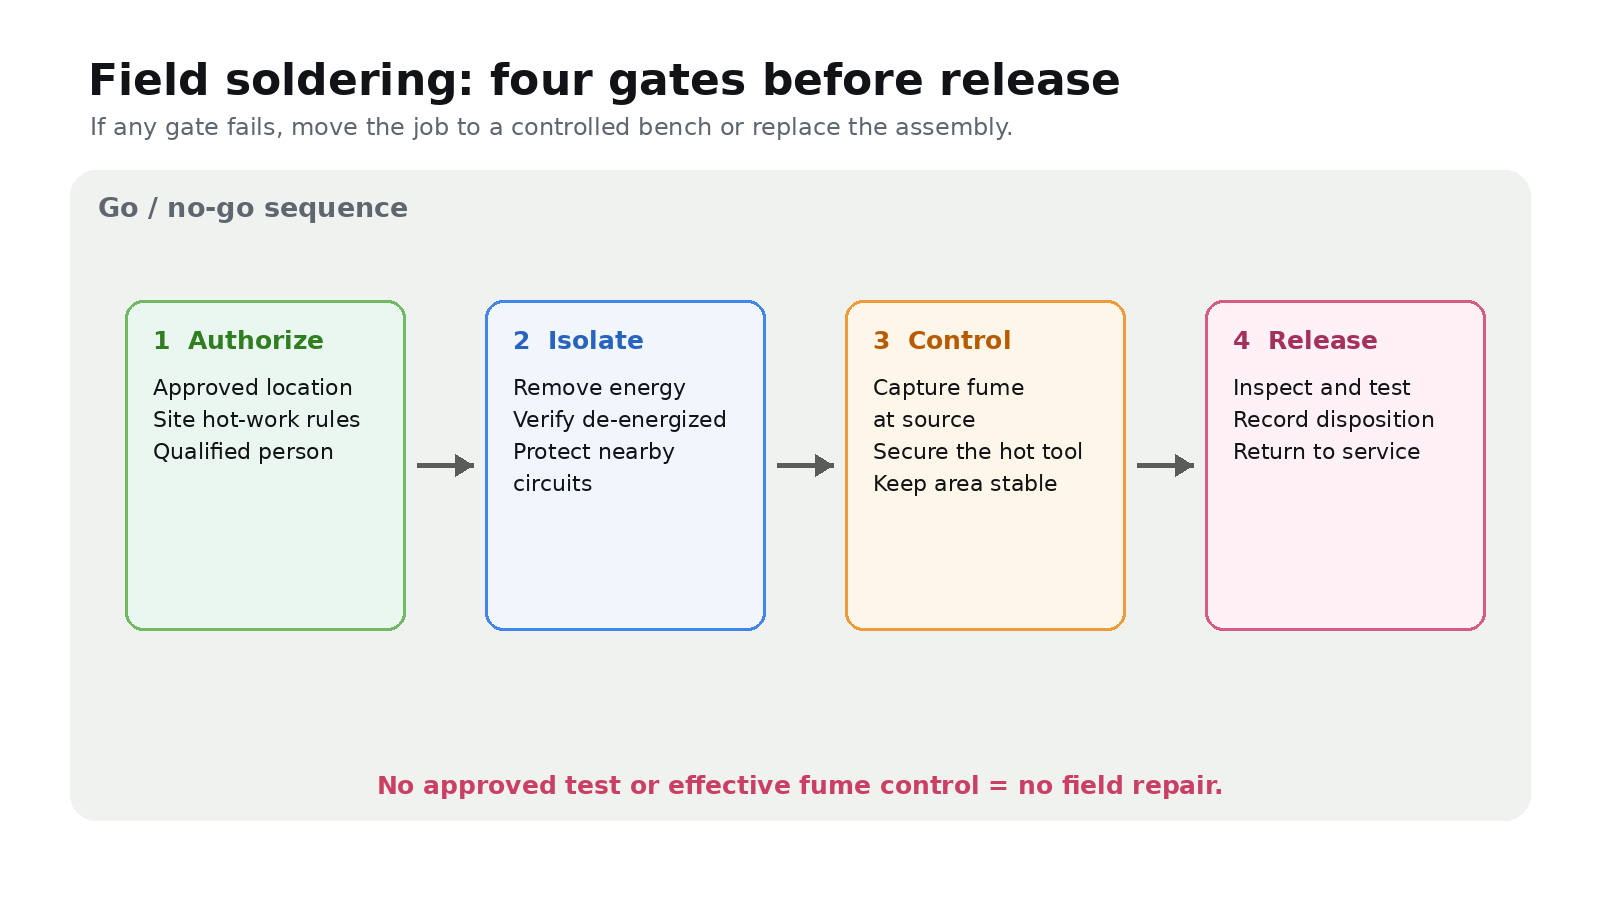
1. Authorize the location
Stop before unpacking the iron if the circuit cannot be de-energized, the equipment or work area is wet, flammables cannot be removed, the work cannot be held securely, or people could enter the hot-work area. OSHA advises against using electric tools in damp or wet locations unless they are approved for that use.
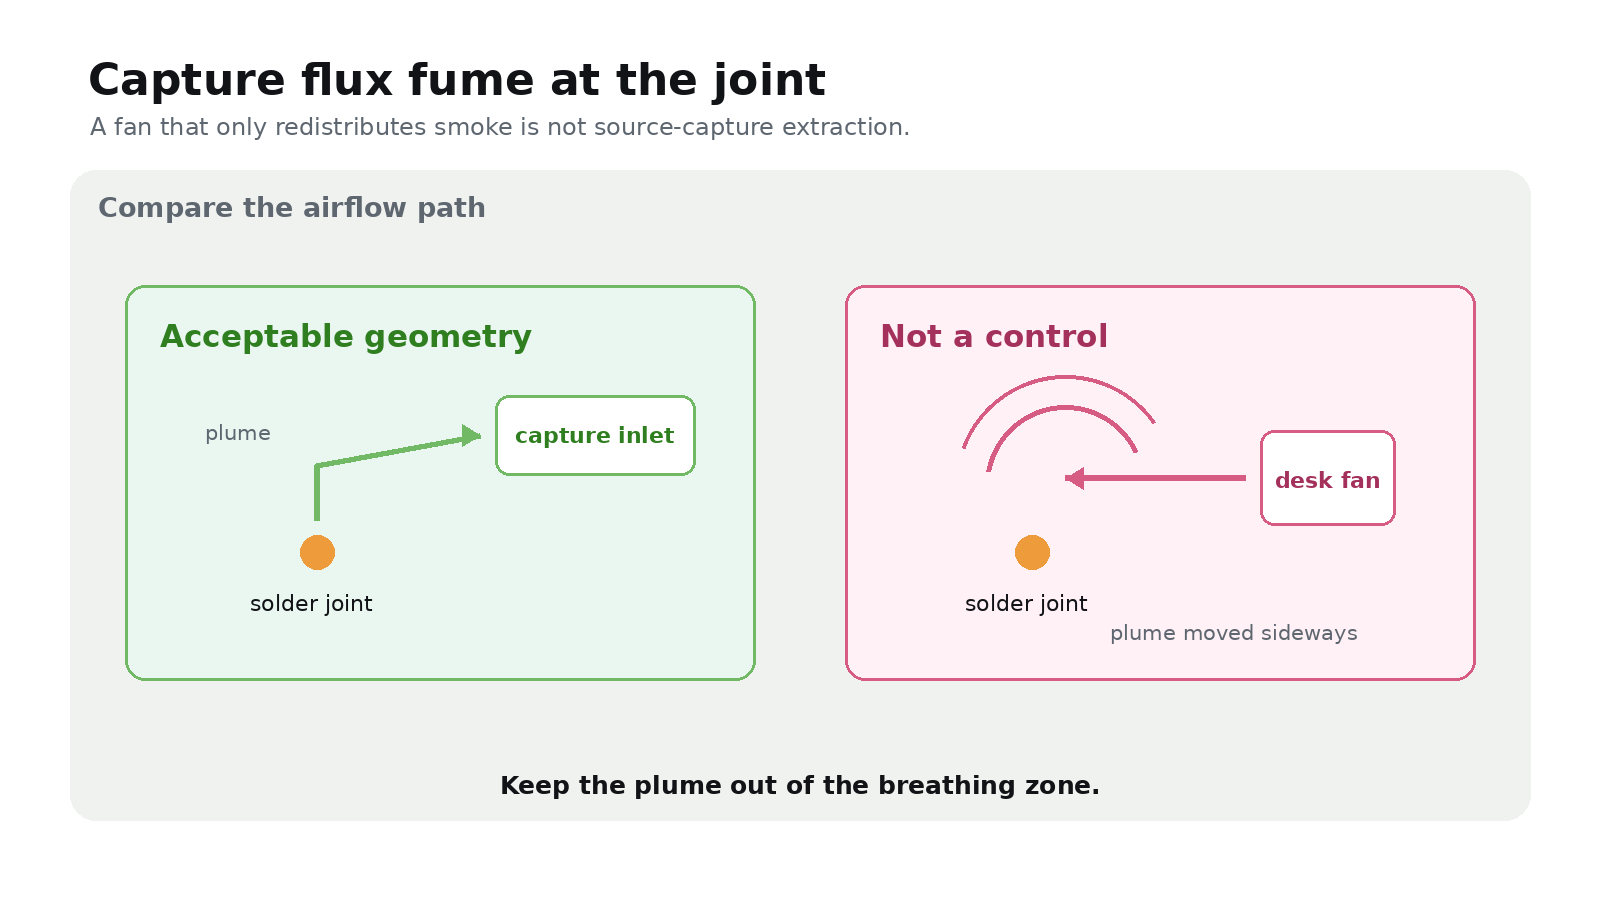
Rosin-based flux fume can cause occupational asthma. Use local source-capture extraction positioned for the joint and confirmed to draw fume away from the operator’s breathing zone; a fan that only redistributes smoke is not a control. If effective capture is unavailable, move the repair to a suitable workstation. Follow the site’s fire and hot-work rules.
2. Isolate, then power the tool
Disconnect every energy source to the equipment under repair, including backup batteries and externally powered data lines, and verify the intended circuit is de-energized using its approved procedure. Do not solder directly on a lithium-ion cell or a damaged, swollen, leaking or unusually hot battery pack; isolate it under the organization’s battery-response procedure.
Power the iron only from a source, cable and connector combination permitted by their manufacturers. Confirm the required voltage and power-delivery mode before heating. Keep cables out of walkways, place the iron in its stable holder whenever it leaves the joint, and use the lowest manufacturer-supported setting that makes the specified joint reliably.
3. Control the repair
Identify the conductor, connector, solder alloy and flux before starting; check the component and tool documentation for compatibility. Protect adjacent insulation and components from the hot tip. Use appropriate eye protection, keep food and drink out of the work area, and wash hands after handling solder or flux.
Stop if the joint needs repeated heating, insulation recedes or chars, a pad or conductor lifts, the power source or cable becomes hot, extraction stops, or the work area changes. Tag the assembly for bench repair or replacement.
4. Inspect, test and release
Under adequate light and magnification, inspect wetting, joint geometry, clearance, polarity and strain relief. Test continuity and unintended shorts before reconnecting power. Then perform the equipment maker’s approved functional test behind the normal fuse or current limit. If no approved test exists, do not return the asset to service.
Record the asset ID, date and technician; fault; isolation method; connector, wire, solder and flux used; tool setting; before-and-after photos; electrical and functional test results; and final disposition.



