Robot teams often upgrade the camera before they upgrade the light. That is understandable: resolution, frame rate, and stabilization are easy to compare. But poor lighting can make a good camera produce footage that is too noisy, too blurry, or too inconsistent for debugging.
This is a practical guide, not a hands-on review of a specific LED panel. TVG has not tested new lighting gear for this article. The goal is to help STEM teams and maker labs make field video more useful for post-run analysis.
Why lighting changes the value of footage
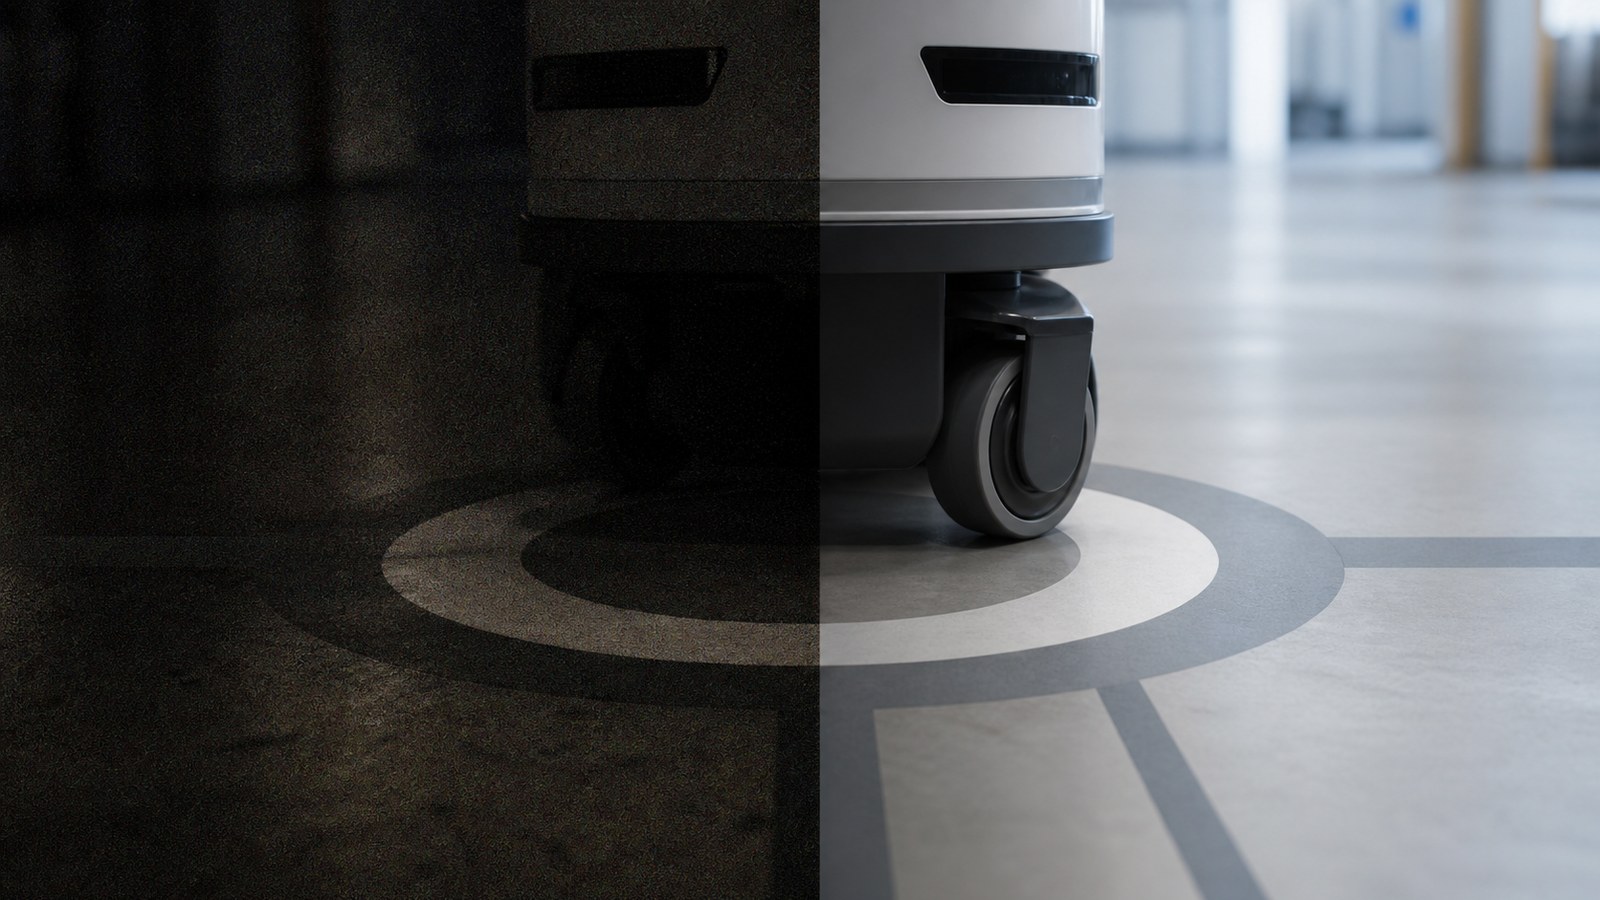
Robot documentation is different from social video. The footage needs to show wheel slip, arm timing, intake behavior, driver sightlines, game-piece contact, and occasional one-frame failures. If the scene is dim, the camera may raise gain, lower shutter speed, or smear motion. The result can look acceptable on a phone but fail as an engineering record.
Aputure’s product education materials and Amaran’s LED product pages emphasize variables that matter beyond brightness: color temperature, color rendering, control, battery options, and modifier support. For robot teams, the important translation is simple: make the light consistent enough that the camera does not fight the room.
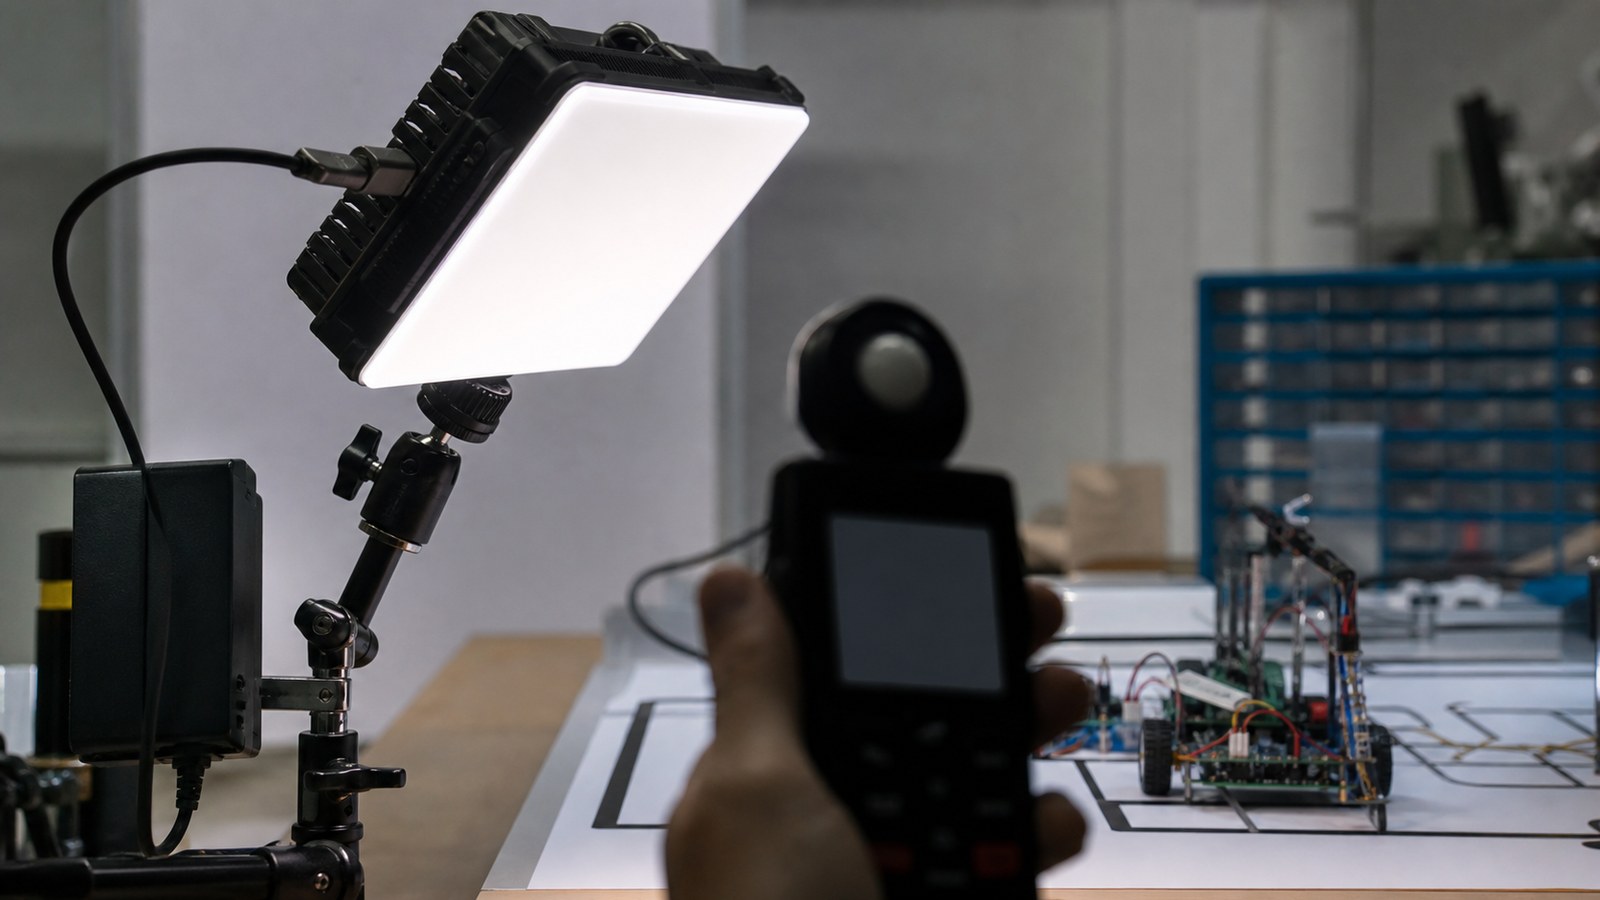
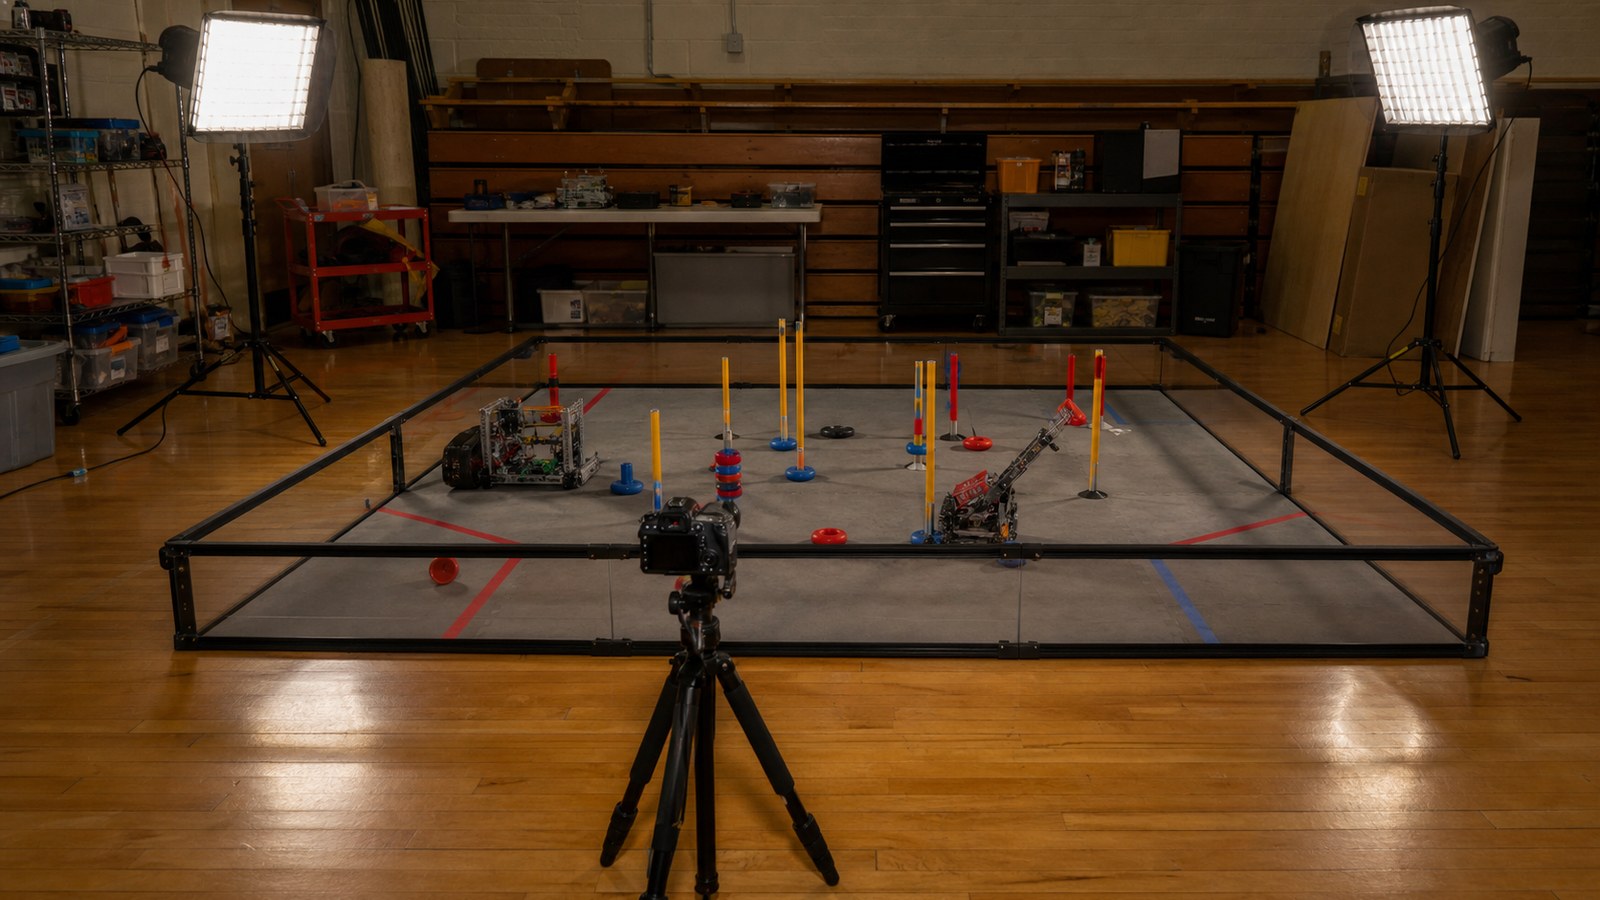
A simple two-light field setup
Start with two portable LED panels or compact lights on stands. Put them high enough to reduce hard floor shadows, angle them across the robot path rather than straight into the lens, and diffuse them if reflections from polycarbonate, aluminum, or glossy field elements become distracting.
Use the same color temperature across lights. Mixing a warm gym fixture with a cool LED panel can make footage harder to compare from one practice to the next. If the camera allows manual white balance, set it once and keep a note with the test setup.
Battery and mounting details
- Runtime: match light runtime to the practice block, not a single clip.
- Mounting: use sandbags, clamps, or low stands where students will not trip over them.
- Glare: check driver and camera angles before recording a full session.
- Audio: keep lights and power supplies away from microphones when possible.
- Repeatability: photograph the setup so the team can recreate it next week.
TVG Take
The best robot field video setup is the one a student can rebuild without guessing. Two lights, fixed camera position, known white balance, labeled batteries, and a repeatable file workflow can be more useful than chasing a new camera every season.
For camera-side tradeoffs, pair this guide with TVG’s action camera, 360 camera, and phone buyer evaluation for robot field documentation and the NDI camera vs HDMI capture card guide for robot demo streams.
What to record in the team notebook
Lighting should become part of the test record. Note where the lights stood, approximate brightness setting, color temperature, camera position, and whether the room lights were on. If the team changes any of those variables, mark it in the folder name or practice log.
That sounds excessive until a team tries to compare drivetrain changes across two practice sessions. Consistent light helps the camera expose the field the same way, which makes video review less about guessing and more about engineering evidence.
Teams should also decide what the video is for before arranging the lights. A driver-review camera needs a broad view and fewer shadows across the whole field. A mechanism-debug camera may need a low angle and a closer light aimed at the intake, arm, or wheel path. One lighting setup rarely solves every question.
Sources
- Amaran: Ace 25x product page
- Aputure: color temperature and CRI guide (404 to cron environment during verification)
- TVG Report: field documentation camera buyer evaluation