
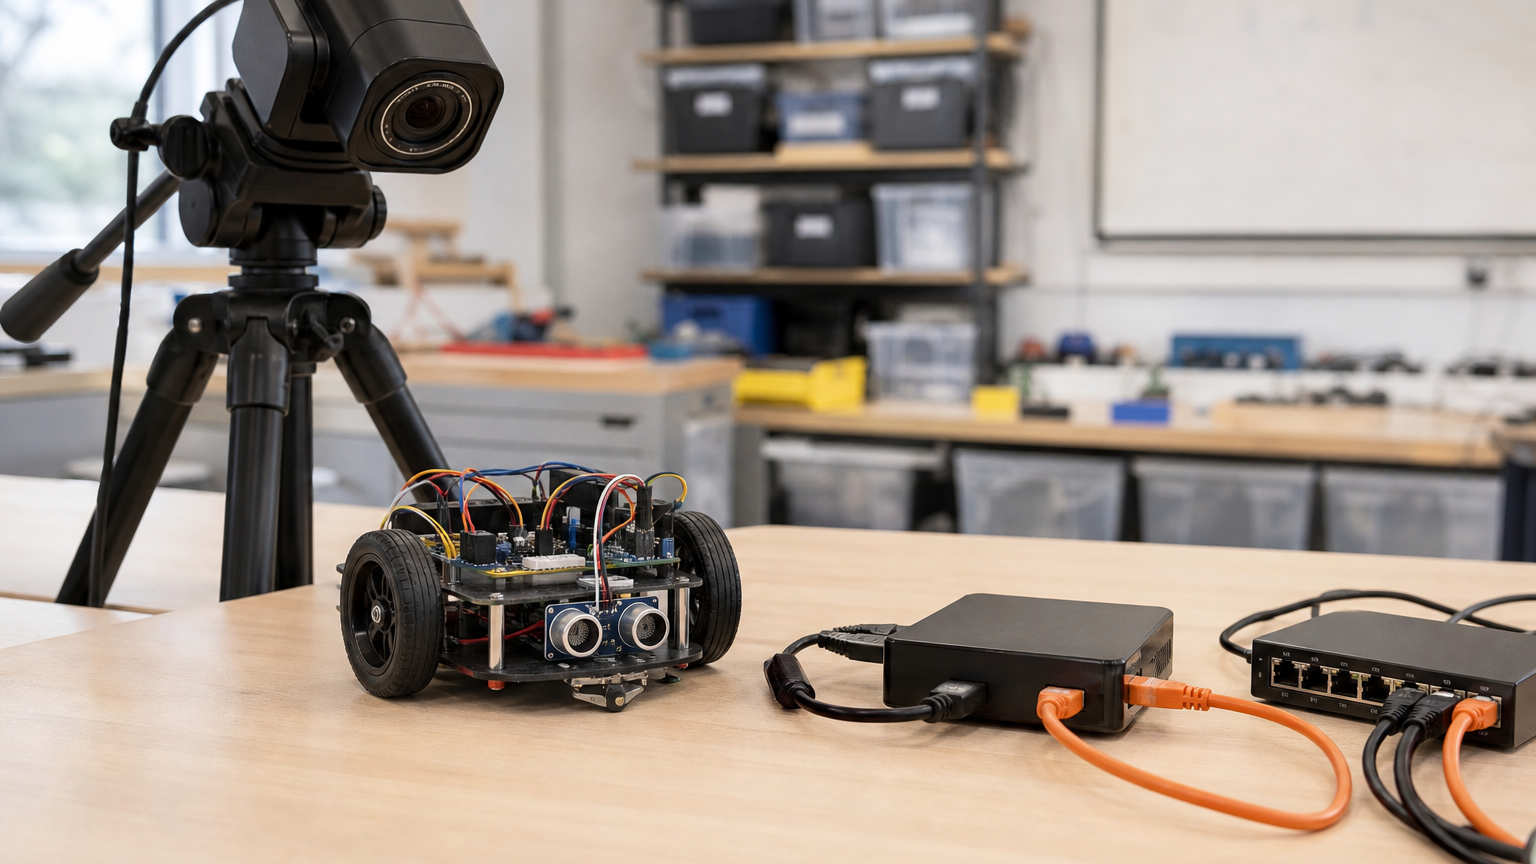
A robot demo stream fails in boring ways. The robot works, but the camera freezes. The audience sees a delay between motion and narration. A USB capture dongle overheats. The classroom Wi-Fi drops frames. The team records a great run, then discovers the audio was not in sync.
That is why choosing between an NDI camera, an HDMI capture card, a webcam, or an action camera is not just a video-quality decision. It is a reliability decision for robotics clubs, STEM classrooms, maker events, and small labs that need repeatable documentation without a broadcast engineer in the room.
This buyer evaluation does not assume TVG has tested a specific product. It is a spec and workflow review: what we would verify before standardizing a lab on NDI or HDMI capture for robot demos.
Quick answer
Choose HDMI capture when you need a simple, direct camera feed into one computer and can manage cable length. Choose NDI when you need flexible camera placement over Ethernet, multiple rooms, or a networked production setup. Avoid choosing either solely because it sounds more professional. The right choice depends on latency tolerance, network control, cabling, power, OBS configuration, and who will operate the setup.
The HDMI capture-card path
HDMI capture is the familiar approach: camera HDMI out, capture device in, USB to the streaming or recording computer. It works well for a fixed demo table, an overhead camera, or a single presenter station.
Product pages from capture-card vendors such as Elgato’s 4K X show the direction of modern devices: high-resolution pass-through, high frame-rate support, and USB connectivity for laptops and desktops. For many labs, though, the headline resolution is less important than whether the device is stable at 1080p, stays cool, and appears reliably in OBS or the chosen recording tool.
The strengths are clear:
- Low setup complexity for one camera.
- No dependence on classroom network performance.
- Easy troubleshooting: camera, cable, capture device, computer.
- Good compatibility with OBS Studio and common video apps.
The weaknesses are also predictable. HDMI cable length is limited without extenders. Cable strain can damage ports. Small USB capture devices vary widely in heat handling. Some cameras output overlays unless clean HDMI is enabled. A laptop with too few USB ports may force hubs into the signal chain.
The NDI camera path
NDI is a network video protocol used to move video over IP networks. The official NDI site describes the technology as a way to connect video sources and production tools over standard networks. For a lab, the practical benefit is camera placement: a camera can sit across the room or above a field if power and network reach are solved.
NDI makes sense when a robotics team wants a wide field camera, a close-up camera, and a presenter camera without running multiple long HDMI cables back to one desk. It can also work well in a classroom where cameras are semi-permanent and the network is controlled.
But NDI is not magic Wi-Fi video. It is best treated as a wired Ethernet workflow unless the team has tested wireless performance under event conditions. Network congestion, switch quality, firewall rules, and inconsistent discovery can all create problems at the exact moment a team wants a smooth demo.
OBS is the center of the workflow
Most lab video setups eventually pass through OBS Studio or a similar production tool. OBS can combine cameras, screen captures, overlays, and audio sources. It is powerful, but it also exposes the whole system’s weak spots.
Before buying hardware, build a test scene in OBS and answer these questions:
- Does the camera appear every time after reboot?
- Does audio stay in sync after a 30-minute recording?
- Can a student operator switch scenes without touching advanced settings?
- Does the setup recover cleanly if a cable is unplugged?
- Can the lab record locally even if a livestream connection fails?
For STEM teams, local recording should usually be the default. A stream can fail for reasons outside the lab’s control. A clean local file preserves the run for later analysis, judging, parents, sponsors, or internal review.
Latency and robot demos
Latency is not always a problem. If the camera shows a robot driving across a field while someone narrates generally, a short delay may be acceptable. If the stream is used for teleoperation, live judging, or synchronized commentary, delay matters more.
HDMI capture often has the simpler latency path, but cheap capture devices can still add delay. NDI can be excellent on a controlled wired network, but it adds network variables. The only safe answer is to test with the actual robot, camera, computer, lighting, and network.
A practical latency test is simple: put a timer or clapper in view, record the camera feed and audio, and check alignment in the editor. Repeat after 10, 20, and 30 minutes to see whether drift appears.
Audio sync is the hidden problem
Robot demo video is often judged visually, but audio carries explanation. If the microphone enters through a USB interface while the camera enters through NDI or HDMI capture, sync can drift or start offset. That matters when a student explains sensor behavior while the robot reacts.
TVG’s guide to 32-bit float audio for maker-lab video covers recorders and timecode in more detail. For simpler streams, the key is consistency: pick one audio path, monitor it, and record a sync clap at the start of important takes.
When a webcam is enough
Not every lab needs NDI or HDMI. A good USB webcam may be enough for desk demos, CAD walk-throughs, code explanations, or small robots. Webcams reduce cable complexity and usually behave well in video-call apps.
The tradeoff is control. Many webcams struggle with poor lighting, compression, autofocus hunting, and wide shots of larger fields. If the camera must be 20 feet from the computer or mounted overhead, webcam simplicity can disappear quickly.
What TVG would test before buying
- Clean output: Can the camera output video without menus, focus boxes, or battery icons?
- Heat: Does the camera or capture device stay stable during a full meeting or tournament block?
- Cabling: Can students set up the cables without stressing ports?
- Network control: For NDI, is the lab using wired Ethernet and known switches?
- Fallback: Can the setup record locally if streaming fails?
- Operator load: Can a student run it from a laminated checklist?
- Audio: Is there a monitored microphone path with a sync step?
TVG Take
HDMI capture is the safer first build for one-camera robot demos because the failure chain is shorter. NDI becomes attractive when camera placement, multi-angle coverage, or room layout makes direct cables painful. For most STEM labs, the best system is not the highest-resolution one. It is the one a rotating student crew can set up, verify, record, and tear down without guessing.
Start with the simplest configuration that captures the robot clearly. Add NDI only when the team can control the network. Add multiple cameras only after the single-camera workflow is repeatable. A reliable 1080p recording with clean audio is more useful than a fragile 4K setup that fails during the run.

Definitely a tricky choice! The NDI cameras seem like they’d offer more flexibility for future setups, which is smart to consider.