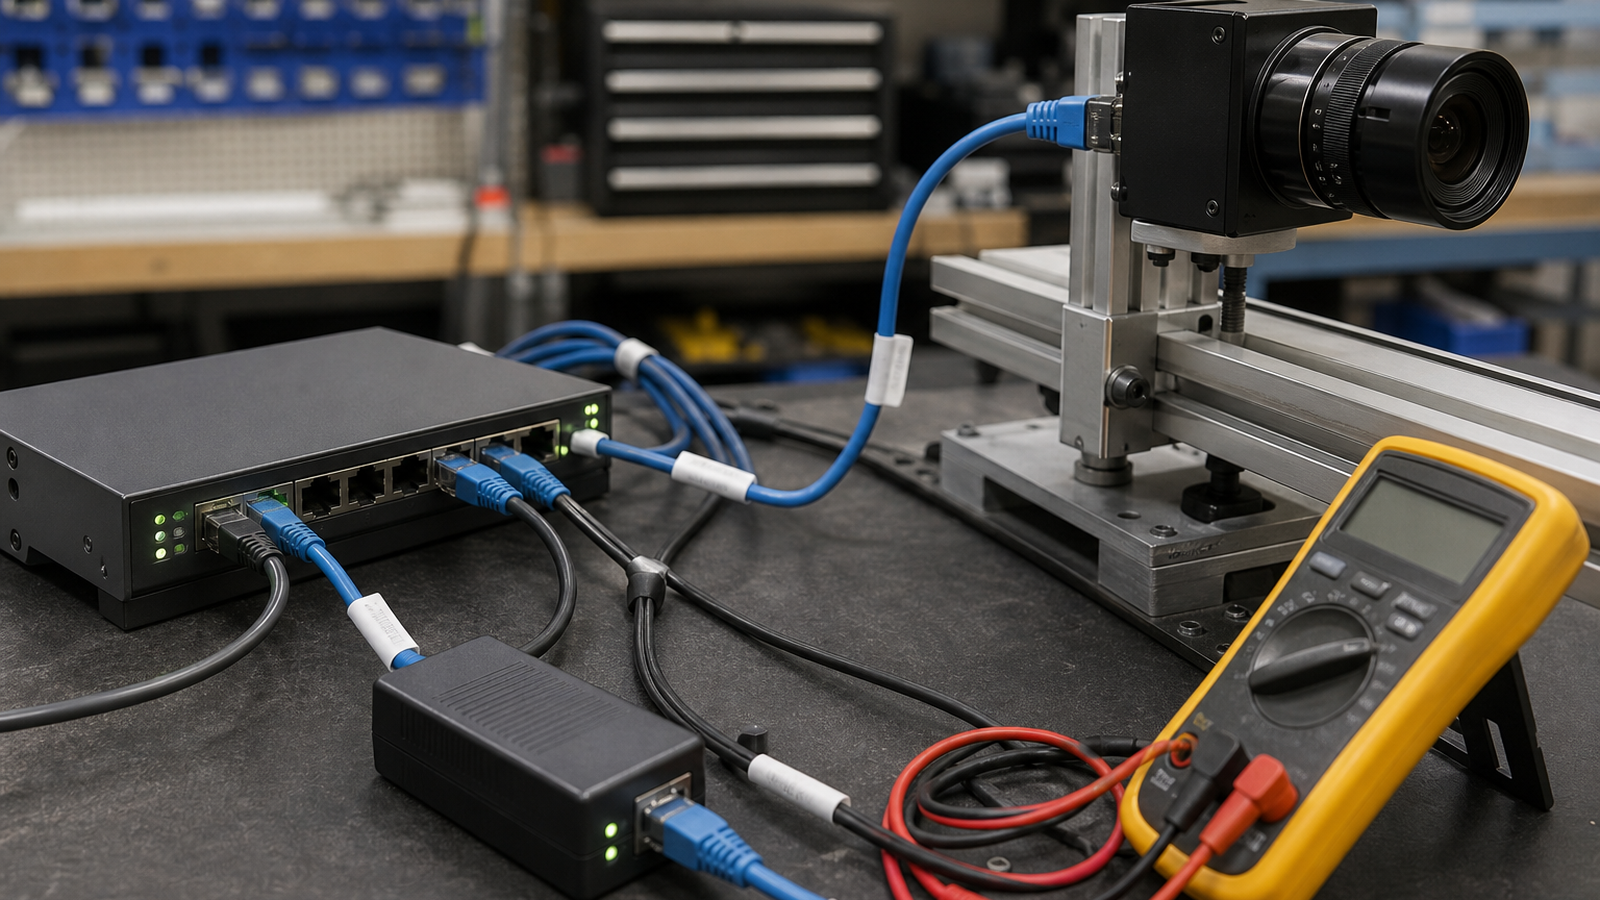
A single PoE camera on a robot bench is easy: add an injector, plug in Ethernet, and start testing. The decision gets harder when one camera becomes three, the robot moves farther from the bench, or the team needs to reset hardware without touching the rig.
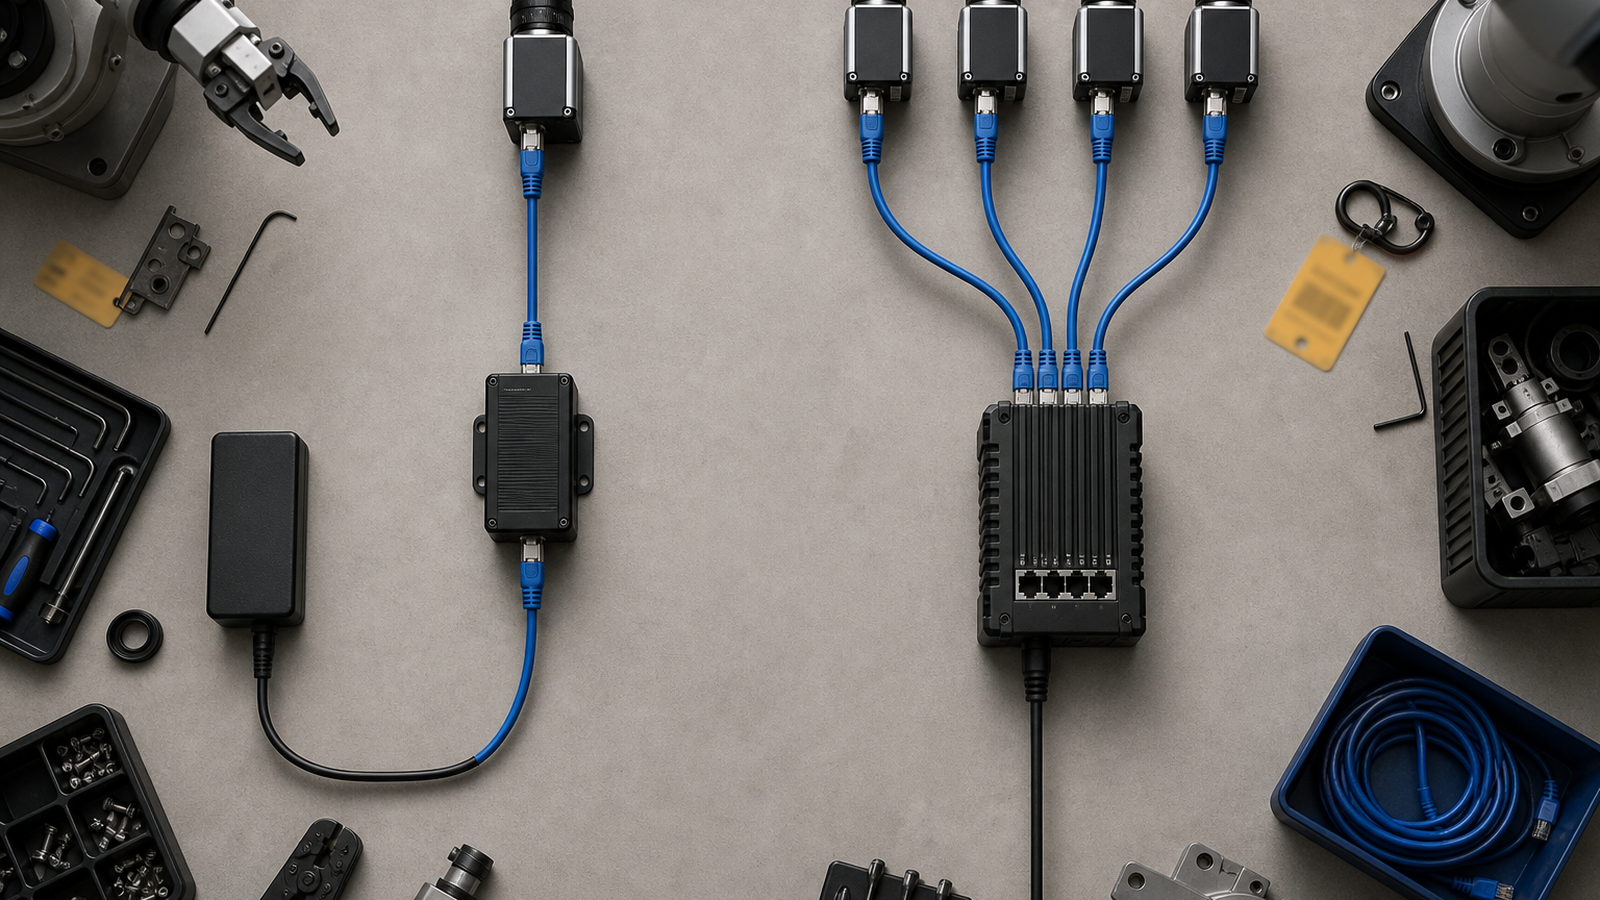
The short version: a PoE injector is fine for one known device in a controlled setup. A PoE switch is usually the better choice when a robot vision stack needs multiple cameras, managed power, cleaner cabling, or repeatable debugging.
Quick answer
Choose a PoE injector for a single camera, temporary validation, or a field spare. Choose a PoE switch when the setup includes multiple cameras, long cable runs, VLANs, power cycling, power-budget headroom, or bench logs that need to be reproduced by another team member.
This builds on TVG’s earlier guide to PoE vs. Wi-Fi robot cameras. Once a team has chosen wired camera links, the next reliability question is how power enters the network.
Where an injector is enough
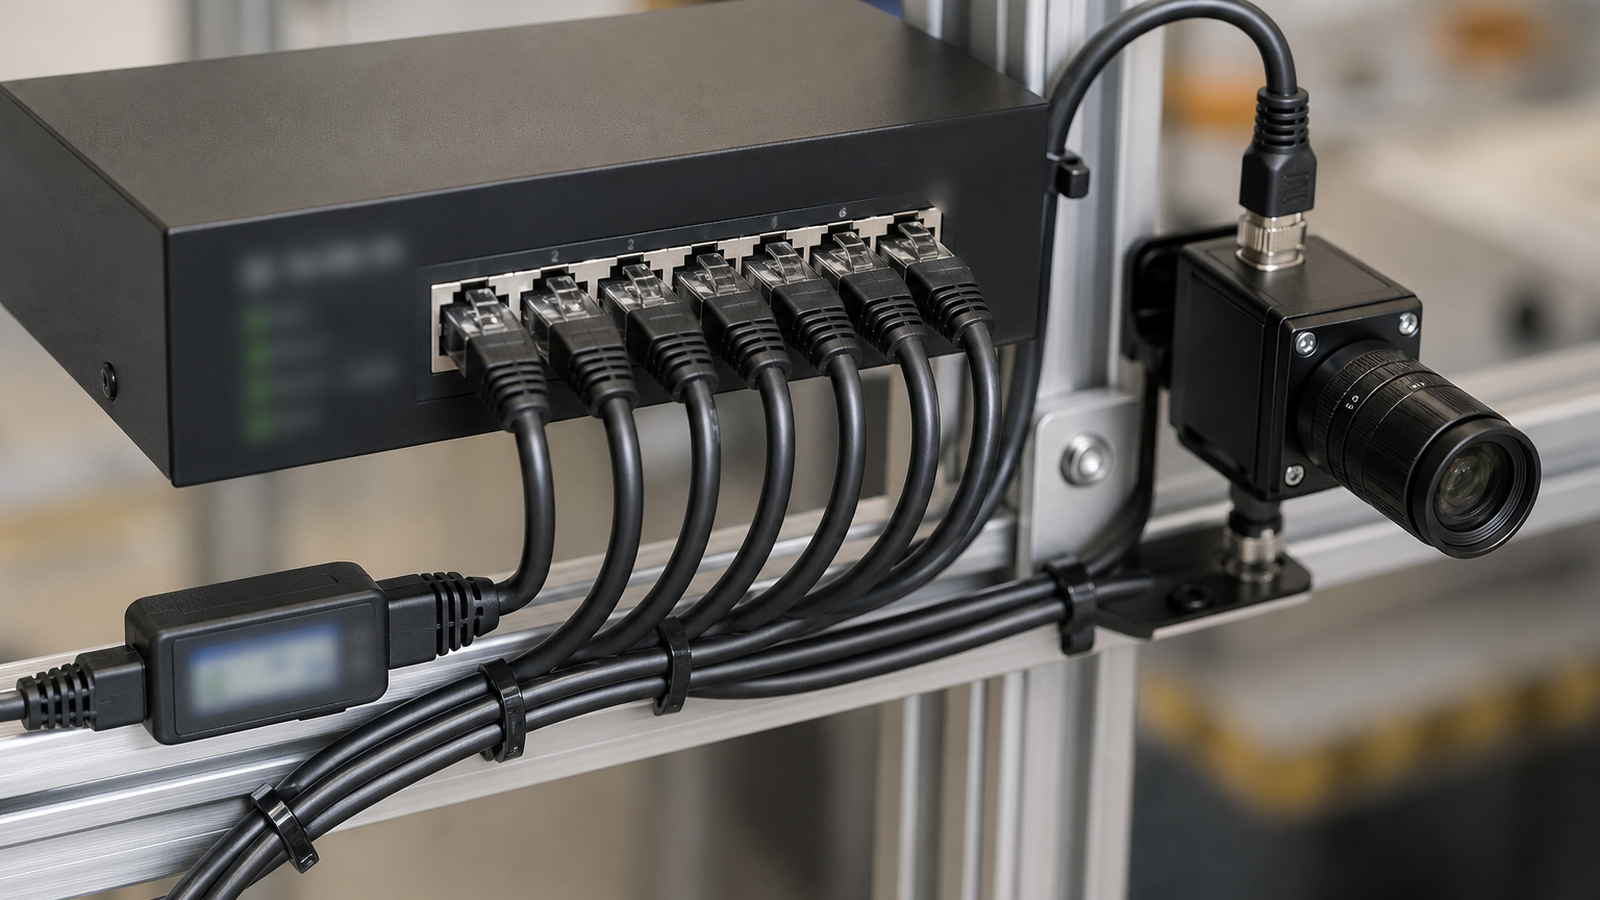
An injector is simple and useful. It can sit between a non-PoE switch and one camera, making it a good diagnostic tool when the rest of the network is already known. It also makes sense for a field kit where the goal is to power one camera from a single Ethernet run.
The limitation is visibility. A basic injector may not tell the team how much power the device is drawing, whether negotiation is clean, or whether a reset solved the problem. For a one-off test, that may be acceptable. For a repeatable robot bench, it becomes friction.
Where a PoE switch wins
A switch centralizes the bench. Managed models can expose port status, link speed, power draw, and sometimes remote power cycling. Even unmanaged PoE switches can reduce cable clutter because every camera returns to one known power source.
The switch also forces the right question: what is the total power budget? A four-port switch with a low total budget can still fail a multi-camera rig if every camera draws near its maximum during startup, heater use, IR illumination, or pan-tilt movement.
Bench checklist
- Record each camera’s PoE class and peak draw.
- Leave startup headroom instead of sizing exactly to typical draw.
- Use short known-good cables before blaming software.
- Test worst-case lighting, heater, and motion states.
- Document whether the team can power-cycle one camera without rebooting the whole robot.
The same discipline applies to robot-camera lighting tests. A clean image pipeline is not only about the camera sensor; it is also about power, cabling, reset behavior, and repeatable setup.
TVG Take
For a student or maker robot, the best PoE choice is the one that makes failures visible. Injectors are excellent tools. Switches are better systems. If the bench is becoming part of the robot’s development workflow, buy for logging and headroom, not only for port count.
Common failure pattern
A common bench failure starts with a camera that works alone, then becomes unreliable after the team adds lighting, a second camera, or a longer cable. The first instinct is often to blame drivers or computer vision code. Sometimes the real issue is simpler: startup draw, a marginal cable, or a power source that cannot keep every device inside its operating range.
That is why the bench should include a written power map. List each powered device, expected draw, peak state, cable length, and reset method. If the switch supports per-port status, save a screenshot or log during a good run. If it does not, write down the physical setup carefully enough that another builder can reproduce it.
For field kits, carry at least one known-good injector even if the main bench uses a switch. It can isolate a camera from the rest of the network during troubleshooting and helps answer a basic question quickly: is the camera failing, or is the shared power setup failing?