
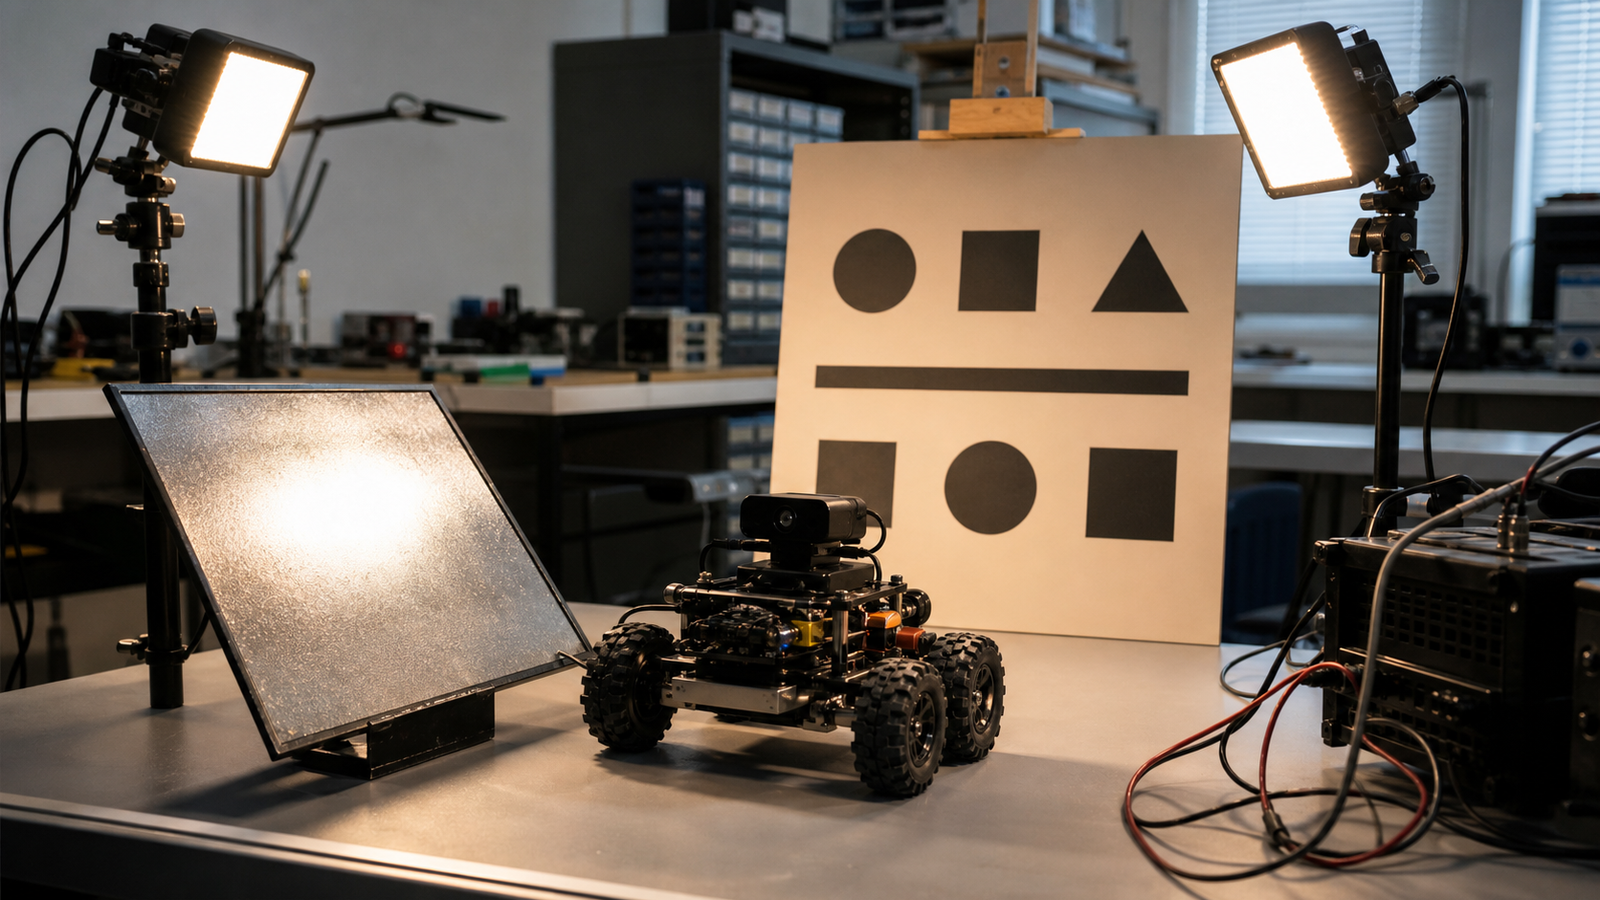
Robot camera failures often show up as software problems: the target disappears, AprilTags flicker, a line follower jitters, or an object detector works in the pit but fails on the field. Before changing models or thresholds, teams should test the lighting. Glare, shadows, exposure shifts, and mounting angle can break a vision pipeline that looked solid in a controlled room.
Quick answer
Test robot cameras under at least four lighting cases before a demo or match: normal room light, low light, strong side light, and glare from reflective material. Save sample frames, note exposure behavior, check focus, and compare results after any camera mount, lens, or LED change.
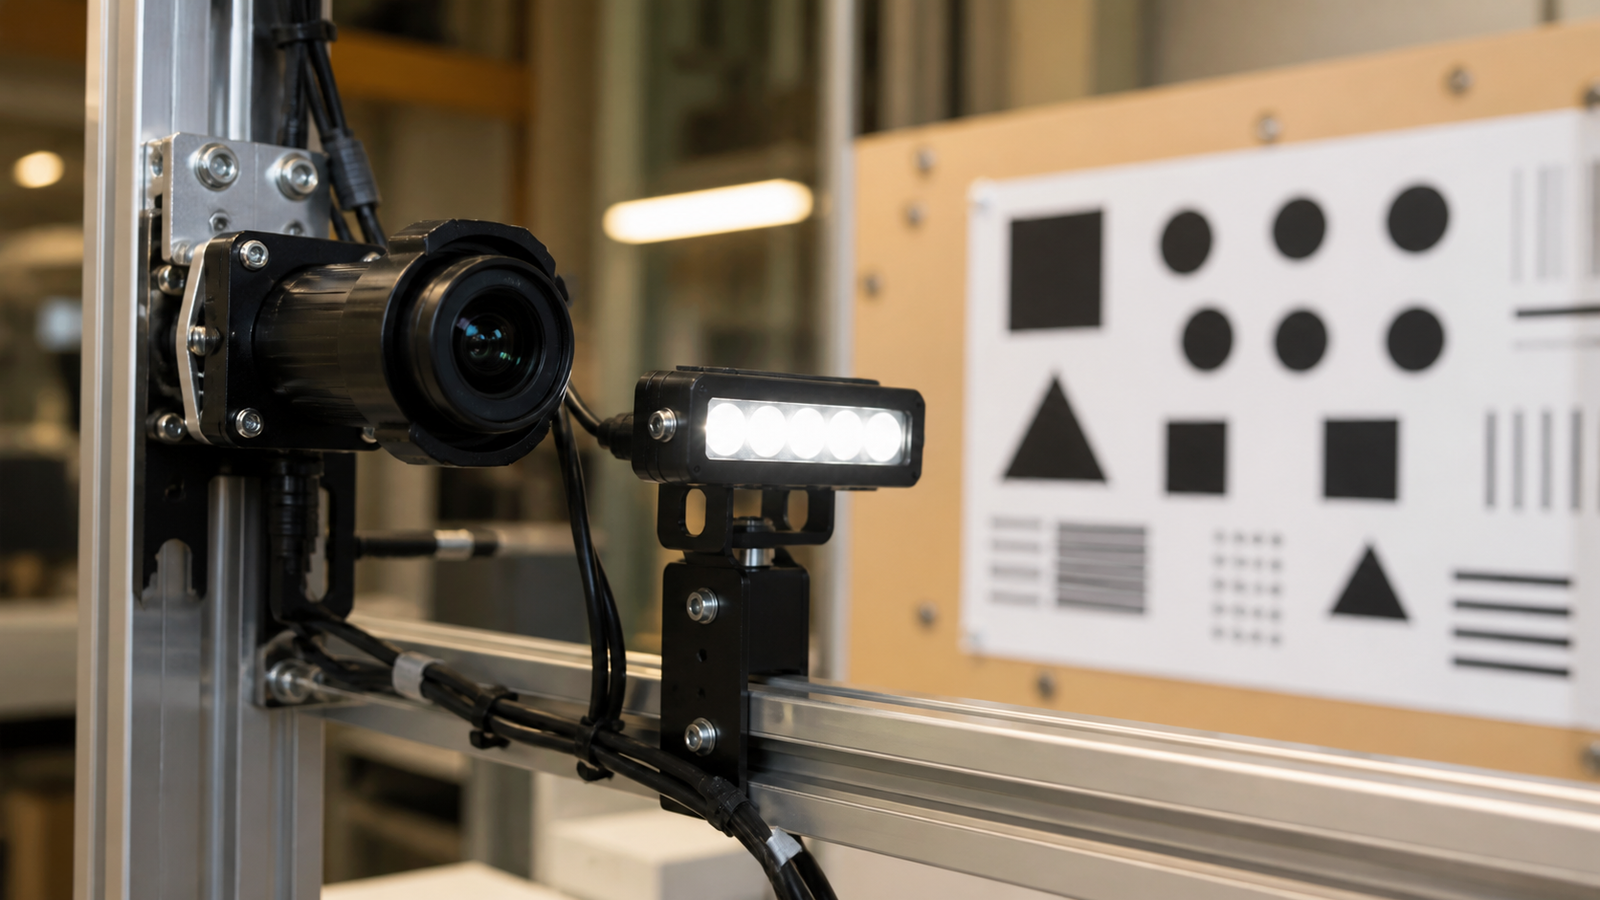
The four-case lighting test
- Normal light: capture a baseline frame from the real mounting height.
- Low light: dim the room or shade the target and watch noise and exposure.
- Side light: place a lamp off-axis to test shadows and contrast loss.
- Glare: add reflective plastic, metal, or glossy tape near the target and check false detections.
Use the same camera settings when possible. If auto exposure is enabled, record how long it takes to settle after a lighting change. If manual exposure is used, verify the setting still works when the robot moves from a bright setup area to a darker field corner.
What to record
Save example frames, not just notes. A folder of images from each lighting case helps teams compare changes later. Include camera height, lens, field of view, LED position, target distance, and whether the robot was moving. That small record makes debugging more repeatable.
TVG Take
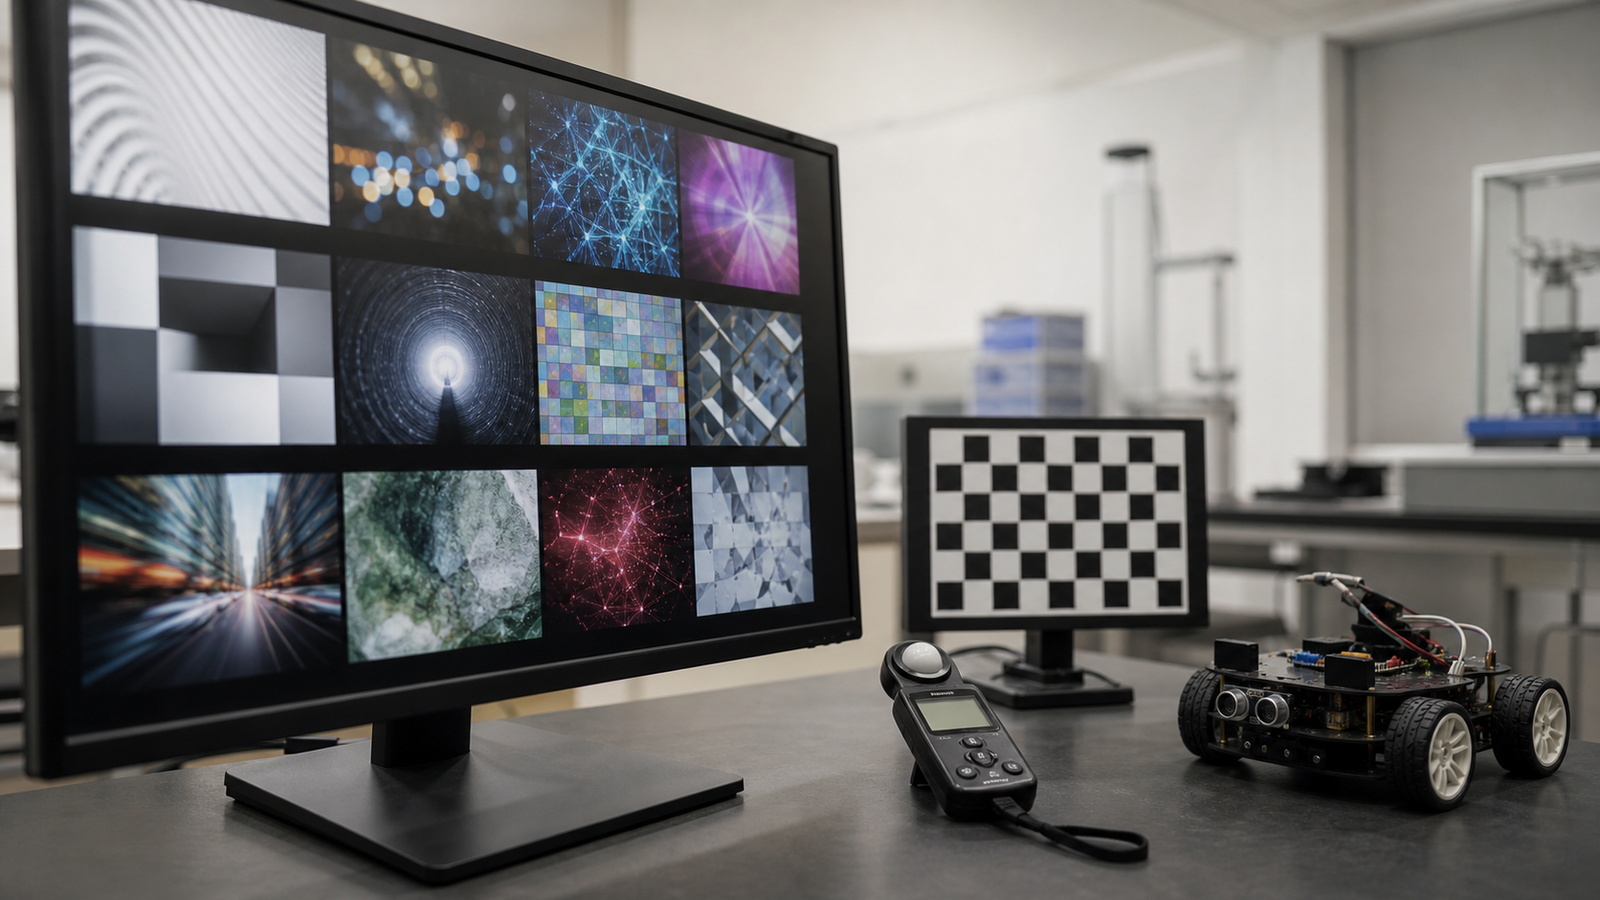
Vision reliability is partly optics, partly lighting, and partly software. Teams that treat camera lighting as a test condition instead of background scenery will fix problems faster and teach better engineering habits. The best model cannot recover information the camera never captured clearly.
Related TVG reading
- Robot Camera Field of View Calibration Checklist
- Global vs Rolling Shutter Robot Cameras
- AprilTag Print and Glare Troubleshooting
Do not change everything at once
Vision debugging gets messy when teams change camera settings, LED placement, code thresholds, and target material during the same session. Change one variable at a time. Start with a baseline image, move the light, save another image, then adjust exposure only after the physical setup is documented. That makes the final fix explainable instead of lucky.
Mounting matters too. A camera mounted on a vibrating arm will see a different world from the same camera clamped to a bench. Lens angle, focus, protective covers, LED glare, and cable strain can all change image quality. If the robot is expected to drive, capture frames while the chassis is moving at realistic speed.
Pre-demo habit
Before a public demo, create a small image pack: one good frame, one low-light frame, one glare frame, and one failure frame. If the robot misbehaves later, the team can compare the new frame against the pack and decide whether the environment changed. That habit is simple, but it teaches students that perception systems need evidence, not guesses.



