Accessibility tech in a maker lab does not have to start with expensive equipment. Sometimes it starts with the information layer: which tool is this, where does it go, what PPE is needed, how do I start safely, and what should I do when something looks wrong? NFC tags and QR labels can help, but only if the linked information is designed for real users instead of treated as decoration.
This broadened-lane article fits TVG because it is a systems problem. A label is physical hardware, a link target, a maintenance plan, and an accessibility surface all at once. The W3C Web Accessibility Initiative frames accessibility around making digital content usable by people with diverse abilities. A maker-lab label should follow that same spirit: the physical tag is only useful if the destination is readable, current, and easy to navigate.
Quick answer
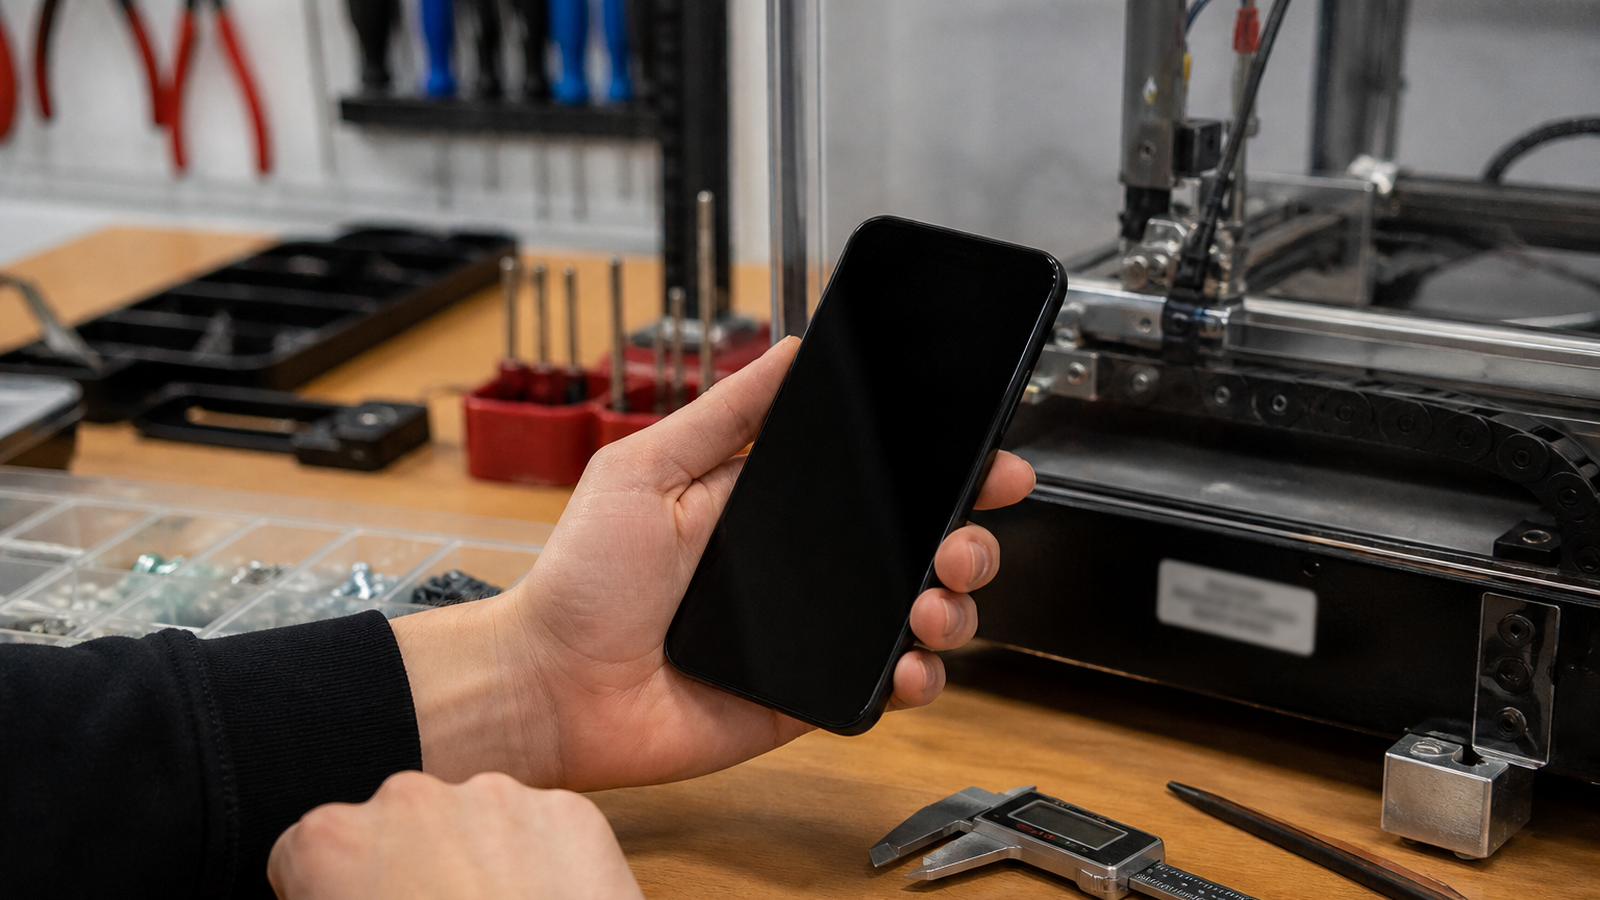
Use NFC or QR labels for tool instructions, storage locations, maintenance logs, and setup checklists when the linked page is mobile-friendly, screen-reader-friendly, short, and maintained. Do not rely on a code alone. Pair digital labels with plain physical text, consistent placement, durable materials, and a backup path for visitors who cannot scan the tag.
Where NFC and QR help
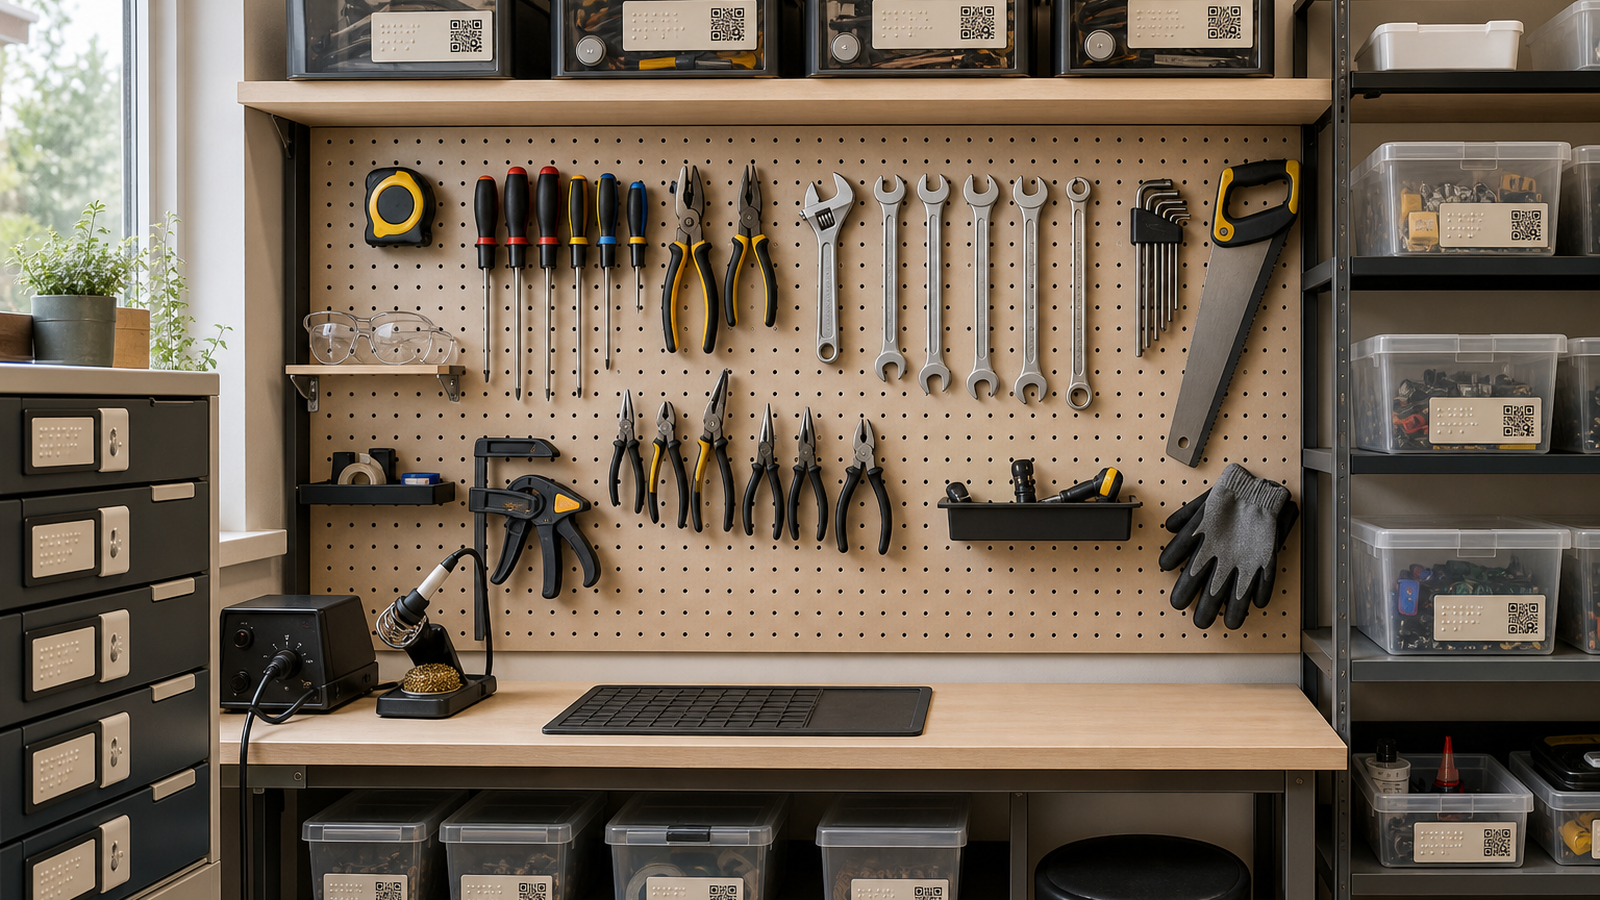
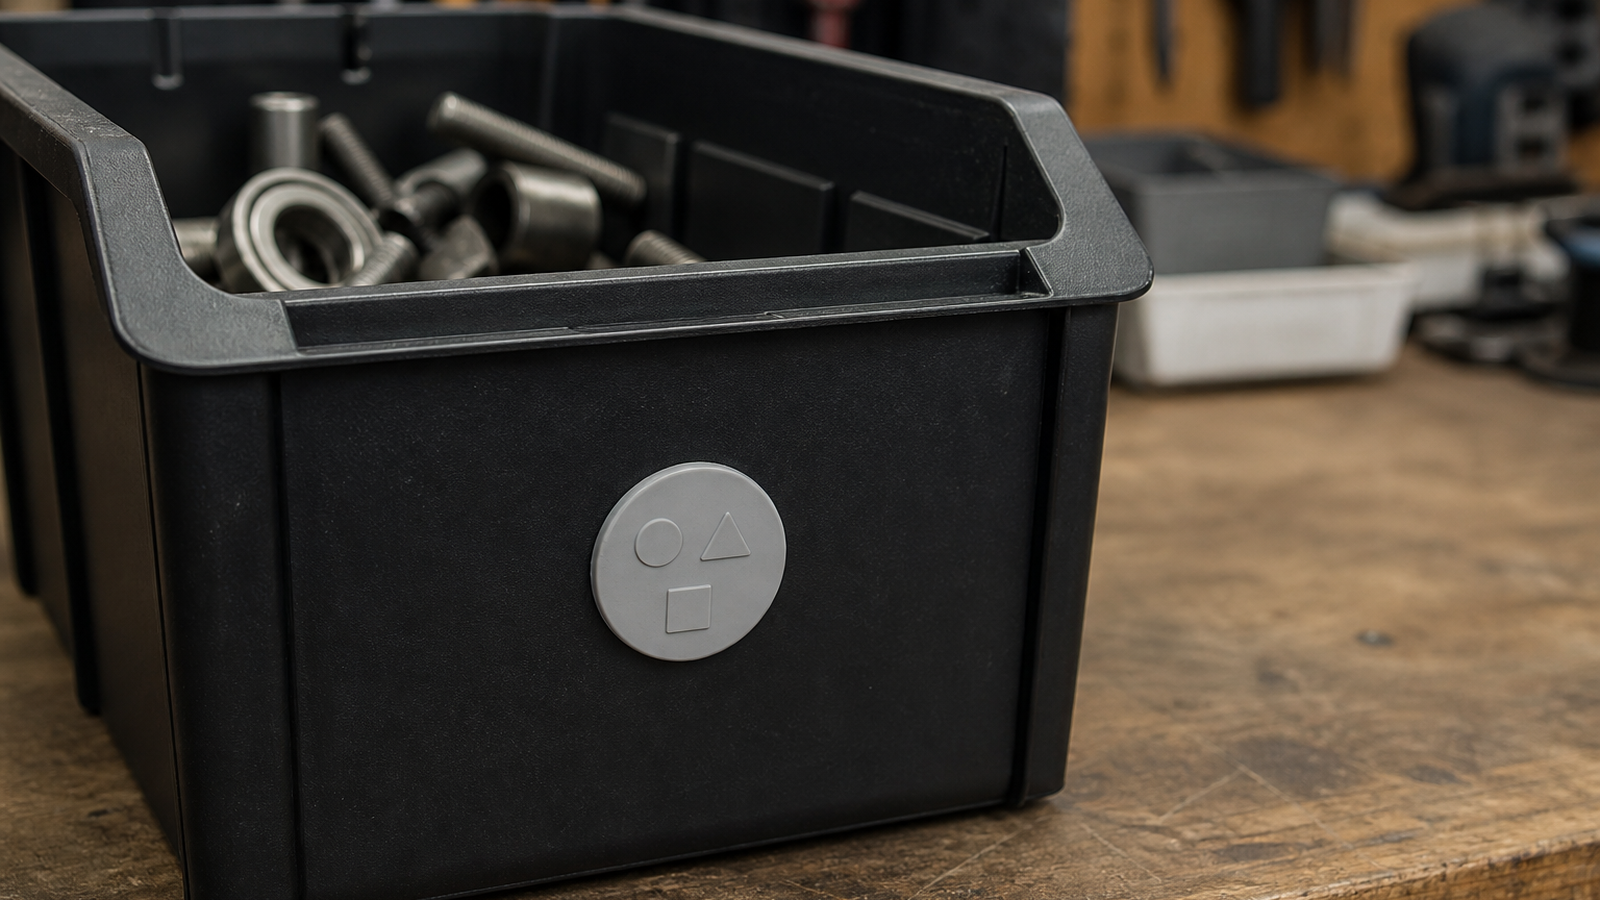
QR codes are cheap, visible, and work with most phone cameras. NFC tags can be faster for people who know where to tap, and they can be useful on bins, tool panels, and classroom stations. Both can point to the same content: a short setup guide, tool limits, approved materials, shutdown steps, or a sign-out form.
The mistake is linking to a long PDF, a dead folder, or a page with unlabeled buttons. MDN’s accessibility documentation emphasizes that accessible content depends on structure, labels, navigation, and compatibility with assistive technologies. A lab label that opens a confusing page has only moved the barrier from the wall to the phone.
Design checklist
- Keep physical text: Do not make scanning the only way to identify a tool or bin.
- Use one short page per station: Put the start, stop, limits, and help contact near the top.
- Write descriptive links: Avoid “click here” and vague file names.
- Test with screen readers: Check heading order, alt text, form labels, and focus behavior.
- Place tags consistently: Users should not have to search the underside of a tool for instructions.
- Maintain the map: A broken label is worse than no label because it teaches people not to trust the system.
TVG Take
NFC and QR labels are not magic accessibility features. They are useful when they connect durable physical organization to well-structured digital content. For youth robotics, libraries, school labs, and community makerspaces, that is a practical win: clearer tool use, easier orientation, better maintenance records, and fewer assumptions about how every visitor reads a sign.
Maintenance is part of accessibility
The system should have an owner. If a tool moves, a bin is renamed, or a safety note changes, the linked page and the physical label need to change together. A monthly walk-through can catch broken links, faded tags, missing tactile markers, and instructions that no longer match the real station.
For students, this is a useful design assignment: build one labeled station, test it with someone who did not create it, and revise the page based on where that person hesitates. Accessibility improves when the lab treats confusion as design feedback, not user error.
Related TVG reading
- Bluetooth Channel Sounding Gives Maker Labs a Better Proximity Test to Study
- NAS Snapshots Are Not Backups: A Maker Lab Storage Guide
- EV Charger Load Management Belongs in the Garage Maker-Lab Plan