
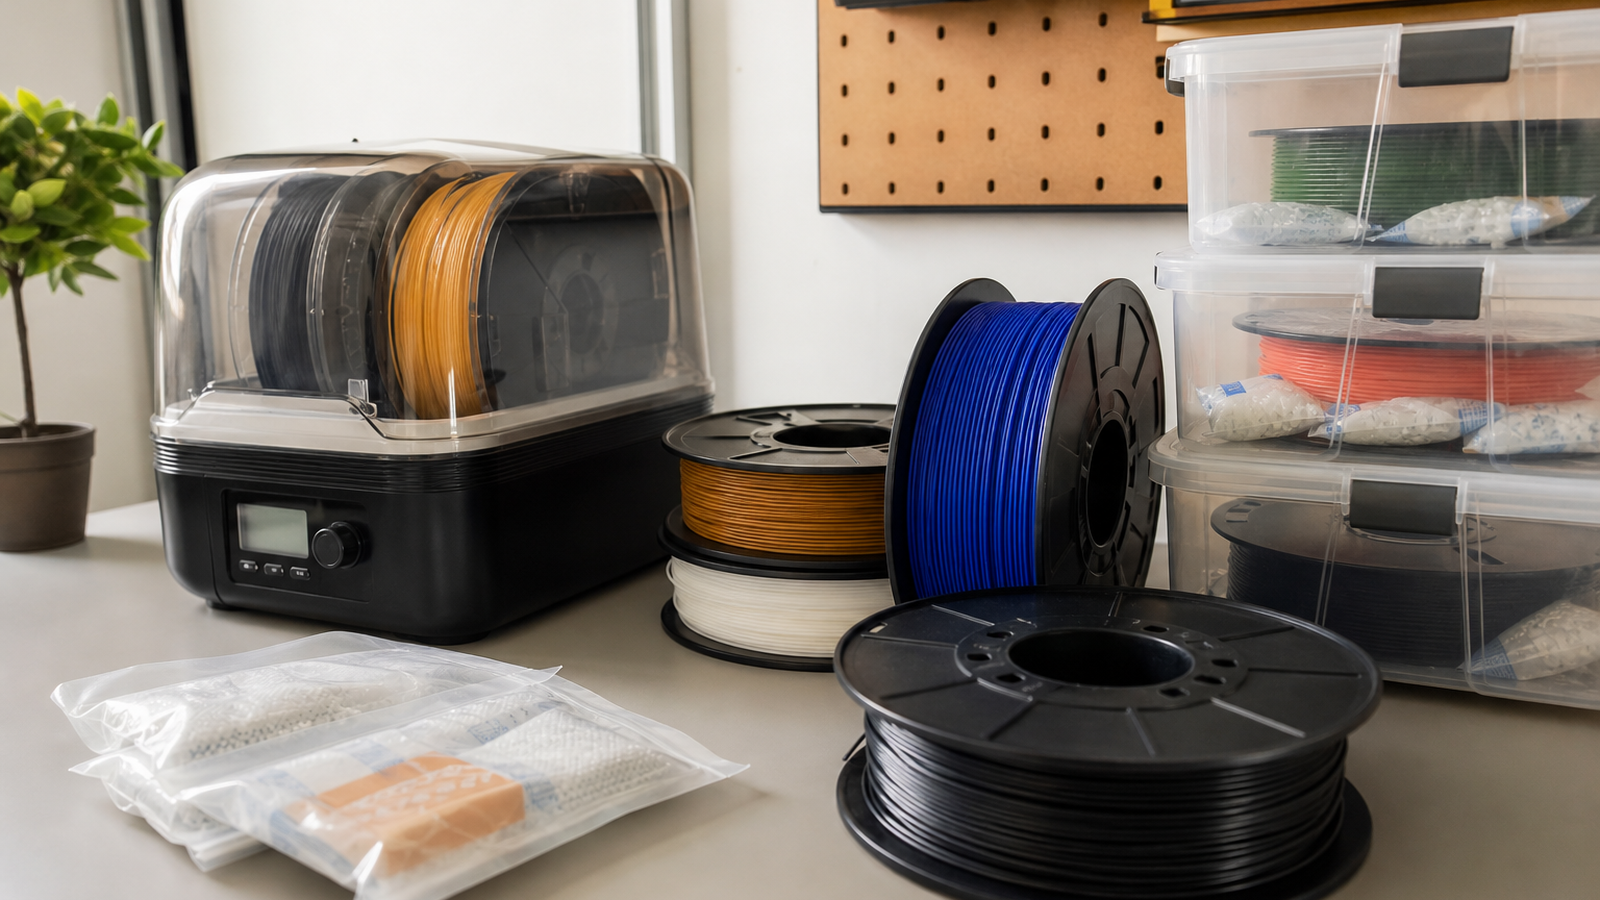
If a printer starts stringing, popping, or leaving rough surfaces, check filament moisture before chasing slicer settings. A dryer removes moisture from a spool. A dry box keeps a known-good spool stable during storage or printing.
Quick answer
- Use a dryer: when filament is already wet or print quality has moisture symptoms.
- Use a dry box: when filament is already dry and needs protection while stored or printing.
- Do both for hygroscopic materials: nylon, TPU, PC blends, and some PETG spools need drying plus controlled storage.
Quick answer
Use a filament dryer when the spool is already wet or when the material is moisture-sensitive. Use a dry box when the spool is dry and you need it to stay that way during storage or long prints. For nylon, TPU and some filled materials, labs often need both: a drying step before printing and a low-humidity feed path during the job.
Why humidity shows up as print trouble
Moisture inside filament can turn into steam as plastic passes through the hot end. The visible result may be bubbles, popping sounds, rough surfaces, weak layer bonding or excess stringing. Prusa’s support material, Bambu Lab’s filament guidance and Overture’s drying guide all point to moisture control as a real variable, especially for hygroscopic materials.
The important engineering point is repeatability. A damp spool makes calibration data noisy. If a student or technician changes retraction, nozzle temperature and speed while the spool condition is unknown, the lab may be tuning around a material problem rather than a machine problem.
Dryer versus dry box
A dryer should be treated like a controlled process: known material, appropriate temperature, planned time and enough airflow to move moisture away from the spool. Overheating can deform spools or damage material, so the dryer’s material table matters. A dry box is different. Its job is to slow re-absorption with a sealed enclosure, desiccant, a humidity indicator and a clean feed path.
Maker-lab checklist
- Label each spool with material, open date and last dry date.
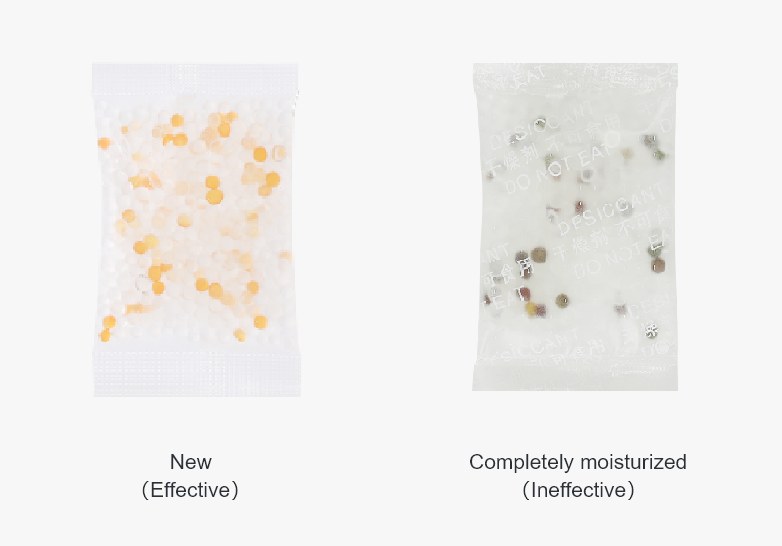
- Keep desiccant packs or rechargeable desiccant in sealed storage bins.
- Use humidity indicator cards or small hygrometers as trend checks, not decoration.
- Dry moisture-sensitive materials before critical jobs, then print from a dry box when possible.
- Do not run the dryer hotter than the material or spool can safely tolerate.
- Document the filament state before changing slicer profiles.
For school robotics teams, the same habit supports electrical and mechanical reliability. A printed bracket that looks acceptable but has poor layer strength can fail during a match or field test. TVG’s bench power supply safety guide makes a similar point from the electronics side: control the basic lab condition before debugging exotic symptoms.
How to make the workflow teachable
The best lab setup is visible and boring. Put the dryer, storage bins and spool log near the printers so students can see that material handling is part of printing, not a cleanup chore. A simple chart with material, date opened, last dried and storage bin number can prevent repeated troubleshooting sessions.
Do a before-and-after comparison with the same model, nozzle and slicer profile when a spool is suspected of being wet. If the dried spool prints cleaner under the same conditions, the class learns a stronger lesson than it would from another unexplained retraction change. That habit also keeps the lab from blaming printer hardware when the material process is the real variable.
TVG Take
A filament dryer is not a magic accessory, and a dry box is not a replacement for drying. The practical workflow is to separate recovery from prevention. Dry the material when needed, store it in a controlled way, and only then decide whether the printer profile needs tuning.



