Editorial mode: Template B — Analysis / Guide.
Robot and maker videos usually get planned around cameras. The audio is treated as an afterthought until the footage is full of wind, motor noise, echo, clipped narration or a presenter who sounds ten feet farther away than the robot.
That is a workflow problem, not just a microphone problem. Shure’s outdoor recording guidance emphasizes microphone choice and wind control, RØDE’s location-sound advice stresses setup discipline, and Adobe’s Audition documentation shows how restoration tools can help after the fact. TVG’s view: software cleanup is useful, but it should not be the first line of defense.
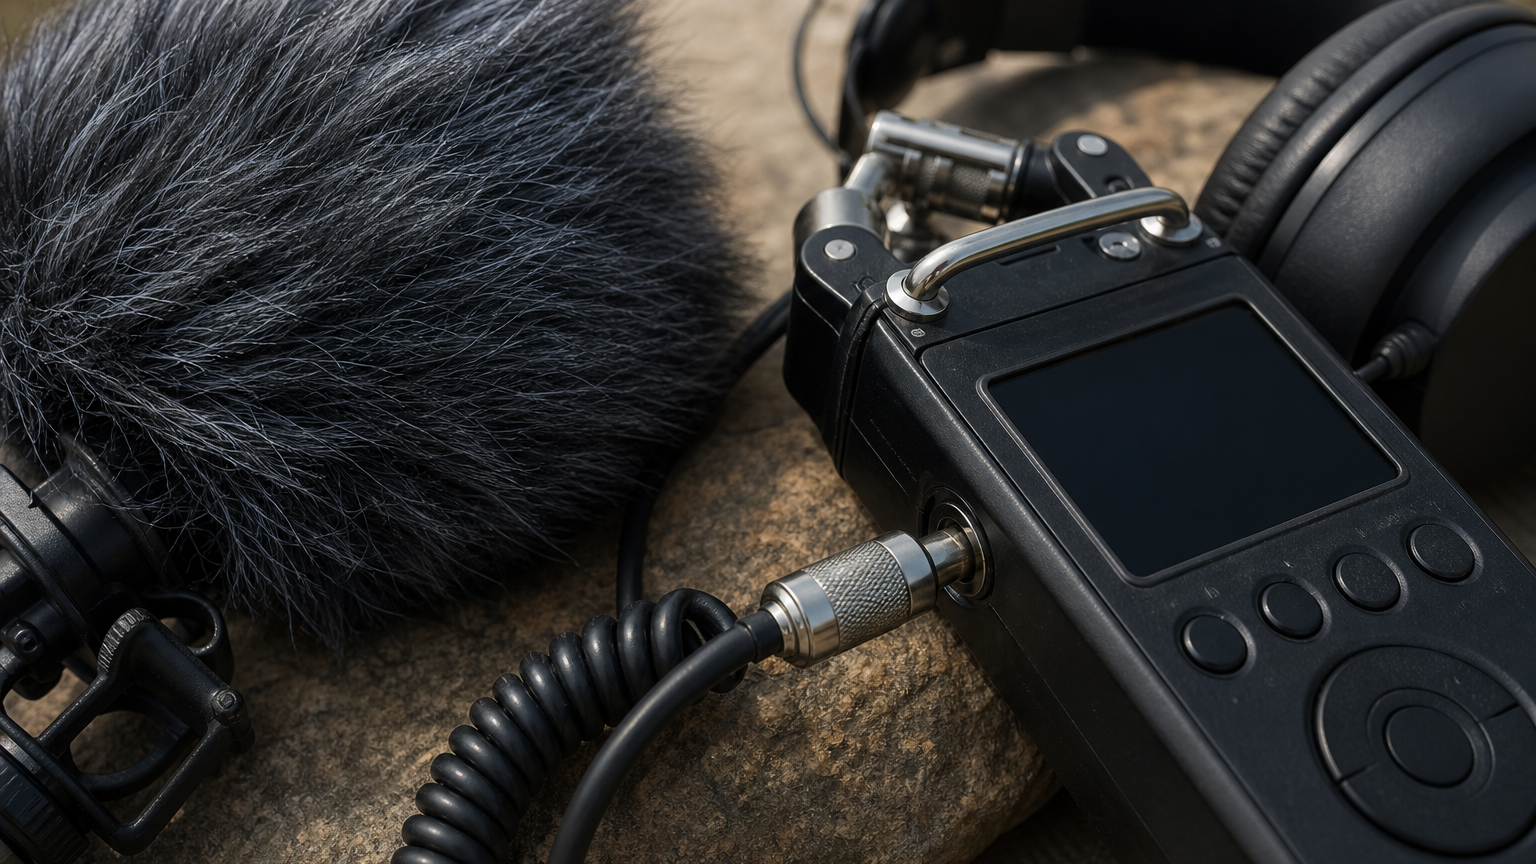
Build a small kit before buying another camera
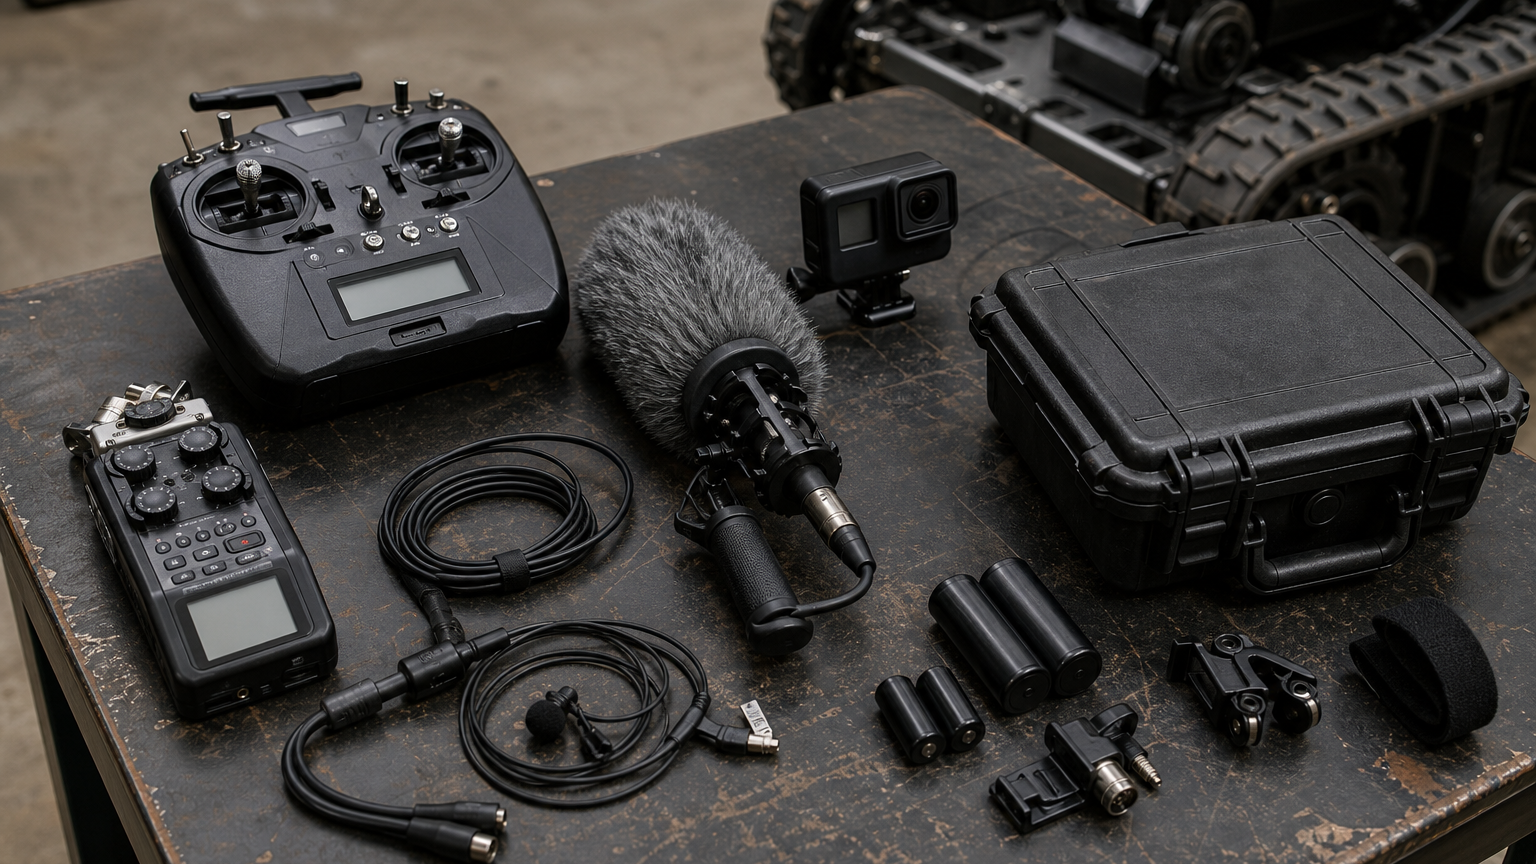
A practical field-audio kit can be modest: a compact recorder or wireless receiver, a lavalier or small shotgun microphone, wind protection, headphones, spare batteries, a short extension cable, a cold-shoe or clamp mount, and a plan for backup recording. The goal is not studio perfection. It is intelligible documentation that survives a windy demo or loud shop.
For robotics videos, cable management matters. A microphone cable draped near wheels, belts or propellers is a hazard and a way to ruin the take. Route cables like they are part of the test setup, not decoration.
Audio also shapes how useful the footage is later. A clear explanation of a failed test can become a debugging note, a sponsor update, a class recap or a build log. A beautiful camera angle with unusable speech often becomes archive clutter.
For loud robots, place the microphone for the voice or mechanical sound you actually need. Sometimes the best take uses a lavalier on the presenter plus a separate recorder near the robot, rather than asking one camera microphone to capture everything.
Checklist for maker teams
- Monitor with headphones: do not trust meters alone when motors, fans or wind are present.
- Use wind protection: outdoor robotics and drone-adjacent shoots need a real windscreen, not just a bare mic.
- Record room tone: a few seconds of the environment helps editing and noise reduction.
- Keep a backup track: a second recorder or camera scratch track can save a demo.
- Slate the take: clap or speak a clear sync cue at the start.
- Check gain near the loudest moment: set levels during motor spin-up, not during quiet setup talk.
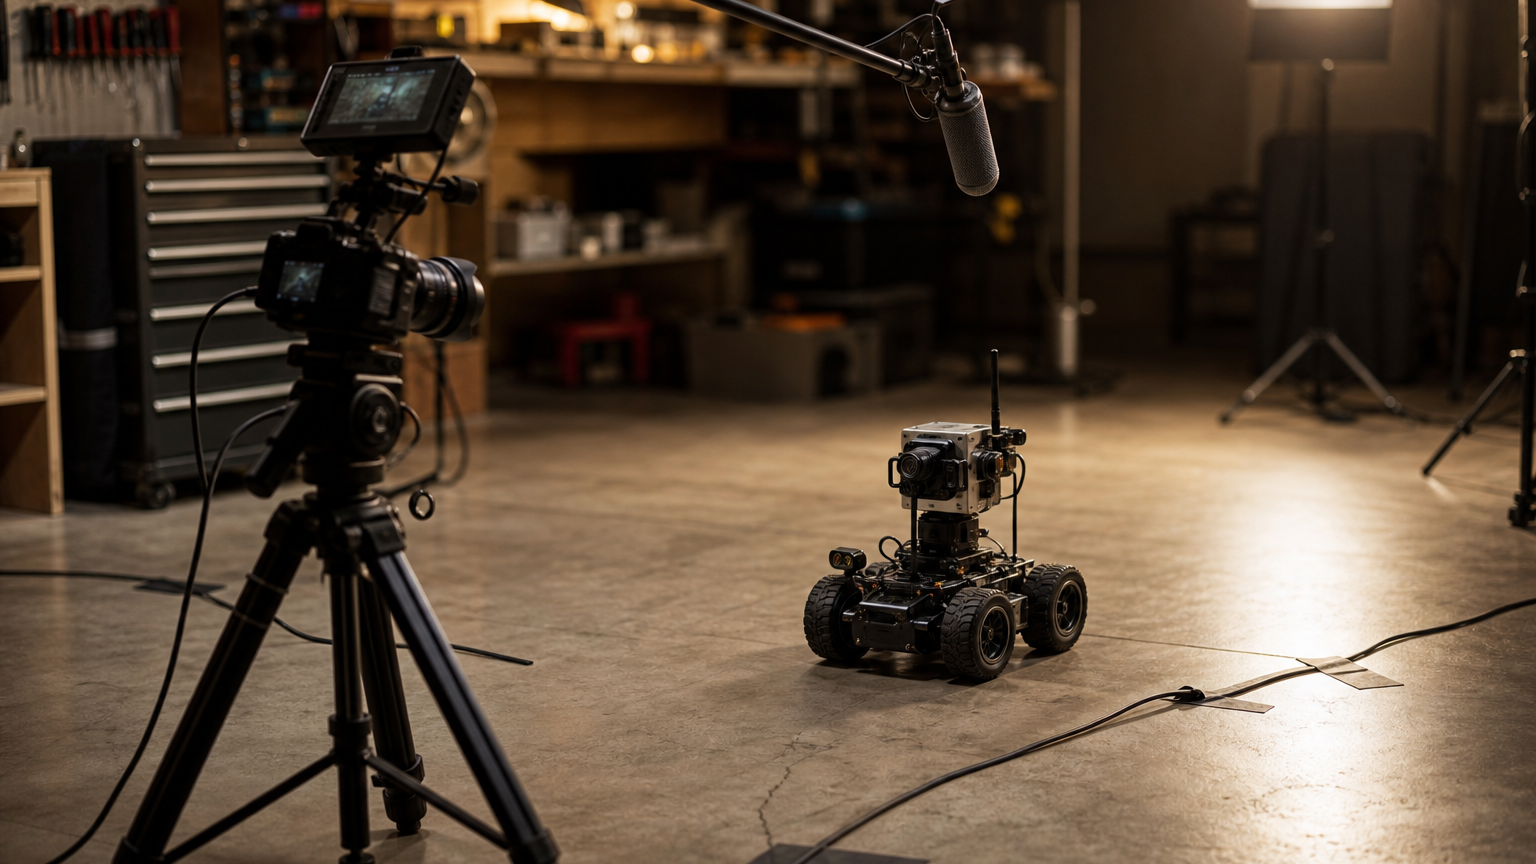
Where AI cleanup fits
Noise reduction and speech enhancement tools are helpful when a fan or room tone is steady. They are less reliable when clipping, wind blasts or distance make the original signal weak. If the voice is buried under a robot drivetrain, software may make it smoother without making it trustworthy.
This is why audio belongs in the same planning conversation as capture cards, storage and batteries. TVG’s HDMI capture-card field video guide covers video reliability; the audio layer decides whether the final explanation is usable.
Simple test before the real demo
Do a one-minute rehearsal at the actual location. Start the robot, speak the introduction, move around the camera position, and listen back on headphones. If the recording clips, hums or disappears in wind, fix it before the important run.
Teams should also keep audio files organized with the video clips they belong to. A separate recorder is only useful if the take number, sync cue and file name make sense during editing.
For interviews, put the microphone close to the person speaking rather than close to the camera. For machine sound, capture a separate short pass focused on the robot so editing can balance narration and mechanical context without forcing one microphone to do both jobs.
TVG Take
A field-audio kit is a reliability upgrade. For robot clubs, school teams, maker channels and small labs, the win is simple: fewer unusable takes, clearer troubleshooting notes, and documentation that sounds like the work was planned rather than rescued.