
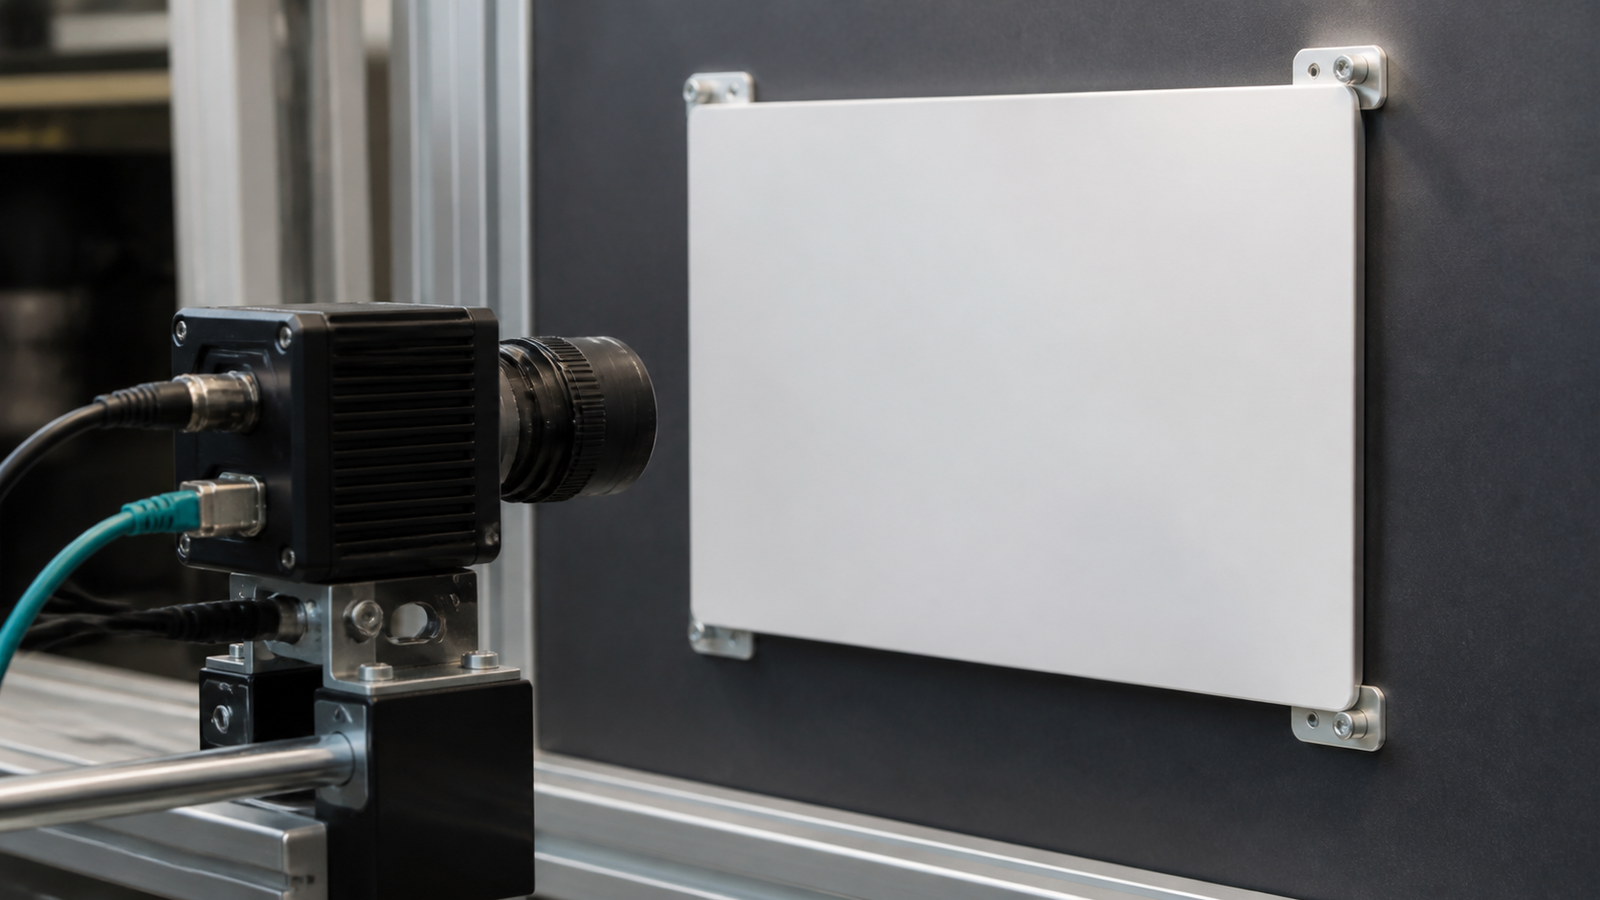
AprilTag boards fail when teams treat the tag printout as the whole vision system. Mounting, lighting, camera angle, board flatness, and serviceability decide whether detection stays repeatable.
AprilTags and similar fiducial markers are powerful because they give robot vision a known visual reference. They are not magic. The printed target, camera, lens, lighting, and field geometry all become part of the measurement system.
Quick answer
Mount AprilTag boards flat, matte, rigid, and square to the intended camera view. Keep lighting even, avoid glare, verify printed size, test at real robot distances, and re-check camera focus after impacts. If the robot cannot see a tag reliably from the places it actually drives, software tuning is not the first fix.
Why the physical board matters
The AprilTag project describes a visual fiducial system that can support detection and localization. OpenCV’s ArUco tutorial explains related marker-detection concepts, while WPILib’s AprilTag documentation shows why tags matter in competition-style robot vision workflows.
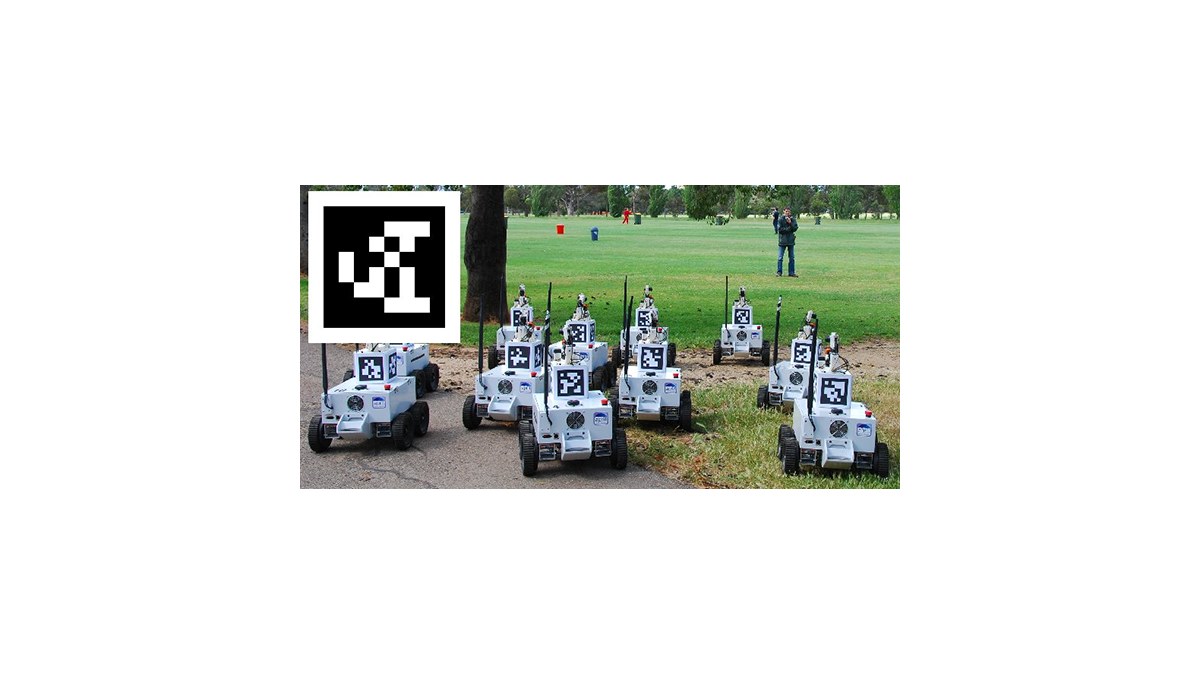
All of those software tools assume the camera is seeing a usable target. If the board curls, the black-white boundary blurs, the surface reflects overhead lights, or the tag is too small in the image, detection becomes less repeatable.
TVG’s robot camera lens and focus checklist covered the camera side of this problem. The target deserves the same discipline.
Mounting checklist
- Flat backer: mount paper or vinyl to a rigid board so the target does not curl.
- Matte surface: avoid glossy laminates that create bright reflections.
- Known size: print and verify the physical dimensions used by the software configuration.
- Stable angle: mount the board so it does not flex, sag, or rotate during the event.
- Edge protection: protect the target from peeling corners and impact damage.
- Replacement plan: keep spare targets and record the exact print size.
Lighting and distance checks
Test tags under the lighting that will exist during the run. A target that works under a desk lamp may fail under gym lighting, sunlight, or a glossy field wall. Move the robot through the actual approach path and record where detection starts, where pose estimates become unstable, and where glare appears.
Distance matters because a tag that is physically large can still occupy too few pixels at the camera’s working range. Lens focus and field of view matter too. TVG’s robot camera field-of-view guide is the companion step: the target and the camera should be tested as one system.
Debugging without guessing
When detection is flaky, change one variable at a time. Try a fresh matte print, then a flatter backer, then better light, then focus, then exposure, then detector settings. If everything changes at once, the team may get a working setup without learning which failure mattered.
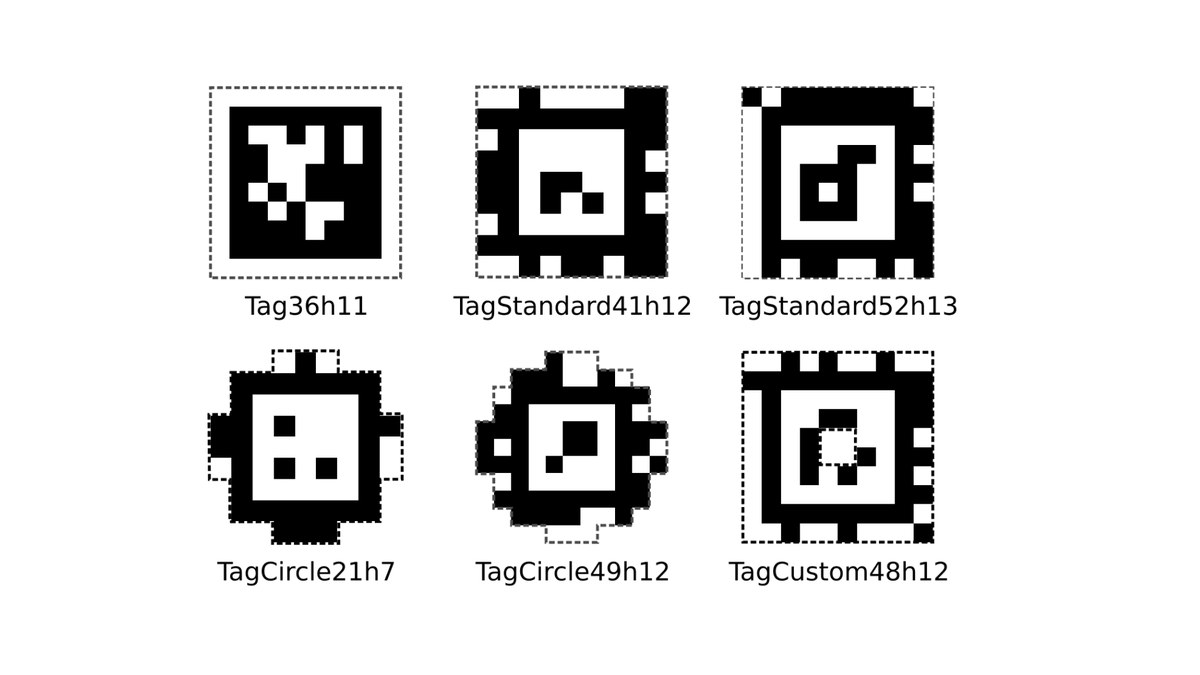
For student teams, the lesson is valuable beyond AprilTags. Vision systems are measurement systems. The marker is not just a picture on a wall; it is part of the instrument.
Maintenance after the first good run
A tag board that worked on practice day can drift out of reliability later. Corners peel, tape stretches, field walls move, lenses collect fingerprints, and lighting changes when a venue opens doors or turns on different fixtures. Add the targets to the pre-run checklist instead of treating them as permanent scenery.
Teams should photograph the mounted target layout, record the tag size used in software, and keep spare matte prints in the same scale. If a board is replaced in a hurry, the software configuration should not silently inherit the wrong physical dimension.
TVG Take
Good AprilTag performance starts before the code runs. Print the target correctly, mount it like a measurement reference, light it like a camera target, and test it at real driving distance. Software tuning should come after the physical target has earned trust.



