
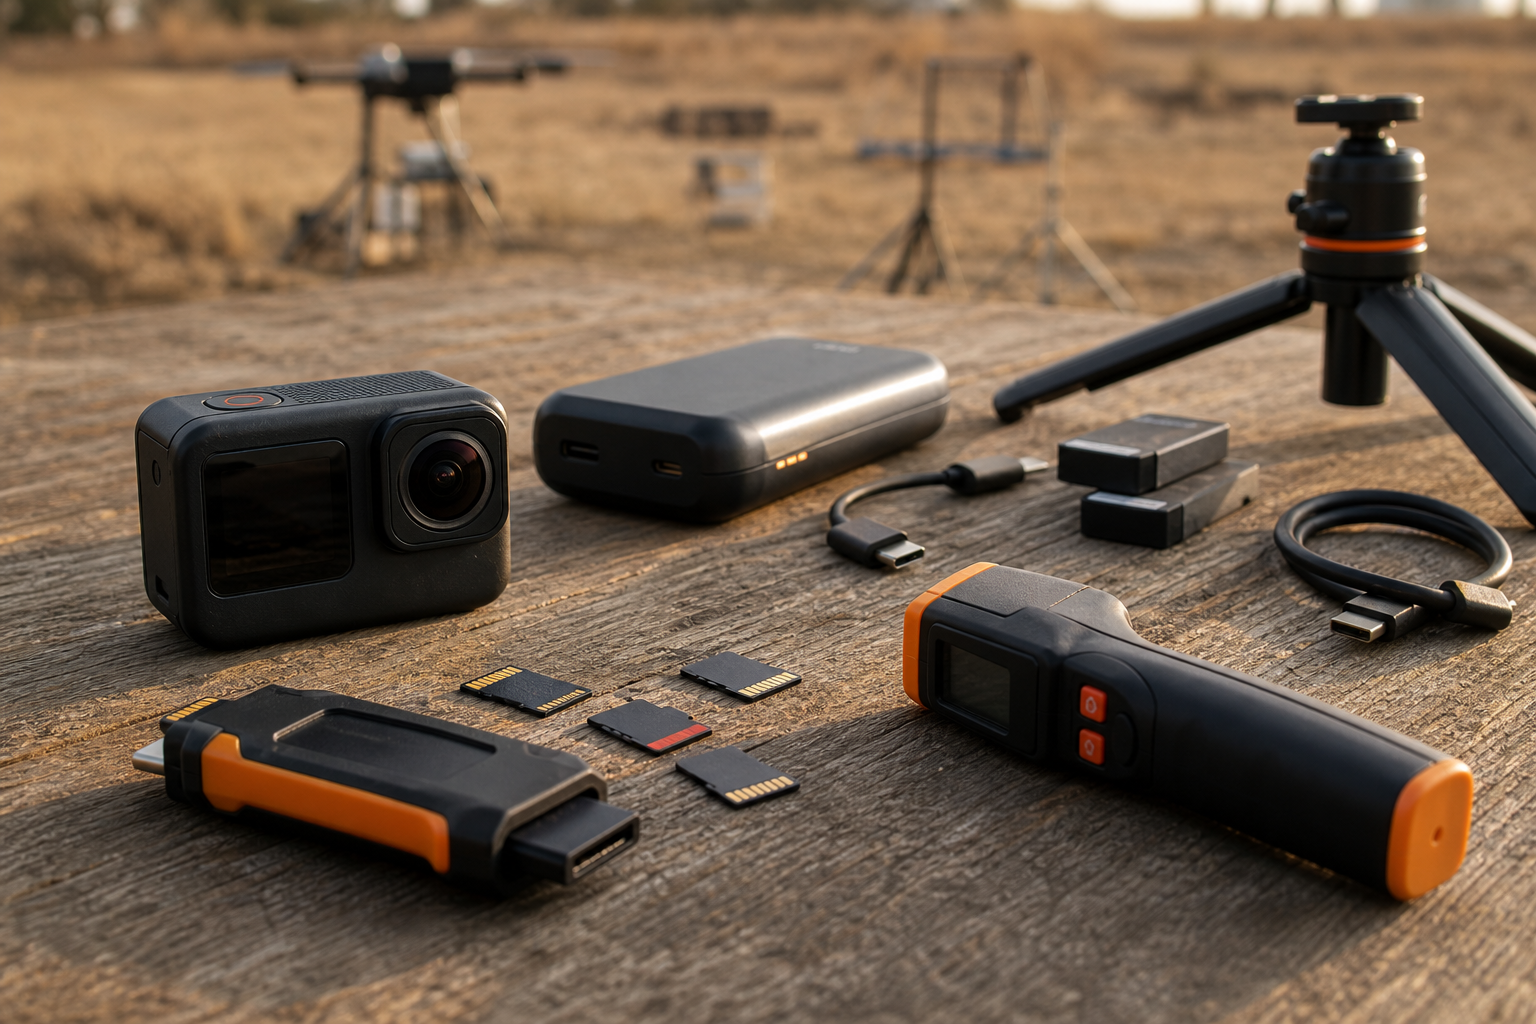
Template B: Analysis / Guide. Action cameras are easy to treat as simple accessories: mount one, press record, and hope the footage survives. In robotics, field testing, STEM competitions, and maker-lab documentation, that is not enough. The useful question is not which camera has the biggest headline resolution. It is whether the whole recording workflow — bitrate, memory card, heat, battery, mounting, stabilization, and transfer path — can survive a real test day.
This guide focuses on the specs that matter when an action camera is used as an engineering notebook. A robot run, drone setup, fabrication test, or outdoor STEM demo often has one chance to capture the failure mode. Missing that clip because the card is too slow, the camera overheated, or the battery door blocked a cable is not a small inconvenience; it can erase the evidence needed to fix the design.
Quick answer
For maker and robotics work, prioritize sustained recording reliability over maximum resolution. Look for clear bitrate settings, a memory card rated for the selected mode, replaceable batteries or safe external power, easy file offload, visible thermal warnings, and mounting options that keep ports accessible. Use 4K as the practical baseline, test the exact card and enclosure before an event, and keep one lower-bitrate fallback mode ready.
Start with bitrate, not only resolution
Resolution tells you frame size. Bitrate tells you how much data the camera must write every second. Two cameras can both advertise 4K, but one may compress aggressively while another records at a higher bitrate that better preserves motion, texture, and fast lighting changes. Robotics teams care about those details because wheel slip, belt vibration, wiring movement, and steering errors can disappear in smeared video.
Manufacturers publish different levels of detail. GoPro’s official camera lineup page emphasizes high-resolution and high-frame-rate capture across its action-camera line, while DJI’s Osmo Action 5 Pro specifications list recording modes and storage support for DJI’s current action-camera line. The practical TVG method is to select the camera’s intended recording mode, then verify the required card speed, file size, battery drain, and heat behavior with a full-duration test.
For most maker documentation, 4K/30 or 4K/60 is more useful than chasing the highest possible mode. Higher frame rates help with impact, mechanism timing, sports, and fast motion. Higher resolution helps when you need to crop in later. Both raise storage and thermal load. If the test is a two-hour outdoor robotics session, a slightly less aggressive mode that records continuously may be more valuable than a spectacular mode that stops after a short burst.
Match cards to the recording mode
The SD Association’s speed class guidance is the baseline for understanding card labels. Video Speed Class markings such as V30, V60, and V90 indicate minimum sustained write performance under defined conditions. That does not guarantee every camera will behave perfectly with every card, but it gives teams a vocabulary for avoiding random low-end media.
Do not buy cards only by capacity. A large card with weak sustained write behavior can still fail at high bitrate. For lab use, standardize on a small set of known-good cards, label them physically, and retire cards that show errors. Run a full-card recording test before a competition or field trip. If a camera offers a card-format function, use it in-camera after backing up files rather than mixing file systems across devices.
A simple field rule works well: carry at least two smaller reliable cards instead of one enormous unknown card. That reduces the blast radius of a corrupt file system or lost card. It also makes it easier to hand off footage while continuing to record.
Heat is a workflow spec
Action cameras are small sealed computers with image sensors, processors, batteries, screens, and radios packed into a weather-resistant body. Heat is not a defect by itself; it is a design constraint. The issue is whether the camera gives predictable behavior in the specific mode and environment where a team wants to use it.
Test heat in the real setup. A camera mounted on a stationary tripod in direct sun can overheat differently from the same camera on a moving vehicle. A protective cage, waterproof door, or foam windscreen can change airflow. So can an external battery cable if it prevents the battery door from closing or forces the camera into an awkward mount.
For critical tests, run a rehearsal that lasts longer than the planned recording. Note ambient temperature, recording mode, whether stabilization is active, whether Wi-Fi/Bluetooth are on, whether the rear screen stays lit, and whether external power is connected. If the camera stops, lower the bitrate or frame rate before assuming the device is unusable.
Power and file handoff matter after the run
Battery life claims rarely map neatly onto maker-lab use. Teams turn cameras on early, leave screens active during setup, review clips, and sometimes record in short bursts all day. A camera that works for a clean marketing runtime may still be frustrating if batteries are expensive, charging is slow, or the USB-C port is blocked by the mount.
Use a charging and offload plan. For a robotics event, one person should know which cards are blank, which are active, and which are already backed up. A rugged USB-C card reader and portable SSD can be more reliable than trying to move every file through a phone app in a crowded venue. TVG’s related field backup buyer evaluation covers that storage decision in more depth.
Mounting: the boring failure point
Mounts decide whether footage is useful. A camera on a loose arm may show the general scene but not the mechanism. A camera placed too close to a robot can clip the failure. A chest or head mount can be useful for build documentation, but it may produce unstable footage during competition setup.
Use at least two angles when the test matters: a wide context angle and a close mechanism angle. Keep one camera off the robot so the robot’s own vibration does not hide the behavior being measured. If the test is outdoors, add a simple wind plan for audio or accept that the camera is visual documentation and record notes separately.
Checklist before a robotics or maker test day
- Choose the recording mode and run it for longer than the planned session.
- Use cards that meet the camera maker’s storage guidance and the relevant SD speed class.
- Format cards in the camera after backup.
- Check whether the mount blocks USB-C, battery doors, microphones, or cooling paths.
- Turn off radios and screens when they are not needed.
- Carry a lower-bitrate fallback mode for hot venues or long recordings.
- Back up files to a second device before leaving the field.
TVG Take
The best action camera for engineering documentation is not always the one with the biggest spec badge. It is the one your team has already tested in the exact recording mode, temperature, mount, card, and battery setup you plan to use. Treat cameras as part of the test bench, not as an afterthought. A reliable 4K clip of the failure is worth more than an 8K mode that never makes it to the end of the run.



