
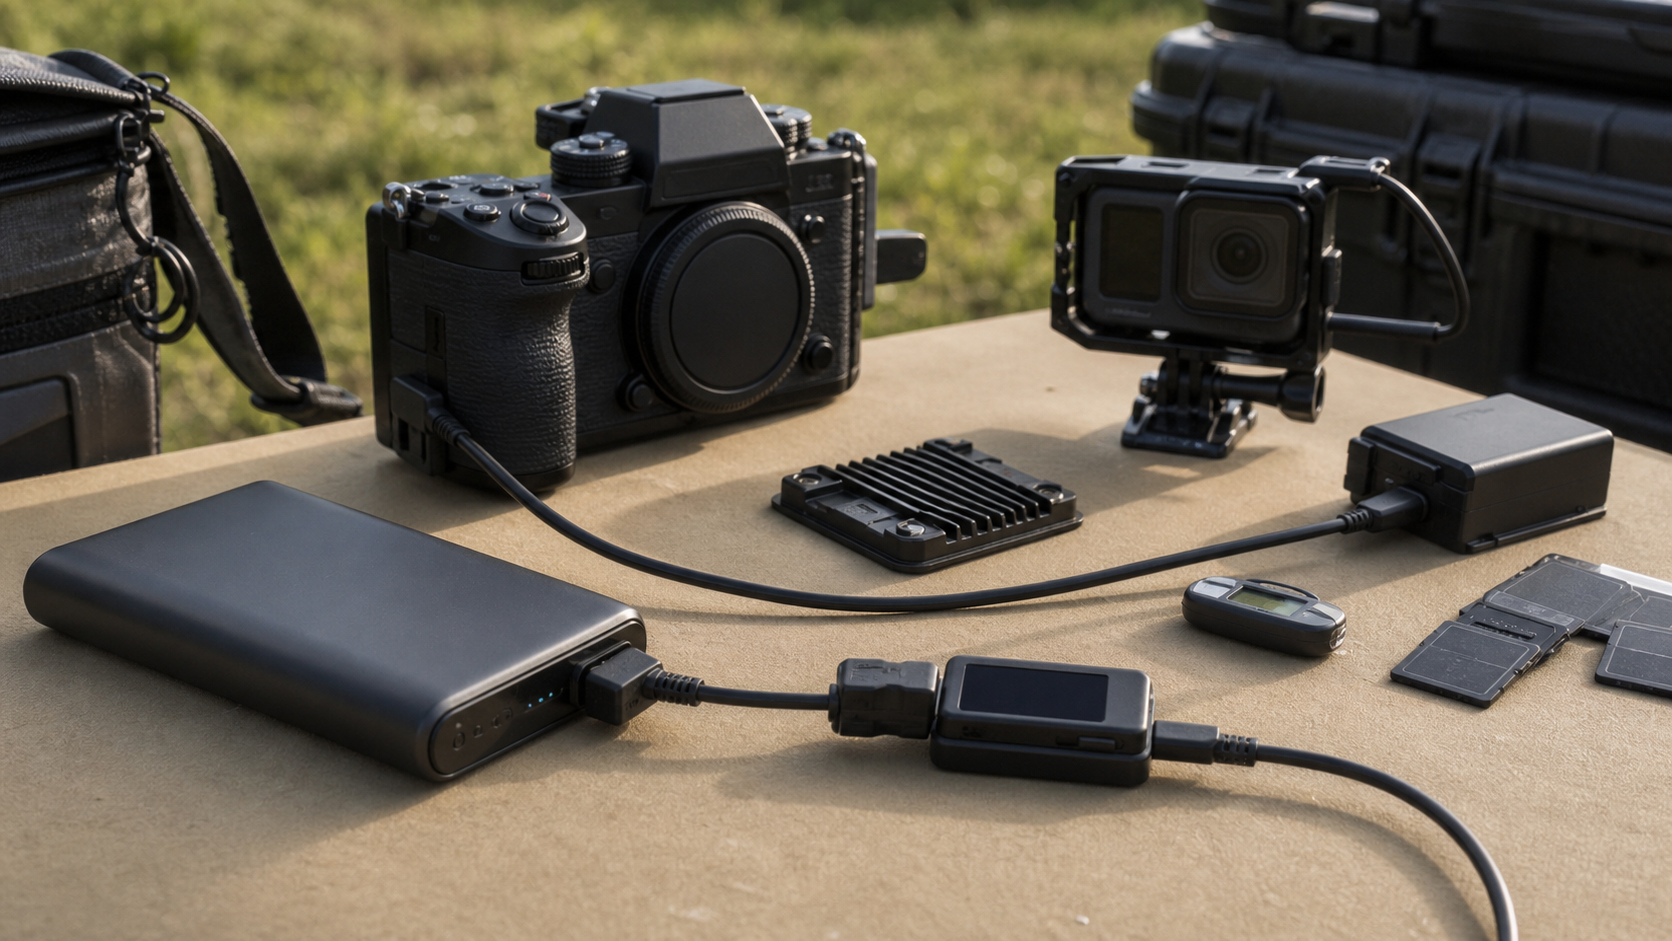
Field camera power looks simple until the first long recording stops early, the battery door blocks a cage, the USB-C cable bumps loose, or the camera overheats while a robot run is finally working. For maker labs, robotics teams, and small creator crews, the question is not just “how long does the battery last?” It is whether the whole camera setup can survive the recording job.
This guide is for documentation workflows: robot tests, classroom demos, field builds, 3D printer time-lapses, inspection footage, and event coverage. It is not a review of one camera model. The goal is to help teams choose and test a power path before a day in the field.
Quick answer
Use the camera’s own battery for short clips and quick setup. Use USB-C Power Delivery when the camera officially supports external power and the cable can be strain-relieved. Use a dummy battery or DC coupler only when the camera maker supports it, the voltage is correct, and the rig can handle heat. For long takes, test power, heat, storage, and mounting together; testing them one at a time misses the failure mode.
Start with the official power path
USB-C makes camera power look universal, but the connector is not the whole standard. The USB-IF USB Power Delivery specification library exists because voltage negotiation, current limits, and device behavior matter. A camera that charges over USB-C may not run indefinitely from USB-C while recording. Another camera may run from USB-C but still drain the internal battery slowly under high load.
Before buying batteries or couplers, read the camera manual for three specific claims: external power while operating, charging while recording, and supported power adapters. If the manual says USB power is for charging only, do not assume a bigger power bank fixes it.
For labs that already use field kits, this is similar to the storage discipline in our portable SSD versus memory card reader buyer evaluation. The connector is only one part of the system. The job depends on controller behavior, heat, cables, and recovery when something is unplugged.
USB-C PD: convenient, but not magic
USB-C PD is attractive because many teams already own power banks, chargers, and cables. A PD-capable power bank can reduce battery swaps, especially for static camera positions, overhead build shots, and long event coverage.
The hidden variable is negotiation. Some cameras draw from a 9V or 15V profile. Some expect a specific wattage. Some will run but display warnings when the source cannot supply enough current. Cable quality matters too: a thin or damaged cable may work for charging a phone and still be unreliable for camera operation.
A practical test is simple. Start with a fully charged internal battery, connect the intended power bank and cable, record at the intended resolution and frame rate for longer than the real job, and check whether the internal battery percentage falls. If the internal battery drops, the camera may be supplementing from external power rather than truly running from it.
Dummy batteries and DC couplers
A dummy battery replaces the camera battery with a coupler that feeds regulated power into the battery compartment. This can be the right answer for studio benches, fixed inspection rigs, and long-form maker tutorials, but it is also the easiest path to a bad setup if the voltage or fit is wrong.
Use a dummy battery only when it is designed for the exact camera battery type and voltage. A generic coupler may physically fit while delivering unstable power. The cable exit also matters. If the battery door has no cable notch, the door may stay open, weather sealing may be compromised, and a cage or tripod plate may press against the cable.
For moving field rigs, dummy batteries add a snag point. A robot-side camera, drone-ground camera, or handheld inspection setup may be safer with internal batteries or an official USB-C power path than with a coupler cable hanging from the battery bay.
Heat changes the power decision
External power can make long recording possible, but it can also keep a camera hot for longer. Heat comes from sensor readout, image processing, compression, displays, weather, direct sun, and charging circuitry. A setup that records for an hour indoors may fail on a summer field table.
Record at the exact settings you will use: resolution, frame rate, codec, stabilization, screen brightness, and wireless control. If the real job needs 4K60, testing at 1080p30 does not prove much. If the camera is inside a cage, test inside the cage. If the screen will be open, test with it open.
Do not tape vents, bury the camera in foam, or assume that a metal cage is always a heat sink. Some cages help spread heat; others trap warm air around the body. A small shade, shorter takes, or a lower codec load may be more reliable than a larger battery.
Memory media is part of power planning
Long recording also depends on storage. The SD Association speed class guidance explains why card markings exist for sustained video recording, while the CompactFlash Association maintains CFexpress and Video Performance Guarantee information for higher-performance media.
If a camera is powered for three hours but the card cannot sustain the codec, the recording still fails. If the card fills faster than the field team expects, the power plan only delays the problem. Match card capacity and sustained write rating to the camera’s codec, not just the marketing resolution.
For field documentation jobs, build a simple media rotation: empty cards, used cards, backed-up cards. Our action camera, 360 camera, or drone field documentation comparison covers the capture side; the same discipline should apply to power and storage.
Checklist before a real field day
- Confirm official support: external operation over USB-C, charging while recording, or the correct DC coupler.
- Test the exact cable: not just any USB-C cable from the drawer.
- Run a full-duration rehearsal: at the same resolution, frame rate, codec, stabilization, and ambient temperature when possible.
- Check internal battery behavior: if the battery drains while external power is connected, plan swaps.
- Watch heat, not only runtime: note when warnings appear and whether a shade or airflow change helps.
- Strain-relieve cables: secure the cable to the cage or tripod so the camera port is not the anchor point.
- Plan storage together with power: card speed and capacity are part of the same reliability test.
- Keep a fallback: spare internal batteries, a second camera, or lower recording settings.
Common failure modes
The most common failure is assuming that “USB-C” means “runs from any USB-C power bank.” The next is ignoring cable strain. A power bank on a tripod leg may work until someone turns the rig and the connector takes the load.
Heat is the third failure. Small cameras can be excellent for documentation, but sealed bodies, high-bitrate codecs, and direct sun are a rough combination. If the camera will sit near a 3D printer enclosure, soldering station, or outdoor robot test field, temperature belongs in the rehearsal.
The fourth is mixing capture and backup jobs. A card reader, external SSD, and camera can all want power from the same bank. If the field kit has one high-output port and several low-output ports, the order of connections can matter.
TVG Take
A reliable field camera power setup is a workflow, not an accessory. The best kit is usually boring: one supported power path, one known-good cable, one strain-relief method, one card plan, and one rehearsal that is longer than the real recording.
For maker labs and robotics teams, that boring setup is valuable. It means the camera disappears into the documentation job instead of becoming another project to debug while the real project is running.



