
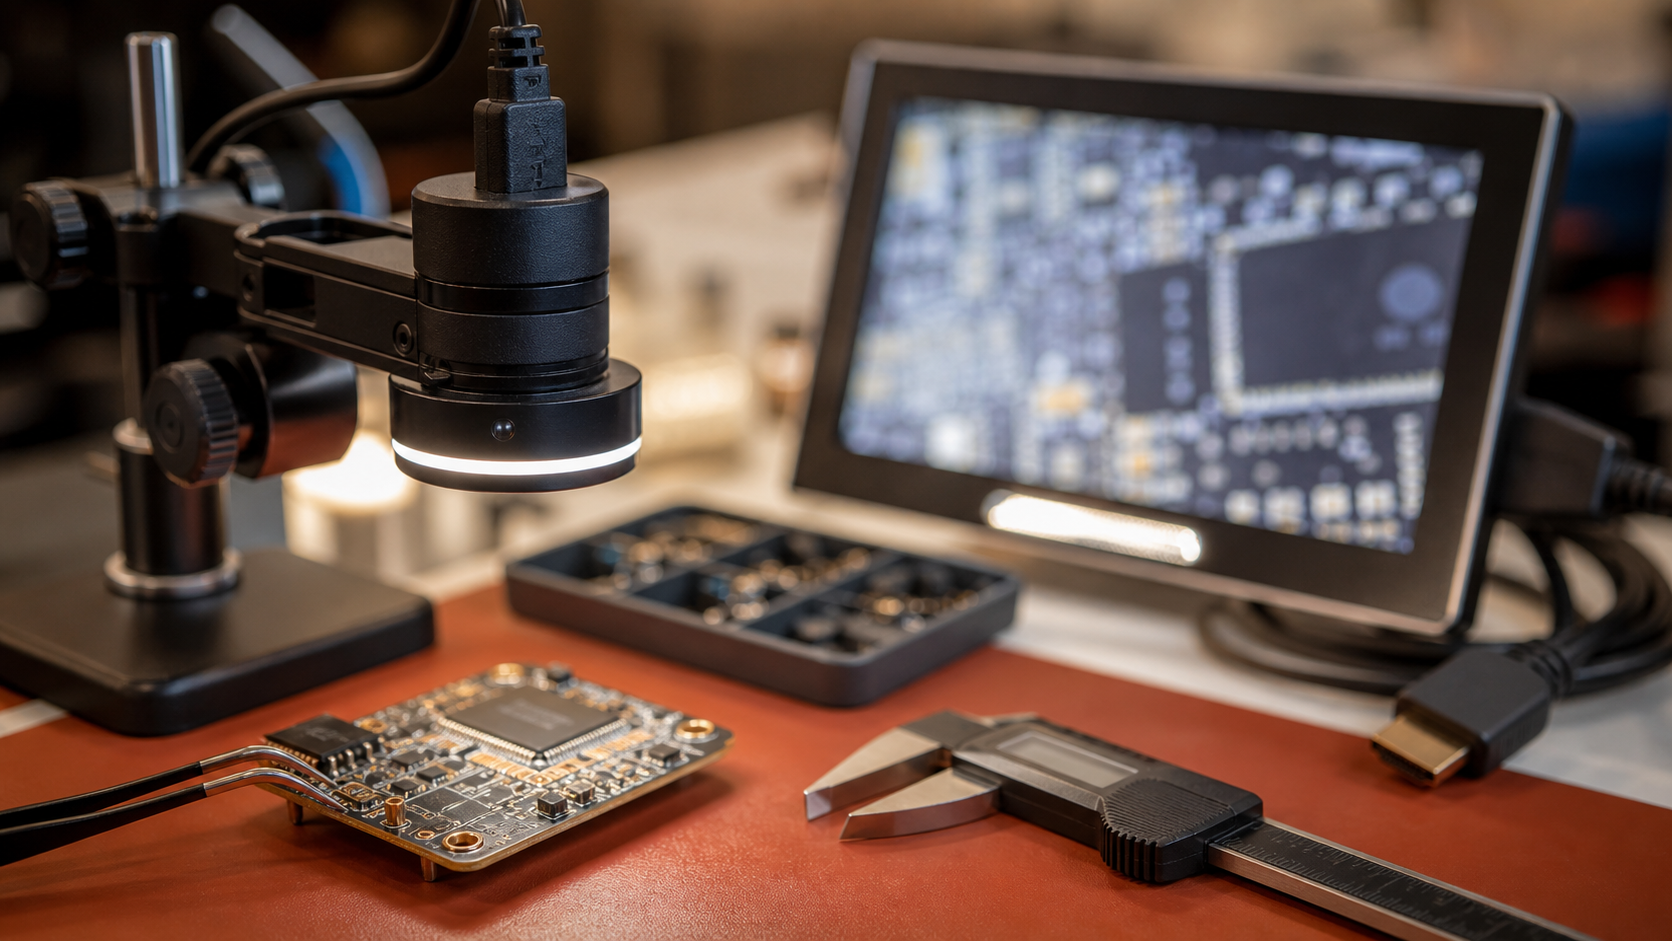
This is a spec-based buyer evaluation, not a hands-on review. TVG has not tested a specific USB microscope camera or HDMI inspection camera for this article. The goal is to help maker labs, robotics teams, and classrooms decide which inspection-camera class deserves a closer look before buying.
Bench cameras are easy to underestimate. A cheap microscope can make solder joints visible, but the wrong output path can add lag, block recording, frustrate a class demo, or make documentation harder than it should be.
Quick answer
Choose a USB microscope camera if the main job is recording, screen sharing, software capture, or storing images with project notes. Choose an HDMI inspection camera if the main job is low-latency bench viewing on a monitor while soldering or assembling small parts. For a teaching lab, the best setup may be HDMI for the operator and USB capture for documentation, but only if the device supports both cleanly.
Why the output path matters
A USB microscope usually behaves like a camera peripheral connected to a computer, tablet, or single-board computer. That can be excellent for captures, annotations, and remote demos. It also means the image depends on software, drivers, USB bandwidth, and the host machine.
An HDMI inspection camera is more like a direct video appliance. The camera feeds a monitor, often with less setup and less visible delay. That can matter when the user is soldering under magnification. If the image lags behind the tweezers, the tool becomes tiring quickly.
HDMI’s own feature ecosystem includes latency-related concepts such as Auto Low Latency Mode, described by HDMI Licensing Administrator for interactive viewing contexts. A bench inspection camera is not a game console, but the underlying lesson is the same: display delay is not a minor spec when the user is acting in real time.
USB microscope strengths
USB wins when the image needs to become data. If a lab wants to record soldering mistakes, capture before-and-after board photos, stream a repair to a remote mentor, or build a visual archive for student projects, a USB camera is convenient.
USB also fits software workflows. A classroom can show the feed in conferencing software. A robotics team can save images next to issue reports. A maker lab can use the same host that stores CAD files, firmware notes, and test logs. The USB-IF USB4 overview is a reminder that modern USB is not just a plug; bandwidth sharing, display data, and device behavior all affect real setups.
The downside is friction. Some low-cost USB microscopes advertise high resolution but produce poor frame rates, heavy compression, or awkward autofocus. Some need vendor software for full controls. Some work in one app but not another. If the camera is for a shared bench, software setup may become the real maintenance burden.
HDMI inspection camera strengths
HDMI inspection cameras are strong when the operator needs a dedicated screen. The camera, lens, light, and monitor can become a fixed bench instrument. Turn it on, focus, work. That simplicity is valuable for soldering practice, connector inspection, and quick troubleshooting.
The tradeoff is capture. Some HDMI units include recording to a card. Others have a USB output as well. Others are basically live-view tools. If the lab needs documentation, check whether recording is built in, whether stills can be saved without a computer, and whether the file format is easy to archive.
For maker-space use, monitor placement matters as much as camera specs. If the screen is too high, the operator’s neck gets tired. If it is too far from the work area, hand-eye coordination suffers. A low-latency camera connected to a poorly placed monitor is still a bad bench.
Specs that matter more than headline resolution
- Working distance: enough room for tweezers, soldering iron, hot-air nozzle, and the user’s hands.
- Frame rate at real resolution: not just a maximum number at a tiny capture size.
- Latency: especially for soldering, probing, and connector work.
- Optical zoom and focus: a usable lens matters more than an inflated megapixel claim.
- Lighting: ring lights can glare on solder joints; adjustable side light can reveal defects better.
- Mount stability: wobble ruins inspection even when the sensor is good.
- Capture workflow: stills, video, storage path, and whether the operator can save evidence without breaking concentration.
- Host compatibility: Windows, macOS, Linux, ChromeOS, tablets, or single-board computers if those are part of the lab.
Classroom and robotics-team fit
For classrooms, a USB camera can be easier to project, record, and share with students. It also pairs well with lab notes and learning management systems. If students rotate through the bench, the software needs to be simple enough that the teacher is not reinstalling drivers every week.
For robotics teams, HDMI can be better at the repair bench because it reduces setup time. A team debugging a damaged connector between matches wants a tool that turns on immediately. USB capture is still useful for documenting recurring failures, especially when paired with a broader hardware workflow like the one in our 3D scanner accuracy guide for maker labs, where calibration and evidence matter.
If the lab already maintains video gear, the decision may connect to a larger capture setup. Our HDMI capture card specs guide covers capture-card considerations; the same points apply if an HDMI microscope feed needs to enter a computer for recording or streaming.
What TVG would test first
TVG would start with latency under real work, not with the resolution label. Put a board under the camera, move tweezers through the field, and check whether the image tracks naturally. Then test the working distance with a soldering iron and both hands in place.
Next, test capture friction. Save ten still images and one short video. Rename or move the files into a project folder. If that takes a vendor-only app, a confusing menu, or a fragile cable, the camera may not fit a shared lab.
Finally, test light. Inspect the same solder joint with the built-in ring light, side lighting, and lower brightness. A camera that looks sharp on a product page may hide bridges or cracked joints when the light reflects straight back into the lens.
Buyer recommendation by use case
- Electronics repair bench: prioritize HDMI, low latency, stable stand, and working distance.
- Documentation and tutorials: prioritize USB capture, predictable software, and clean file management.
- Classroom demos: prioritize easy projection, durable mounting, and fast reset between students.
- Robotics pit use: prioritize setup speed, rugged cable routing, and a screen that can be seen in bad lighting.
- Hybrid lab: consider a camera with both HDMI live view and USB capture, but verify both modes before standardizing on it.
TVG Take
The best inspection camera is the one that disappears into the bench routine. USB is usually the better documentation path. HDMI is usually the better live-work path. The mistake is buying by megapixels and discovering later that the camera cannot be used comfortably where the work happens.
For a maker lab, treat the inspection camera like a measuring tool. Test delay, distance, light, mounting, and evidence capture before buying a set for every bench.



