
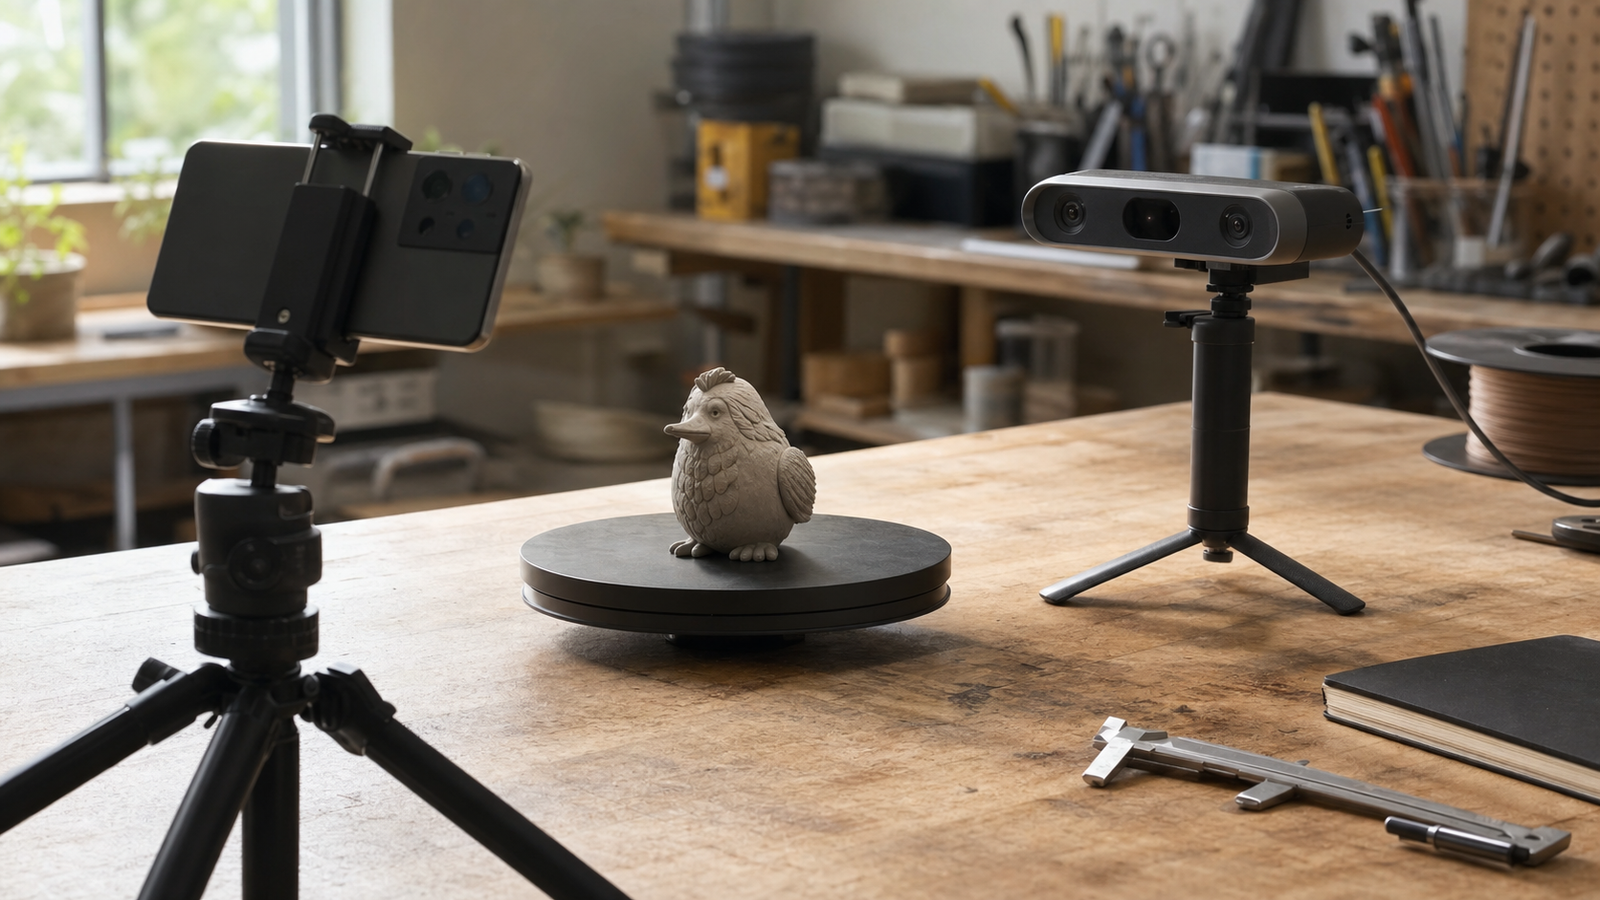
A budget 3D scanner and a phone photogrammetry workflow can both turn real objects into digital models. They do not solve the same problem.
For makers, the buying decision should start with the part, not the gadget. A shiny black plastic bracket, a human-scale prop, a small replacement knob, and a classroom artifact all punish different parts of the capture workflow.
Quick answer
Choose a budget 3D scanner when you need repeatable short-range capture, controlled scale, and a workflow built around small to medium objects. Choose phone photogrammetry when you can control lighting, shoot many overlapping images, and accept more cleanup time for larger or texture-rich subjects.
What scanners usually do better
Dedicated low-cost scanners often win when the object size fits their designed range and the user can follow a repeatable path around the part. The advantage is not magic accuracy. It is workflow control: guided capture, turntable support on some kits, known calibration steps, and software that expects the user to align scans.
That can help with mechanical parts, small sculptures, props, and repair pieces where scale matters. It can also make a STEM lab easier to run because students can repeat the same setup instead of learning photography, lens behavior, exposure, and reconstruction all at once.
What photogrammetry still does well
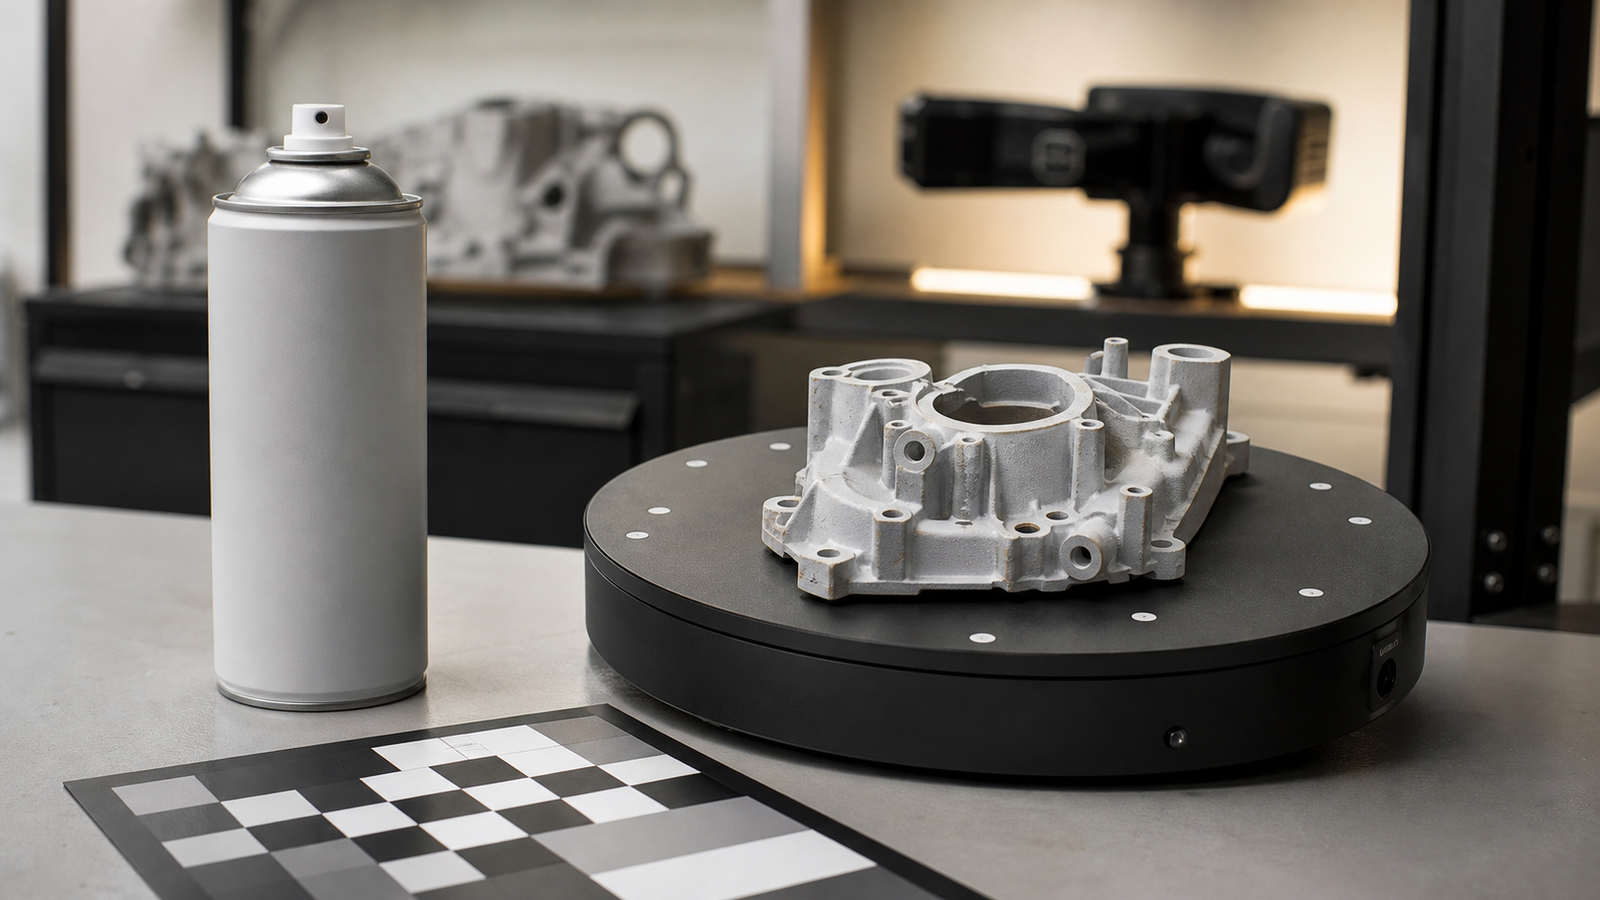
Photogrammetry is strongest when an object has visible texture, the lighting is even, and the photographer captures enough overlap from many angles. A phone can be enough for a rough prop, a classroom model, a large outdoor object, or a visual reference mesh that will be remodeled later.
It is weaker when surfaces are glossy, transparent, repetitive, very thin, or mostly featureless. It also asks more from the operator. Bad overlap, changing shadows, shallow focus, or mixed backgrounds can turn a free capture method into an hour of cleanup.
The maker checklist
- Object size: small parts favor scanners; large textured objects often favor photogrammetry.
- Surface finish: glossy, transparent, black, and reflective materials are hard for both methods.
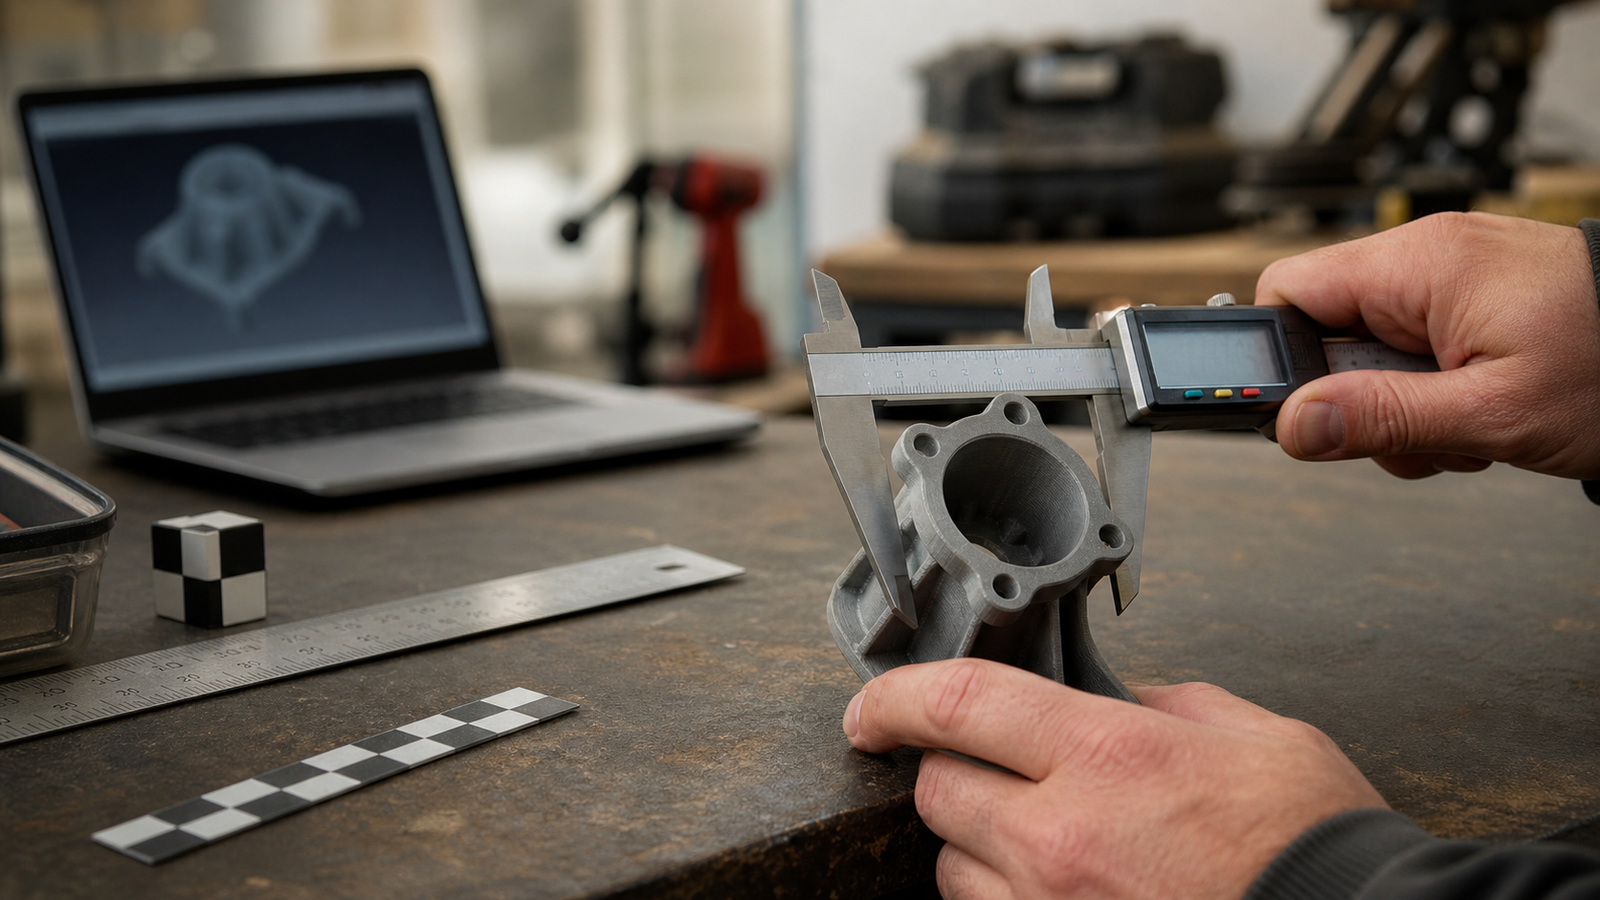
- Scale accuracy: use calipers, reference objects, or calibration targets before trusting a mesh.
- Cleanup time: include mesh repair, hole filling, alignment, and retopology in the real cost.
- End use: a visual prop, 3D-printable repair part, CAD reference, and animation asset need different quality bars.
TVG Take
Do not buy a budget scanner because a demo video shows a clean rotating model. Buy it if the object sizes, surface types, software workflow, and accuracy needs match your projects. Do not choose phone photogrammetry just because it is cheaper. Choose it when you can control capture conditions and the extra cleanup time is acceptable.
The best classroom comparison is to scan the same object both ways, measure a known dimension, print a small section, and ask which workflow students can repeat without expert intervention. That answer is more useful than the headline resolution on a product page.
When the cheap option gets expensive
The hidden cost in both workflows is operator time. A scanner that needs careful surface prep, multiple passes, and manual alignment can be slower than a phone workflow for a large textured object. A phone workflow that needs hundreds of photos, masking, reconstruction, and scale correction can be slower than a scanner for a small part.
Before buying anything, run a timing test with one representative object. Include setup, capture, processing, mesh cleanup, scale checking, and the first failed 3D print or import. That total workflow time is the number that matters for a shared lab.
Classroom and club buying advice
For a classroom, repeatability may matter more than maximum detail. A scanner with a simple turntable workflow can be easier to teach because students can compare the same object under the same conditions. For an art, history, or media club, photogrammetry may be more flexible because students can capture larger objects with equipment they already own.
For repair projects, neither method replaces CAD judgment. A scan can provide a reference surface, but screw holes, load-bearing tabs, clips, and flat mating faces often need to be remodeled with measured dimensions before printing.
Related TVG reading
For readers building out the same technical context, these TVG Report pieces connect the hardware, software, and deployment angles without changing the original reporting.
- Action Camera or 360 Camera? A Field Documentation Buying Guide for Makers
- USB-C PD Power Budgets for Robot Carts: Stop Counting Ports and Start Counting Loads
- Maker Lab Project Backups Need Restore Drills, Not Just More Storage



