
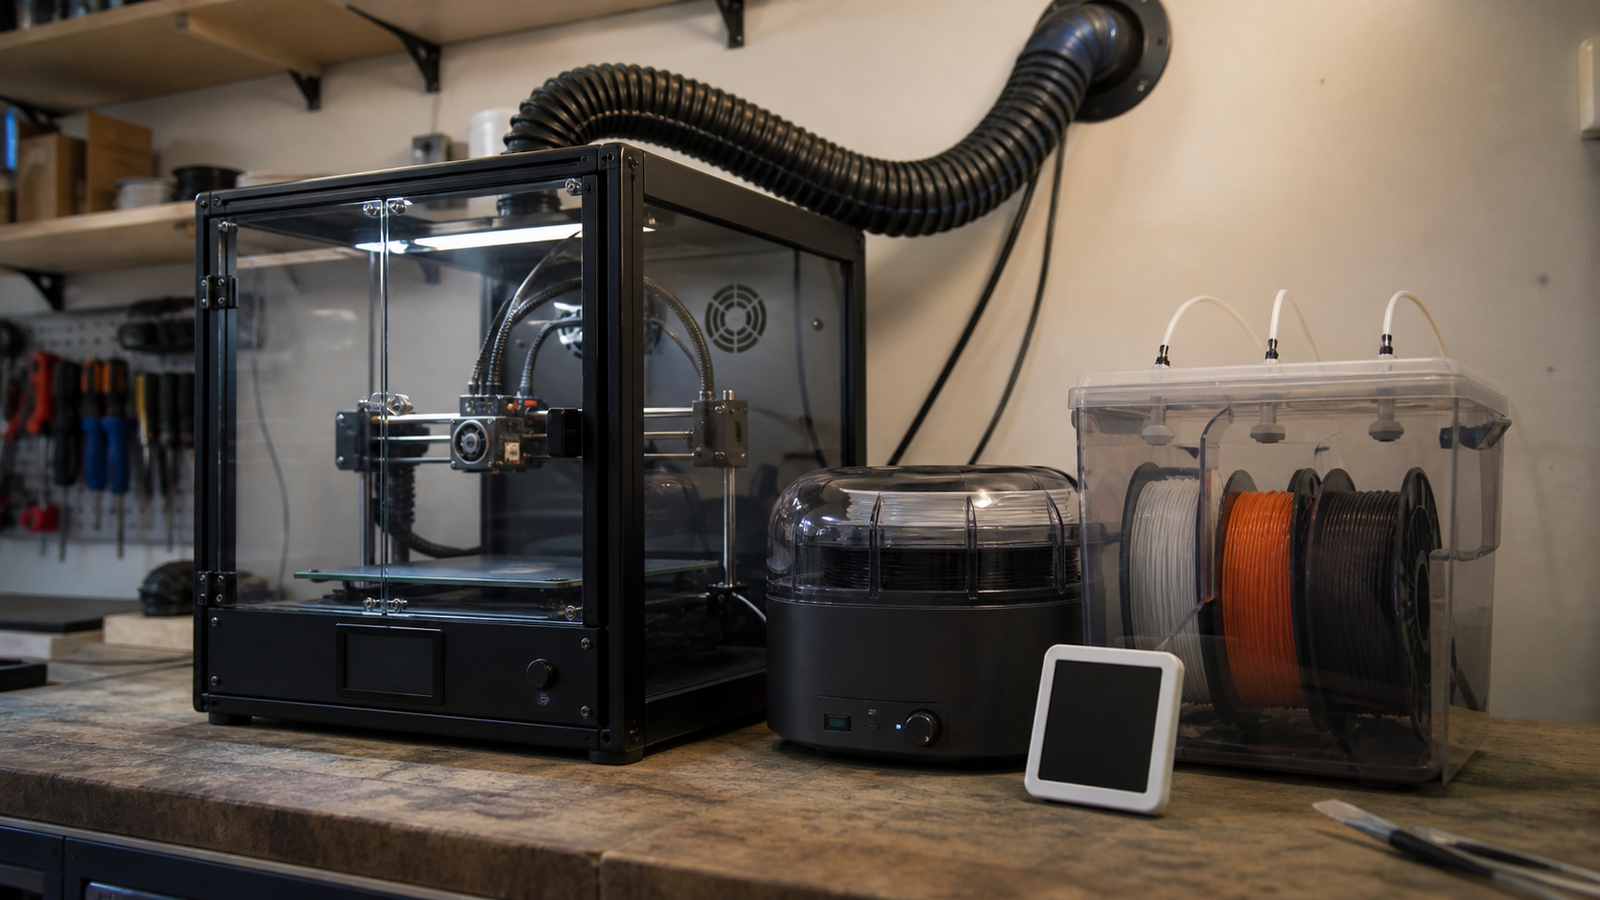
Many maker labs treat a 3D-printer enclosure and a filament dryer as separate upgrades. One controls the air around the print. The other controls moisture in the material. In practice, they should be planned together.
If the enclosure is warm, the filament is wet, the spool path is exposed, and the room ventilation is an afterthought, the printer may still produce weak layers, stringing, warping, odor problems, or inconsistent results.
Quick answer
Build one temperature and moisture plan for the printer, enclosure, filament dryer, storage box, and ventilation path. Match the plan to the material, avoid overheating electronics or motors, dry hygroscopic filament before blaming slicer settings, and connect the workflow to a sensible ventilation setup.
Why drying and enclosures get confused
Prusa’s material guidance notes that many FFF/FDM materials are hygroscopic, meaning they attract moisture from the environment. Bambu Lab’s filament guidance similarly treats drying as a practical step for moisture-sensitive materials. That problem is different from chamber temperature.
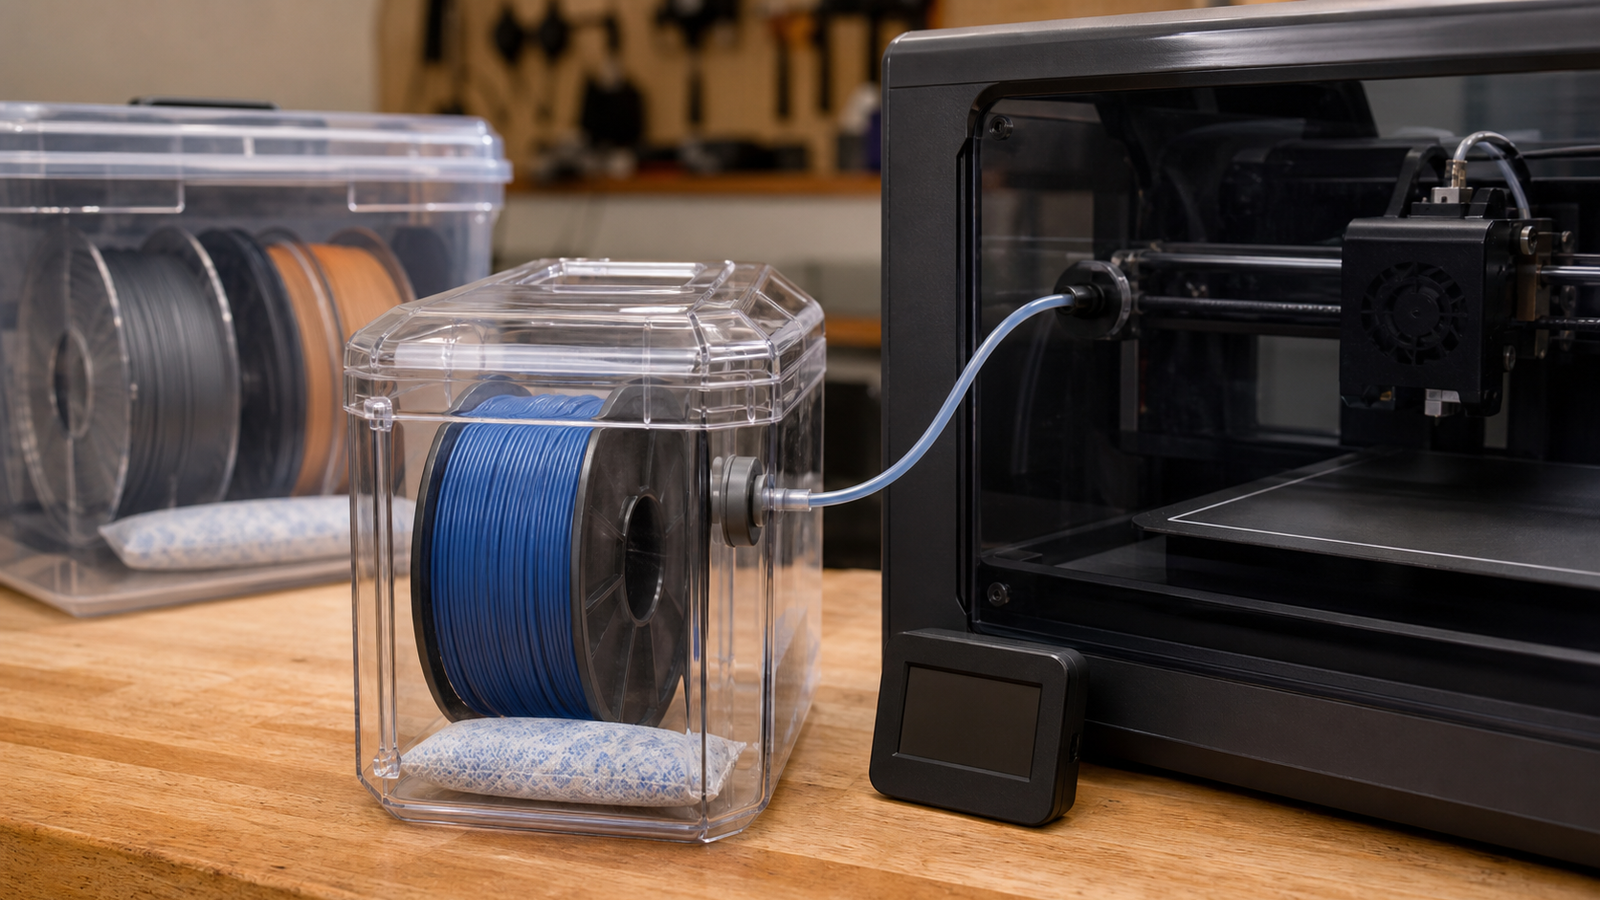
An enclosure can help stabilize prints by reducing drafts and keeping the area around the part warmer. It does not automatically remove water already absorbed into the filament. A dryer can reduce filament moisture. It does not automatically give the printed part a stable chamber or safe exhaust path.
Material-first checklist
- PLA: keep storage dry and avoid making the enclosure unnecessarily hot for printers not designed for high chamber temperatures.
- PETG: watch moisture, stringing, and part cooling before assuming every defect is a bed-temperature issue.
- ABS/ASA: plan for enclosure heat, ventilation, odor control, and material-specific safety guidance.
- Nylon and flexible materials: treat drying and storage as core process steps, not optional cleanup.
- Composite filaments: consider nozzle wear, spool drag, and dryer path friction.
Ventilation belongs in the same plan
Temperature control should not mean trapping every emission in a box beside students, pets, or a home-office desk. TVG’s 3D-printer enclosure ventilation guide for maker labs covers the larger question: where the printer sits, how air moves, and how the lab handles materials that produce odors or particles.
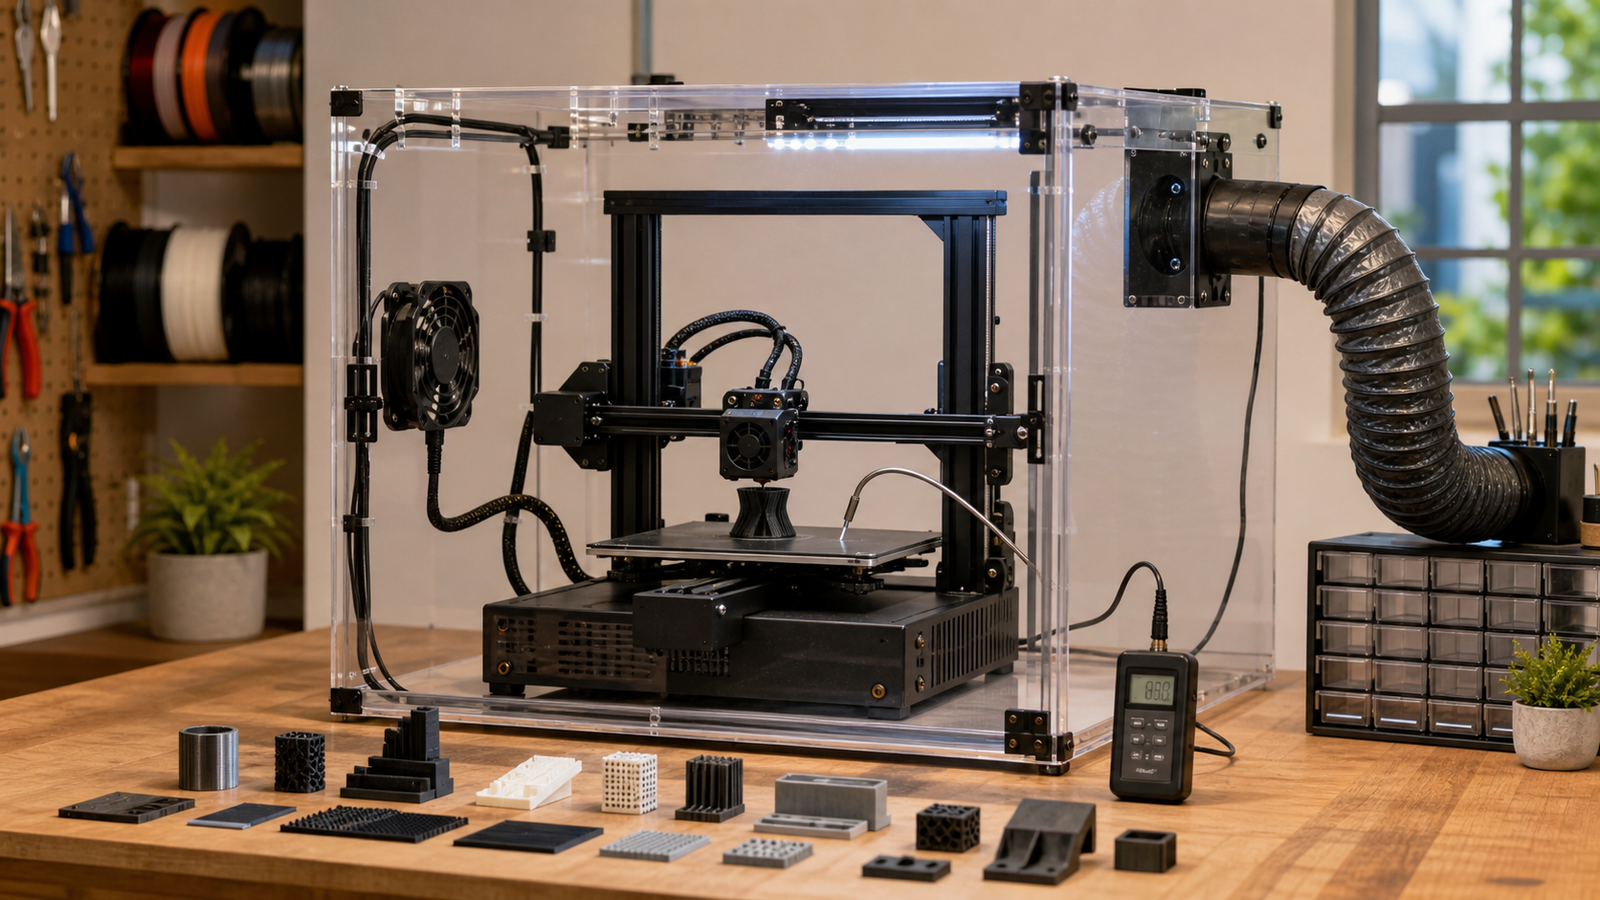
The important point is coordination. A vent hose can change enclosure temperature. A sealed box can affect electronics. A dryer can add heat near the printer. A fan can reduce fumes while also cooling a chamber more than expected.
Practical setup sequence
- Choose the material and read the manufacturer’s storage and drying guidance.
- Dry the filament before a diagnostic print if moisture is suspected.
- Route the filament from dryer or dry box to the printer with minimal exposure and drag.
- Measure enclosure temperature near the printer, not just the room temperature.
- Check whether electronics, motors, spool holders, and cables are rated for the warmer environment.
- Verify ventilation without creating drafts that ruin the print.
TVG Take
The best maker-lab setup is boring and repeatable: dry material, stable chamber, known airflow, clear material profiles, and documented exceptions. If the lab changes two variables at once — enclosure heat and filament moisture — debugging becomes guesswork. Plan the whole thermal path before buying another accessory.



