Wi-Fi 7 is easy to market as a speed upgrade. In a home lab, the harder question is whether the network behaves predictably when cameras, NAS backups, smart-home devices, and robot test rigs are active at the same time.
The Wi-Fi Alliance describes Wi-Fi CERTIFIED 7 around higher throughput, lower latency, and features such as 320 MHz channels and multi-link operation. Those are useful advances. They do not remove the need to plan backhaul, placement, and wired links.
Quick answer
Use Wi-Fi 7 mesh for flexible coverage, but use Ethernet backhaul where you can, place 6 GHz nodes close to the high-bandwidth devices that need them, and keep fixed lab gear on wired ports when reliability matters. A mesh node with a weak wireless backhaul can make a fast client look slow.
Why backhaul matters
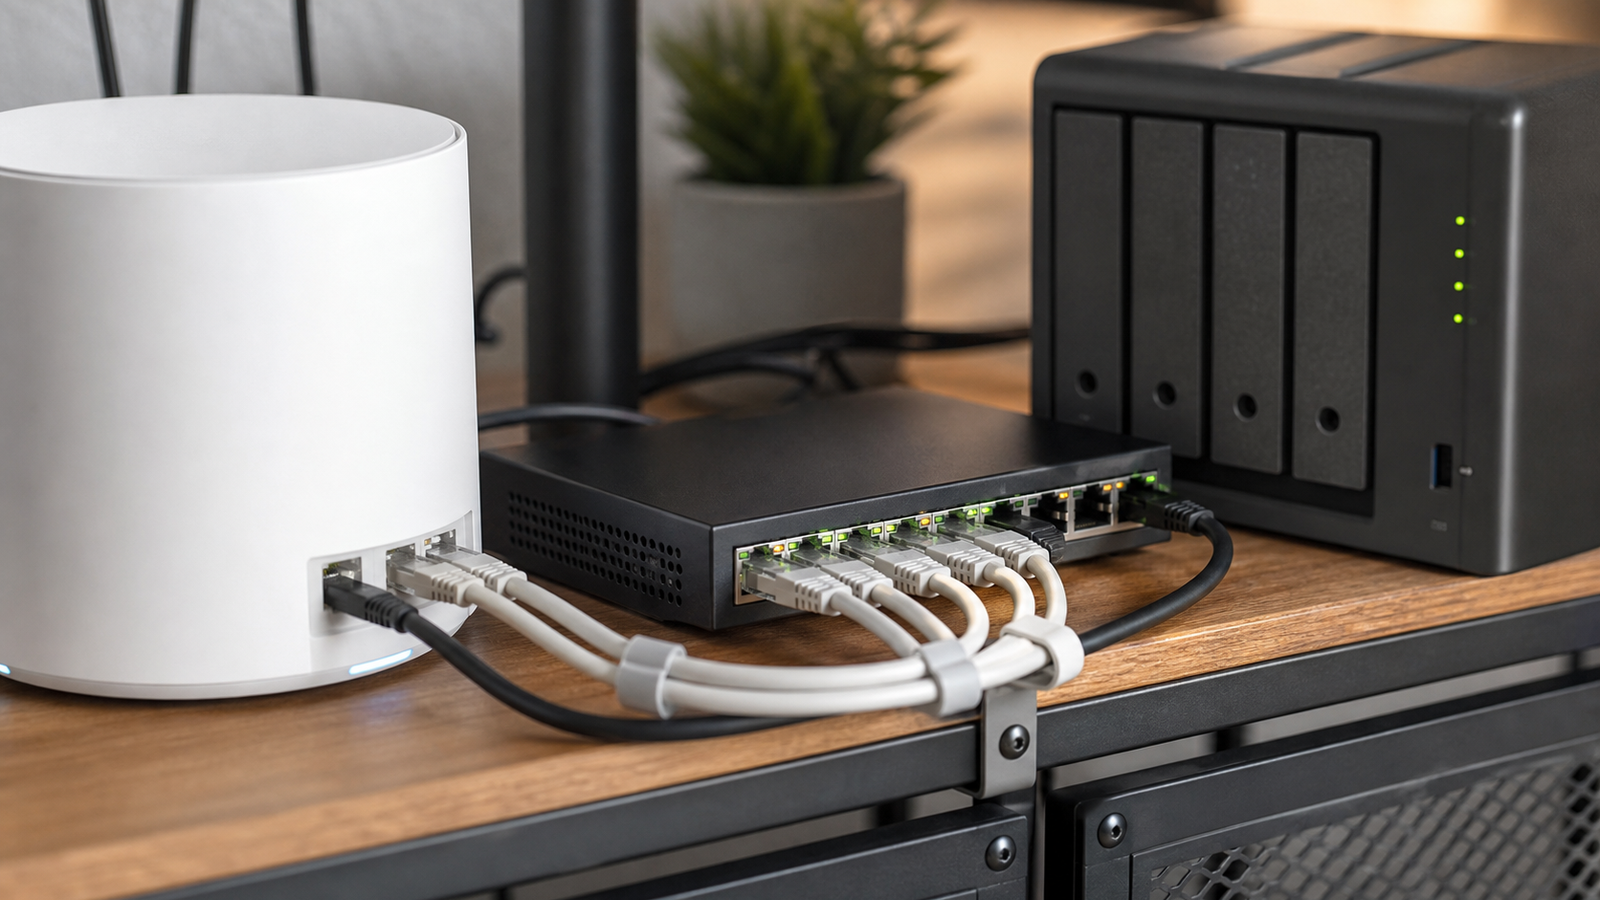
A mesh network has two jobs: connect client devices and move traffic between nodes. If the same wireless link is doing both under weak signal conditions, a robot camera or portable monitor may show stutter even though the client reports a modern Wi-Fi connection.
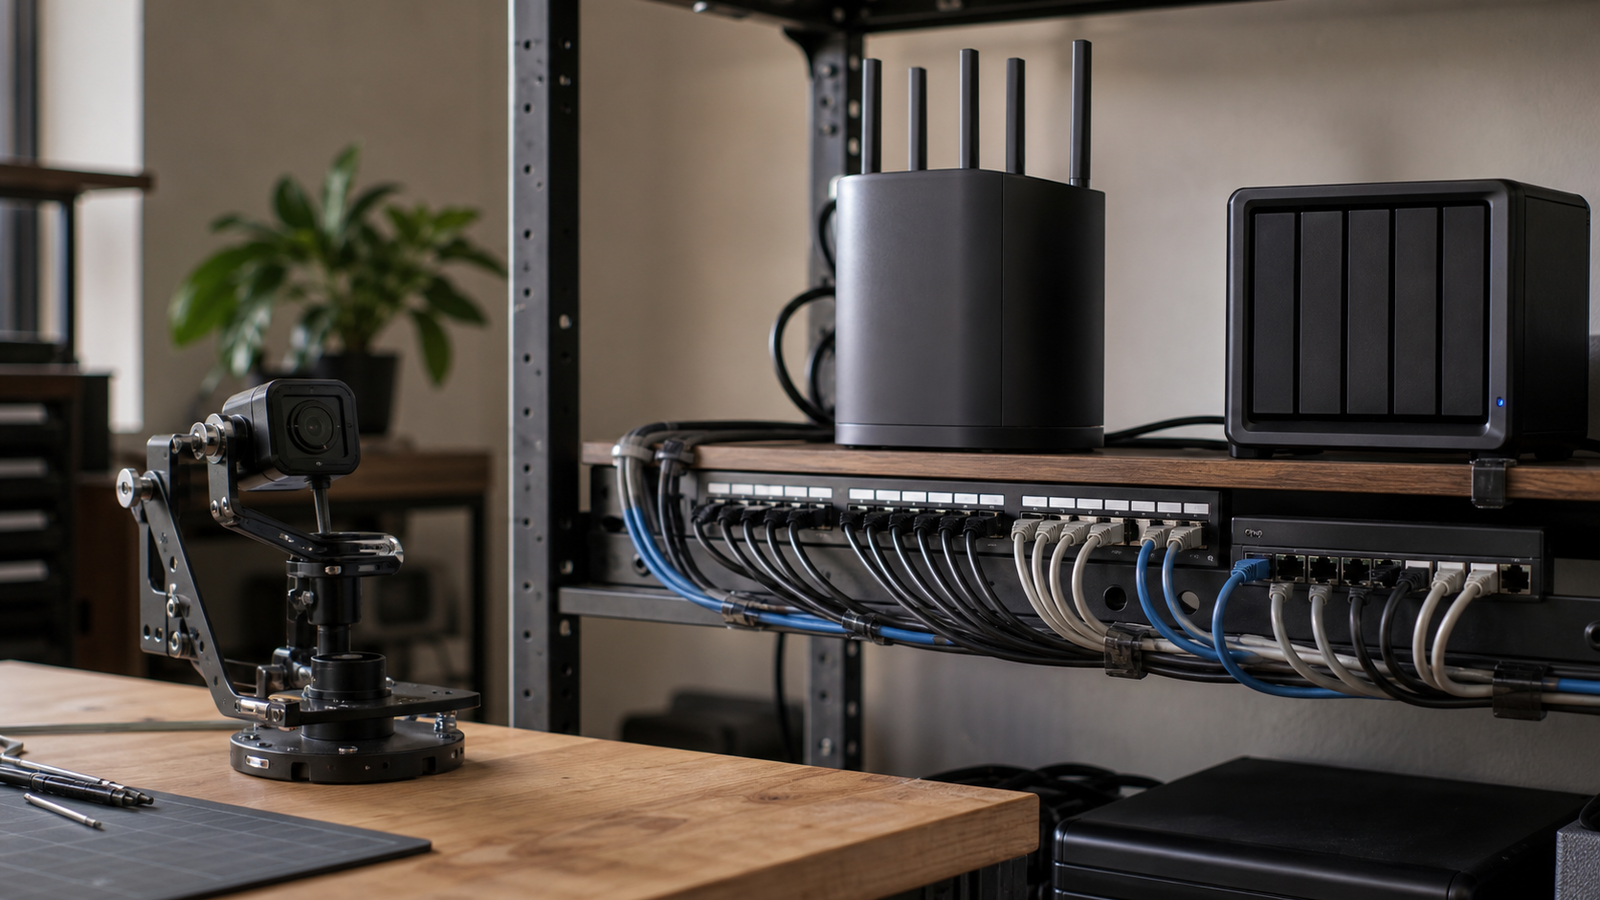
Home labs make this worse because traffic is bursty. A NAS backup, 4K camera stream, printer webcam, and software download can overlap. That is why Ethernet backhaul remains valuable even when the access points themselves support newer Wi-Fi features.
6 GHz is not magic
The 6 GHz band gives Wi-Fi more room, but higher-frequency links are still sensitive to walls, distance, shelving, and device placement. A 6 GHz-capable mesh node buried behind a TV or metal rack is not a lab-grade network plan.
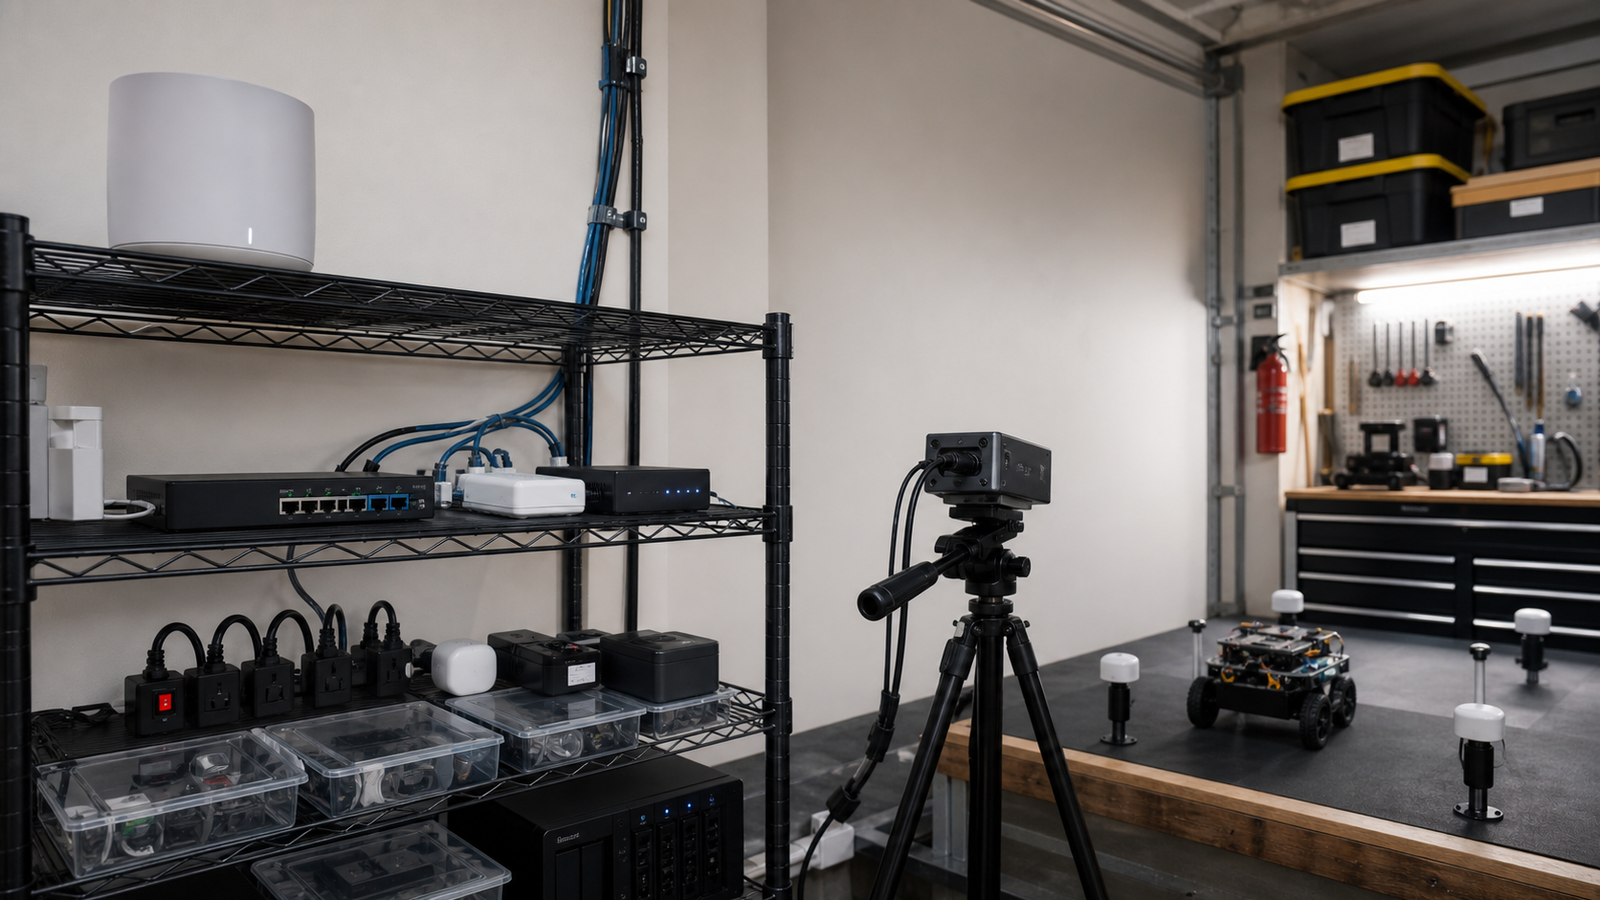
Put the node near the devices that actually need the bandwidth: a robot camera test bench, creator offload station, AR/VR test area, or portable monitor cart. Keep low-bandwidth sensors on the most stable link rather than forcing every device onto the newest band.
Home-lab checklist
- Wire the nodes you can: Ethernet backhaul beats a weak wireless hop.
- Map the heavy clients: robot cameras, NAS, editing stations, and test benches first.
- Separate reliability tiers: fixed infrastructure-like devices on wire; roaming tablets and phones on Wi-Fi.
- Test under load: run a backup while viewing a camera stream and moving a robot.
- Document channels and placement: future troubleshooting starts with knowing what changed.
- Use PoE where appropriate: compare with TVG’s PoE switch vs injector robot camera guide.
TVG Take
Wi-Fi 7 is a strong upgrade for crowded homes and labs, but mesh does not suspend RF physics. Treat wireless backhaul as a design choice, not a default. If the device is fixed, critical, or generating video, start by asking why it is not wired.