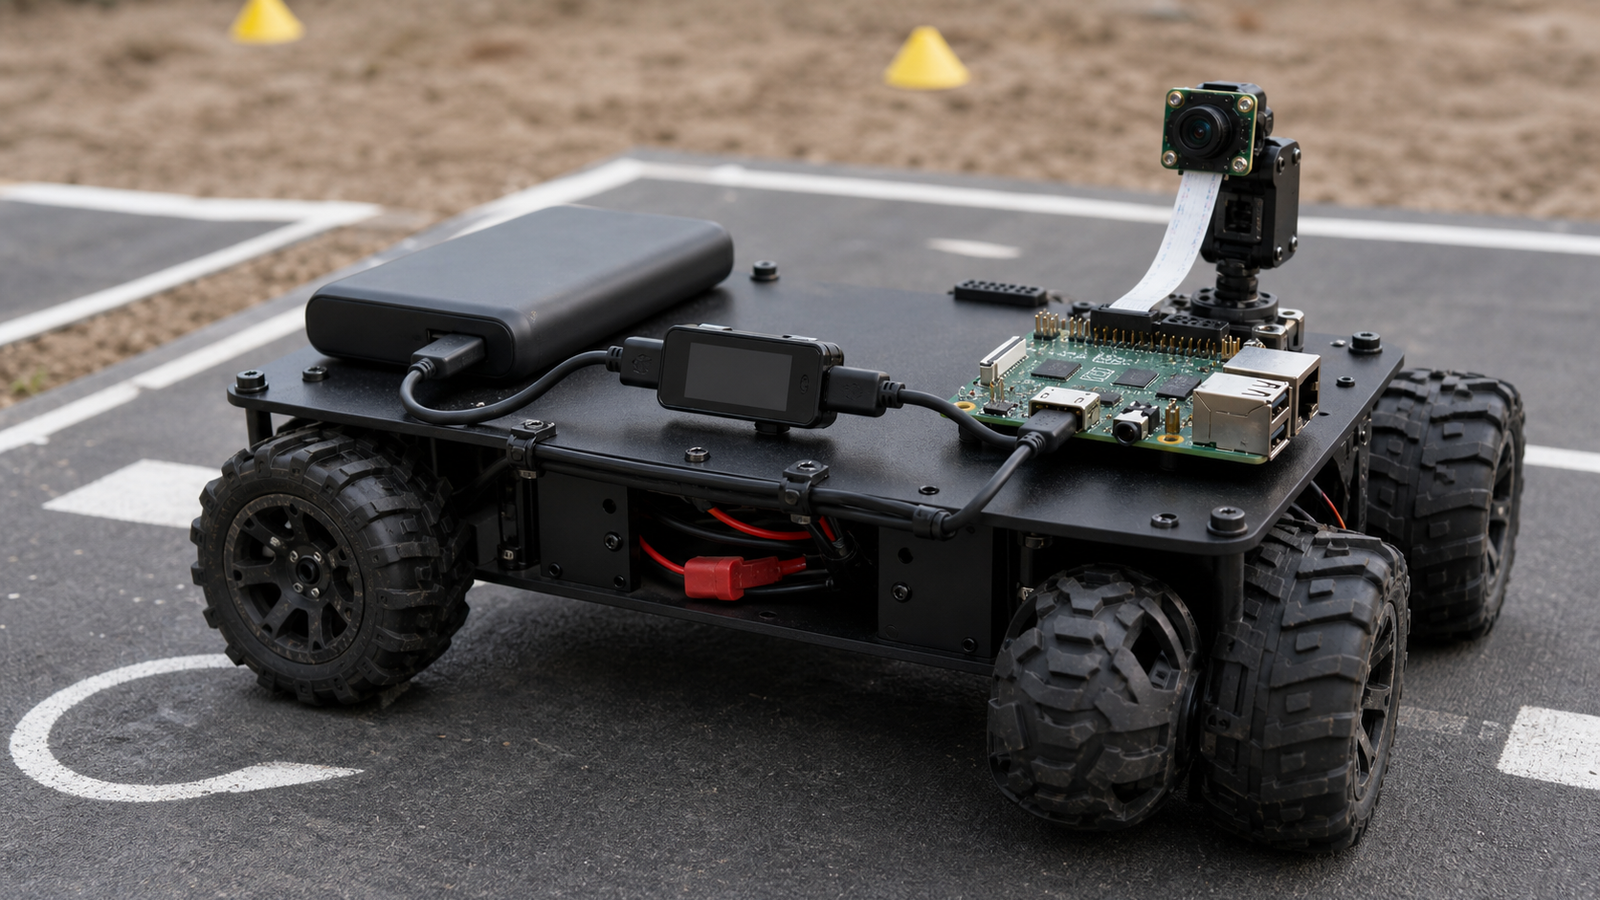
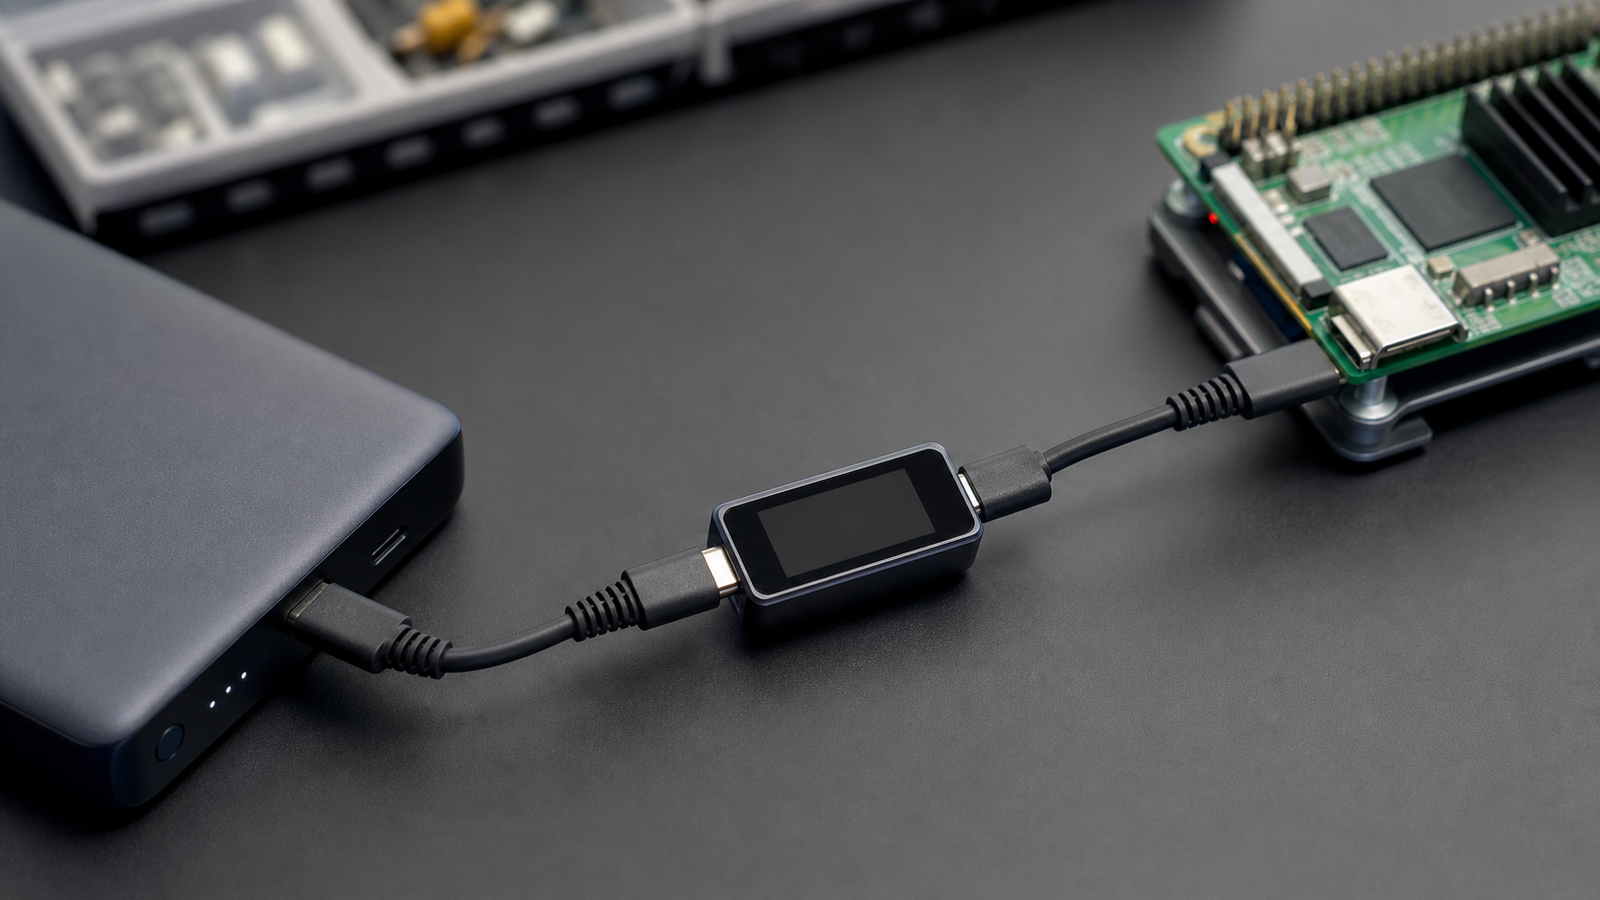
A USB-C power bank can make a field robot or Raspberry Pi camera kit easier to test away from the bench. It can also become the source of the most confusing failures in the project. A large capacity label does not tell you whether the bank will negotiate the right USB Power Delivery profile, hold voltage under load, survive motor noise, or keep an attached camera and SSD stable.
The USB-IF publishes the USB Power Delivery specification, and Raspberry Pi lists Raspberry Pi 5 with 5V/5A DC power via USB-C with Power Delivery support. Those facts are useful starting points. A field robot still needs a system-level power test.
Quick answer
Choose a USB-C power bank for a field robot by checking the exact PD output profiles, the cable rating, expected peripheral load, brownout behavior, runtime under motion, and how the system logs power warnings. Do not buy only by mAh.
Why mAh can mislead
Power-bank capacity is usually advertised around internal cell capacity, not the exact usable runtime at your robot’s operating voltage and load. Conversion losses, boost circuitry, port limits, and shutoff behavior all matter. A robot that idles on the bench may fail when motors start, a camera turns on, or a USB SSD begins writing logs.
That is why TVG treats portable power like a test subject. Put the robot under the same load it will see in the field: wheels moving, sensors active, camera streaming, lights on, and data logging enabled.
Field checklist
- Match the PD profile: confirm the power bank offers the voltage and current your board actually requests.
- Use a known cable: a weak or unknown USB-C cable can mimic a bad battery.
- Test peripherals together: camera, SSD, radio, sensors, and displays all add load.
- Watch startup and motor events: brownouts often appear when load changes quickly.
- Secure the pack: strain relief matters when the robot hits bumps or turns sharply.
- Log failures: note undervoltage warnings, reboots, camera dropouts, and corrupted recordings.
If the field kit also includes docks or adapters, TVG’s USB-C hub versus Thunderbolt dock guide is a useful companion: every adapter in the path adds another compatibility and power assumption.
TVG Take
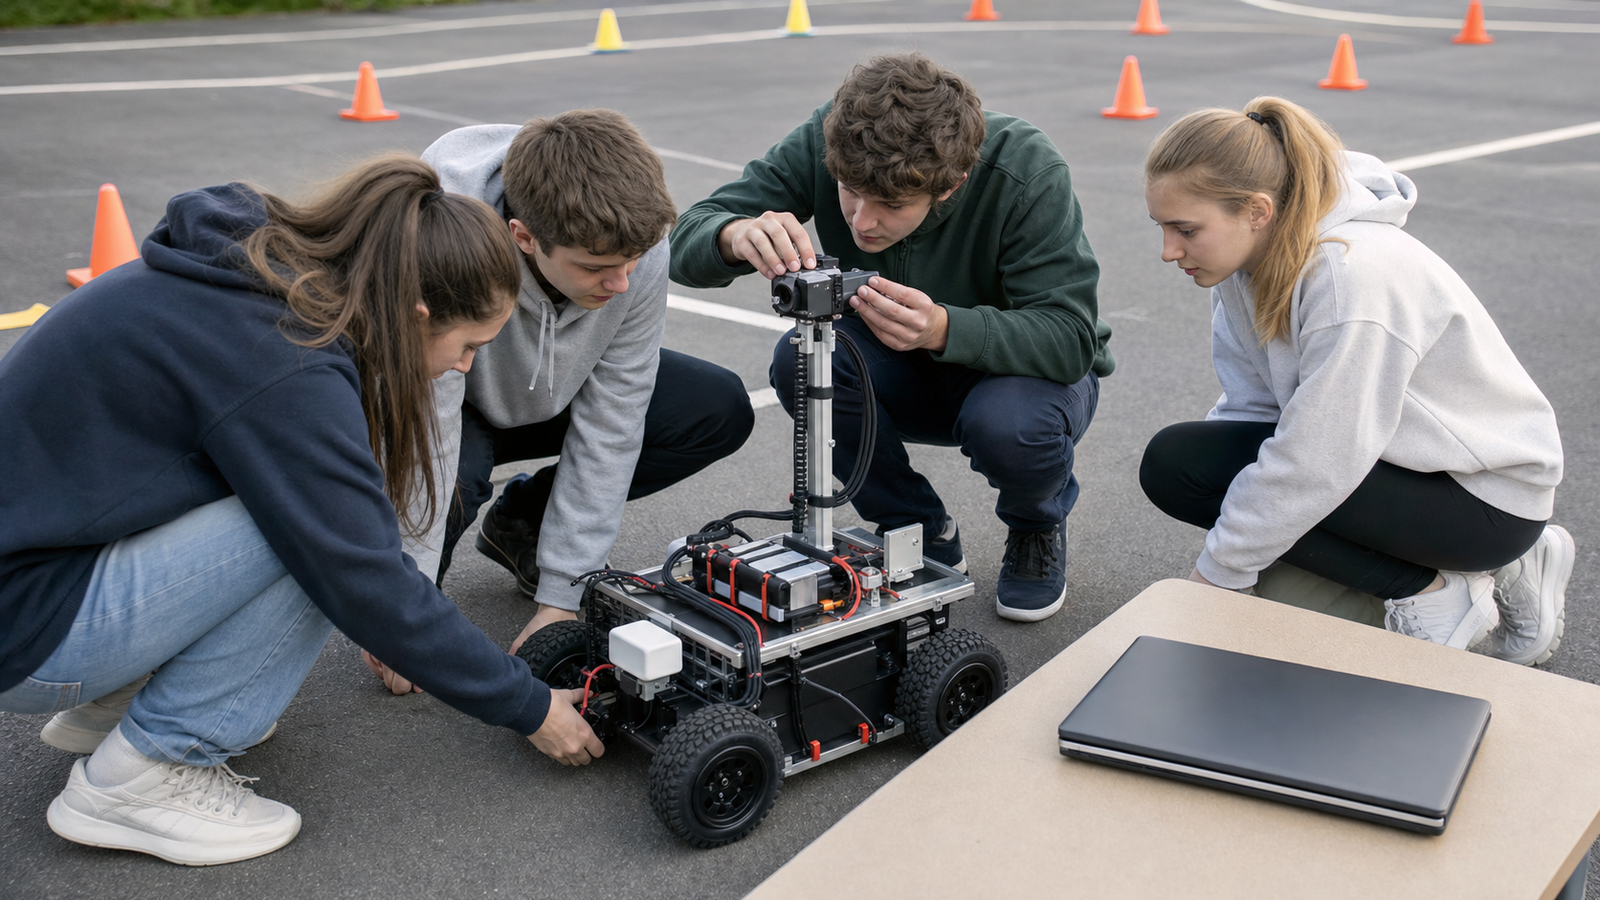
A power bank is not just a battery. In a field robot, it is part of the control system’s reliability story. The best choice is the one you can verify with the exact cable, board, sensors, motors, and logging load your project will use outside the lab.
Bench test before field test
Before the first outdoor run, build a short bench routine. Boot the system from the power bank, start the camera, begin logging, activate wireless networking, move any servos or motors under light load, and leave the setup running longer than a normal demo. If the board reports undervoltage, a camera disconnects, or an SSD vanishes, fix that at the bench instead of discovering it in a parking lot.
For student teams, the documentation can be simple: power bank model, port used, cable used, starting charge, runtime, attached peripherals, and any warnings. That record turns power debugging from folklore into evidence.