
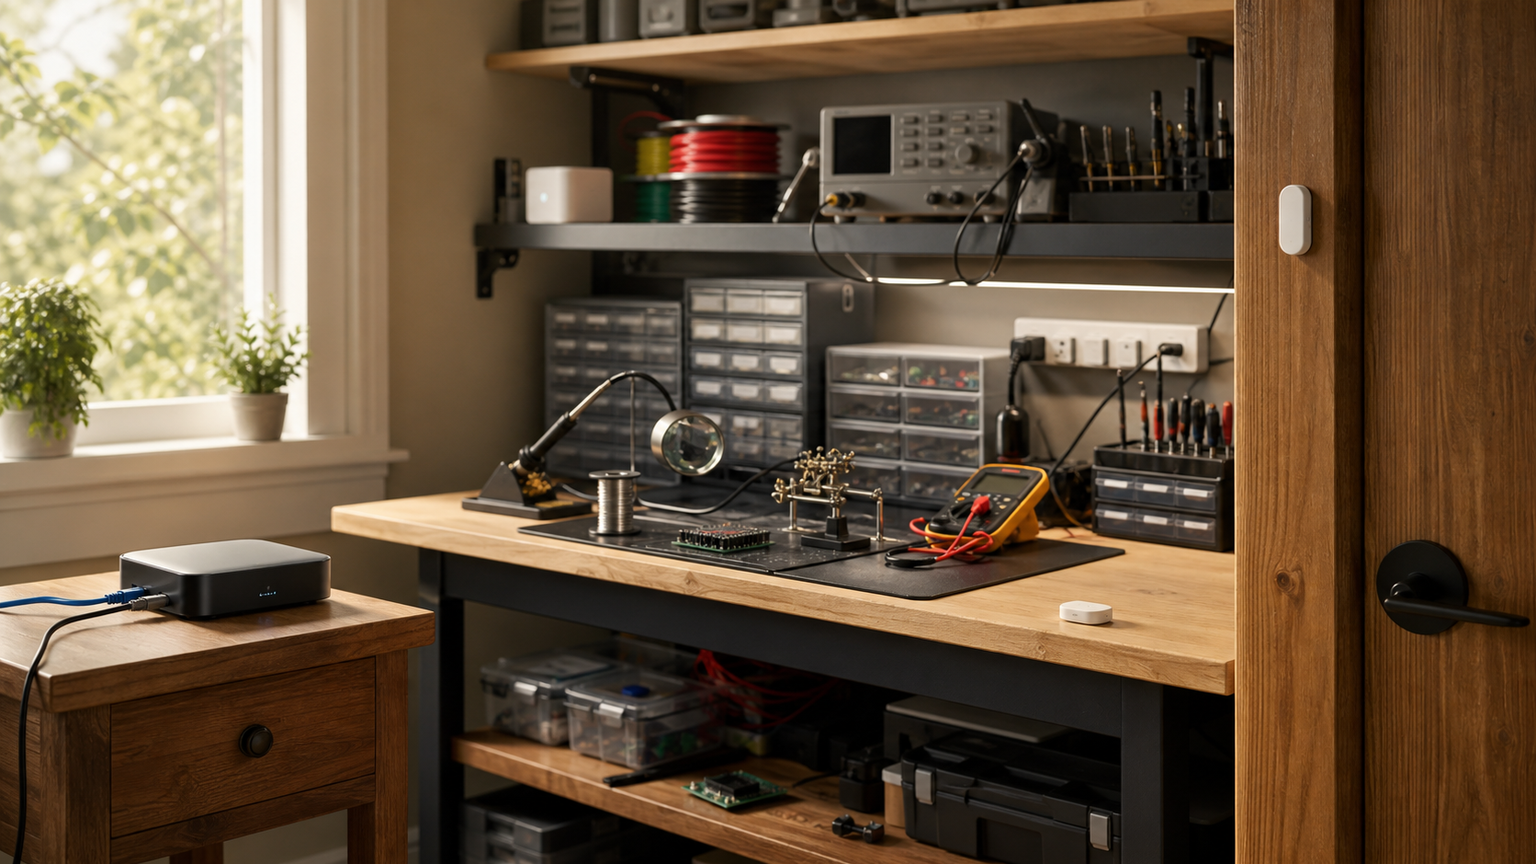
Thread and Matter have made smart-home projects easier to standardize, but a maker lab is not a clean showroom. Metal shelving, tools, chargers, routers, printers and moving projects can turn a simple sensor network into a messy RF environment. Placement matters.
This guide is for builders using Thread sensors in a garage lab, robotics corner, classroom bench or home workshop. It focuses on reliability checks rather than brand recommendations.
The difference matters because sensor placement is rarely part of the purchase decision. A device can be technically compatible with Matter, pair quickly and still become unreliable after it is mounted behind a metal shelf or moved to the far side of a garage door.
Thread Group describes Thread as an IPv6-based mesh networking technology built for IoT devices, while the Connectivity Standards Alliance positions Matter as an application-layer standard for interoperable smart-home devices. In practice, that means a Thread sensor still needs good radio conditions, a reachable border router and a commissioning path that the user can recover when something changes.
Quick answer
Place battery Thread sensors where they can reach at least one stable mains-powered Thread router or border-router path, avoid hiding them behind dense metal objects, test with doors and equipment in normal positions, and record which hub or ecosystem commissioned each device.
Placement rules that actually help
Start with the border router. A Thread sensor network is only useful if the mesh can bridge reliably into the rest of the smart-home system. Put the border router or compatible hub in a central, elevated position when possible, not buried behind a monitor, NAS, metal rack or pile of charging bricks.
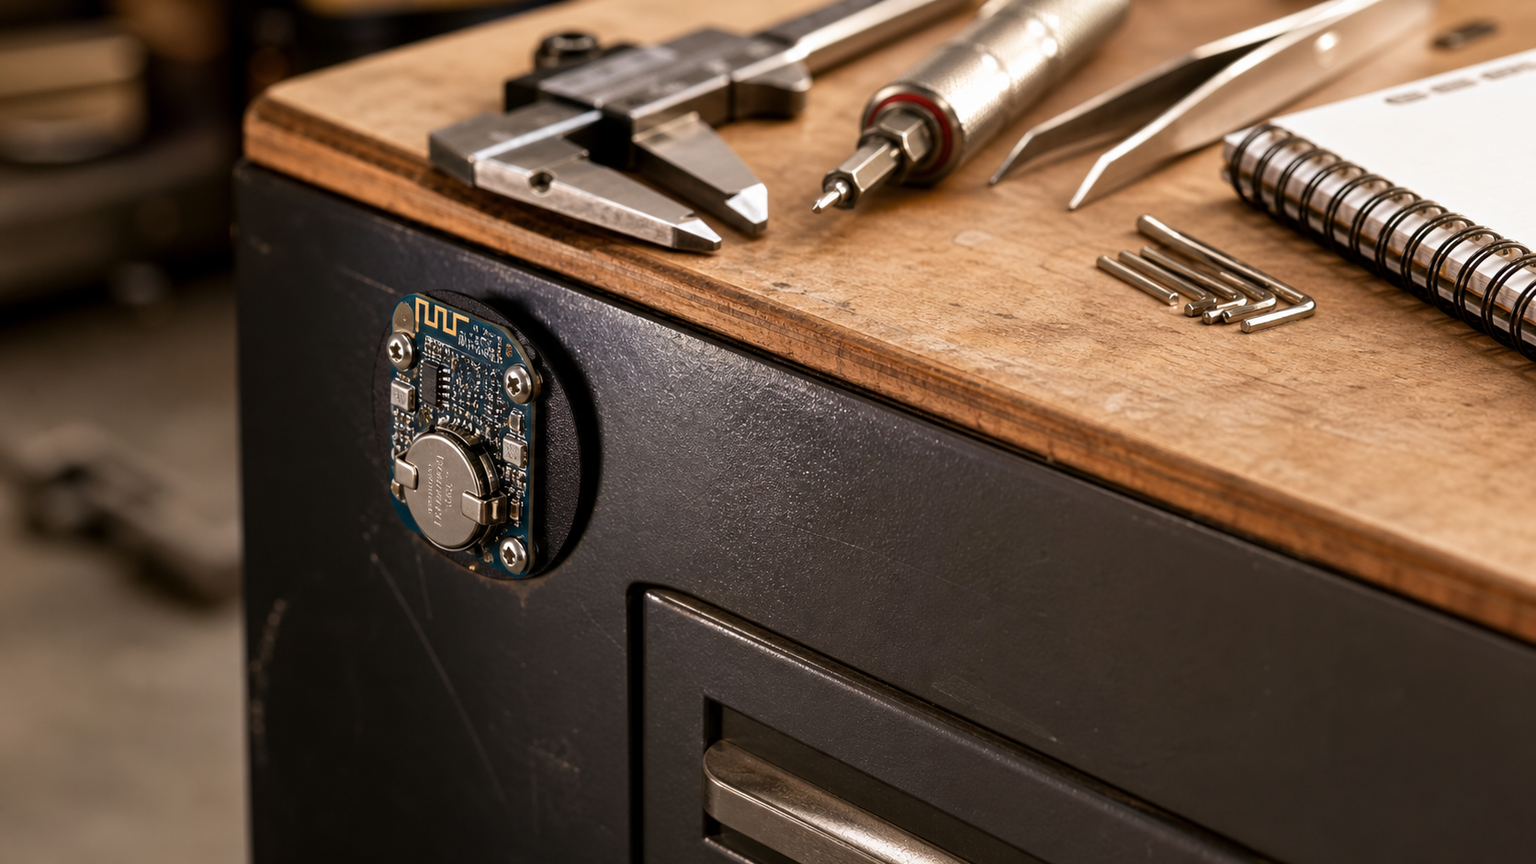
Next, treat metal and water as troublemakers. Tool cabinets, printers, steel benches, garage doors, aquariums and utility appliances can all change radio behavior. A contact sensor mounted on a metal door may still work, but it deserves a longer test period than a sensor on a wooden cabinet.
Do not judge the network from the commissioning moment. Many devices are paired on a desk next to the phone and hub, then moved to the real location afterward. The useful test is whether the sensor still reports quickly after it is mounted, after the door is closed, after chargers are running and after the workshop is in its normal state.
Battery devices deserve extra patience. A sensor may conserve power by sleeping aggressively, which can make troubleshooting feel inconsistent. Before replacing hardware, check wake behavior, battery state, mounting angle and whether the automation depends on instant reporting or can tolerate a small delay.
Maker-lab checklist
- Map the hub, border router and any mains-powered Thread routers before adding battery sensors.
- Keep a simple device log: device name, room, mounting point, battery type, commissioning ecosystem and reset process.
- Test open and closed positions for doors, lids, drawers and cases.
- Watch for delayed automations, not just complete dropouts.
- Replace weak adhesive mounts with screws or brackets where vibration, heat or dust are present.
- Keep critical safety functions separate from hobby automations unless the device is certified and the installation is appropriate.
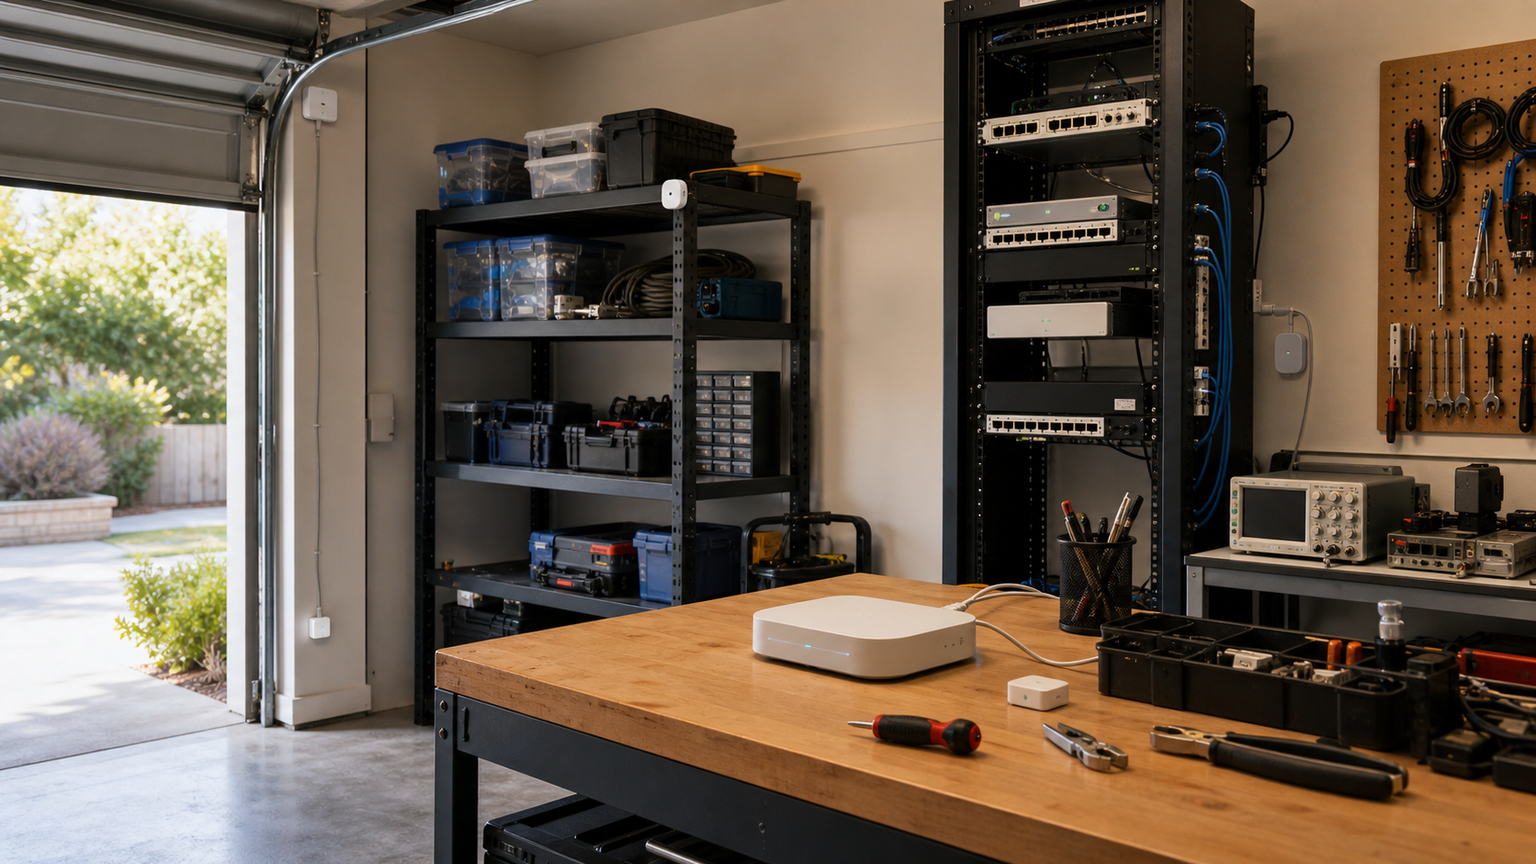
TVG Take
Thread is a strong fit for low-power sensors, but it does not remove the need for installation discipline. The winning setup is not the one with the most devices. It is the one where each device can be found, reset, documented and trusted after the workbench gets rearranged.
If TVG were setting up a maker-lab sensor network, the first hour would go into a floor plan, hub placement and a recovery log before automations were added. That boring setup work pays back when a sensor stops responding six months later.
The same documentation also helps when a hub is replaced. Without a device log, a simple migration can become a reset-and-repair marathon. With a log, the team knows which sensors are mission-critical, which ones are convenience automations and which ones can wait.



