
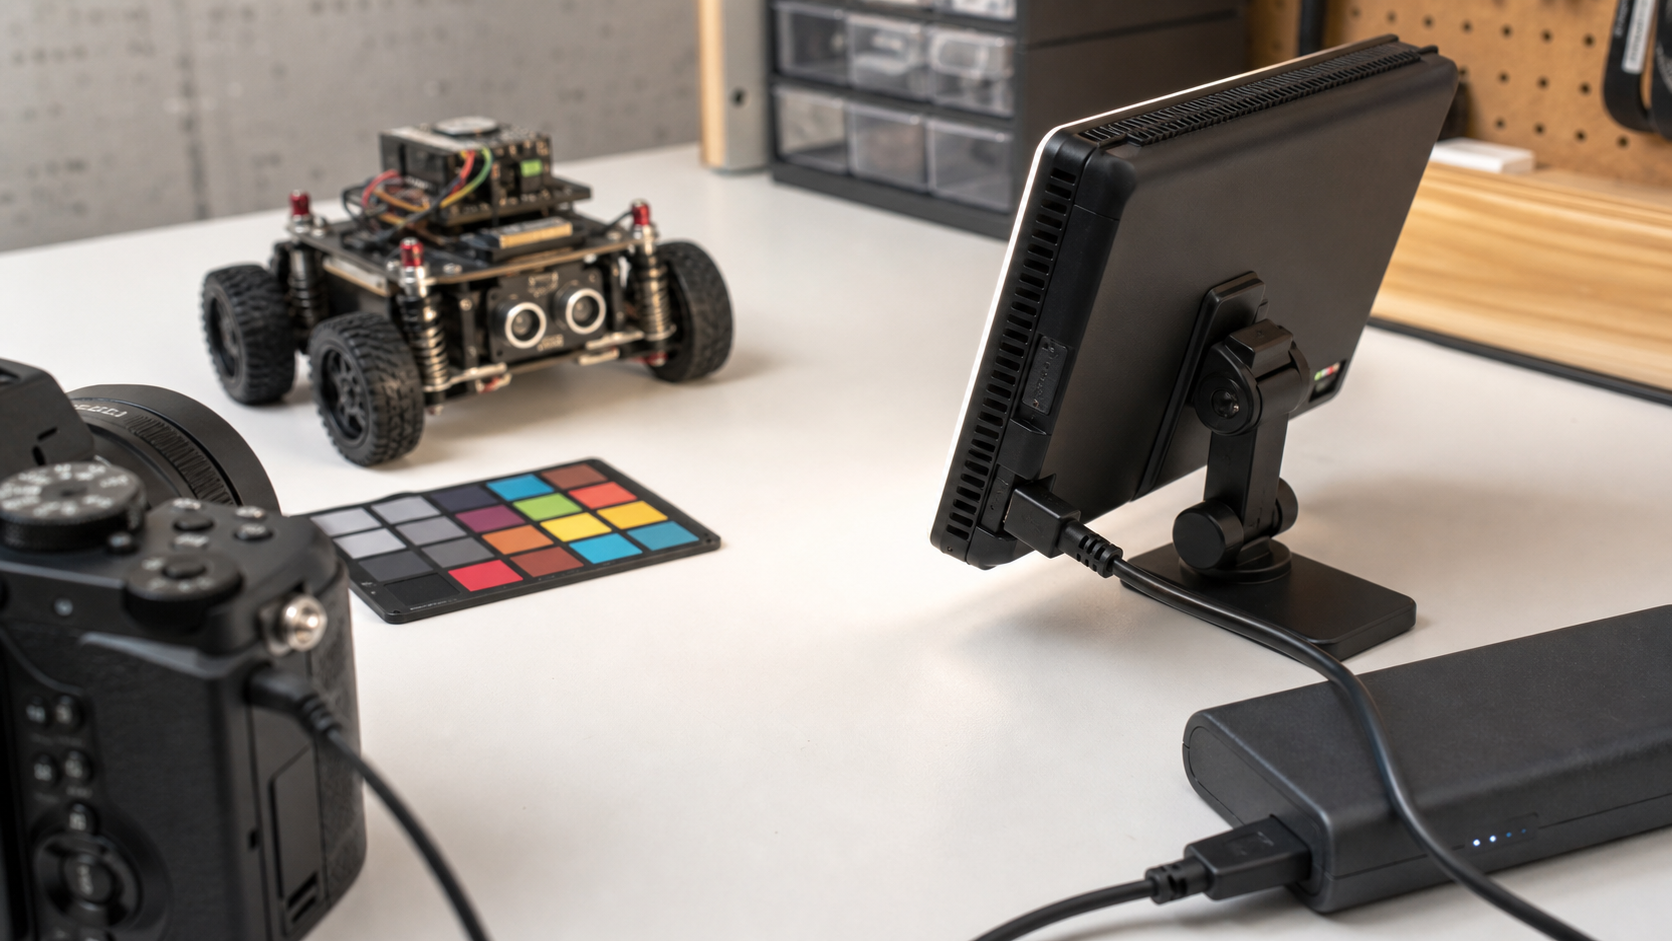
A portable LED light is easy to buy and easy to misuse. For a maker lab, robotics team, or small creator setup, the right question is not simply which light is brightest. The better question is whether the light makes project documentation repeatable.
That means checking color accuracy, flicker behavior, color temperature range, diffusion, mounting, battery runtime, USB-C power behavior, and whether the light can survive a classroom, shop, pit table, or field test. A cheap panel can look fine in a product photo and still create banding, color shifts, harsh reflections on robot parts, or unusable skin tones during interviews.
This guide is for teams filming build logs, robot demos, repair notes, STEM presentations, product-review previews, or field documentation. It pairs well with TVG’s earlier guides on HDMI capture-card specs for robotics and creator kits and USB microphones versus wireless lavs for maker lab video.
Start with repeatability, not maximum output
Manufacturers often advertise output in lux at a stated distance. That number can help compare lights, but it does not tell the whole story. A very bright pocket light may be harsh at close range, drain quickly at full output, or shift color as the battery falls. A lower-output light with good diffusion and stable color can produce better footage.
For maker work, the light often sits close to reflective objects: aluminum rails, glossy 3D prints, acrylic panels, solder masks, motor housings, and tool steel. Hard light can create bright specular highlights that hide the detail a video is supposed to show. A good portable setup usually includes diffusion, bounce, or enough distance to soften shadows.
CRI and TLCI: useful, but not magic
CRI, or Color Rendering Index, is a common way of describing how well a light renders colors compared with a reference source. Many creator lights advertise CRI values in the mid-to-high 90s. That can be useful, especially when a team needs consistent material colors, wire colors, resistor bands, or product finishes.
TLCI, or Television Lighting Consistency Index, is aimed more directly at camera capture. Gossen’s explanation of TLCI notes that it is rated on a scale up to 100 and that higher values indicate easier correction for camera work. Gossen describes TLCI as a camera-oriented lighting consistency measure rather than just a human-vision metric.
For buying decisions, TVG would treat CRI and TLCI as screeners, not final proof. A light claiming high CRI/TLCI is worth considering, but teams should still record a quick test: white card, color card, skin tone, black plastic, brushed metal, and a moving robot part. Review the footage on the same editing system the team will actually use.
Flicker can break high-shutter video
Flicker is a bigger problem for maker documentation than many teams expect. It can show up as banding, pulsing exposure, or uneven brightness when using short shutter speeds, slow motion, or dimmed LED panels.
The U.S. Department of Energy’s Solid-State Lighting program has published research on flicker as a visual phenomenon caused by luminance fluctuation over time. DOE’s flicker research page and its photometric flicker report are useful reminders that flicker is a measurable behavior, not just a vague complaint.
For video teams, the practical buying question is whether the light is advertised as flicker-free at the frame rates and shutter speeds the team uses. That matters for robot matches, motor tests, fast tool motion, and slow-motion capture of failures. If a light uses aggressive pulse-width modulation at low brightness, a dimmed setup may look worse than full output through diffusion.
Color temperature range and mixing
Bi-color lights are helpful because maker footage happens under mixed lighting: classroom fluorescents, shop LEDs, daylight through roll-up doors, pit-area lights, and home-lab lamps. A light that can move from warm to daylight color temperatures can match the room better than a fixed daylight panel.
Still, wide CCT range is not a guarantee of quality. Some lights lose output or color accuracy at the ends of the range. Teams should test at the actual settings they plan to use: 3200K for warm indoor fill, 4300K for mixed rooms, and 5600K for daylight-style setups.
Power and runtime: USB-C details matter
USB-C power is convenient, but it can hide compatibility issues. A portable light may charge over USB-C yet require a specific voltage profile for operation while recording. Some lights support USB-C Power Delivery input; others only charge slowly or step down brightness when powered externally.
For field work, check whether the light can run continuously from a power bank, whether it overheats at high output, and whether brightness changes when switching from battery to external power. A small robotics team may get more value from two modest lights and reliable power banks than from one bright light that only works at full output for a short session.
Mounting, diffusion, and durability
A light that cannot be mounted safely is not ready for a lab. Look for standard 1/4-20 mounting, cold-shoe compatibility, enough tilt adjustment, and a way to add diffusion without blocking vents. Magnetic mounts can be useful, but they should be tested away from sensors, compasses, and devices that could be affected by magnets.
Diffusion is especially important for close-up build footage. A bare LED panel can create multiple sharp shadows and harsh reflections. A small softbox, snap-on diffuser, bounce card, or translucent panel can make the footage easier to watch and easier to color-correct.
Maker lab buying checklist
- Color: high CRI and TLCI claims, plus a real color-card test.
- Flicker: verify behavior at normal, high-shutter, and slow-motion settings.
- Power: check USB-C PD support, runtime at useful output, and external-power operation.
- Heat: run the light for a full filming session before relying on it at an event.
- Mounting: confirm 1/4-20, cold-shoe, clamp, or tripod support.
- Diffusion: budget for diffusion; do not judge the light bare if the project involves reflective parts.
- Controls: physical knobs are often faster than app-only controls during a rushed demo.
TVG Take
For maker labs, a portable LED light should be treated like a measurement tool for communication. The best choice is not the brightest panel on a spec sheet; it is the light that makes your build footage consistent across demos, repairs, interviews, and field tests.
TVG would test any candidate light by filming the same robot, color card, face, moving part, and reflective component at the team’s real frame rates. If the footage stays stable, the colors are correctable, and the power setup lasts through a session, the light is doing its job.



