
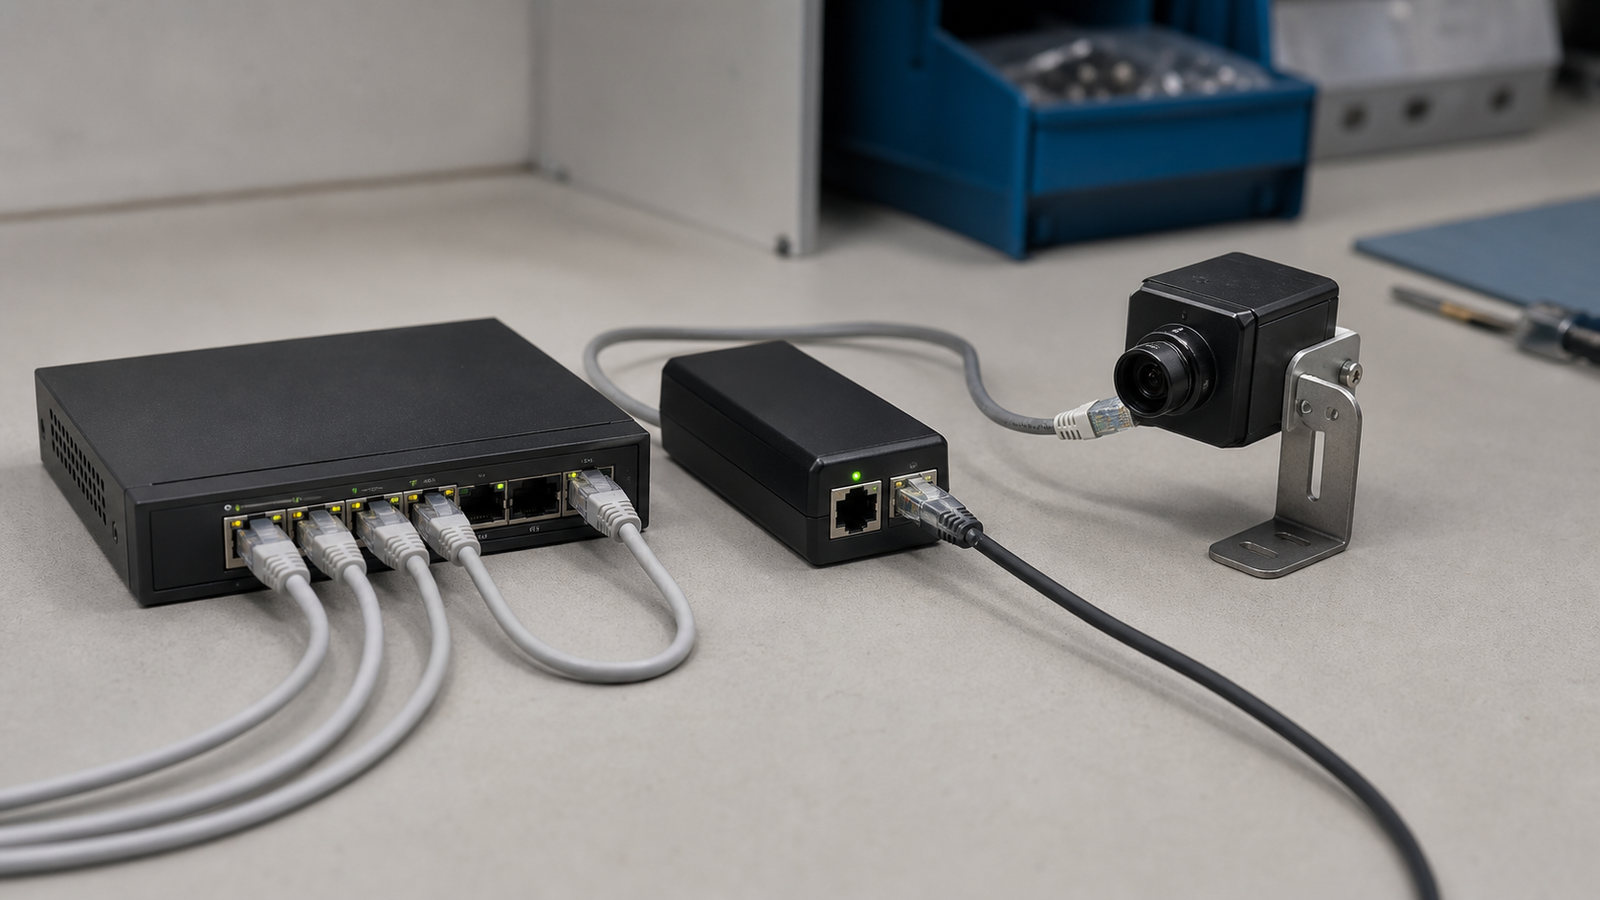
Scope: This is a selection and commissioning framework, not a hands-on comparison of specific injectors or switches.
An injector can power one camera without replacing an existing Ethernet switch. A PoE switch can consolidate several powered devices and may add telemetry or remote port control. The correct choice starts with the camera’s maximum demand and the power source’s documented limits—not the box format.
Collect the specifications first
Record five items before choosing hardware:
- the number of powered devices;
- the required IEEE PoE type or class for each device;
- maximum camera demand with IR, heater, PTZ or other powered features active;
- the power source’s per-port limit and total available budget;
- cable, environment and upstream input-power constraints.
Use each camera manufacturer’s maximum input-power figure for the intended accessory state. Add separately powered accessories only when they actually draw through the same PoE path.
Follow the decision path
- One known camera, no telemetry required: A standards-compatible injector may be sufficient when its output, input supply, connector speed and environment rating match the camera and cable run.
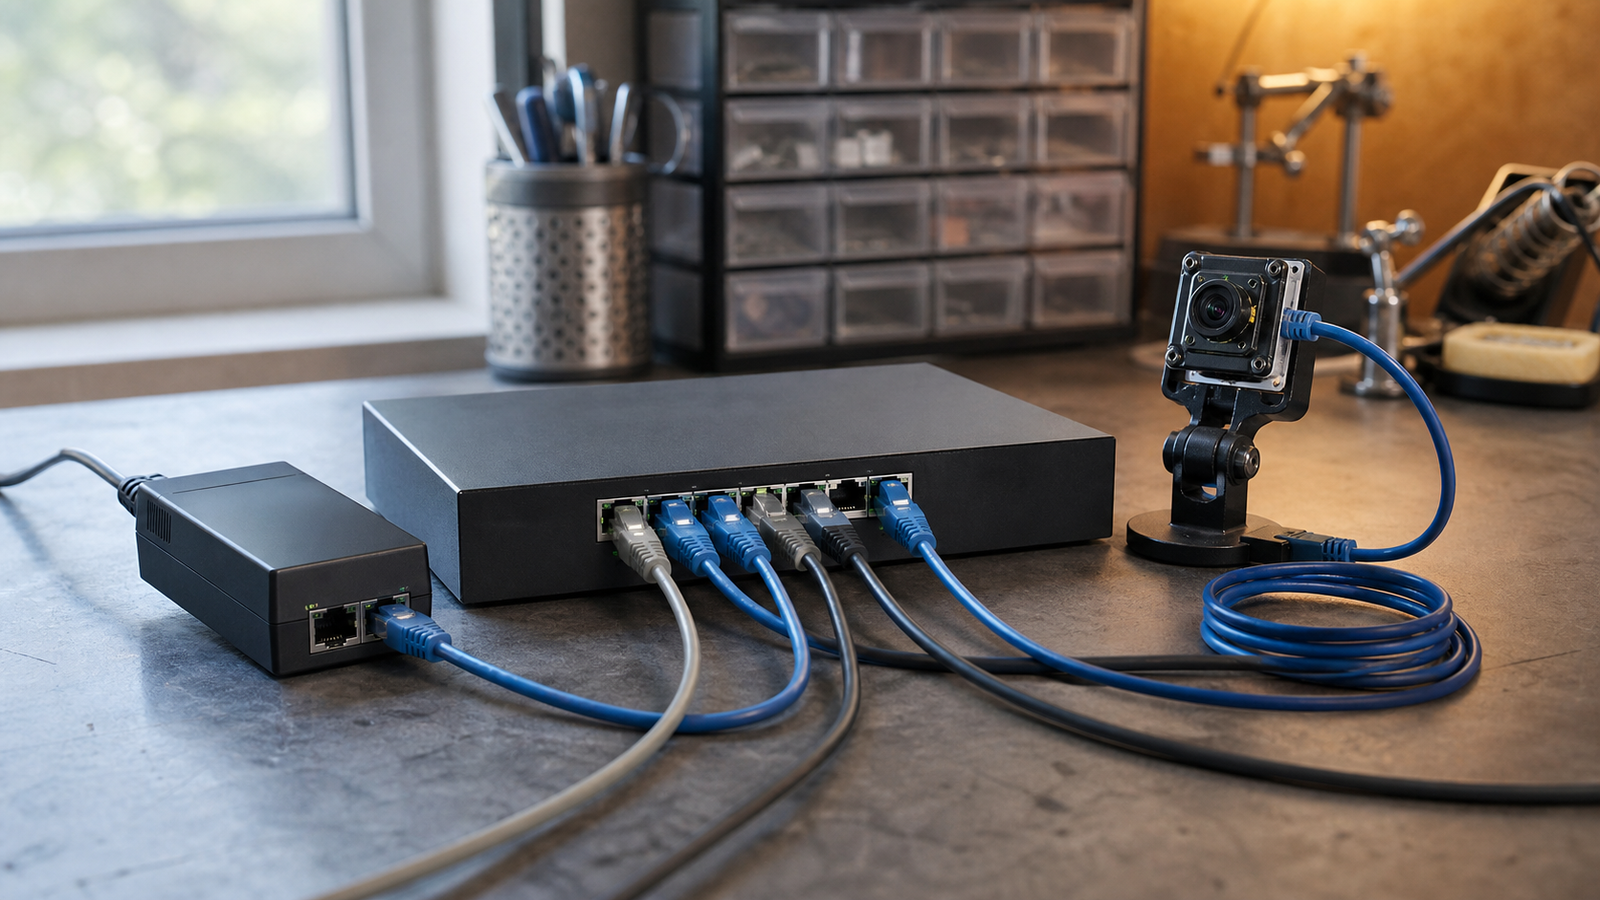
- Several cameras: A switch usually simplifies topology, but every port and the total budget still have to support the planned load.
- Telemetry or remote restart required: Verify those functions in the exact datasheet. Some managed switches expose link state, allocated or measured power and PoE events; basic devices may provide only status LEDs.
- Mobile or harsh installation: Select connectors, enclosures and input-power hardware for the actual vibration, temperature and moisture conditions.
Do not confuse injector versus switch with unmanaged versus managed. Managed injectors and unmanaged PoE switches both exist.
Build a commissioning record
For each port, record:
- camera model and firmware;
- required PoE type/class and maximum demand;
- active accessories;
- power-source model, port and available budget;
- cable identity, length and category;
- negotiated link speed;
- cold-start and simultaneous-restart result;
- power and event logs, where the hardware provides them.
Test the deployed power path
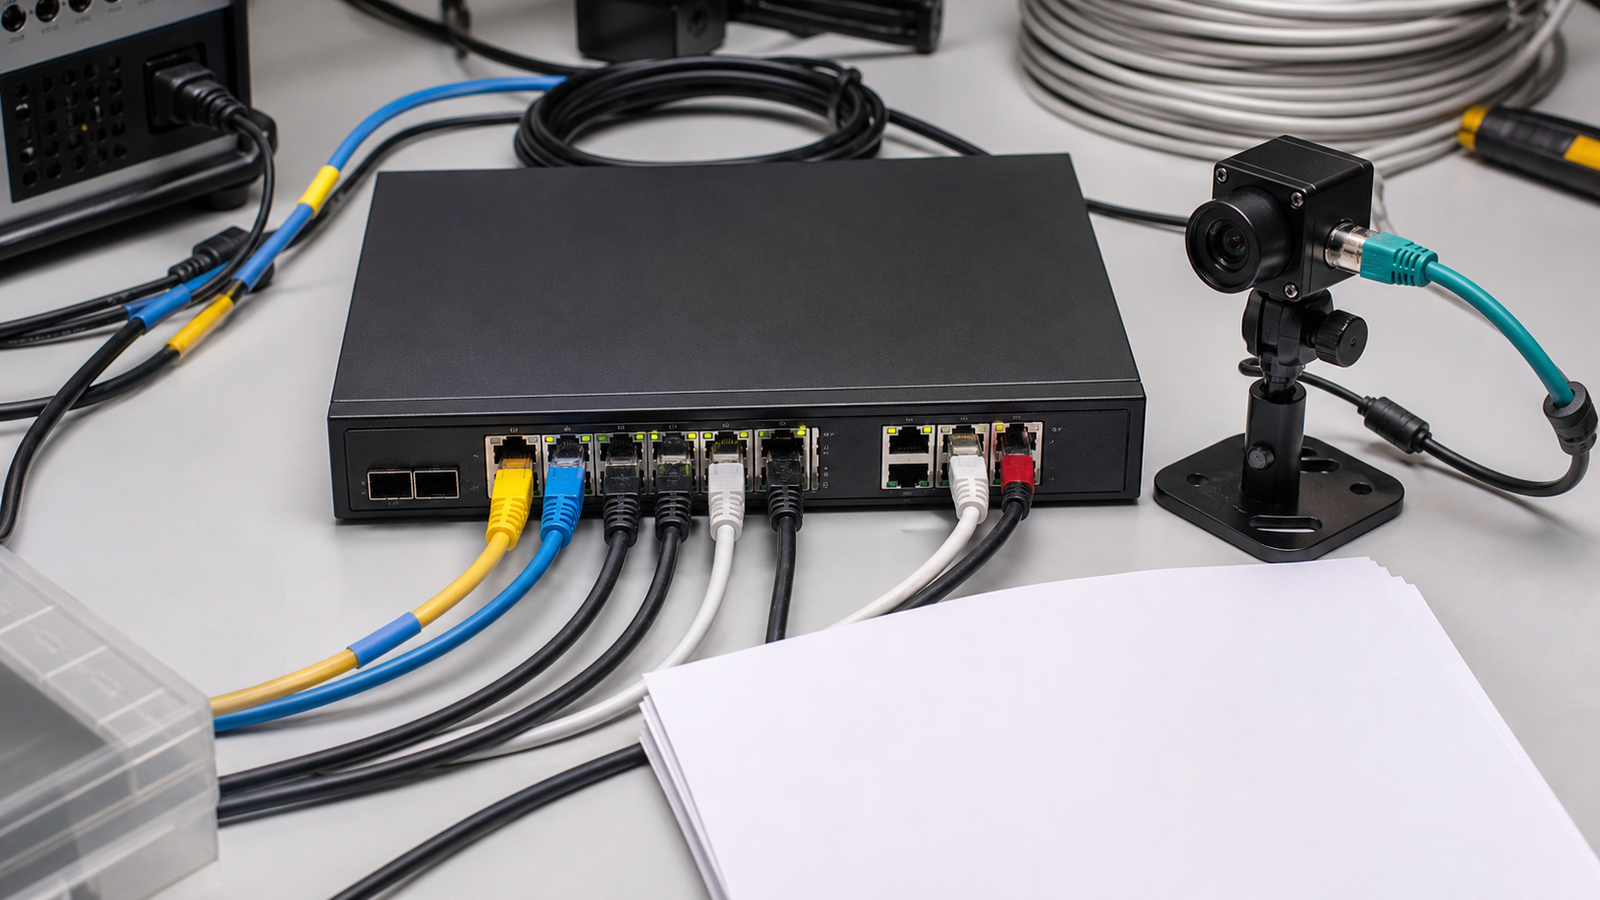
Start with a known-good harness. Exercise the camera’s maximum accessory state, then restart one device and all devices. Repeat the test with the deployed cable and actual upstream power source. Record whether a failure is loss of power, loss of link, an application restart or collapse of the upstream supply.
A short known-good cable is useful for isolation; it is not a substitute for validating the installed run. Ensure each port meets the device requirement and that the sum of maximum planned loads remains inside the documented total budget under the intended input and temperature conditions.
Evidence limits
There is no universal reliability winner. A switch can improve visibility but can also become a shared failure point. Management data, accuracy and restart controls are product-specific. For outdoor, shielded or building-entry cabling, follow the camera, power-source, enclosure and surge-device instructions and use a qualified installer where protective bonding is involved.
For persistent camera-network design beyond PoE power sizing, see TVG’s PoE versus Wi-Fi robot-camera reliability guide.



