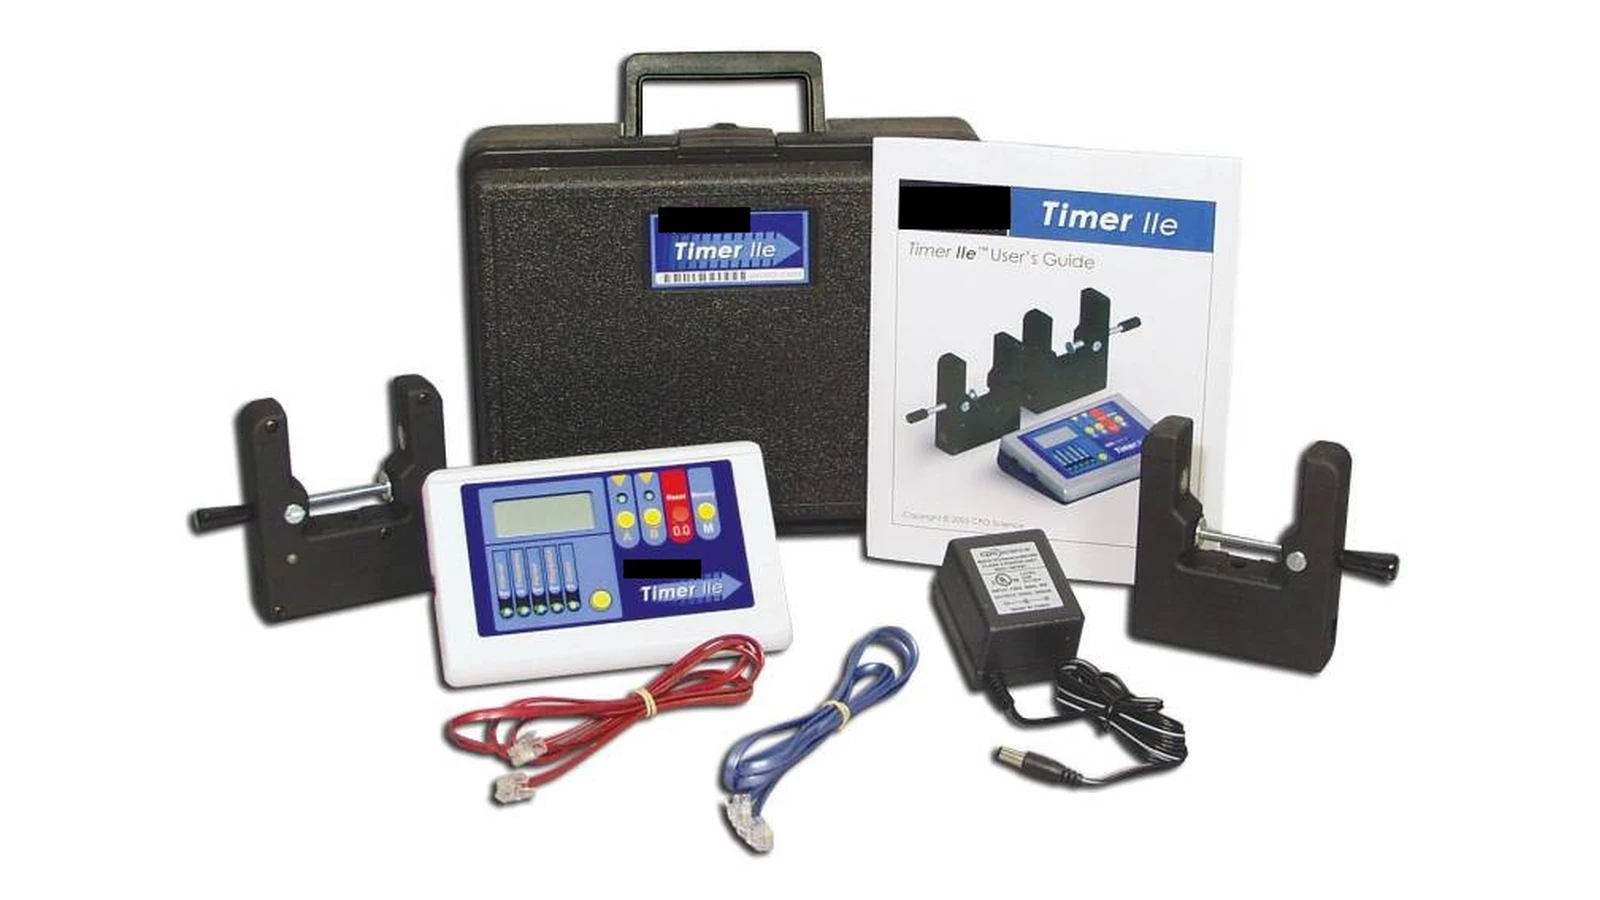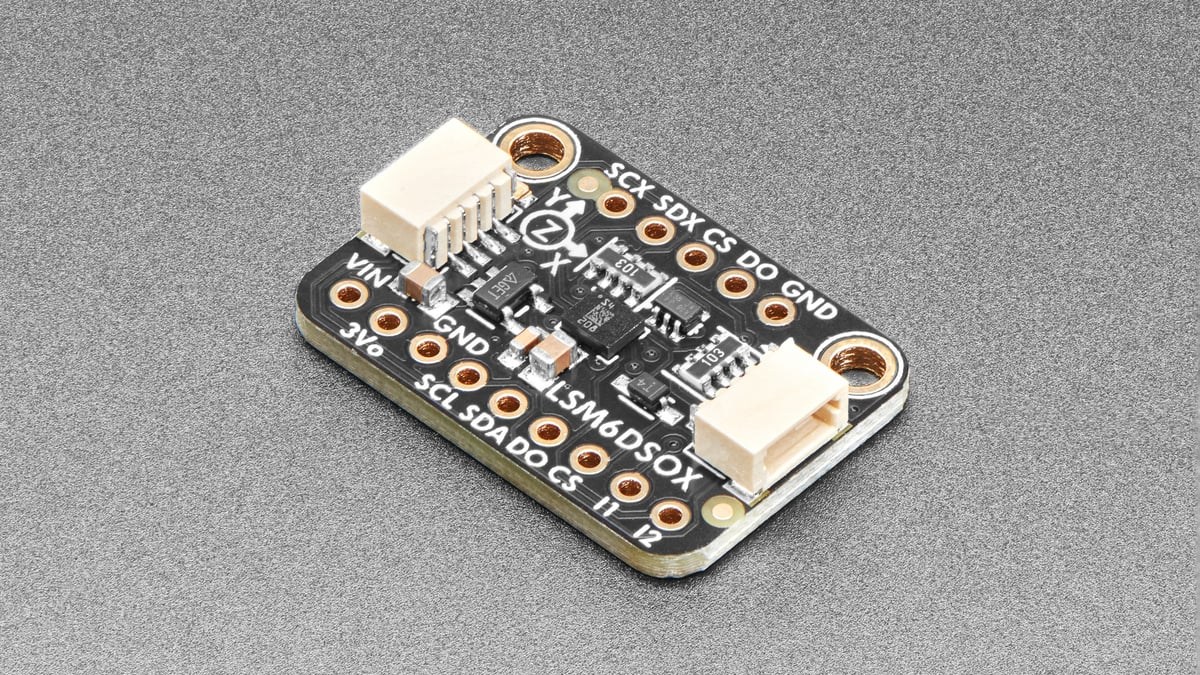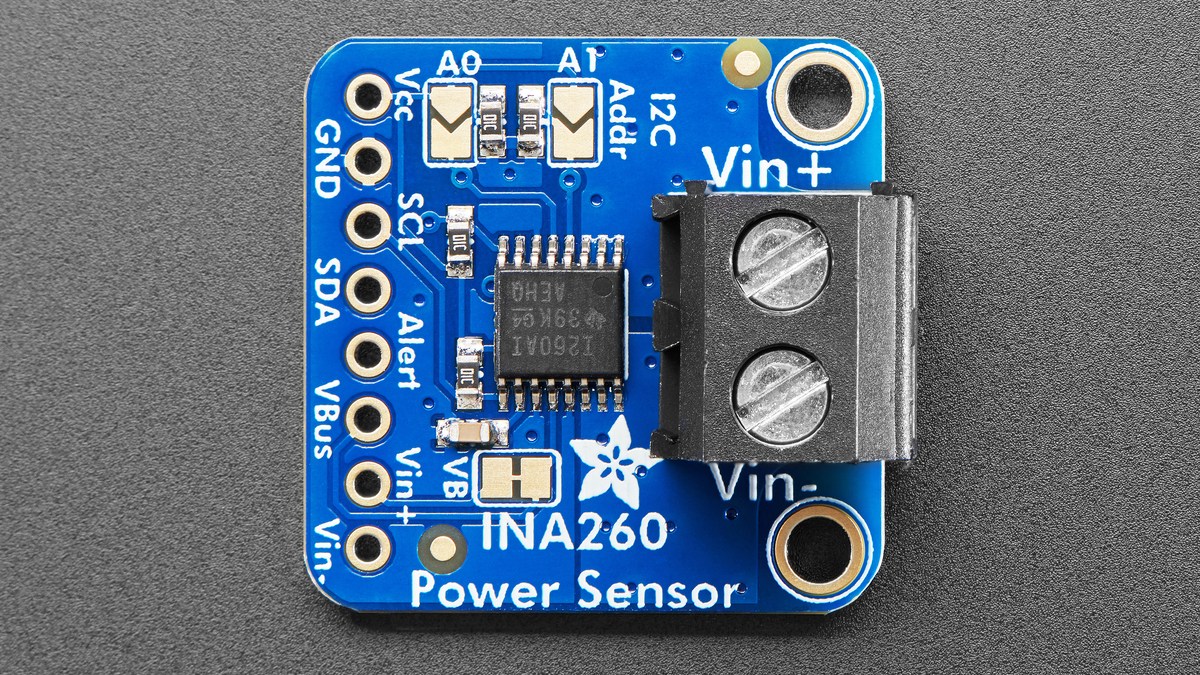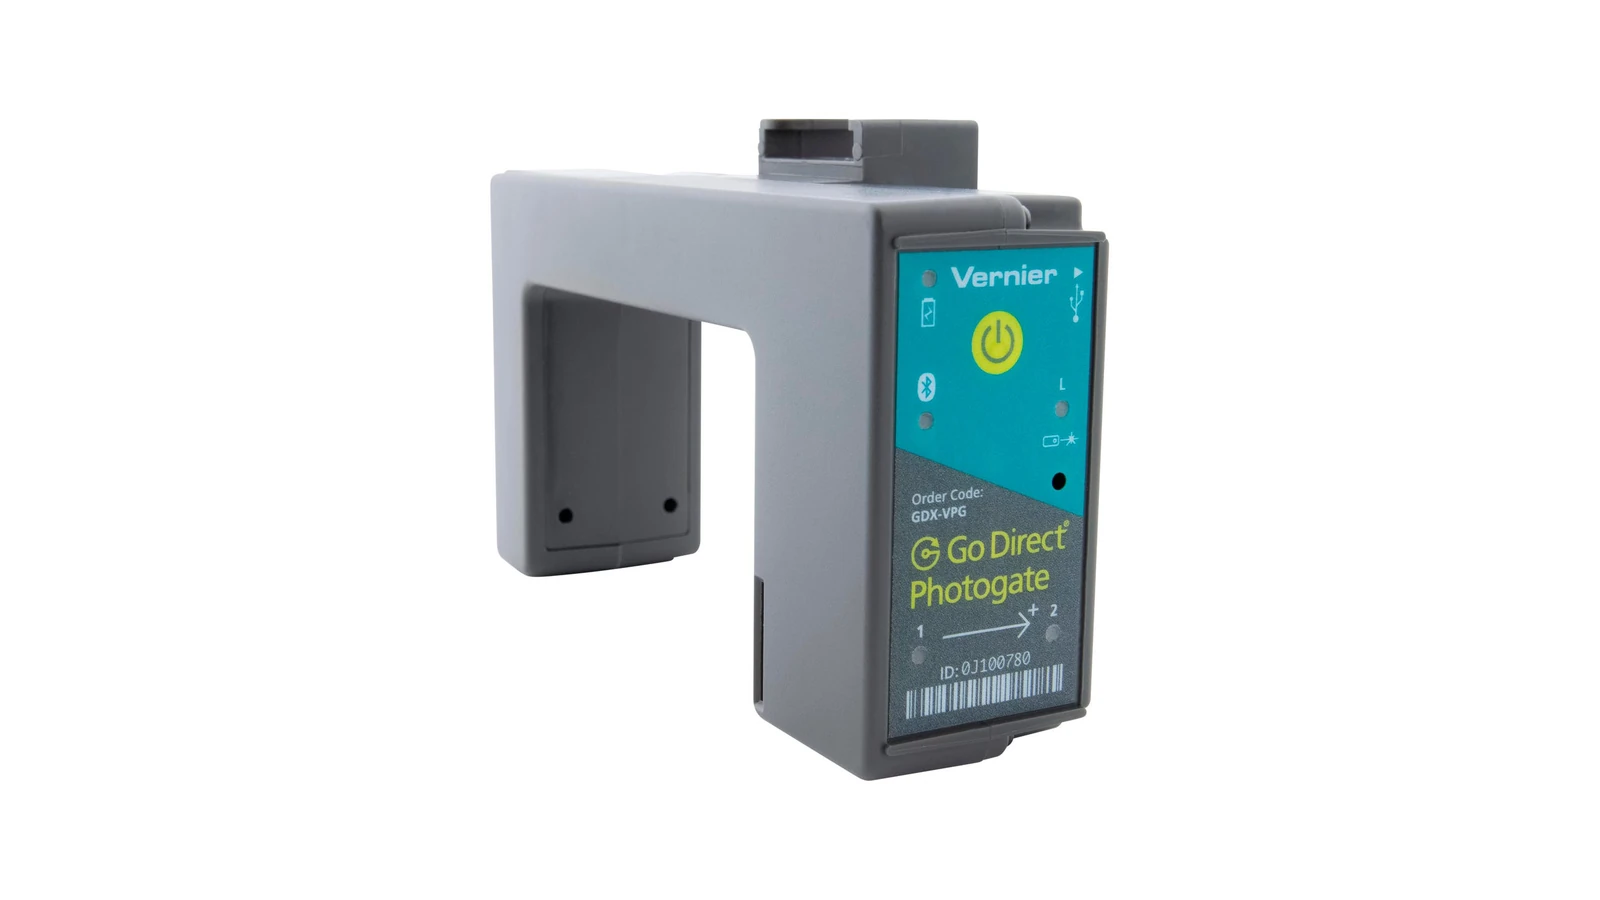
Photogates and ultra-wideband tags do not measure the same thing. A photogate records the instant an object interrupts a fixed optical beam. A UWB system estimates range or position from radio timing between tags and anchors. The first question for a STEM sports project is therefore not which technology sounds newer, but which event the project must observe.
A crossing event favors a photogate
For a cart, ball, runner or bicycle passing one known line, a photogate creates a clear geometric boundary. Two gates can measure elapsed time over a known distance. The setup still needs careful alignment, a repeatable trigger object and protection from movement or glare, but the measurement is easy to explain: the beam changed state at a particular location.
Vernier documents photogates for velocity, acceleration, pendulum and collision experiments. The gate can be mounted on a stand, while the data system records blocked and unblocked transitions. That makes it a strong teaching tool for discrete events and uncertainty tied to gate placement.
Tracking through a space favors UWB
UWB tags are useful when the project needs repeated position or range estimates rather than one crossing. Qorvo’s DWM3001 development material describes two-way-ranging and time-difference-of-arrival uses. Those systems add anchor geometry, clock behavior, radio obstruction, antenna orientation and software filtering to the error budget. A displayed coordinate is not automatically ground truth.
Define the validation run
Write a measurable acceptance test before assembly. For a photogate, record line position, trigger width and repeated crossing times. For UWB, survey anchor positions, log update rate and compare tag estimates with known marks across the course. If both are available, use the gate as an independent event marker rather than assuming either system validates itself.
For a school build, a photogate is usually the simpler instrument for lap lines and short-track velocity. UWB earns its complexity when motion between lines is the real subject. Report repeatability and known setup limits instead of presenting one fastest reading as accuracy.
Synchronize every logger to a documented start event and retain raw timestamps. A polished dashboard can conceal dropped radio updates or repeated beam triggers, so preserve the event stream and note any filtering. That record lets another student reproduce the calculation instead of trusting only the final display.
Keep the comparison honest
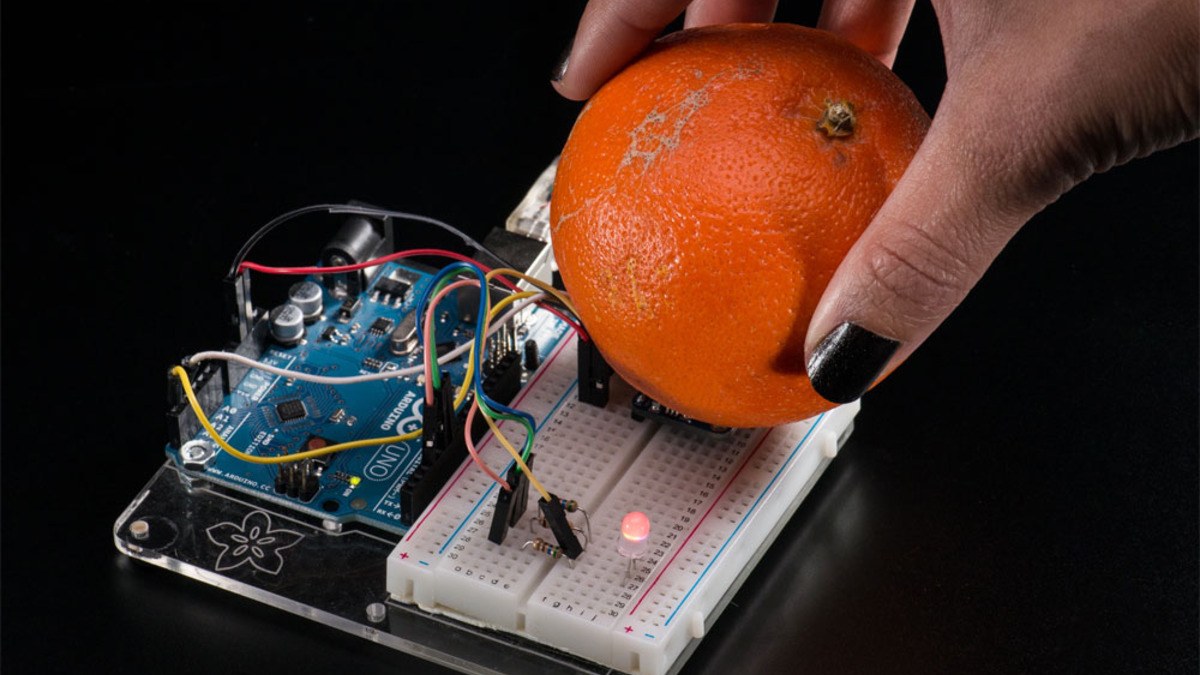
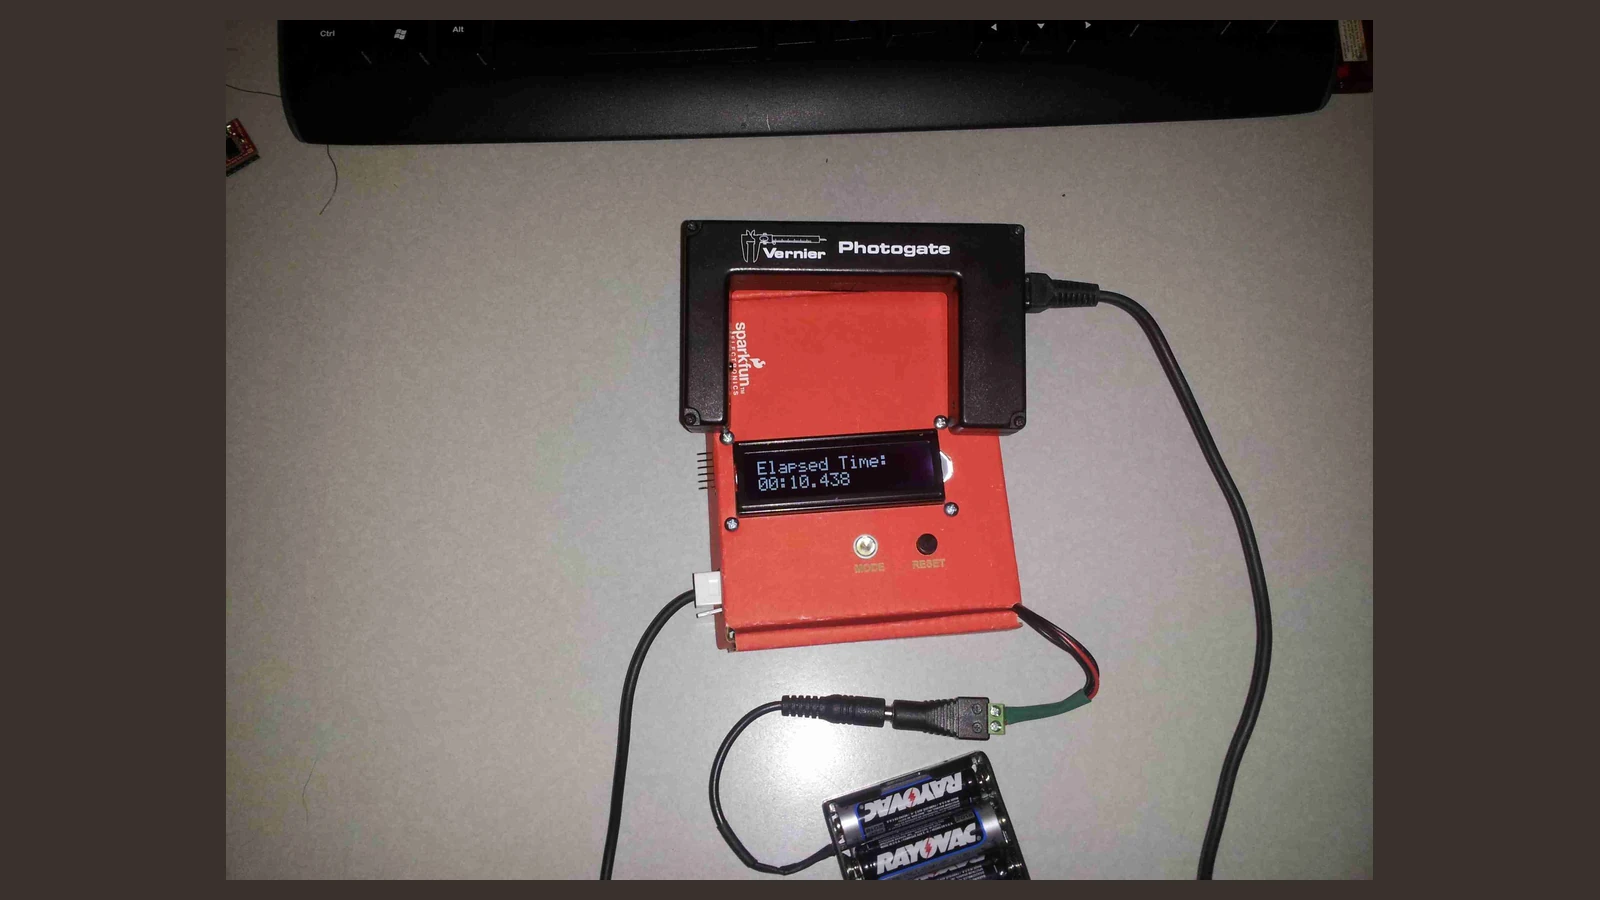
The photographed bench systems illustrate hardware categories, not a TVG performance test. Cable strain relief, stable mounts and a visible stop boundary matter around moving equipment. Keep low-voltage electronics away from the path and do not place trip hazards across a course.