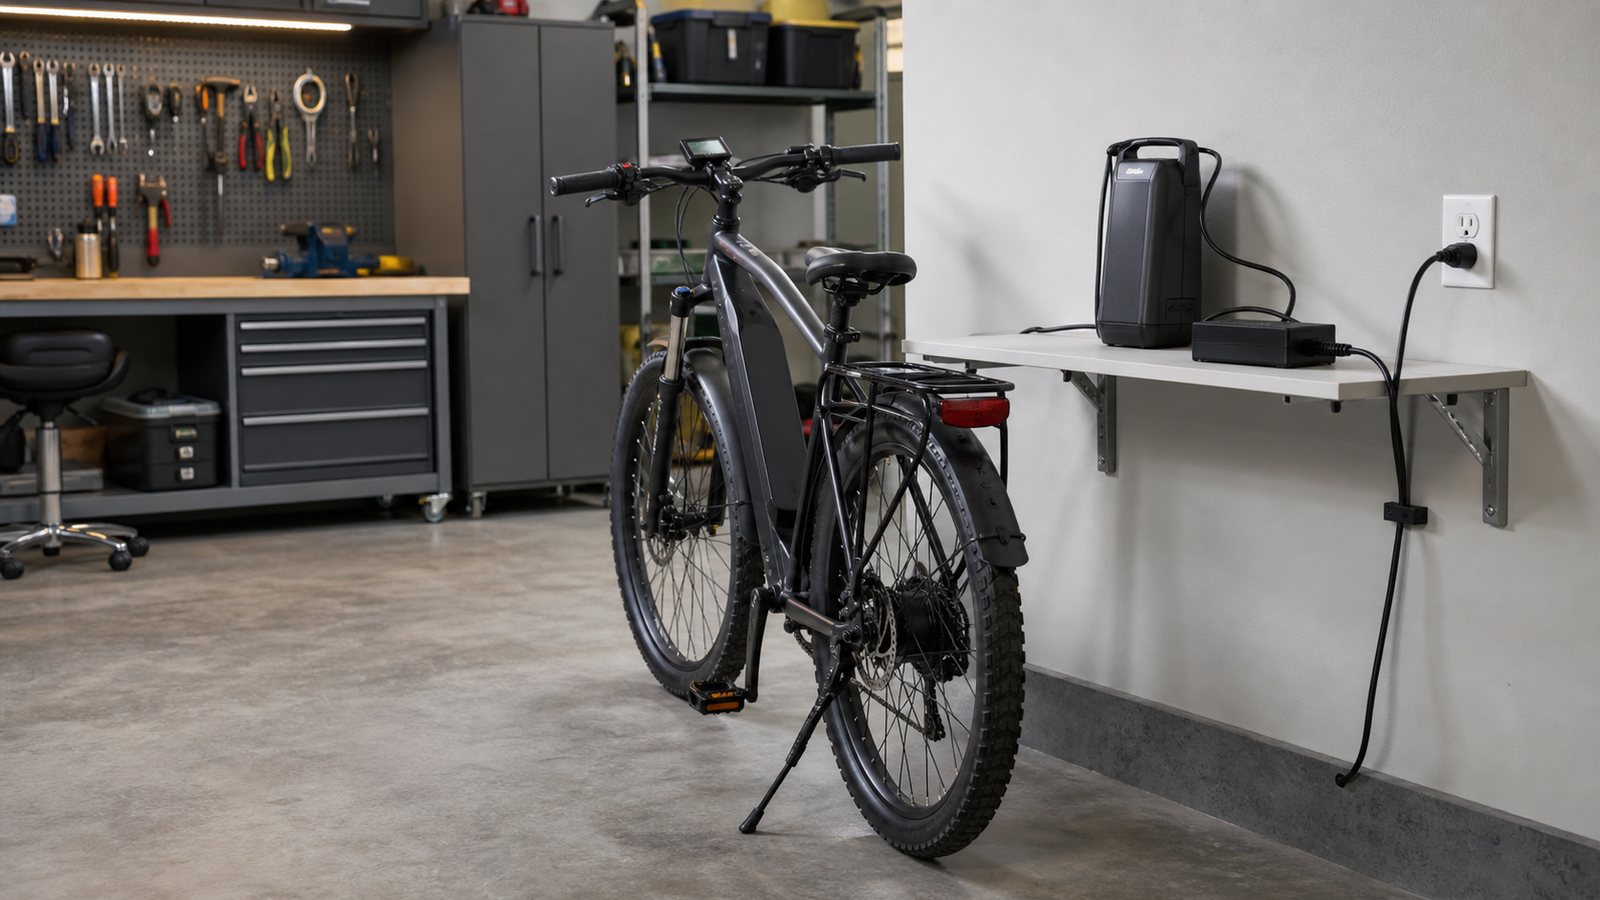
E-bikes, scooters, and other small electric vehicles are transportation tech, but their charging habits often land inside the same garage where people run 3D printers, soldering stations, robot batteries, power tools, and home-lab equipment. That makes charging a systems problem. The question is not only whether the vehicle works; it is whether the room has a predictable way to power, store, supervise, and unplug batteries.
This guide extends TVG’s garage-lab coverage, including our EV charger load-management guide. It does not replace manufacturer instructions or local electrical codes. It gives makers a practical checklist for treating e-mobility charging like part of the lab plan instead of a cable tossed across the floor.
Start with certified systems and matching chargers
UL describes UL 2849 as certification and testing for e-bike electrical systems. For buyers and lab managers, the principle is straightforward: prefer products with recognized electrical-system certification, use the charger supplied or approved by the manufacturer, and avoid mixing unknown battery packs with unknown chargers.
That sounds basic, but it is the same engineering discipline used elsewhere in a lab. Connectors, voltage, current limits, thermal behavior, and battery management systems all matter. A charger that physically plugs in is not automatically the right charger.
Plan the outlet and cable path
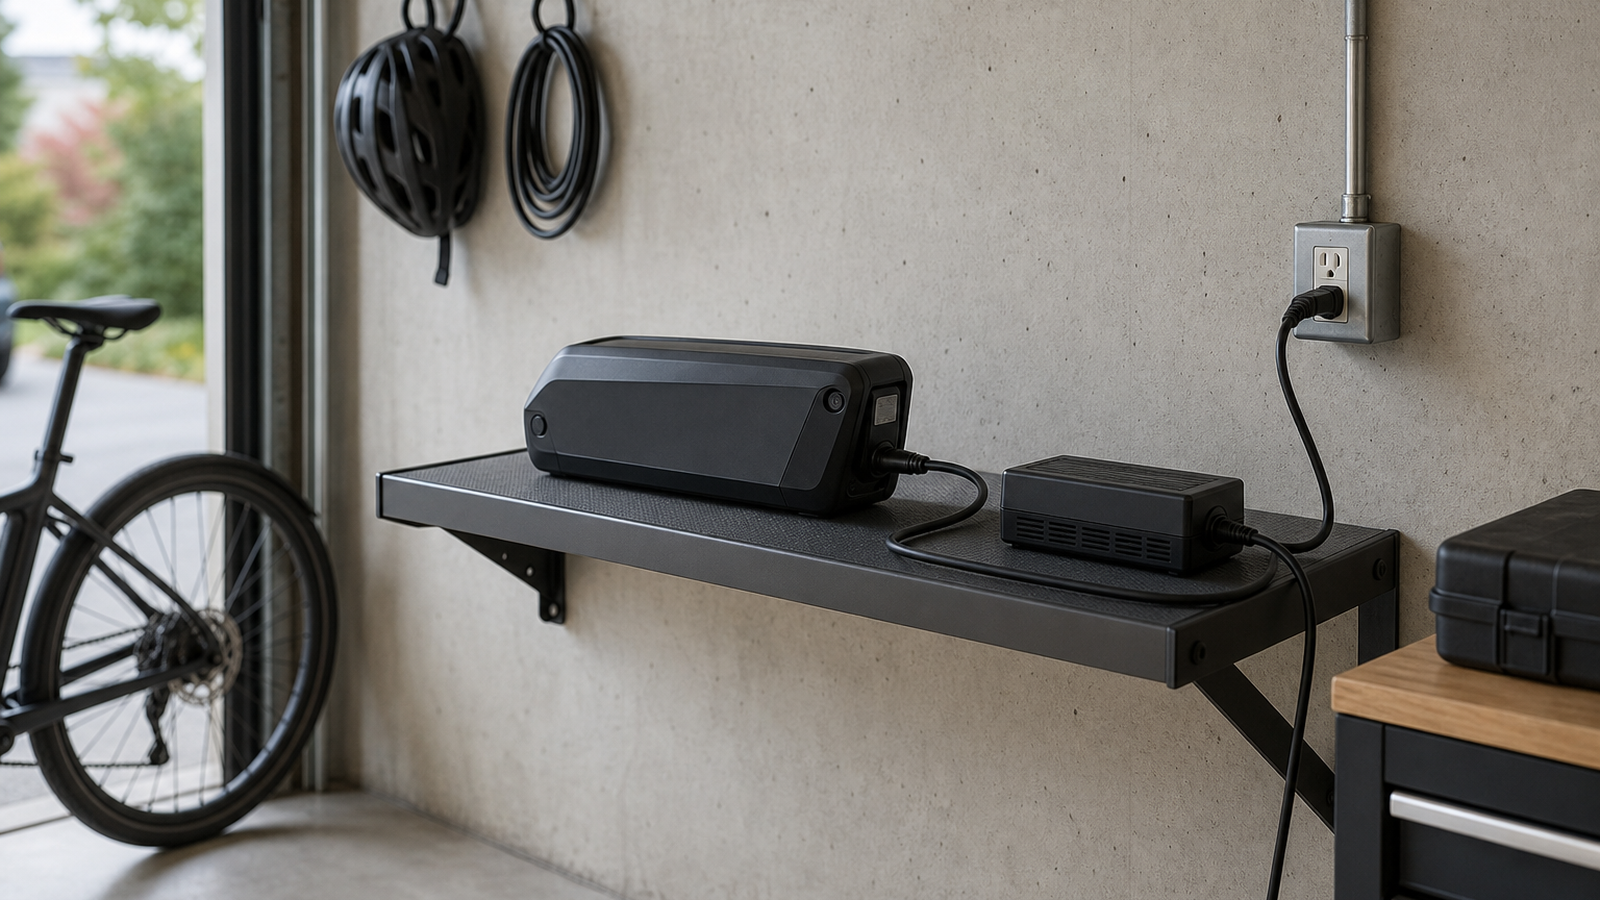
A garage lab often has more devices than outlets. Extension cords become tempting, especially when an e-bike is parked near the door and the nearest receptacle is behind a bench. That is a warning sign. Charging equipment should not create trip hazards, pinched cables, overheated adapters, or a daily habit of daisy-chaining power strips.
Borrow the same thinking used for workbench tools. Put the charging location near a suitable outlet. Keep the charger on a stable surface. Route cables where they will not be crushed by tires, chairs, carts, or storage bins. Leave room around the charger and battery so heat is not trapped under clutter.
Build a garage-lab charging checklist
- Use the manufacturer’s approved charger and battery combination.
- Prefer certified e-bike electrical systems when buying new equipment.
- Charge on a stable, uncluttered surface with airflow.
- Keep cables out of walkways and away from moving wheels or sharp edges.
- Do not bury charging batteries under jackets, cardboard, or storage bins.
- Unplug after charging according to the manufacturer’s guidance.
- Keep a written list of batteries, chargers, and where each one belongs.
Where STEM teams can learn from it
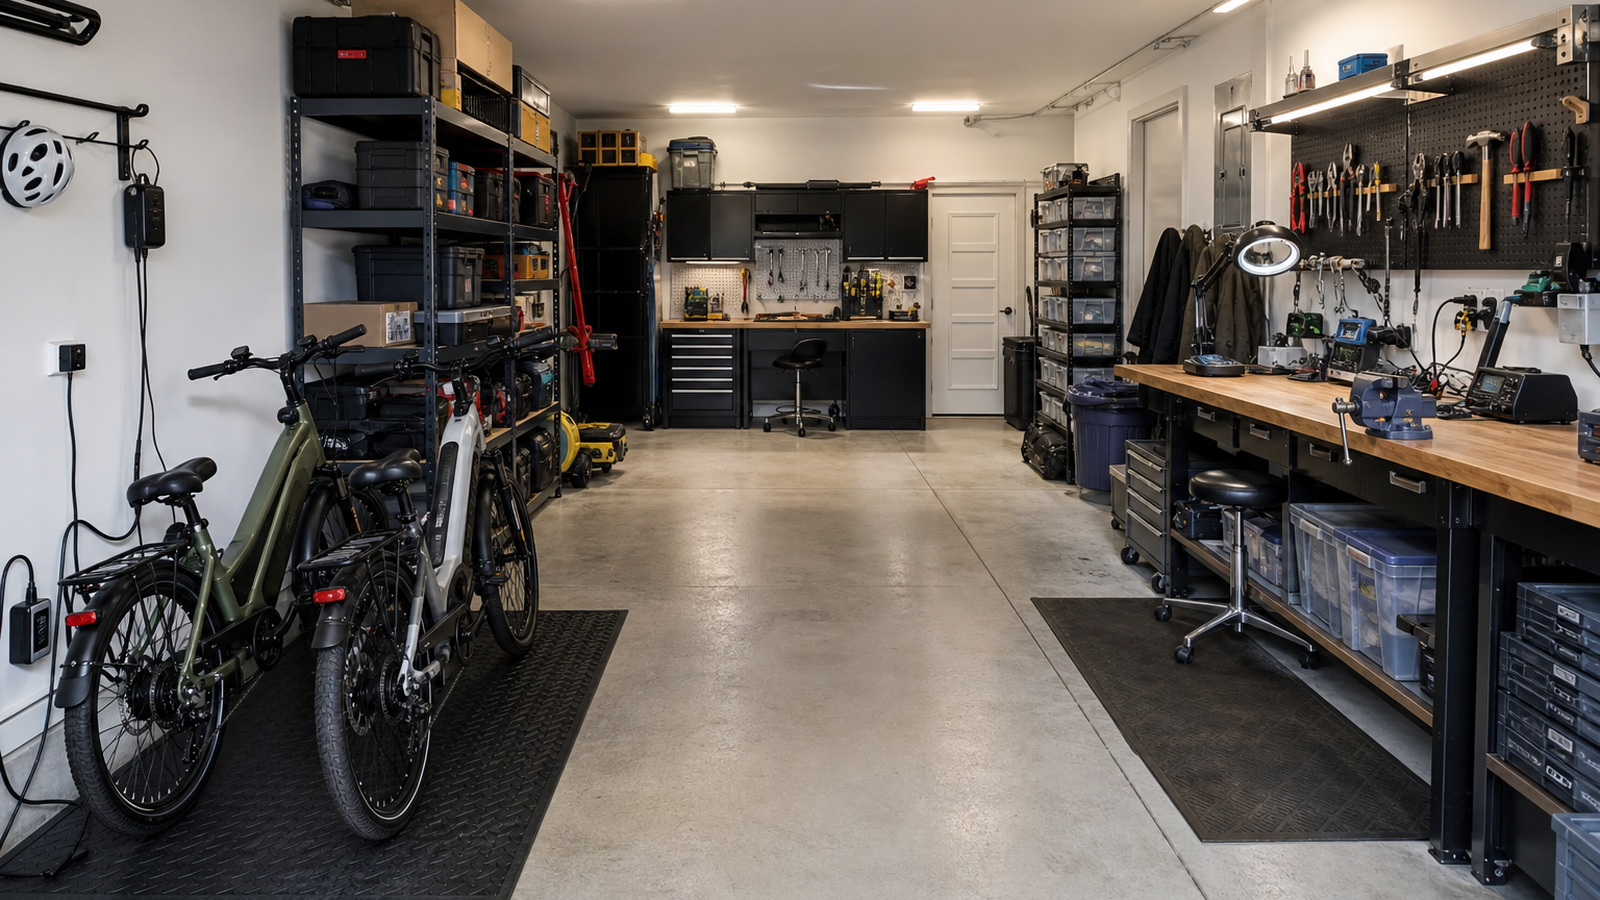
The same checklist mindset applies to robot batteries and portable power stations. Students can map battery chemistry, charger labeling, connector types, storage locations, and inspection routines. The lesson is not fear. It is configuration control: know which energy system belongs with which charger, where it charges, and what the normal process looks like.
The NFPA’s lithium-ion battery guidance is a useful reminder that everyday battery-powered devices deserve deliberate charging habits. For a maker lab, the goal is to make safe behavior the default path.
TVG Take
An e-bike charger should not be an afterthought in a garage lab. Treat it like a station: known outlet, known charger, clear surface, cable control, and supervision habits. Transportation tech becomes easier to live with when its energy workflow is designed as carefully as the vehicle.