
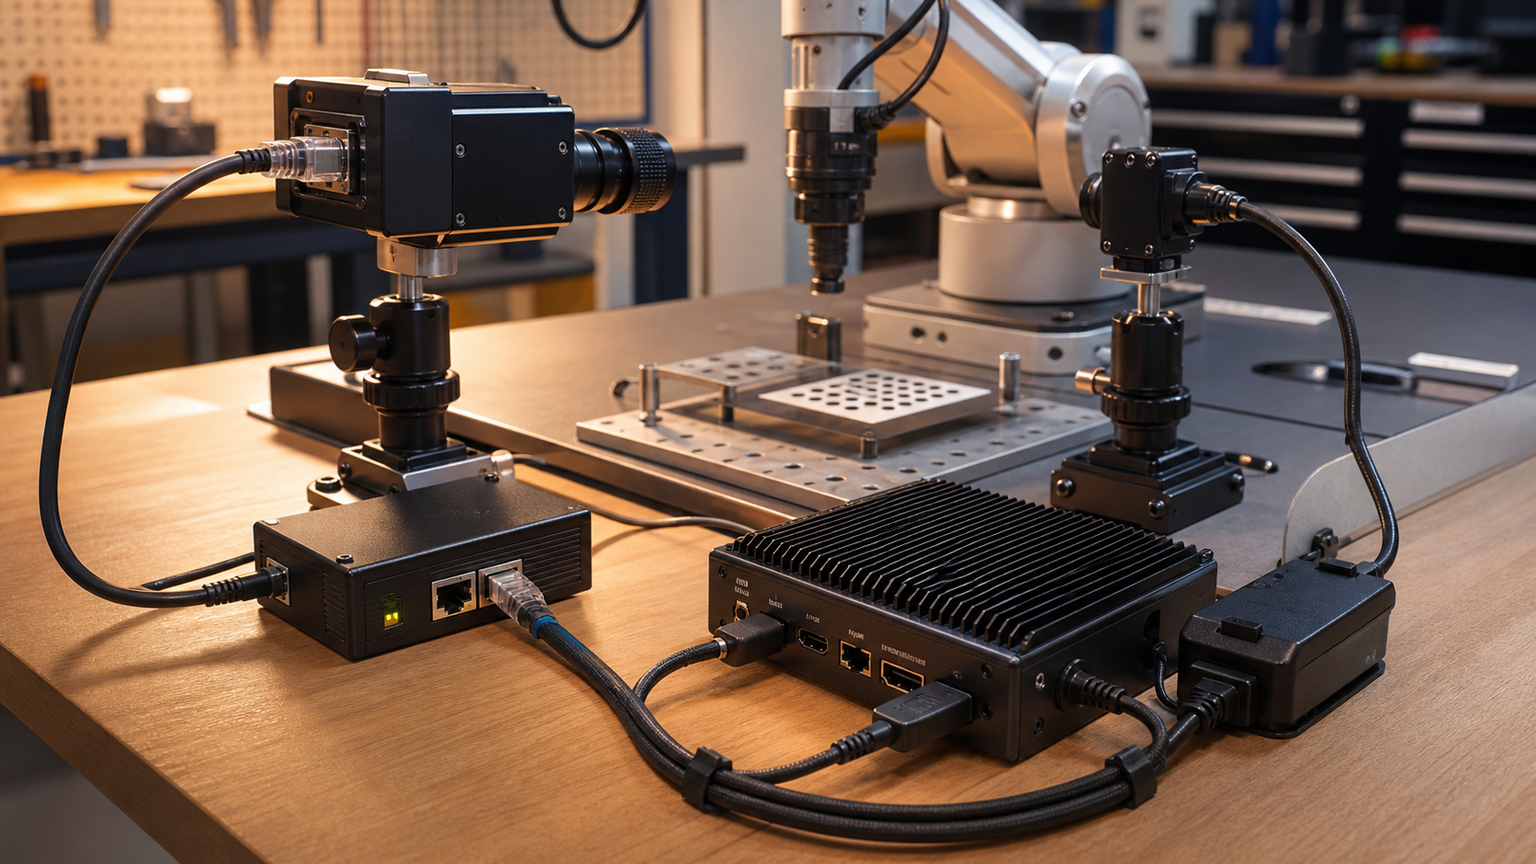
Robot camera selection often starts with resolution, frame rate and sensor size. Connection type gets less attention until the first full test bench is assembled. Then the question becomes practical: should the camera run over Power over Ethernet or USB-C?
There is no universal answer. PoE is usually stronger for longer cable runs, distributed cameras and cleaner power delivery. USB-C can be simpler for short bench setups, high-throughput capture and developer convenience. The right choice depends on how the camera will be mounted, serviced and debugged.
Quick answer
Choose PoE when the camera is several meters from the compute box, when one cable for power and data reduces clutter, or when the system needs multiple fixed cameras. Choose USB-C when the camera sits close to the computer, when driver support is already proven and when the team needs a fast iteration bench more than a deployable layout.
PoE strengths
PoE’s biggest advantage is physical layout. Ethernet cable is familiar, relatively easy to route and better suited to longer runs than typical USB camera cables. A PoE switch or injector can power cameras without a separate wall adapter at each mounting point.
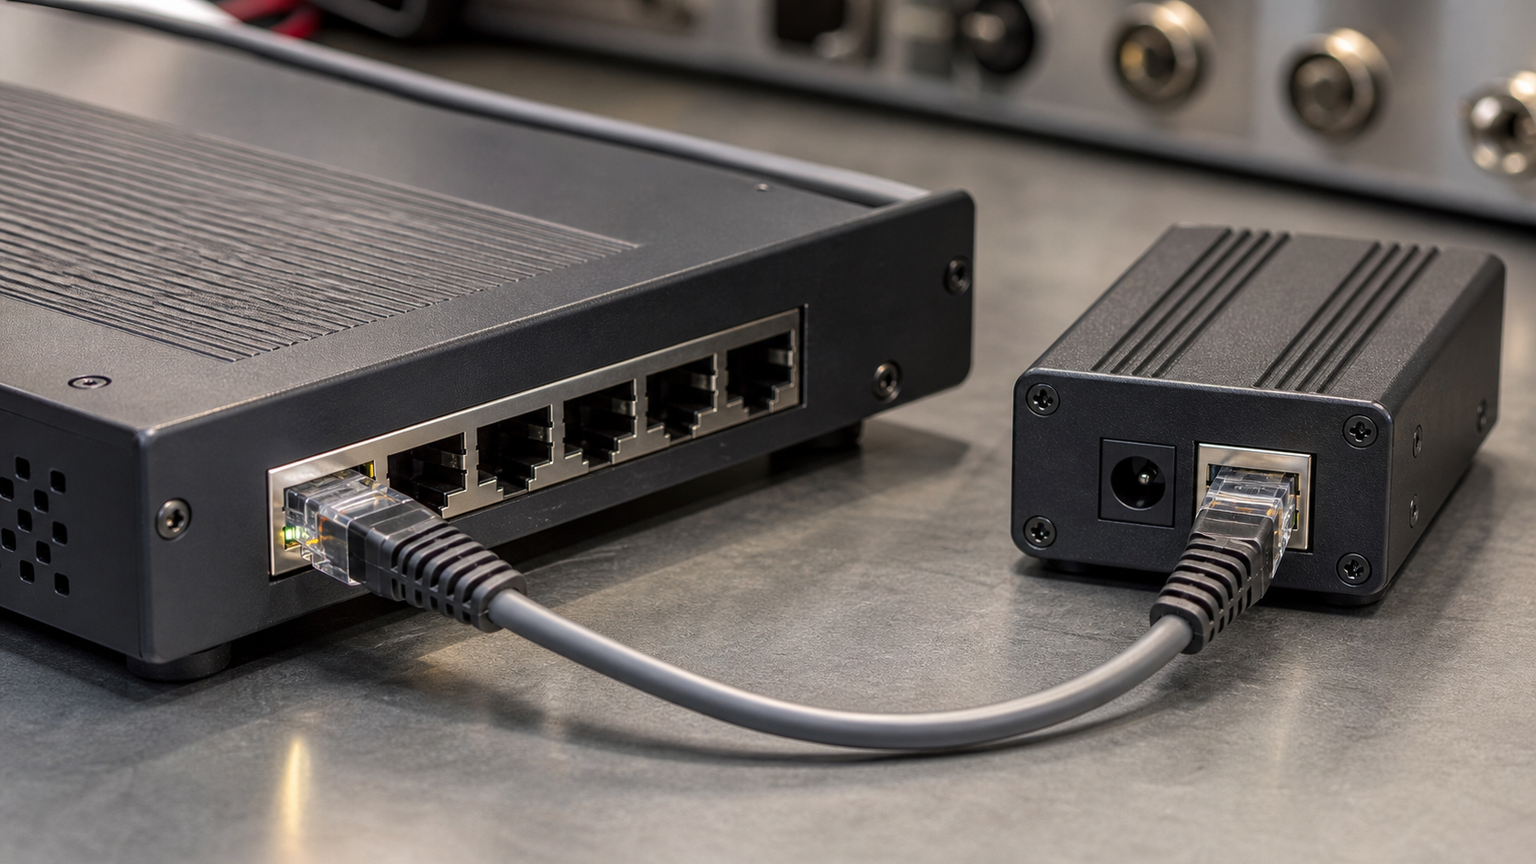
That matters for mobile robot labs, garage test tracks and machine-vision stations where cameras may sit on a mast, wall, tripod or overhead rail. PoE also makes it easier to think in terms of a power budget. If the switch cannot supply the required wattage across all ports, the problem is visible before the robot is fully integrated.
The tradeoff is complexity in the network path. Teams need to understand IP addressing, switch behavior, jumbo frames if required, time synchronization when relevant and how camera traffic interacts with other robot data.
USB-C strengths
USB-C can be excellent for short, developer-facing camera setups. It keeps the camera close to the compute device, often has straightforward application support and avoids building a small network just to capture images. For a single camera on a calibration bench, that simplicity can be the right answer.
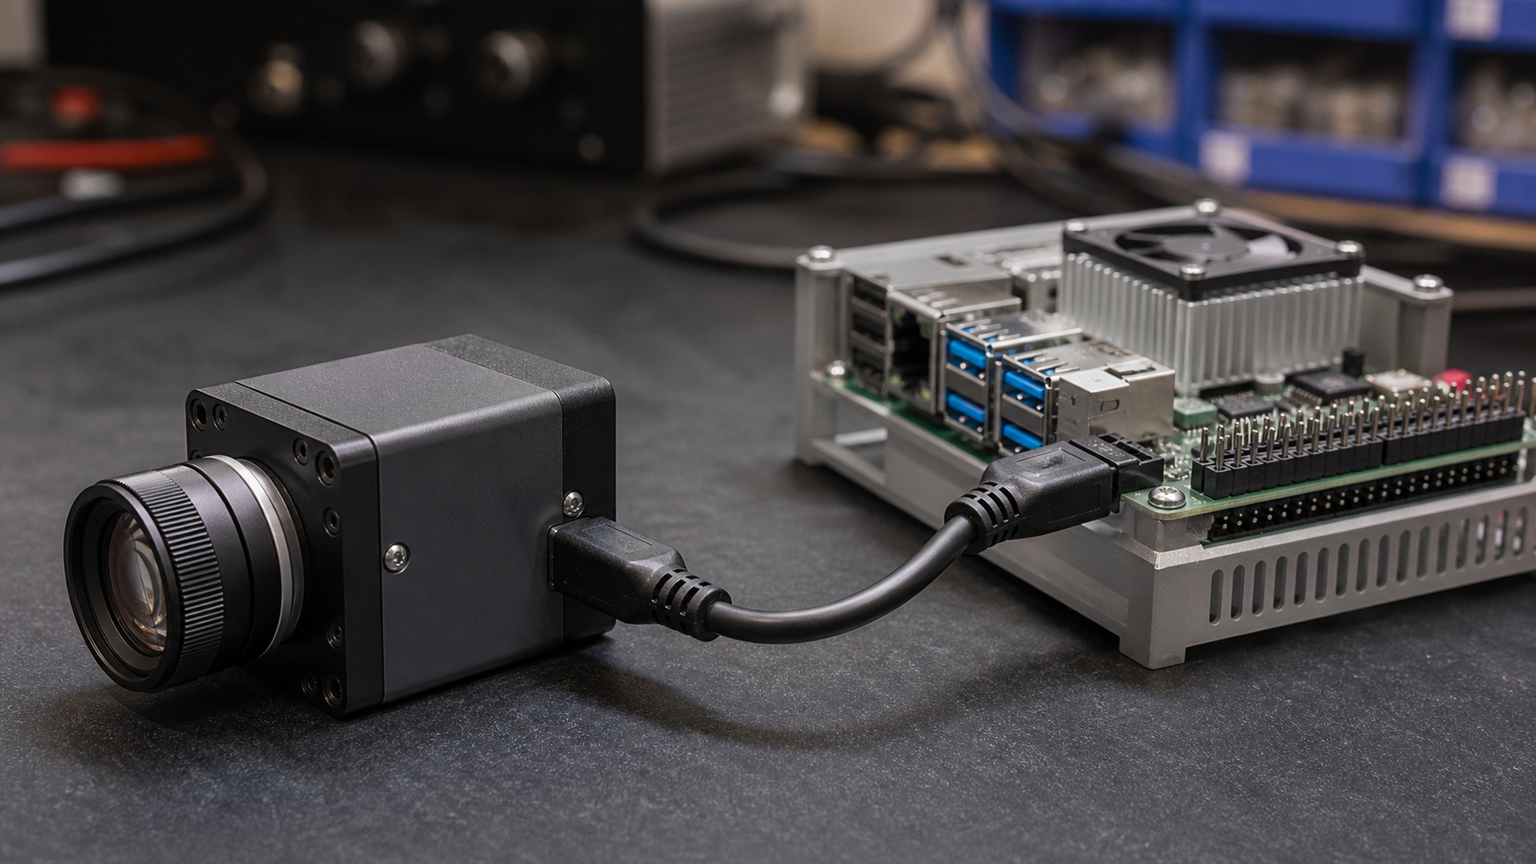
The weak points are cable length, connector strain and hub behavior. USB-C connectors are compact, but a robot that vibrates, turns or gets serviced by students can stress cables quickly. Passive cable limits, hub compatibility and accidental unplugging should be treated as design factors rather than annoyances.
Evaluation checklist
- Distance: If the camera is far from the compute box, PoE usually deserves the first look.
- Power: Add up camera draw, switch/injector capacity and startup behavior.
- Bandwidth: Check actual resolution, frame rate, compression and concurrent camera count.
- Synchronization: Multi-camera projects may need careful timing, not just working video.
- Serviceability: Students and field users should be able to identify, replace and route cables safely.
- Software support: Confirm the camera SDK, operating system and robotics stack before buying multiples.
TVG Take
For one camera on a bench, USB-C often wins by being direct. For a robot lab with multiple cameras or longer mounting distances, PoE tends to age better. The mistake is buying by connector convenience alone. Camera wiring is part of the robot architecture, and the cable choice determines how easy the system is to move, repair and expand.



