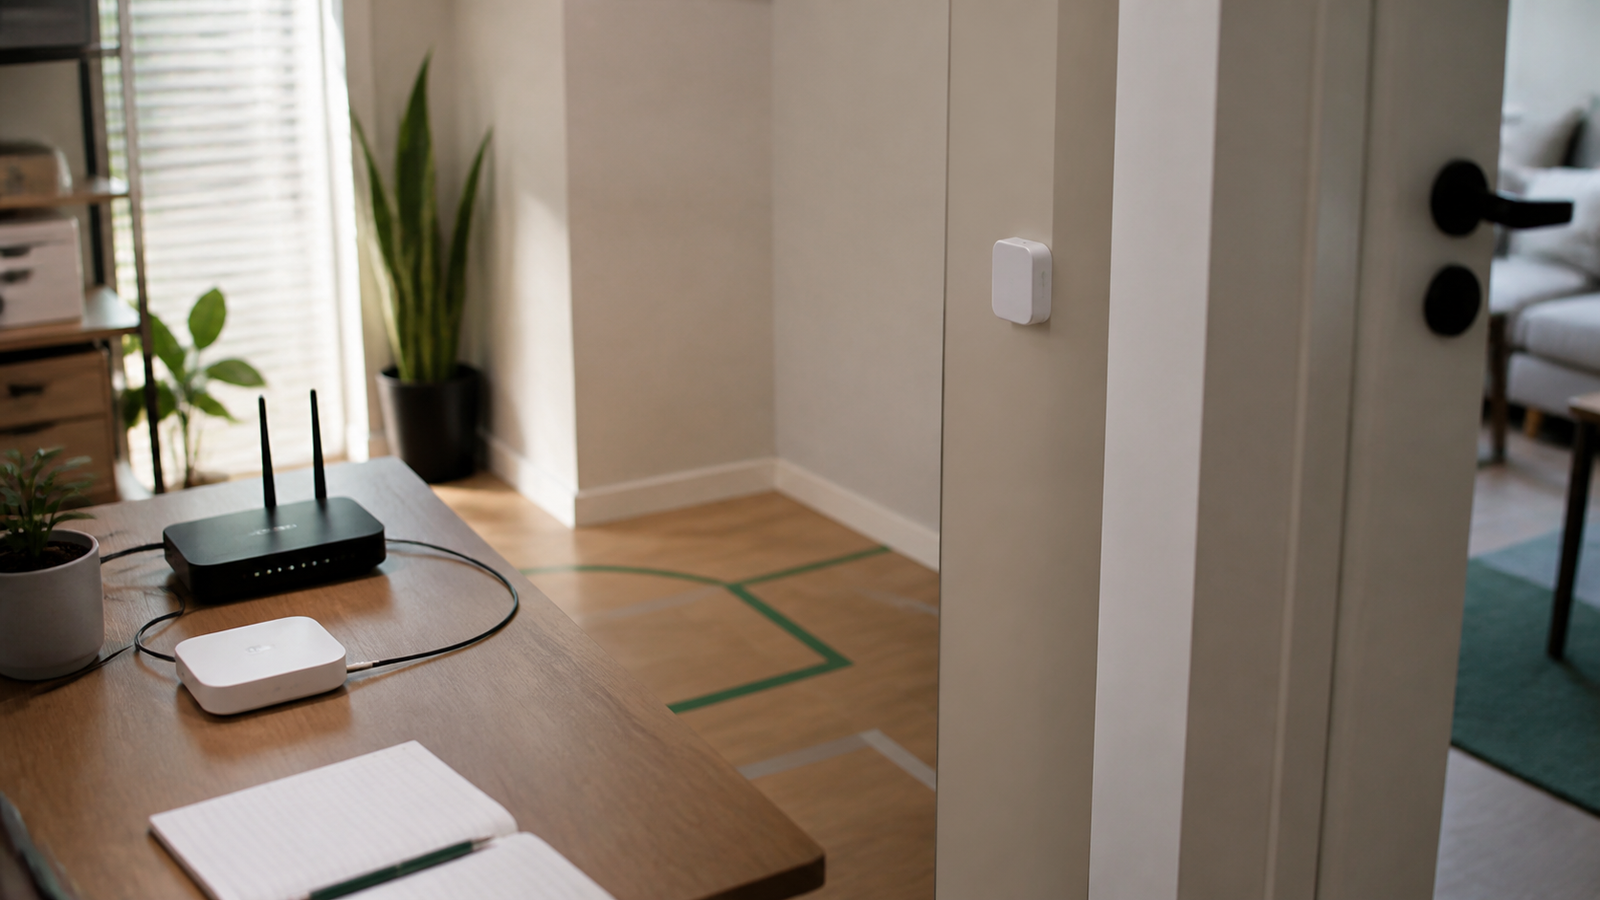
mmWave presence sensors are attractive because they can detect motion and occupancy without a camera. That makes them useful for smart-home labs, classroom automation projects, and privacy-aware STEM demonstrations. The catch is that a radar sensor does not automatically understand the room; placement decides whether the readings are useful.
Quick answer
Mount mmWave presence sensors only after testing zones, false positives, still-person detection, latency, and recovery after network or power changes. Treat the sensor as a measurement device, not a magic occupancy switch.

Why placement is the real feature
Texas Instruments and Infineon both describe mmWave radar as a sensing technology for range, motion, and presence use cases. In a home or classroom, those signals can bounce, pass through some materials, or react differently depending on angle and room geometry. A sensor aimed at a doorway may behave very differently from one aimed across a desk.
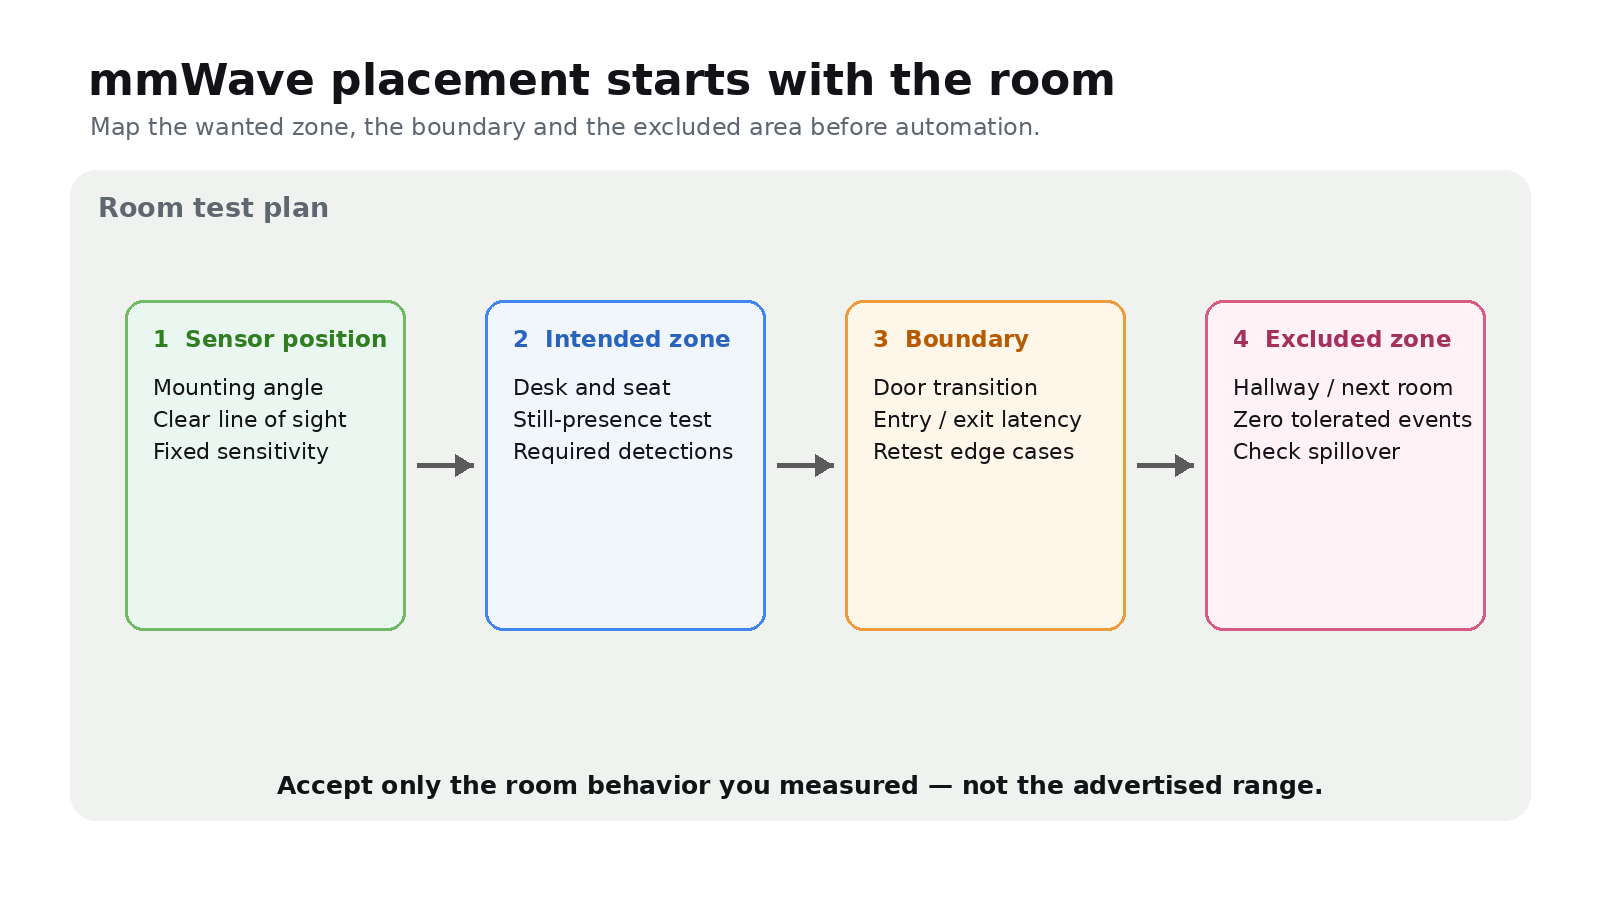
- Map the room into zones before automation rules are written.
- Test a seated person, a walking person, pets, fans, curtains, and moving doors.
- Record latency from motion to event and from absence to timeout.
- Reboot the controller or hub and confirm the sensor rejoins cleanly.
Privacy and reliability belong together
The privacy appeal of a non-camera sensor is real, but it should not be oversold. A sensor can still reveal occupancy patterns, routines, and room activity. Labs should teach students that privacy is not only about whether an image exists; it is also about what data is logged and who can see it.

TVG Take
The best mmWave projects are boring on purpose. They define zones, measure false triggers, document automations, and leave a manual override. That turns a smart-home gadget into a useful lesson about sensing, signal interpretation, and system reliability.
Build a room test before automating anything
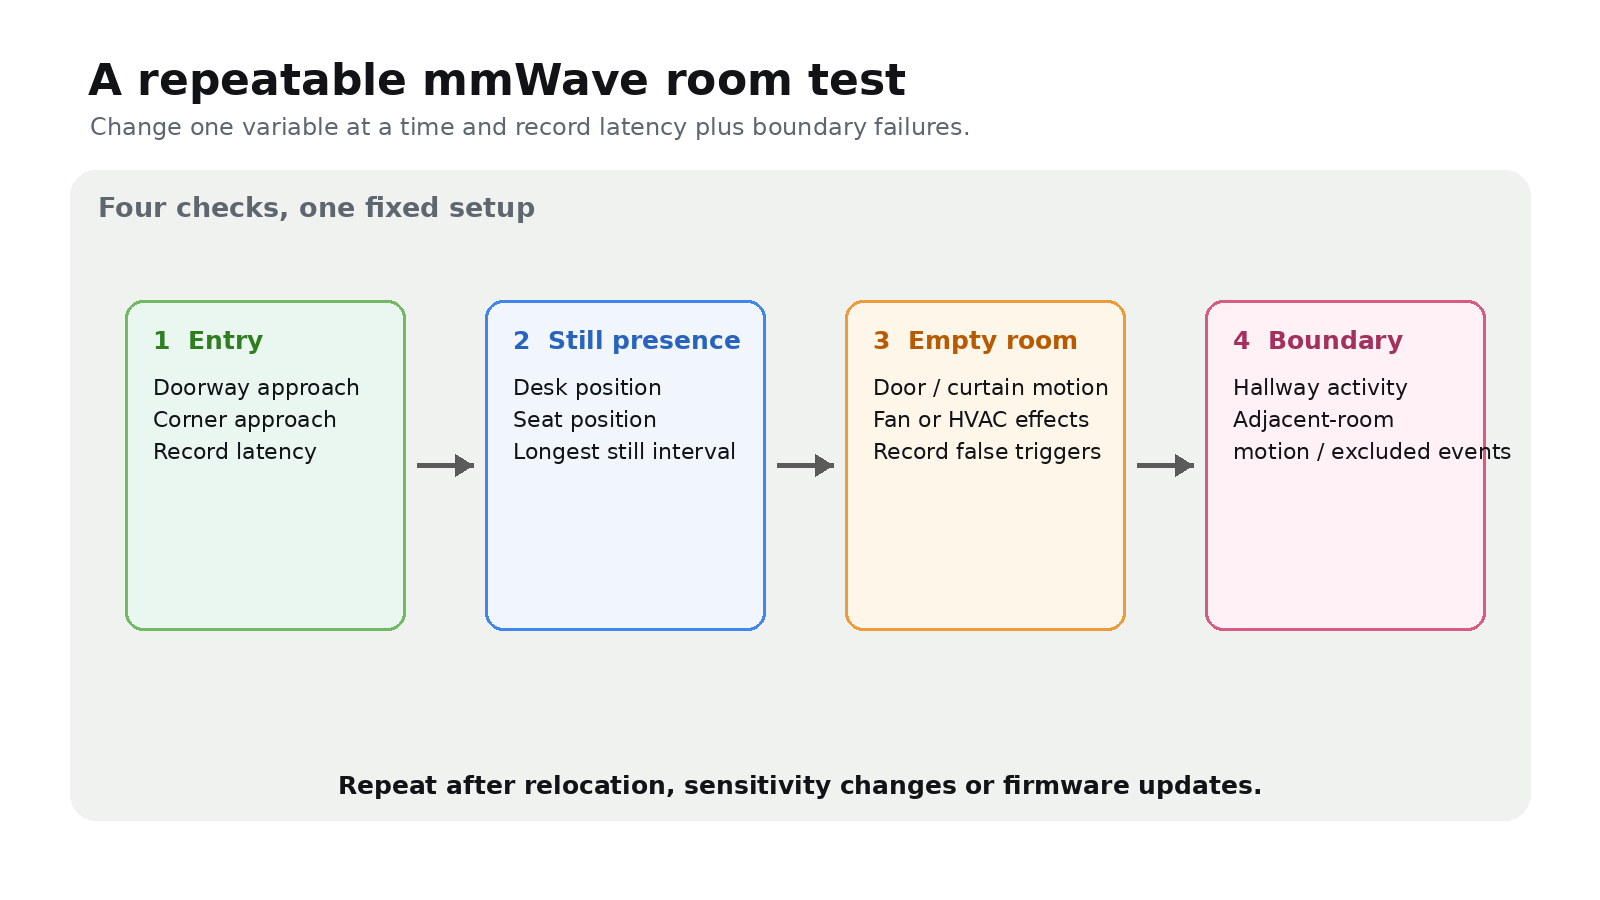
A simple validation plan can prevent weeks of confusing automations. Start with a floor sketch, mark likely detection zones, and test the same movements at different times of day. HVAC movement, ceiling fans, pets, and reflective surfaces can all change how a presence sensor behaves.
For STEM use, this is a strength rather than a flaw. Students can compare a contact sensor, PIR sensor, camera, and mmWave sensor, then discuss why each technology sees a different version of the room. The exercise teaches measurement limits more honestly than a polished consumer app does.
Latency and absence are separate checks
Many automations care less about the first detection than the absence timeout. A light that turns on quickly but stays on for 20 minutes after the room is empty may be acceptable in a hallway and annoying in a classroom. A fan or HVAC automation may need slower decisions than a desk-light automation.
- Measure time to first detection from the doorway, desk, and corner of the room.
- Measure time to absence after a seated person leaves.
- Test what happens after a hub restart, Wi-Fi outage, or firmware update.
- Record which automations are allowed to act automatically and which require manual confirmation.
The result should be a small lab document that explains not only where the sensor is mounted, but why that location was chosen.
Related TVG guides
- https://tvgreport.com/matter-thread-sensors-smart-home-lab-placement-guide/
- https://tvgreport.com/matter-thread-wifi-7-smart-home-maker-lab-reliability-guide/
For TVG, the publishing test is practical usefulness: can a builder, teacher, or small technical team use this information to make a safer, more reliable decision without pretending that the article is a hands-on review? That standard is why each checklist above focuses on observable behavior, source-backed constraints, and repeatable validation rather than brand excitement.