
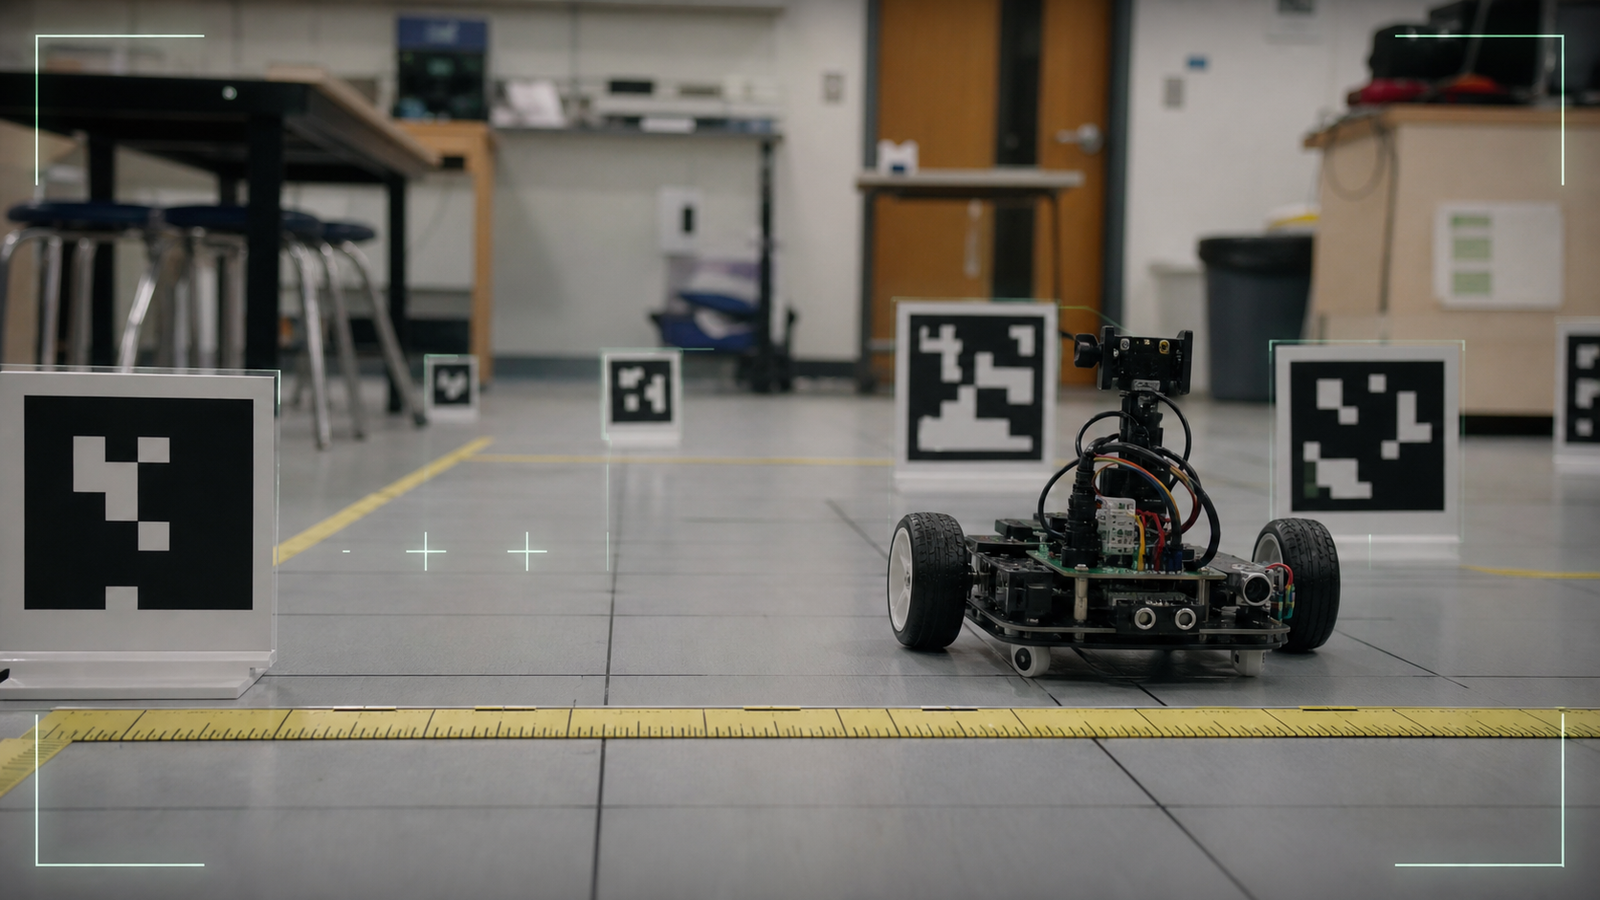
AprilTags are one of the cleanest ways to teach robot vision because students can see the target, measure the field, and connect camera detections to robot behavior. They can also make a demo fail in confusing ways. A tag that is too small, too glossy, too low, too tilted, or poorly measured can turn a good lesson into a software blame game.
This article strengthens TVG’s robot-vision cluster alongside our robot camera calibration checklist. The point is not that AprilTags are fragile. The point is that vision targets are physical parts of the system, and physical parts need a checklist.
Start with the tag as a measured object
The WPILib AprilTag documentation gives robotics teams a reference for using tags in robot vision workflows. In a classroom setup, the first practical step is to treat each tag like a measured fixture. Record its size, height, position, orientation, and ID in one place.
Do not rely on memory or a photo of the field. If the software thinks a tag is at one location and the classroom tape line puts it somewhere else, the robot may be doing exactly what the math says while the demo looks wrong.
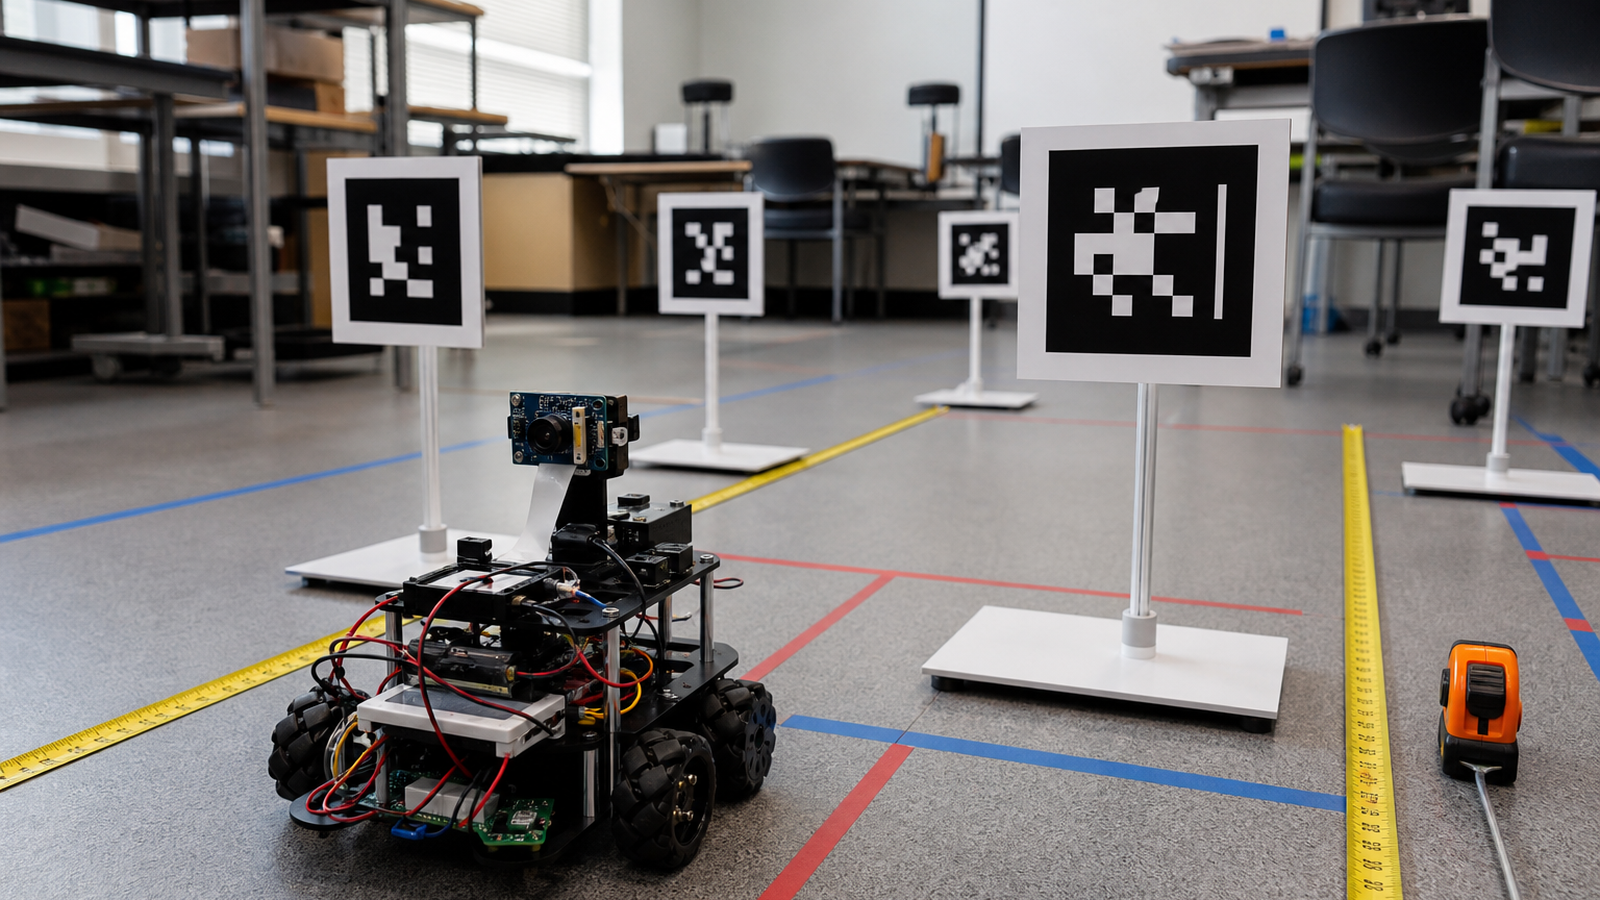
Common layout mistakes
- Wrong size: the printed tag size does not match the value configured in software.
- Bad placement: tag height, angle, or spacing is guessed rather than measured.
- Glare: laminated or glossy targets reflect lights into the camera.
- Motion blur: the robot drives faster than the camera exposure and processing path can handle.
- Calibration drift: camera focus, mount angle, or lens settings changed after the last test.
- Poor logging: students cannot compare a failed run with a known-good baseline.
Those are not exotic failures. They are the normal difference between a bench demo and a classroom environment with shifting light, moving students, and a robot that gets carried between tables.
Link layout to calibration
AprilTag work also depends on camera calibration. OpenCV’s camera calibration documentation explains why lens distortion and camera parameters matter. In a classroom, students do not need to become calibration experts on day one, but they should understand that the camera has a physical model, not just a video feed.
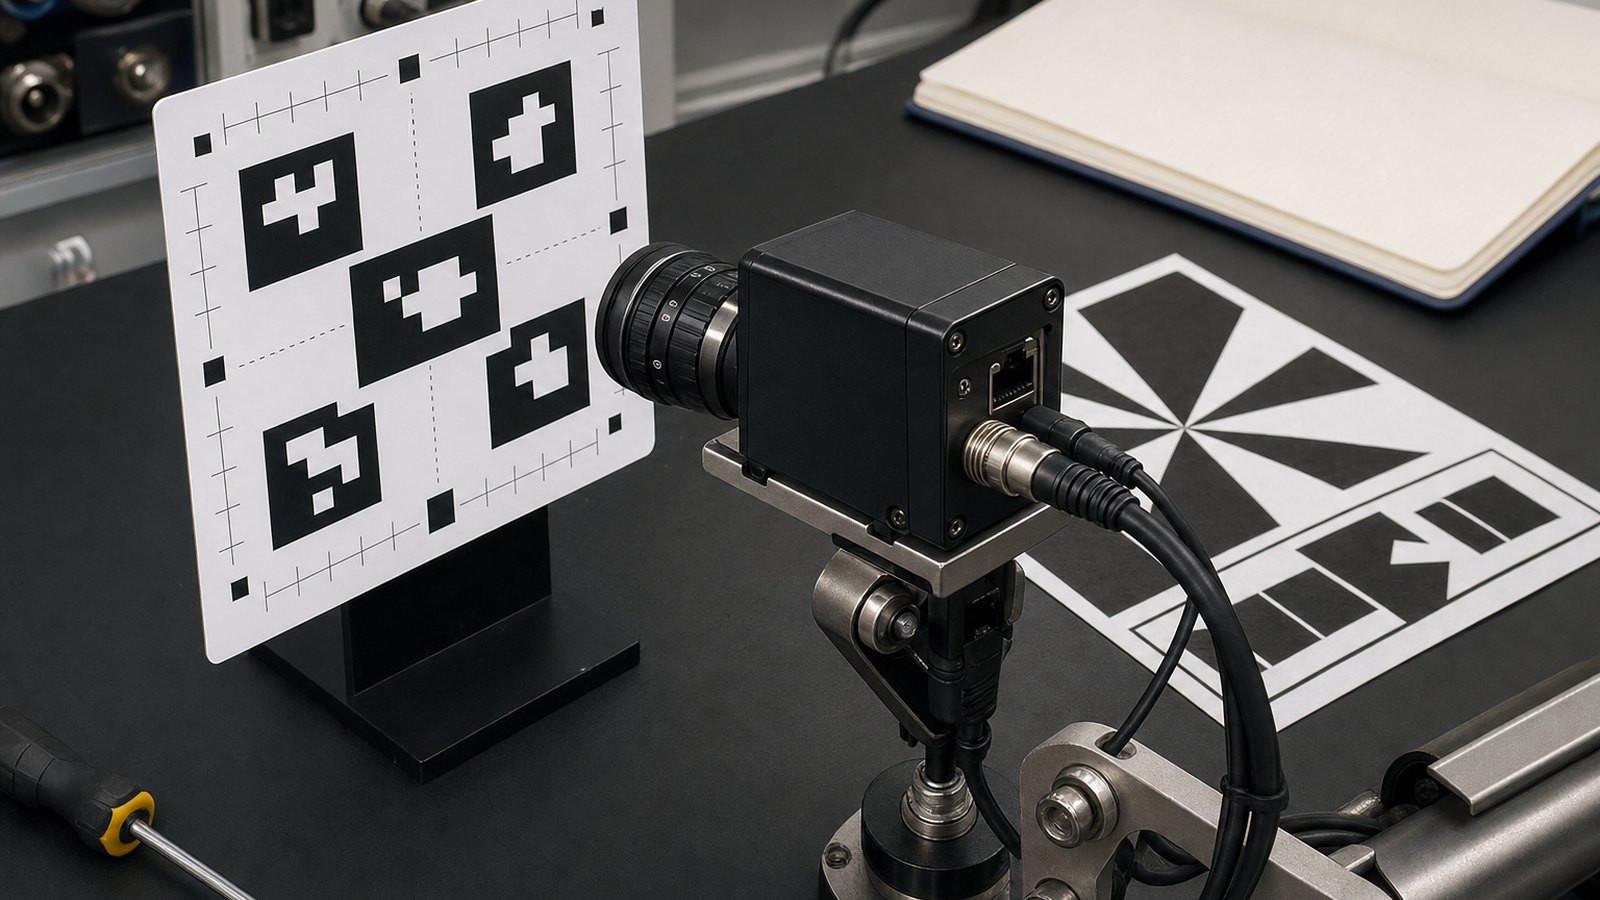
A five-minute pre-demo checklist
- Confirm tag IDs, sizes, and positions against the field notes.
- Check that tags are flat, visible, and not reflecting overhead lights.
- Verify camera mount tightness, focus, and exposure.
- Run one slow approach from a known starting point and save the log.
- Record what changed if the demo is moved to another room or lighting condition.
TVG Take
AprilTags are excellent teaching tools because they turn robot vision into something students can measure. The mistake is treating the printed target as a decoration instead of a calibrated field element. When tag layout, camera setup, and logs are checked together, classroom robot vision becomes a repeatable engineering lesson rather than a lucky demo.




That’s really insightful – I’ve definitely seen how even slight variations in tag positioning throw off the tracking.