
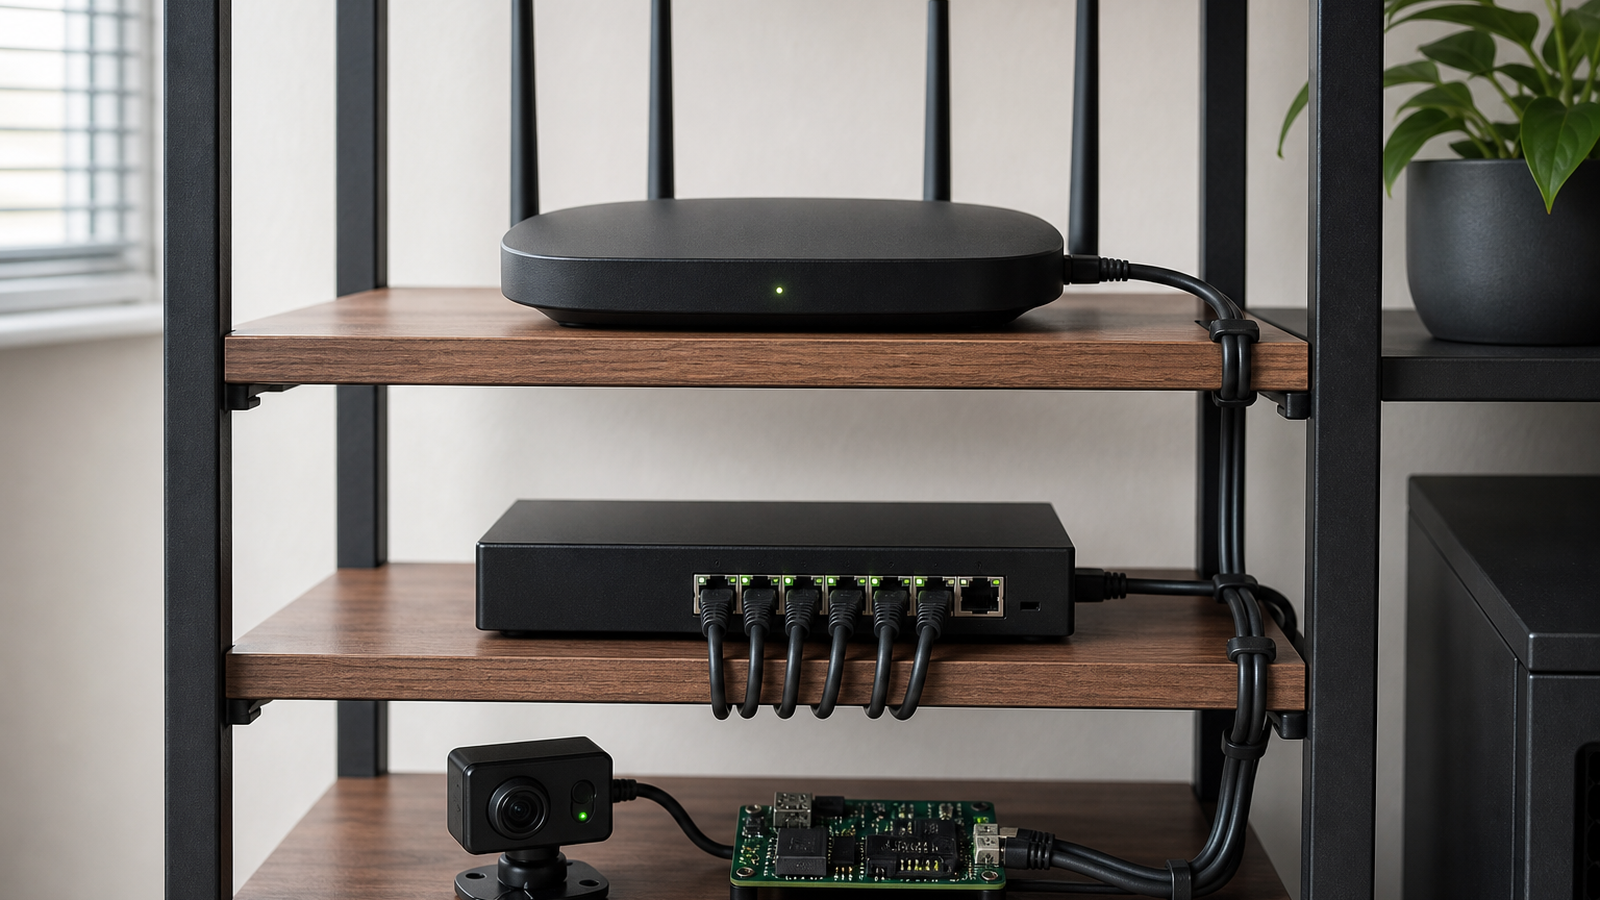
Wi-Fi 7 is easy to oversell as a drop-in fix for every home-lab network problem. The standard brings real improvements, including wider channels, 4K-QAM and multi-link operation in certified products. But an edge AI camera, robot test bench or NAS-backed maker workflow still depends on where the access point sits, how it is powered and what the backhaul can sustain.
The Wi-Fi Alliance describes Wi-Fi CERTIFIED 7 as bringing features for higher throughput, lower latency and better reliability. IEEE’s 802.11 working group identifies 802.11be as the technical basis commonly associated with Wi-Fi 7. Those features are useful, but they do not remove physics: walls, shelves, metal toolboxes and crowded spectrum still shape performance.
Start with the devices that move data
A home lab usually has two kinds of wireless devices. The first group is low-bandwidth: sensors, microcontrollers, smart plugs and status dashboards. The second group is demanding: robot cameras, AR/VR experiments, edge AI boxes, media ingest laptops and tablets used as field dashboards. Wi-Fi 7 planning should begin with the second group because those devices expose weak placement fastest.
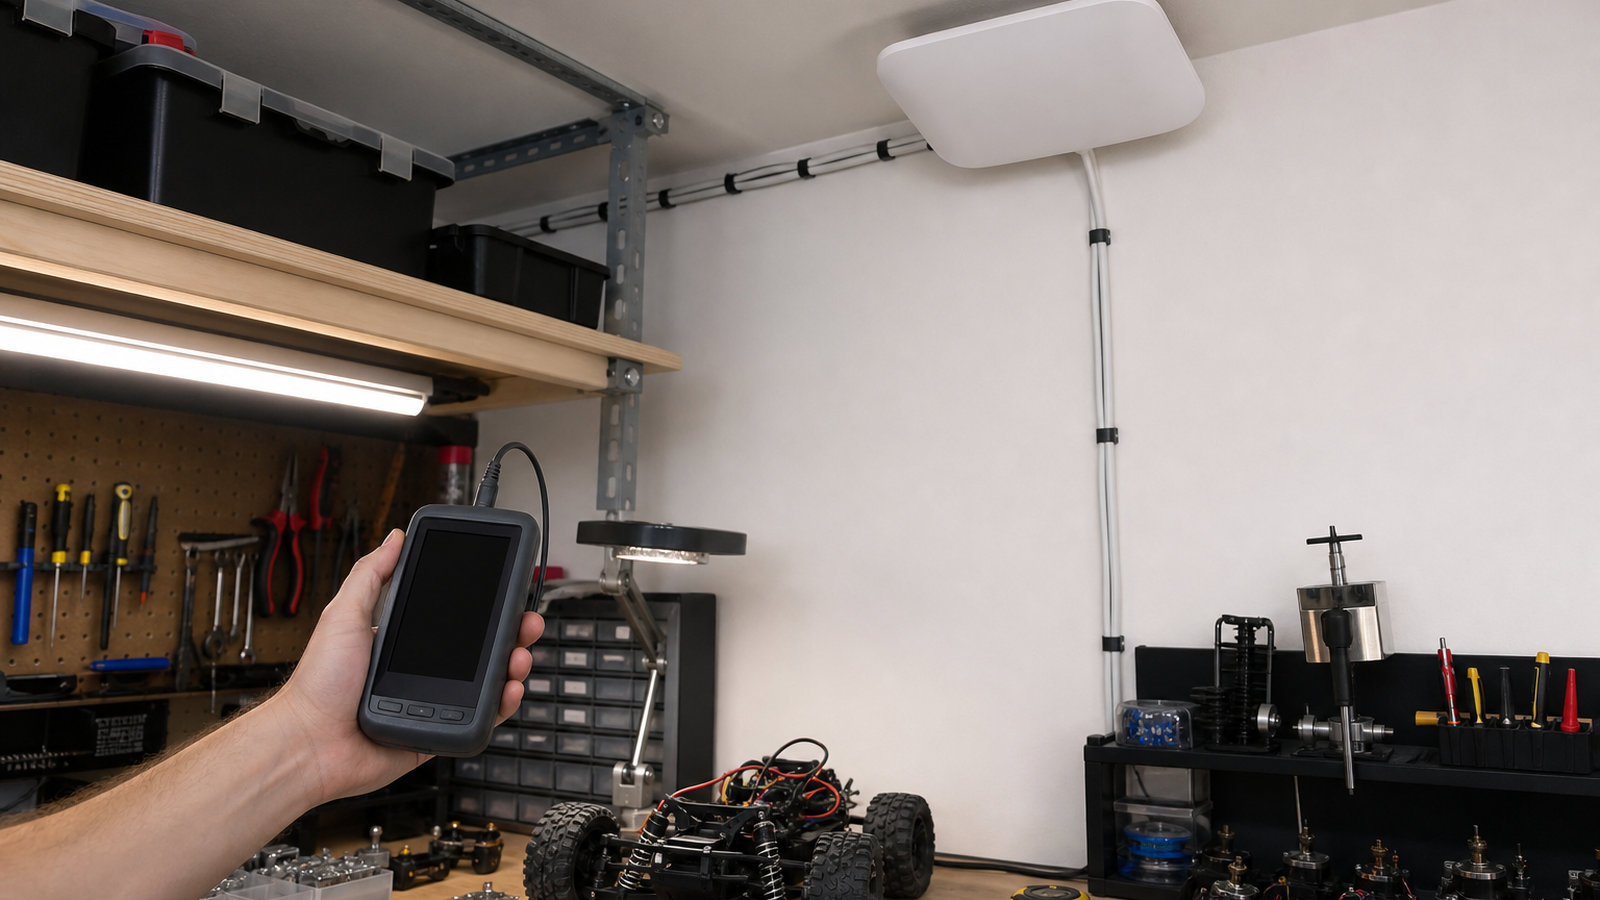
The access point should not be chosen only by advertised peak speed. Builders should map where the high-traffic devices run, where Ethernet backhaul is available and where power is safe. If the AP sits behind a monitor shelf or next to a metal rack, the lab may get worse results than a lower-spec AP mounted cleanly with a wired uplink.
Practical placement checklist
- Use wired backhaul where possible: a fast radio cannot overcome a slow uplink to the router or NAS.
- Separate lab zones: put camera-heavy robot testing close to the AP instead of across several walls.
- Measure before mounting: run repeated speed, latency and packet-loss checks at the actual device locations.
- Watch 6 GHz range: wider channels can help, but higher-frequency coverage can fall off faster through obstacles.
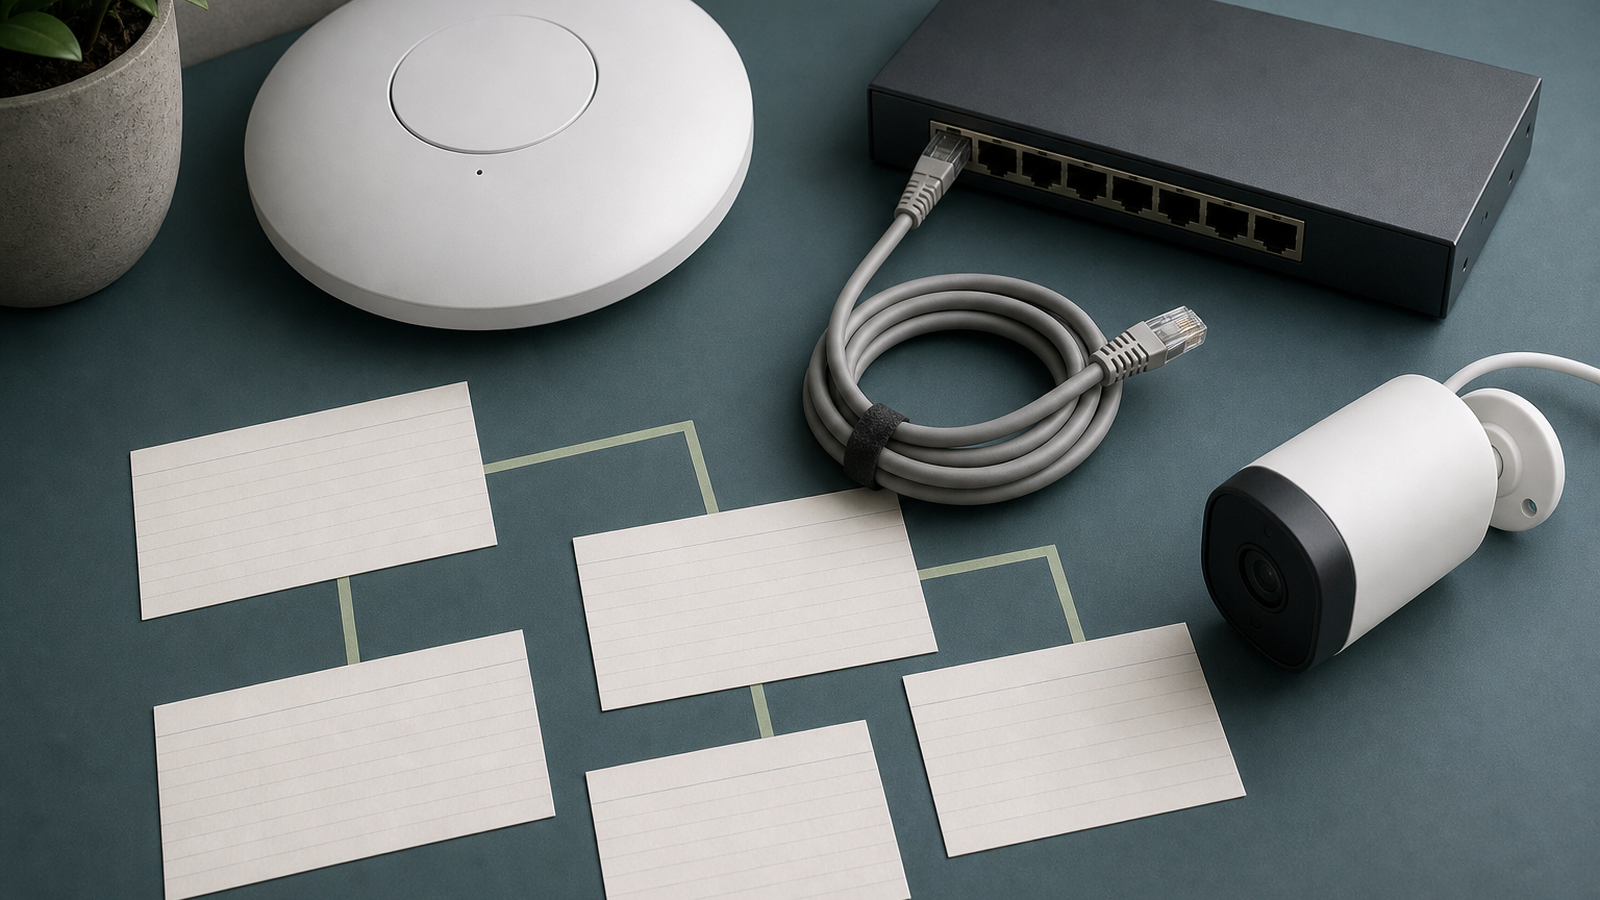
- Document channels and SSIDs: a lab should know which devices are on which band and why.
Test like a lab, not a living room
A practical test plan should include more than one speed test. Run an upload from the robot camera location to the NAS, a latency check from the edge device to the controller and a long transfer while another device streams video. Repeat the same checks with the garage door open, with the workbench lights on and with the device in its normal enclosure. Those conditions often expose interference and antenna-shadowing problems that a quick phone test misses.
Home-lab builders should also think about maintenance. If an AP requires a ladder to reboot or a cable run crosses a storage shelf, the setup will be harder to troubleshoot when a Saturday build session goes wrong. Good wireless design is not only radio performance; it is access, labels and a written map of which devices depend on which link.
Keep the results in a simple lab note. The next time a robot camera stutters or a tablet dashboard falls behind, the team will have a baseline instead of starting from rumor.
TVG Take
Wi-Fi 7 is a better toolkit, not a guarantee. For edge AI and robotics labs, the most reliable plan is still boring: wired backhaul, deliberate AP placement, repeatable measurements and a fallback path for critical devices. Treat wireless like a testable subsystem, not a marketing checkbox.
Related TVG reading: NAS snapshot planning for maker labs.

That’s a really important point about the backhaul. It seems like optimizing for those new Wi-Fi 7 speeds will be even more complex with devices like edge AI.