A 3D printer that reports an impossibly cold nozzle, an instant overtemperature error or a believable but wrong temperature is describing three different sensor faults. Treating all of them as “a bad thermistor” can waste parts and, in the wrong case, hide a heater-safety problem. The useful split is electrical continuity first, firmware sensor model second and heater behavior last.
Featured image: Creative Tools/Wikimedia Commons (CC BY 2.0, cropped).
An open circuit and a short drive the reading in opposite directions
Most printer hotends use an NTC thermistor in a resistor divider. NTC means resistance falls as temperature rises. With the common pull-up arrangement, a disconnected thermistor lets the input rise toward the reference voltage and firmware interprets that as extremely cold. Marlin describes this as MINTEMP: a disconnected sensor, open circuit or genuinely cold machine.
A short across the sensor wires pulls the input toward ground and looks extremely hot. Marlin says MAXTEMP usually indicates shorted sensor wires, although a heater output stuck on is a separate dangerous possibility. Power the machine off before resistance or continuity checks; measuring resistance on an energized controller can damage the meter or board.
Use motion to find intermittent wiring
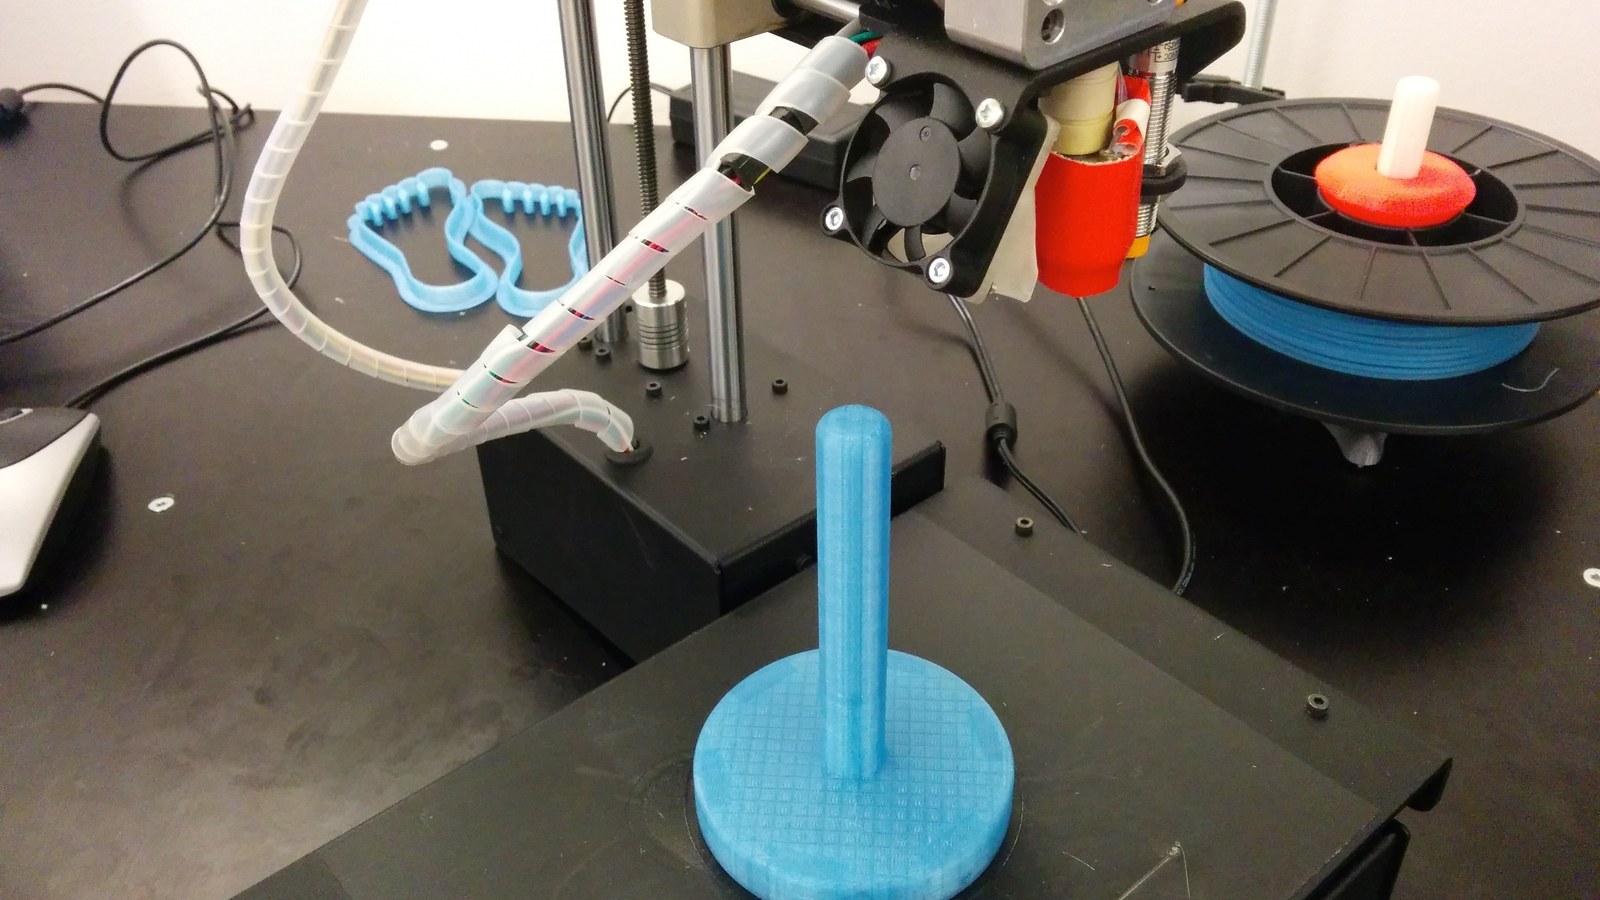
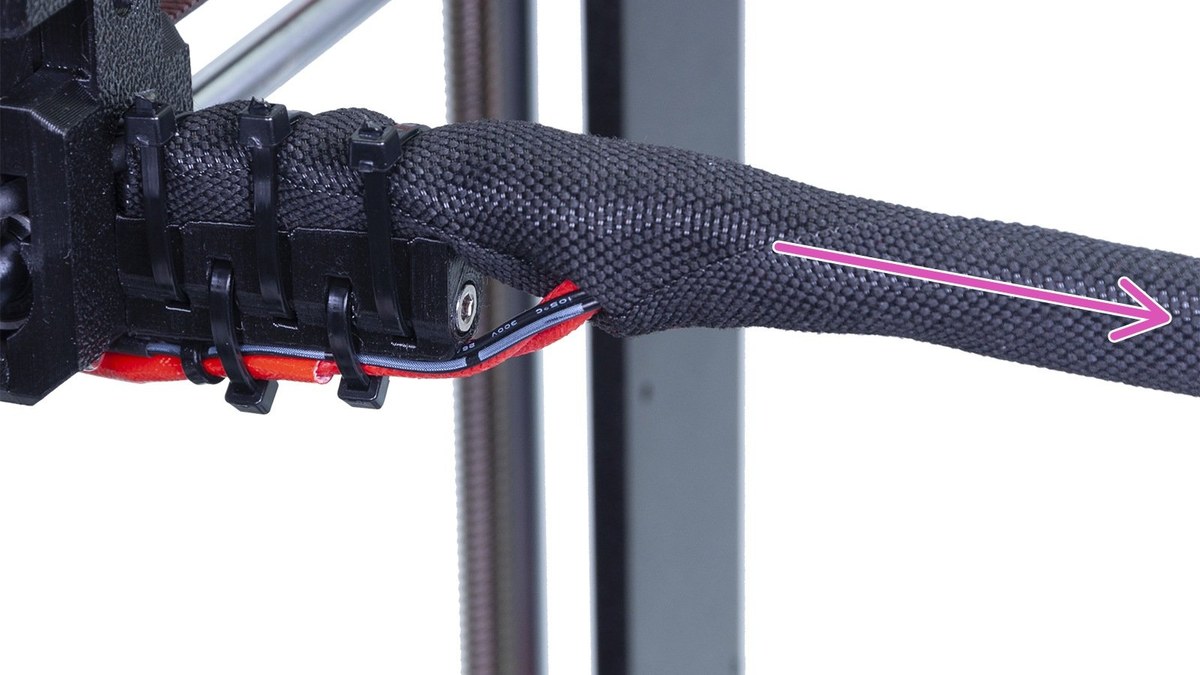
If the displayed temperature jumps when the toolhead or bed moves, inspect the cable path before editing firmware. Prusa’s MINTEMP guidance points to a cable break that opens only at certain positions. With power removed, disconnect the sensor at the controller, measure resistance across the thermistor pair, and slowly flex the harness through its normal bend points. A reading that changes abruptly to open circuit identifies a connector, crimp or conductor problem.
Do not test continuity from a sensor lead to the heater cartridge. The two circuits should remain isolated. A pinched bundle or damaged heater block can couple a low-voltage sensor input to heater power, so visible insulation damage warrants replacement rather than repeated live probing.
A stable wrong reading usually points to the model
A thermistor can have normal room-temperature resistance and still report the wrong operating temperature if firmware uses the wrong curve. Marlin’s custom-thermistor example uses a 4,700-ohm pull-up, 100,000 ohms at 25°C and beta 3950. Klipper likewise makes sensor_type mandatory and defaults pullup_resistor to 4,700 ohms when the sensor is a thermistor.
Those values are not universal. A firmware table for a 100 kΩ beta-3950 part can be materially wrong for another 100 kΩ thermistor with a different curve. Compare the installed part number with the configured sensor_type; do not compensate a curve mismatch by changing PID values. PID controls heater response around the reported temperature—it cannot make the sensor conversion accurate.
Restore safety checks, then verify at room temperature
After repairing wiring or selecting the correct sensor model, reconnect everything with power off and confirm that the displayed nozzle and bed temperatures are plausible before enabling either heater. Move the axes through the full cable range while watching the cold readings. Any jump, MINTEMP or MAXTEMP event means the electrical fault remains.
Only after the sensors stay stable should normal manufacturer procedures be used to verify heating. Do not raise MINTEMP/MAXTEMP limits or disable thermal protection to force a print through an error; those limits are designed to shut the machine down when the measurement path no longer supports safe control.