
Disclosure: TVG did not bench-test these camera paths; this comparison uses public Raspberry Pi, USB-IF and Linux documentation.
Quick answer: On a Raspberry Pi robot, choose a supported CSI module when board-level packaging and the documented libcamera/rpicam path fit the design. Choose a UVC USB webcam when a detachable external cable, enclosed camera and easier substitution matter. Then verify the exact sensor, lens, modes, controls, cable, power and application. The connector alone does not determine image quality or latency.
CSI: verify the sensor and connector before designing the mount
Raspberry Pi OS includes rpicam-apps, built on libcamera, and Raspberry Pi publishes the sensors supported by its implementation. That is a defined path for official Camera Modules and listed third-party sensors—not a promise that every CSI module works.
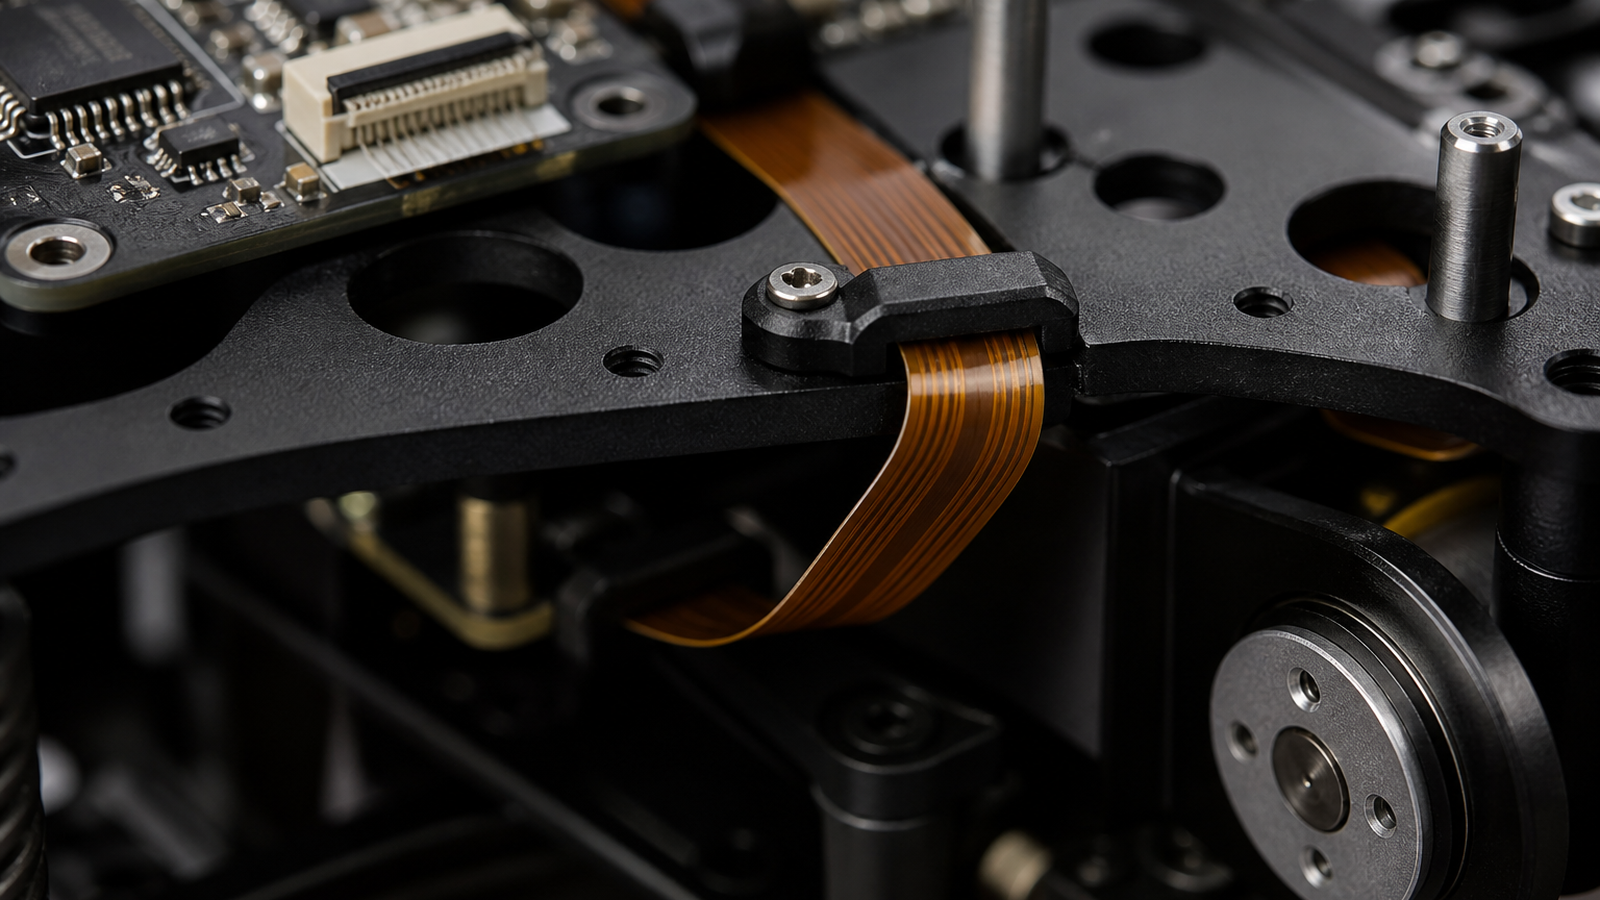
Official Raspberry Pi cameras use a 15-pin connector at the camera. Raspberry Pi 5, Pi Zero models and Compute Module IO boards use a 22-pin host connector and need the appropriate standard-to-mini cable; flagship models through Pi 4 use a 15-pin host connector. Raspberry Pi instructs users to seat the flexible cable straight and avoid sharp bends.
USB: verify UVC modes, controls, power and retention
Raspberry Pi documents USB webcams separately and demonstrates capture with fswebcam. On Linux, UVC-compatible devices normally use the kernel UVC/V4L2 stack, but the exact camera determines available resolutions, frame rates, pixel formats and controls.
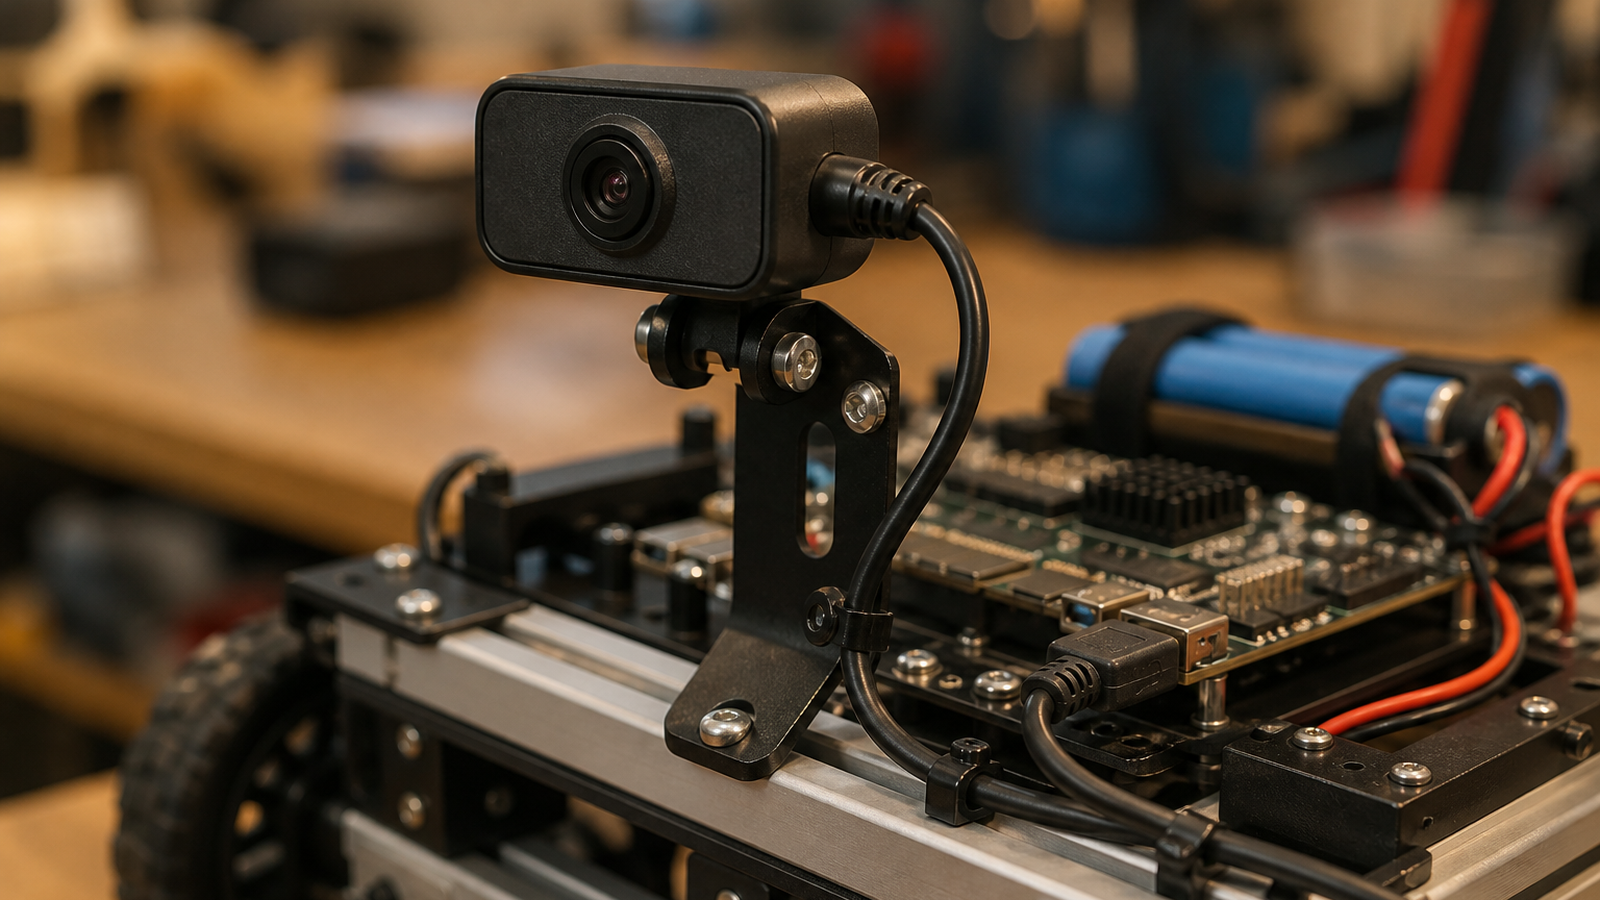
A USB product can simplify bench-to-robot swaps and place the camera farther from the compute board. It also adds an external connector and cable, and possibly a hub. Check cold-boot and reconnect enumeration, required modes, frame delivery with other devices active, and host or powered-hub budget. Add positive retention if robot motion can pull the plug.
Decide by the requirement that can stop the robot
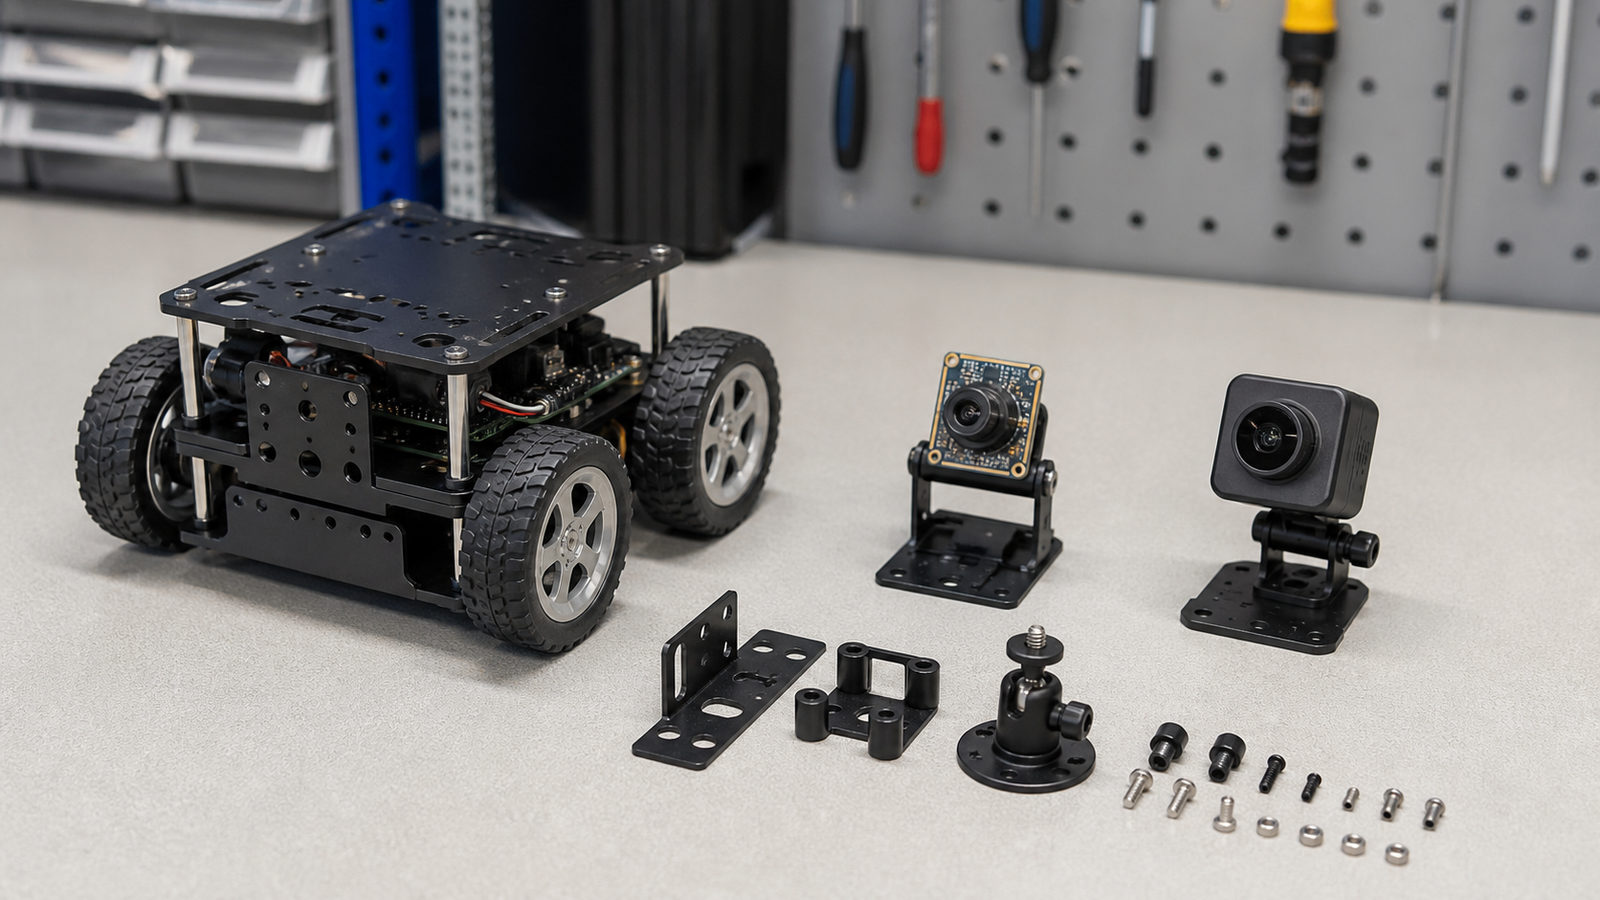
Prefer the supported CSI path when minimum module volume matters, the camera remains close to the Pi, the selected sensor is supported, and the enclosure protects its module and cable.
Prefer a UVC USB webcam when a housed camera and detachable cable simplify service, the same unit must move between robot and development computer, or replacement availability matters more than minimum volume—after its Linux modes and controls are verified.
Neither interface guarantees focus, field of view, exposure behavior, shutter type, low-light performance or end-to-end latency.
Run an acceptance test
- Check detection at the nearest, farthest and fastest required view.
- Record delivered frame rate and dropped or stale frames.
- Check startup and recovery after a controlled disconnect or reboot.
- Confirm focus and exposure behavior after reboot.
- Check connector security, cable motion and power with other robot loads active.
If latency is a requirement, measure it end to end on the exact pipeline. Do not infer it from “USB” or “CSI.”



