

A Thread border router links the low-power Thread mesh to the home’s Ethernet or Wi-Fi infrastructure. Its location therefore affects two radio paths at once: the 2.4 GHz Thread link to nearby mesh devices and the infrastructure link back to the LAN. A central shelf can be a better starting point than a cabinet beside the main router, but placement should follow the building’s failure domains rather than a single “best distance.”
Place the border router where both sides work
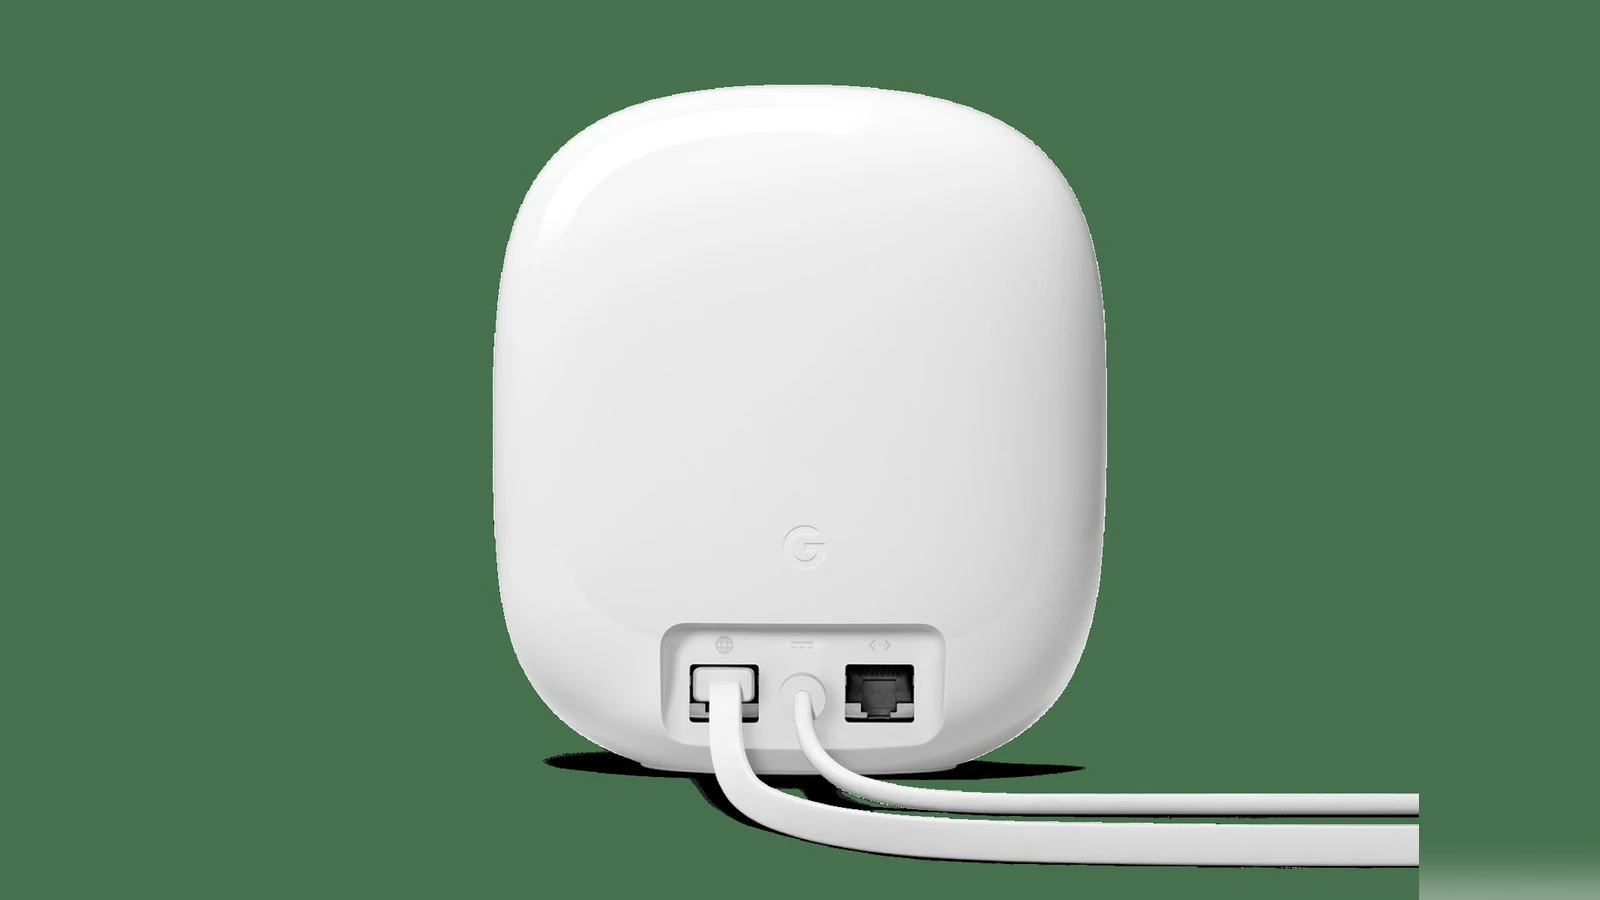
Keep the unit in open air, above floor level, and away from metal enclosures, dense masonry, large appliances and crowded RF equipment. If the border router supports Ethernet, a wired backhaul removes one variable and is preferable where cabling is practical. A Wi-Fi-backed unit can work well, but only where its Wi-Fi connection remains stable; a strong Thread link cannot compensate for unreliable LAN access.
Use multiple border routers to separate risks
Thread supports multiple border routers on the same Thread network. The useful pattern is not stacking several units in one room. Put them on different sides of an RF barrier or on different floors, while keeping each on the same trusted IP infrastructure. That creates alternate paths if one device loses power or its local radio path is blocked.
More hardware does not automatically mean redundancy. Two units on the same outlet, access point or Ethernet switch share a failure domain. Border routers attached to different Thread datasets can also appear as separate networks instead of one resilient mesh. Confirm the controller ecosystem has placed them on the intended Thread network before treating the second unit as failover.
Diagnose from the infrastructure inward
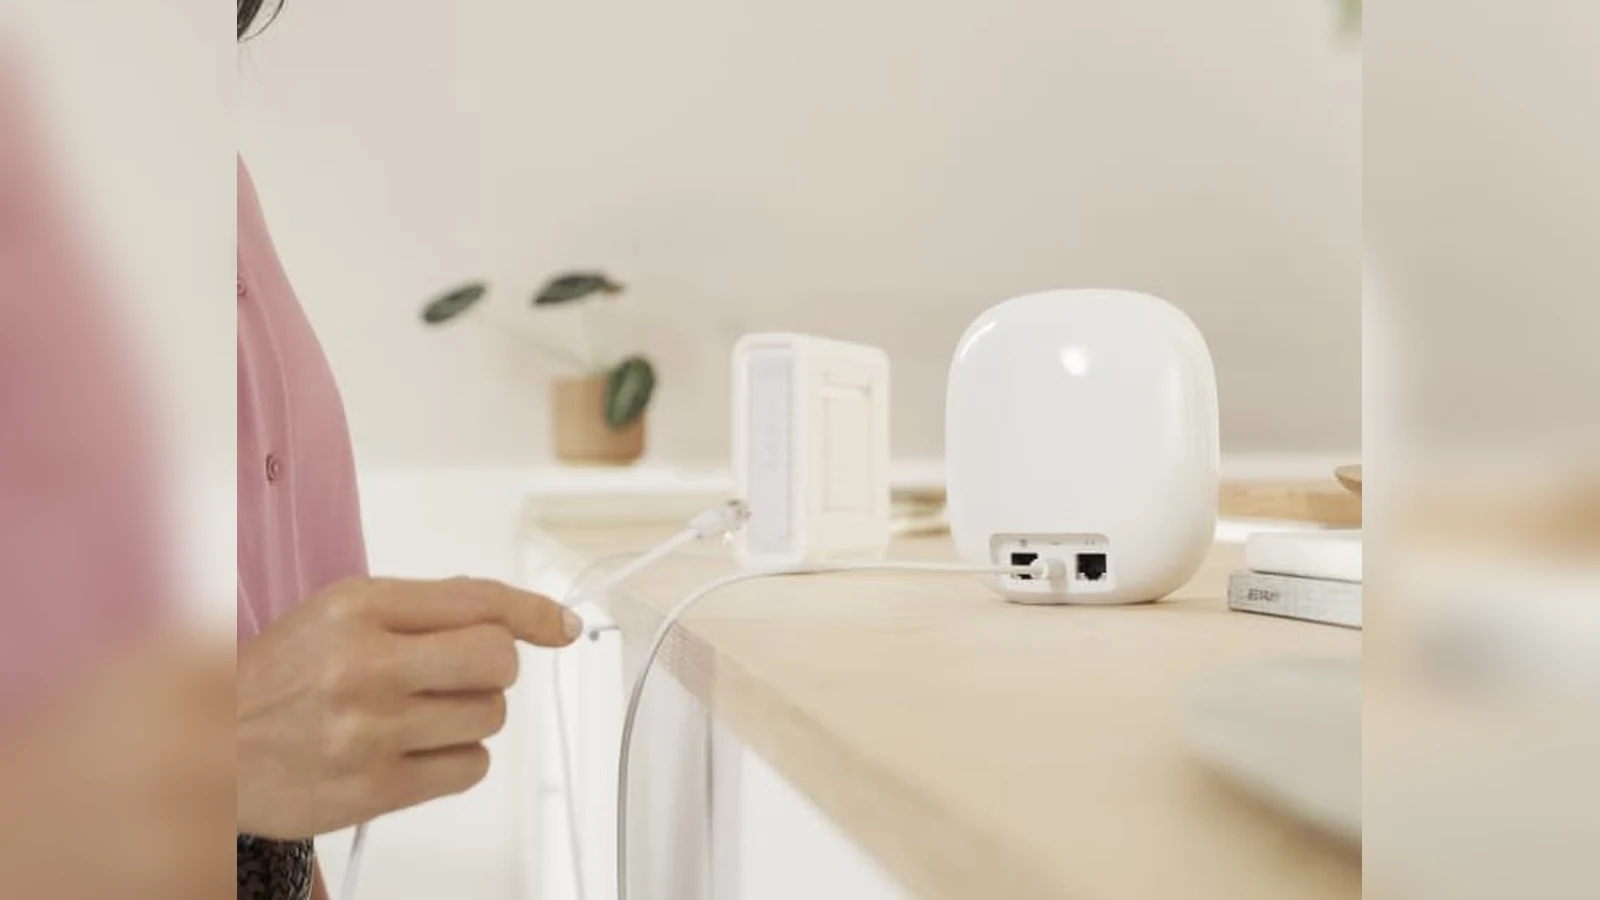
When devices become intermittent, first confirm power, Ethernet link or Wi-Fi association, LAN reachability and controller status for every border router. Then compare failures by floor, room and router. If an entire area fails with one router offline, move or add a router across that boundary. If only individual endpoints are weak, use TVG’s Matter-over-Thread sensor baseline map to investigate endpoint placement instead.
The practical goal is two independent, healthy paths where the home needs them—not the largest possible border-router count. After any move, reboot only one component at a time and note which devices recover. That simple sequence distinguishes a placement problem from a shared power, LAN or controller failure.



