
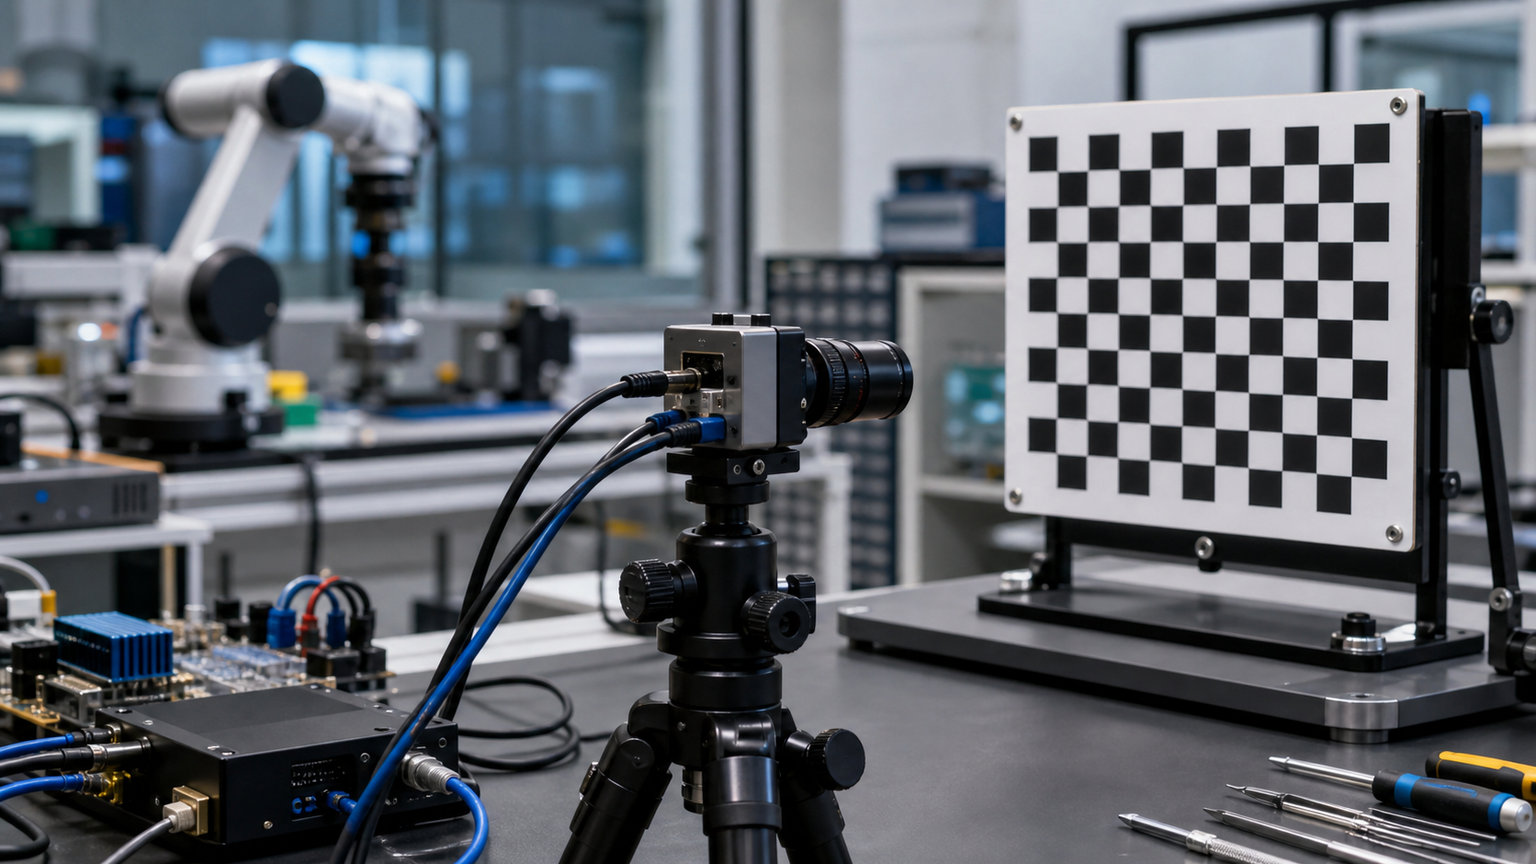
Robot vision teams often want to improve the model, the camera or the lighting before they check calibration. That is understandable, but it skips one of the cheapest controls in the whole vision stack. A checkerboard calibration session can reveal distortion, field-of-view assumptions and mount drift before those problems are misdiagnosed as software errors.
OpenCV’s camera calibration tutorial, ROS camera_calibration documentation and FIRST Tech Challenge vision guidance all point to the same basic idea: a camera and lens combination must be modeled before measurements from the image can be trusted. Calibration is not glamorous, but it is a practical baseline.
What calibration fixes
Most low-cost robot cameras have lens distortion. Straight lines can bend near the image edge, targets can appear shifted, and measurements can vary when the robot moves. Calibration estimates camera parameters so software can correct or account for those effects. That matters for target detection, pose estimation, autonomous alignment and any project where pixels turn into decisions.
TVG has covered robot wiring and sensor reliability in guides such as I2C sensor wiring for maker robots. Camera calibration belongs in that same reliability category: it reduces mystery behavior before the team blames the algorithm.
Good calibration data is physical work
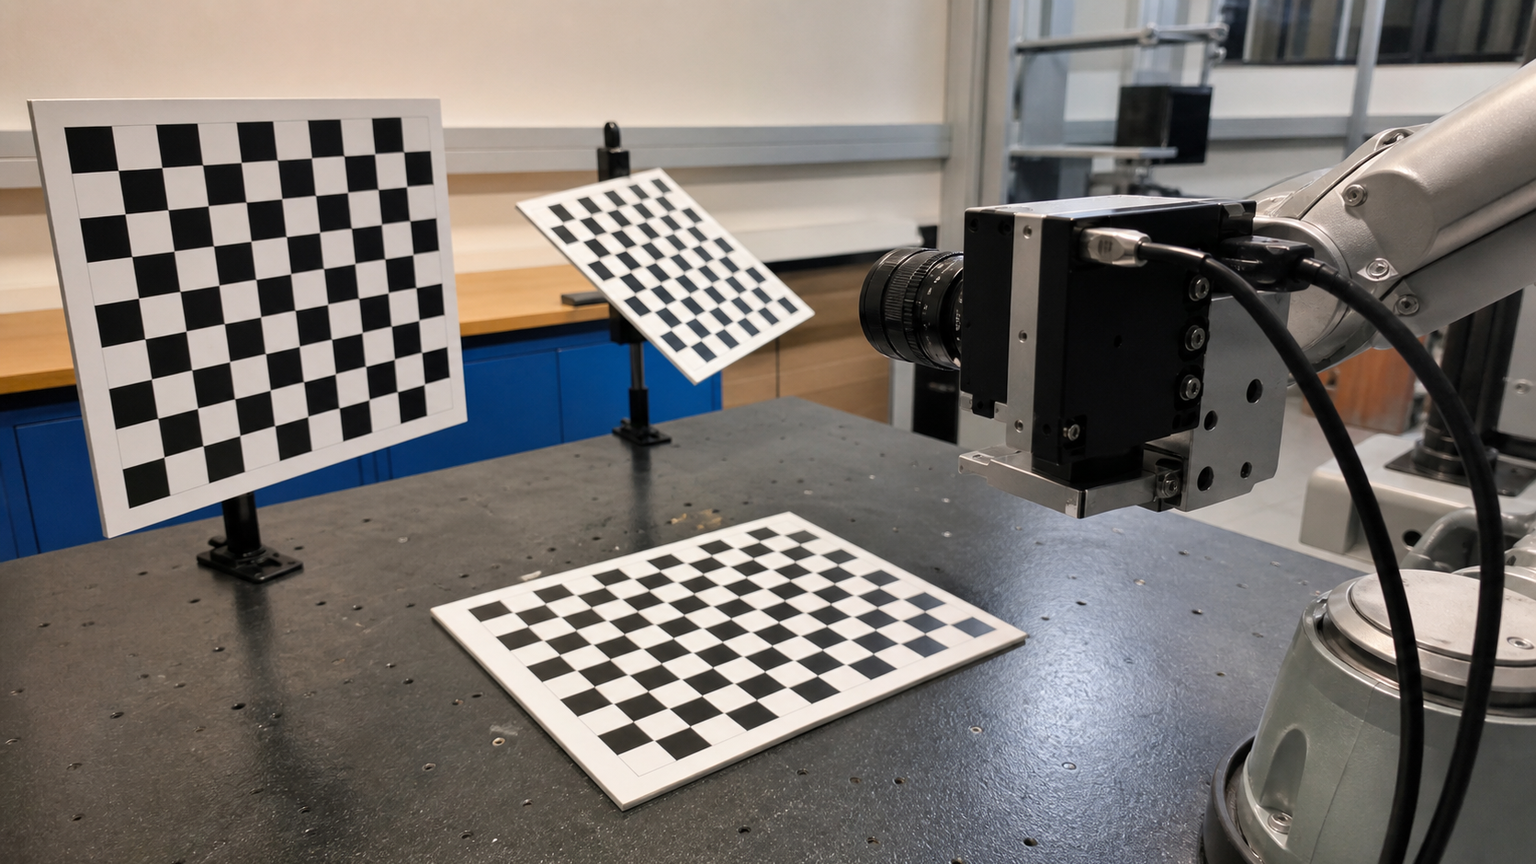
A useful calibration set needs varied target angles, enough images, even lighting and a stable camera mount. Moving the checkerboard through the frame helps the solver see distortion across the lens. Reusing one straight-on image at the center of the frame is not enough.
When to recalibrate
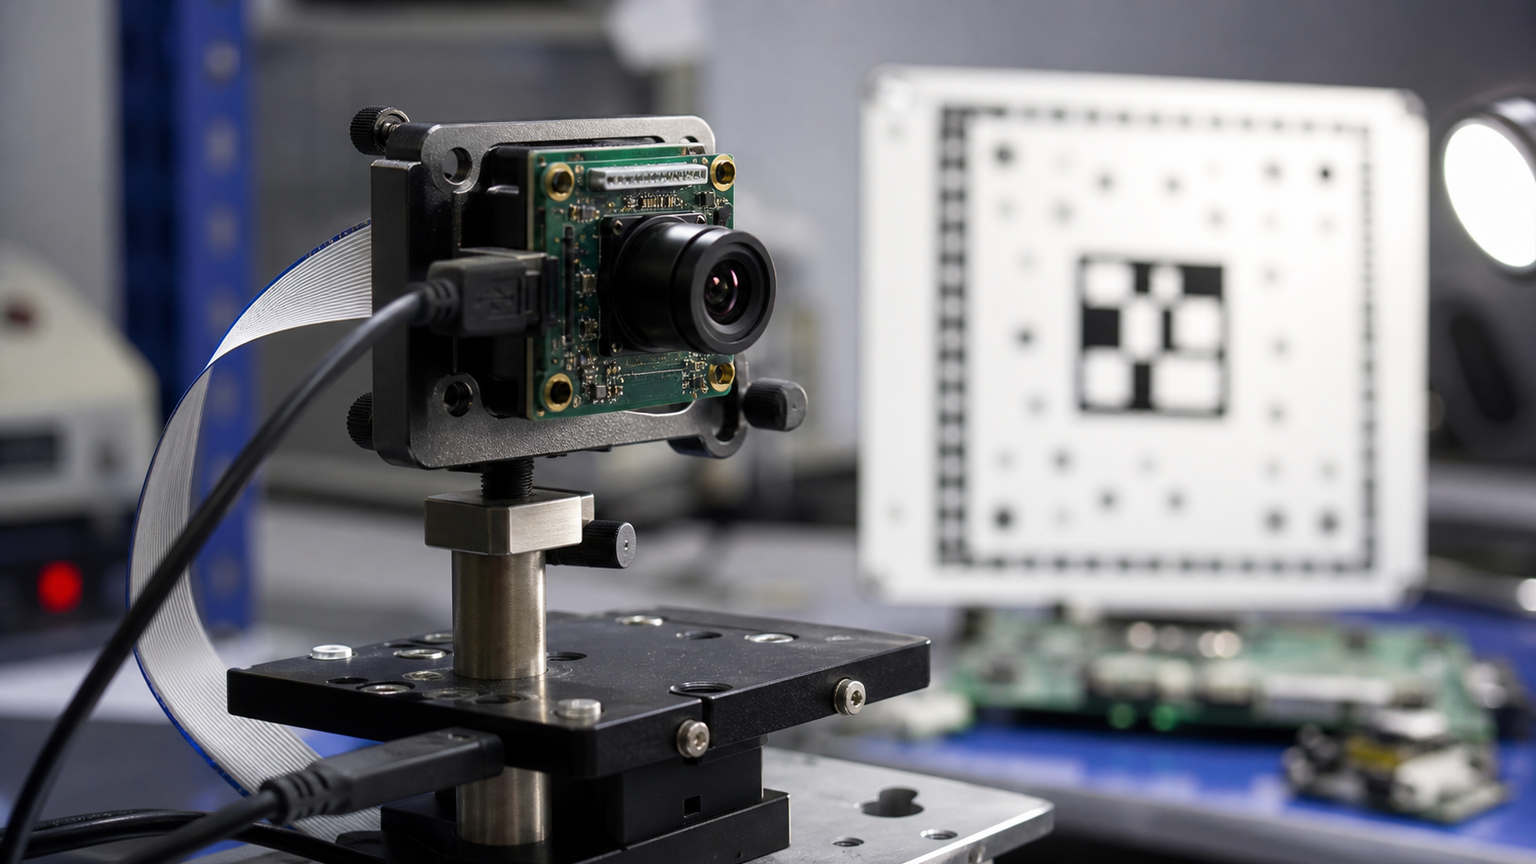
Recalibrate when the lens, focus, camera mount, resolution or field-of-view setting changes. Also recalibrate after hard impacts, repeated transport, or any mechanical adjustment that could move the camera. In a student robotics setting, treat calibration files like configuration assets: version them, note the camera and lens, and keep a copy with the robot code.
TVG Take: calibration is not a substitute for good lighting or model testing, but it is a low-cost way to make robot vision more repeatable. Before upgrading hardware, check whether the current camera is being measured honestly.
Checkerboard, ChArUco or AprilTag?
Checkerboards remain popular because they are simple, printable and well supported by OpenCV and ROS tooling. ChArUco boards and AprilTags can be useful when partial views, pose estimation or detection robustness matter, but the core principle stays the same: the target must be measured, flat, visible and captured across the camera’s field of view.
Teams should avoid printing a target, scaling it accidentally in the printer dialog and then entering the wrong square size into the calibration tool. That small mistake can poison the result. Measure the printed target with a ruler or calipers and keep the target with the robot kit so the setup is repeatable.
Lighting and focus are part of calibration
Calibration data collected under bad lighting can make a good camera look inconsistent. Avoid glare, deep shadows and motion blur. Lock focus when possible, keep the camera mount stable, and capture images at the same resolution and lens setting the robot will use during operation.
If the robot uses automatic exposure, test calibration targets under expected field lighting. A calibration file made in a bright classroom may still be mathematically valid, but the detection pipeline can struggle on a dim field with reflective tape, glossy game pieces or LED flicker.
Do not overclaim precision
Calibration improves repeatability, but it does not turn a low-cost camera into a metrology instrument. Lens quality, rolling shutter, target placement and lighting still limit the result. Treat calibration as a control that makes vision experiments more honest, not as proof that every distance estimate is exact.
Make calibration a team habit
The best teams do not treat calibration as a one-time expert task. They keep a checklist, store calibration files with meaningful names and rerun the process after mechanical changes. A ten-minute calibration session can save hours of debugging when autonomous behavior shifts after transport.



