
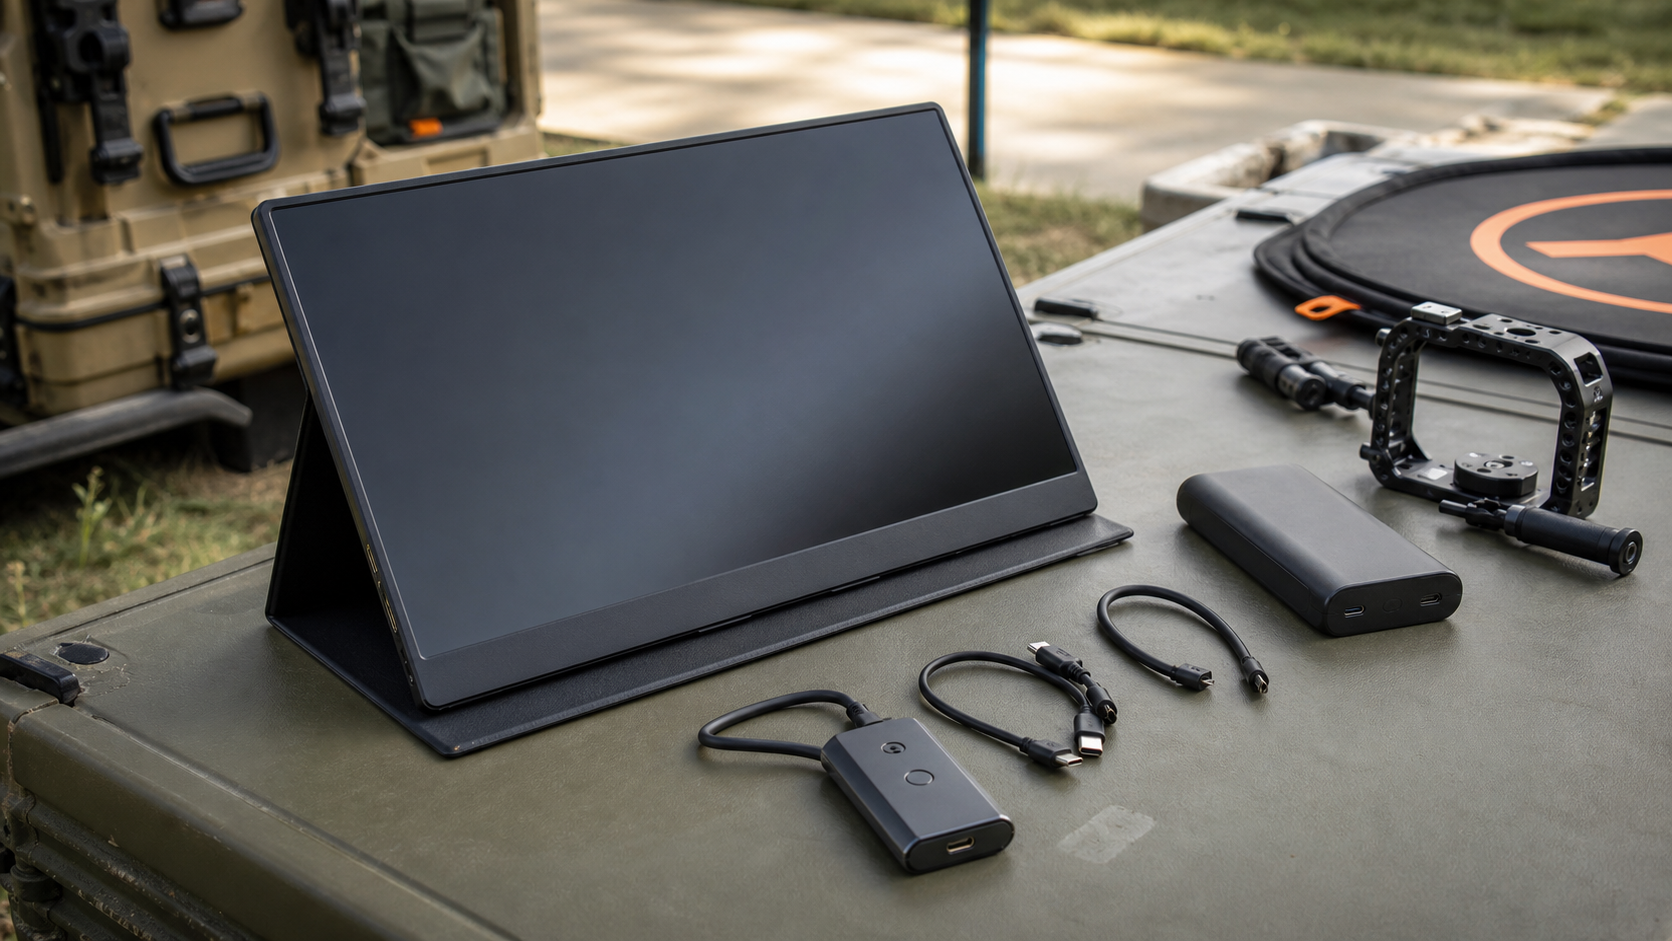
A portable monitor looks like a simple accessory until it becomes the only screen available in a robotics pit, a camera-review station, a field-mapping kit, or a temporary maker-lab bench. Then the weak points appear quickly: a dim panel outdoors, a USB-C cable that carries power but not video, a mini-HDMI jack that loosens during transport, a stand that collapses under cable strain, or a battery bank that cannot supply enough power when the display is bright.
This guide is for buyers who want a field dashboard, not a travel-office perk. It pairs with TVG’s HDMI capture-card guide, memory-card field guide, and action-camera mounting checklist. The same rule applies: buy for the complete workflow, not just the biggest number on the product page.
Start with the job, not the panel size
A field monitor has different jobs depending on the kit. A robotics team may need a dashboard for telemetry, camera feeds, logs, or referee timing. A creator team may need a larger screen for reviewing focus, exposure, and framing. A drone or mapping crew may need a temporary review station for flight logs and media checks. A school lab may need a shared display that survives being moved between benches.
The best size depends on how close the operator sits and how often the kit moves. A 14-inch display is easier to pack and power. A 15.6- or 16-inch display is easier to share. A dual-screen portable display can be useful indoors, but it adds hinges, cables, weight, and power demand. For field kits, simpler often lasts longer.
Brightness: indoor specs can mislead
Many portable monitors advertise brightness in nits, but the number needs context. A panel that is fine in a classroom can wash out near a loading dock, garage door, window, or outdoor staging table. For bright indoor work, 300 nits may be usable. For outdoor shade, higher brightness is worth paying for. Direct sun is still difficult for most portable monitors unless the kit includes a hood or shade.
Brightness also affects power. Running a screen at maximum brightness can drain a battery bank faster than expected, and some monitors lower brightness when powered from weaker USB-C sources. Buyers should test the actual power mode they plan to use, not only the display plugged into a wall charger.
USB-C video is not the same as USB-C charging
USB-C is convenient because one cable can carry power and display data, but not every USB-C port supports video. A laptop, mini PC, tablet, camera adapter, or single-board computer may have USB-C charging without DisplayPort Alt Mode. The DisplayPort over USB-C information from VESA explains why USB-C display support depends on alternate-mode capability, not just connector shape.
That difference is the source of many field failures. A team packs one cable, assumes the port will work, and discovers on site that the device can charge the monitor but cannot drive it. The fix is simple: make a cable and port matrix before the event. List every source device, every monitor input, every required adapter, and whether the cable has already been tested for video at the target resolution and refresh rate.
HDMI still matters
HDMI remains useful because cameras, capture cards, small PCs, game consoles, and some drones or field recorders output HDMI more predictably than USB-C video. The HDMI Licensing Administrator’s specification overview is a reminder that HDMI capabilities vary by version and implementation, but for most portable-monitor use, physical reliability matters as much as headline bandwidth.
Mini-HDMI and micro-HDMI ports save space but are easier to stress. A field kit should include short strain-relief cables or right-angle adapters, plus a known-good full-size HDMI path when possible. If a monitor has only mini-HDMI, the adapter becomes part of the monitor. Tape, label, and pack it that way.
Resolution and refresh rate: do not overspend blindly
A 4K portable monitor sounds attractive, but many field dashboards do not need it. Telemetry panels, terminal windows, focus checks, and camera menus often benefit more from brightness, anti-glare coating, and stable scaling than from 4K resolution. Full HD remains enough for many robotics and classroom kits. A 2.5K or 4K panel can make sense for photography, 3D scanning review, CAD checks, or detailed video work, but only if the source device can drive it reliably.
High refresh rates are also situational. They are useful for gaming, fast camera feeds, and some interactive demos. For a logging dashboard or robotics pit display, 60Hz is usually fine. Do not trade mounting, brightness, or input reliability for a refresh-rate spec that the workflow will not use.
Power: test the worst case
Portable monitors vary widely in power behavior. Some run from a single USB-C cable connected to a laptop. Some need a second USB-C power input. Some accept power banks, but only if the bank supports the required voltage and wattage. USB-IF’s USB Power Delivery overview is useful background for why wattage negotiation matters.
The practical test is not complicated. Run the monitor at the brightness level you expect to use, with the same source device, cable, battery bank, and accessories that will travel with the kit. Let it run long enough to expose heat, dimming, disconnects, and power-bank shutdown behavior. If the monitor flickers when the camera or mini PC wakes, the kit is not ready.
Mounting and protection are specs too
Most portable-monitor listings emphasize panel size and resolution. Field teams should treat the stand, case, and mounting path as primary features. A thin folding cover is fine for a hotel desk; it may be poor for a crowded robotics pit. Look for VESA mounting, tripod compatibility, rugged case options, or a stand that resists cable pull.
For a shared lab, the best portable monitor may be the one that mounts to a small arm or collapsible stand and uses replaceable cables. A glossy premium panel that slides off a bench is worse than a plain screen that stays where it is placed.
Color and touch: useful, but workflow-specific
Creator teams may care about color coverage, calibration, and viewing angle. Robotics teams may care more about readability and latency. Touch support can be useful for Windows-based control panels, but it adds driver and cable questions. Some touch monitors need a separate USB data connection even when video arrives over HDMI.
If color matters, check whether the monitor supports useful calibration controls and whether the field environment will defeat the benefit. A wide-gamut panel is not very helpful if reflections, glare, and inconsistent brightness make judgment unreliable.
The TVG field checklist
- Brightness: Test in the actual lighting environment, not just indoors.
- Inputs: Confirm USB-C video support and keep an HDMI fallback.
- Cables: Label known-good video cables; do not assume every USB-C cable carries display data.
- Power: Test wall power, source-device power, and battery-bank power separately.
- Mounting: Verify the stand survives cable pull and crowded bench use.
- Scaling: Check whether dashboards, terminal windows, and camera menus are readable at the chosen resolution.
- Transport: Pack adapters as part of the monitor kit, not loose accessories.
TVG Take
The best portable monitor for a field dashboard is rarely the flashiest panel. It is the display whose inputs, power behavior, stand, brightness, and cables have already been tested with the rest of the kit.
For robotics teams, creator crews, and maker labs, TVG would prioritize a boring reliability test over premium display marketing: plug in every source, run the screen at field brightness, tug the cables gently, move the stand, and confirm the setup recovers after sleep or a power swap. If the monitor passes that routine, the spec sheet starts to matter. If it fails, the resolution number was a distraction.



