
Editorial mode: Template B — Analysis / Guide.
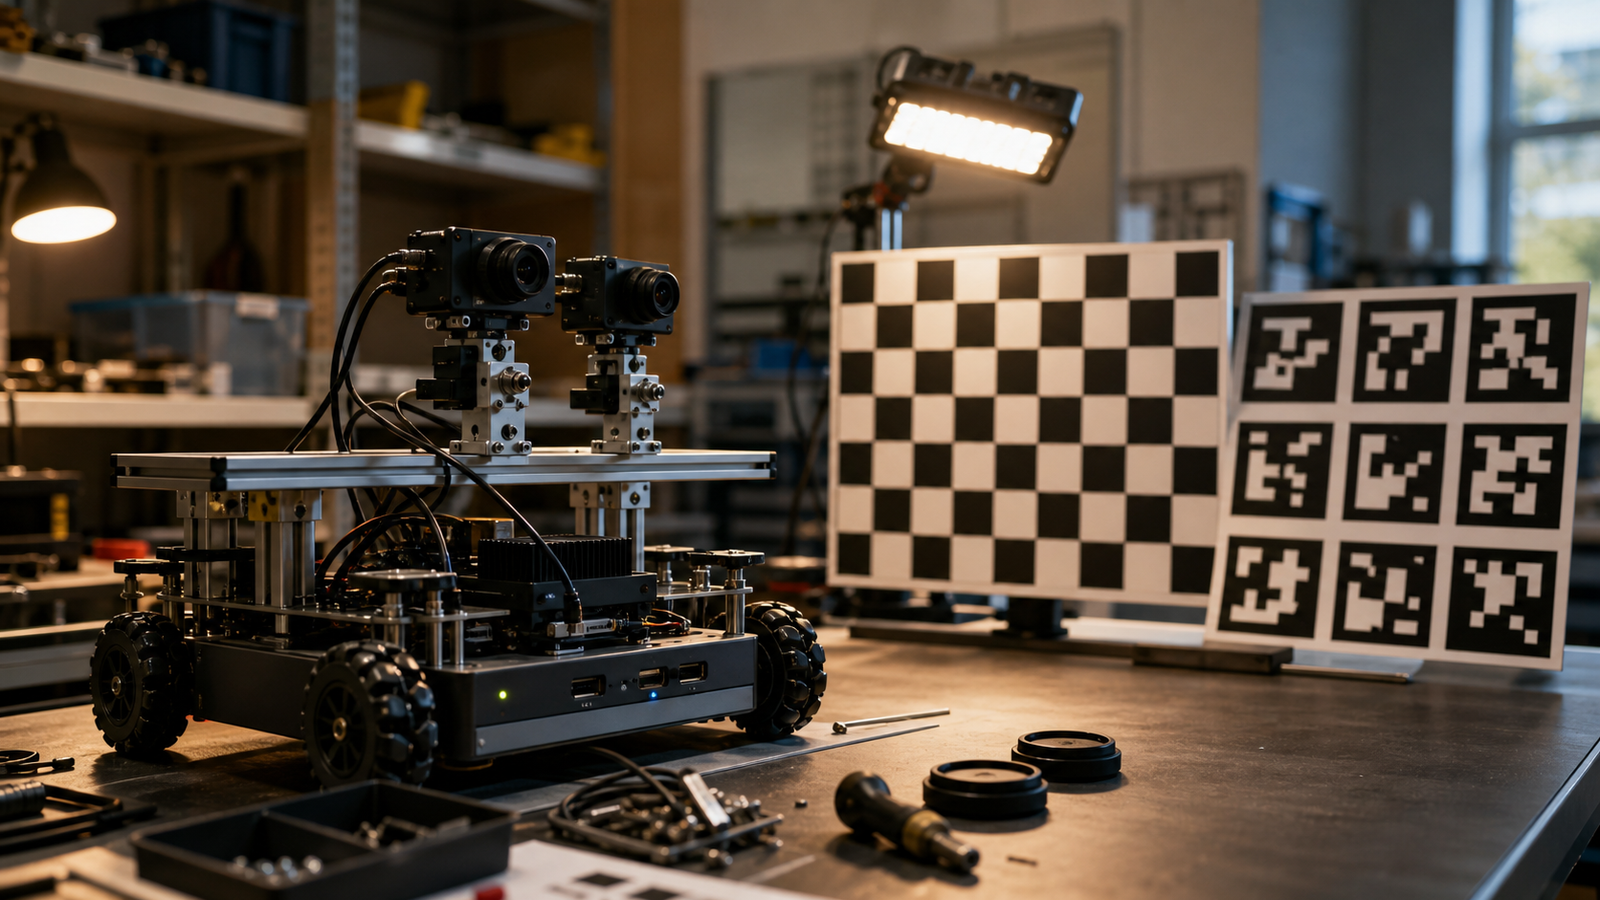
Robot teams often choose a camera by resolution, price or whether a tutorial already exists. For moving robots, the shutter type can matter just as much. Global shutter and rolling shutter cameras capture motion differently, and that difference can affect AprilTag detection, wheel tracking, localization and fast inspection tasks.
Luxonis and Arducam both document camera hardware used in maker and robotics projects, while OpenCV’s calibration tutorial explains the wider geometry problem. TVG’s point is practical: camera selection is a reliability decision, not only an image-quality decision.
Quick answer
Use global shutter when fast motion, robot vibration or precise geometry matters. Rolling shutter can still work for slower projects, static inspection and budget builds, but teams should test it under real motion and lighting before competition day.
Why shutter type changes the test
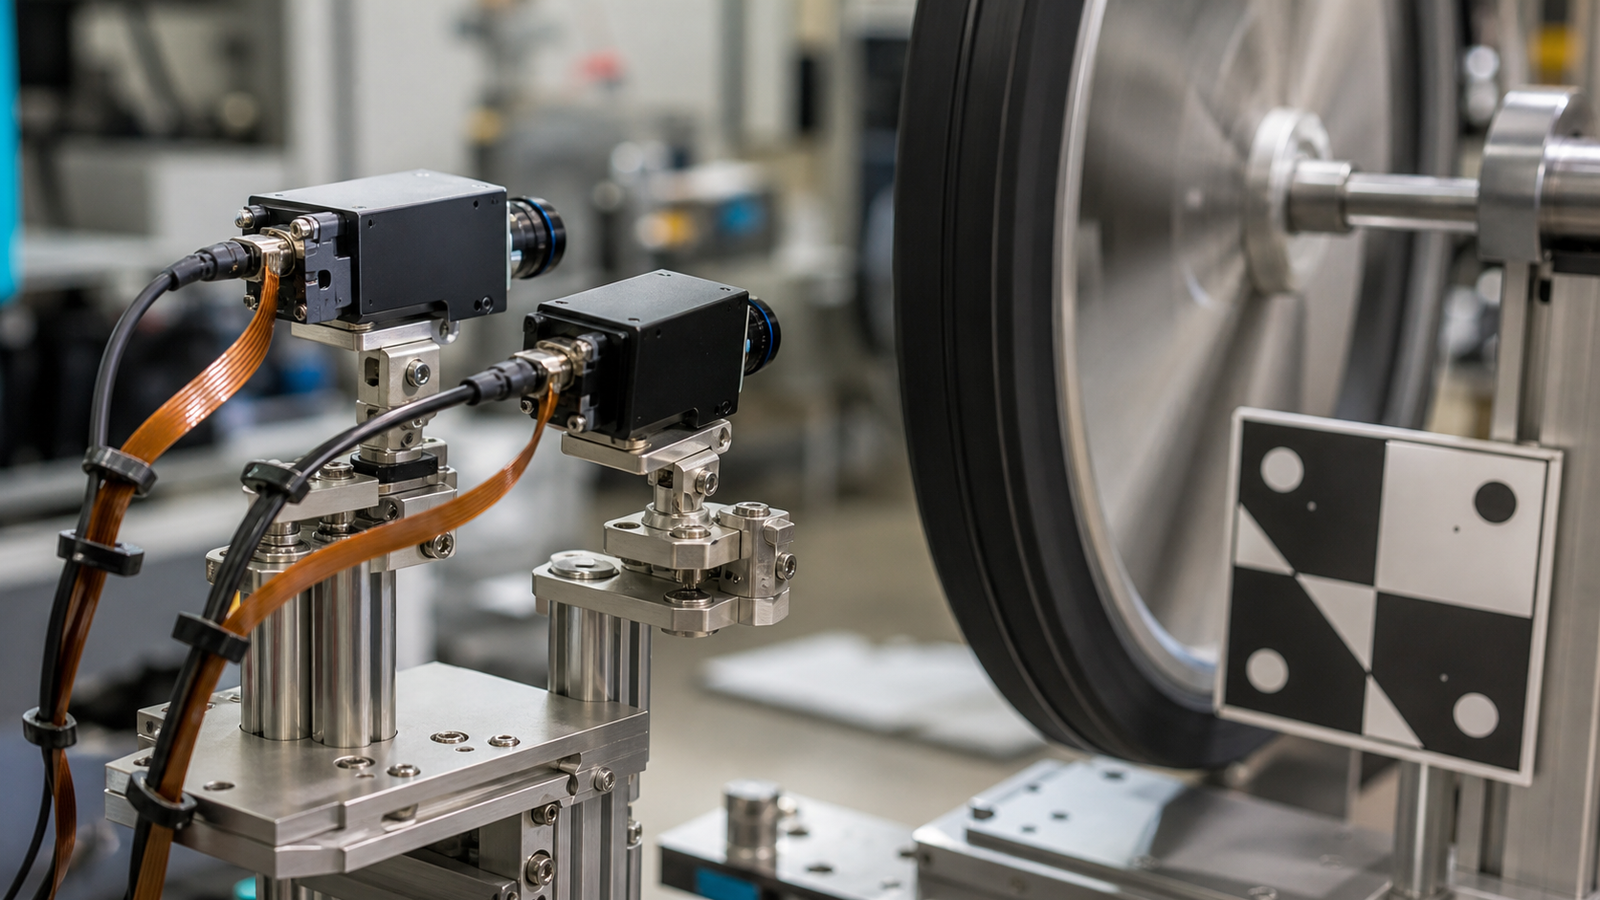
A global shutter captures the frame at once. That can make moving objects and fiducial markers easier to measure when the robot or target is moving quickly. A rolling shutter scans the frame over time. Under motion, straight edges may bend, targets may skew and frame geometry can become less trustworthy.
That does not mean every robot needs the more expensive camera. A slow classroom rover reading a large marker under controlled light may work fine with a rolling-shutter camera. A fast drivetrain, vibrating arm or robot that turns quickly while detecting tags has less margin.
Calibration still matters
Shutter choice does not replace calibration. Lens distortion, focus, exposure, mounting angle and lighting can break a vision system even with good hardware. Teams should save calibration data, record camera height and angle, and test with the same marker size and lighting they expect to use in the real course.
Robot camera checklist
- Motion speed: test while the robot turns, accelerates and vibrates.
- Marker geometry: compare tag detection when the target is still and moving.
- Lighting: repeat tests under practice and event lighting.
- Mount stiffness: a loose camera can ruin either shutter type.
- Exposure: avoid settings that create blur or flicker artifacts.
- Cost and support: choose hardware the team can replace and document.
This support article strengthens TVG’s robot-vision cluster alongside the AprilTag print size and glare checklist.
Run a simple A/B test
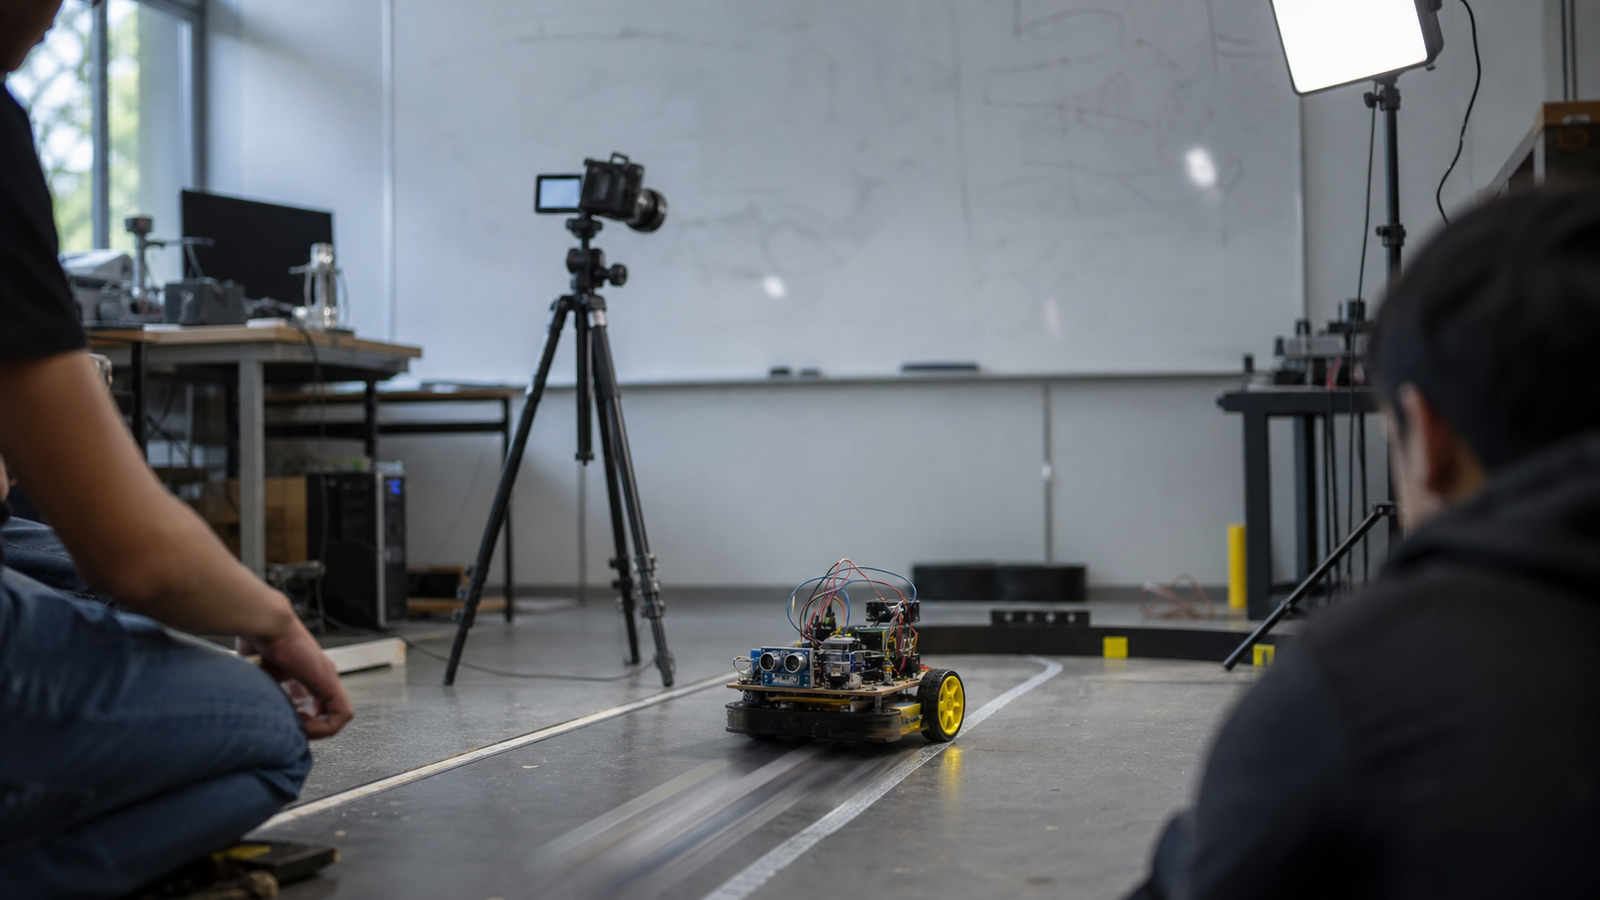
If a team has access to both camera types, build a small A/B test before choosing. Drive the robot past the same marker at several speeds, save frames from each run, and compare detection stability. Then repeat under dimmer light and with the camera mounted on the actual robot, not a stable desk tripod.
The test does not need to be fancy. A spreadsheet with speed, distance, lighting, exposure, detection count and failure notes is enough to show whether the cheaper camera is acceptable. That record is also useful when a future student asks why the team bought a specific camera.
TVG Take
Global shutter is not a magic upgrade, and rolling shutter is not automatically wrong. The right choice depends on motion, geometry and evidence. A team that tests shutter behavior before writing more code will debug robot vision faster.
Teams should also save bad frames, not only successful runs. A warped marker, blurred edge or flickering LED pattern can explain a failure faster than a debate about code. The best robot-vision notebook includes example images, not just tuning numbers.



