
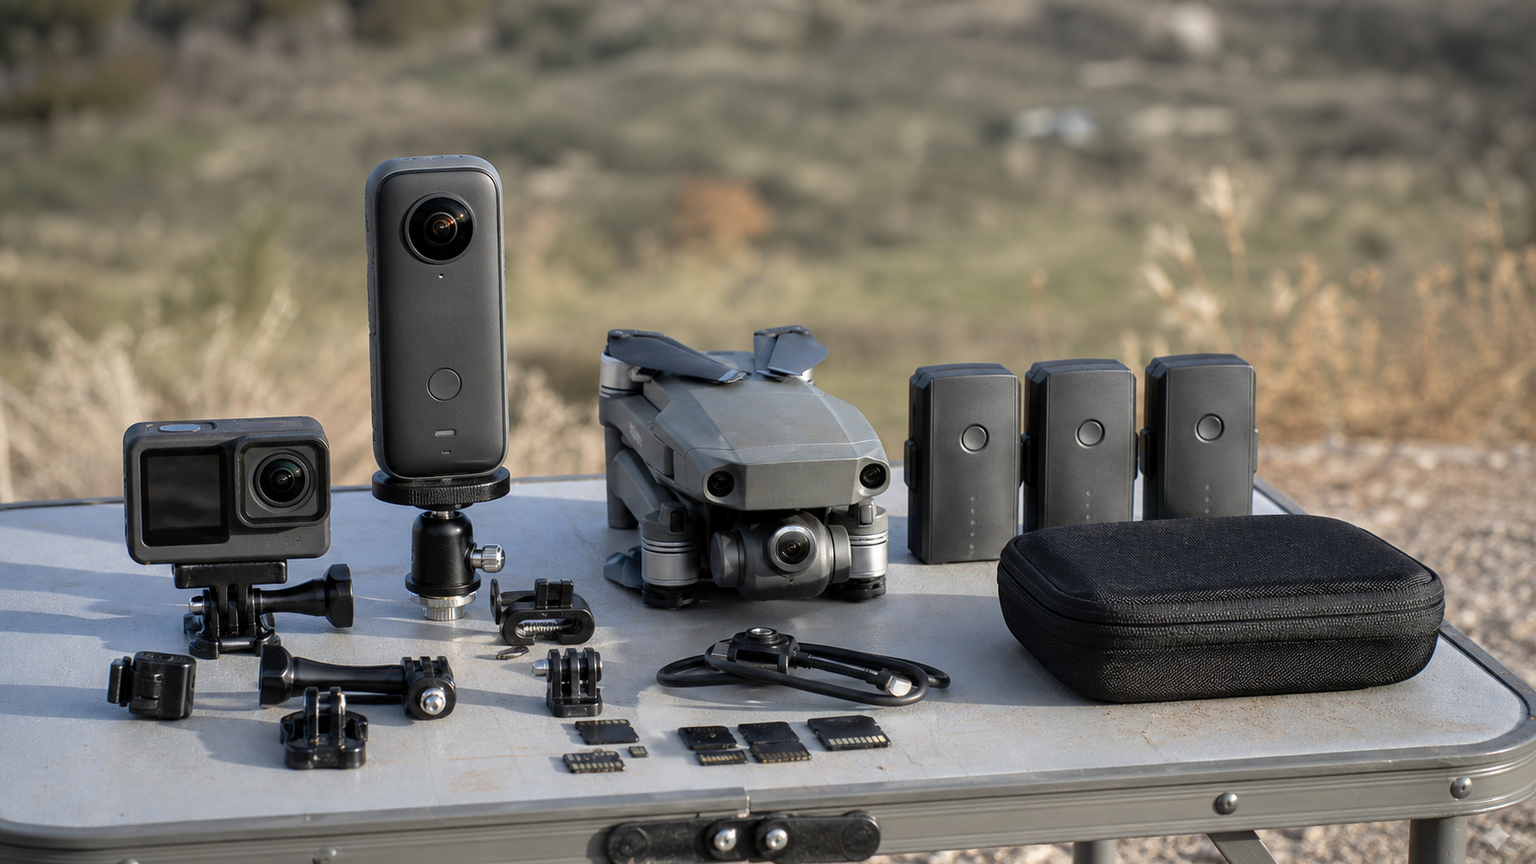
Robot teams and maker labs are documenting more field tests, but the right camera kit depends on the failure mode they need to see. An action camera, a 360 camera and a small drone each solve a different documentation problem. None of them is automatically the best field tool.
Action cameras are strong for rugged close-up mounting. 360 cameras help when the team does not know where the important event will happen. Drones can provide overhead context, but they add flight rules, batteries, weather limits and safety planning. The engineering decision is about evidence, not lifestyle footage.
Start with the question the footage must answer
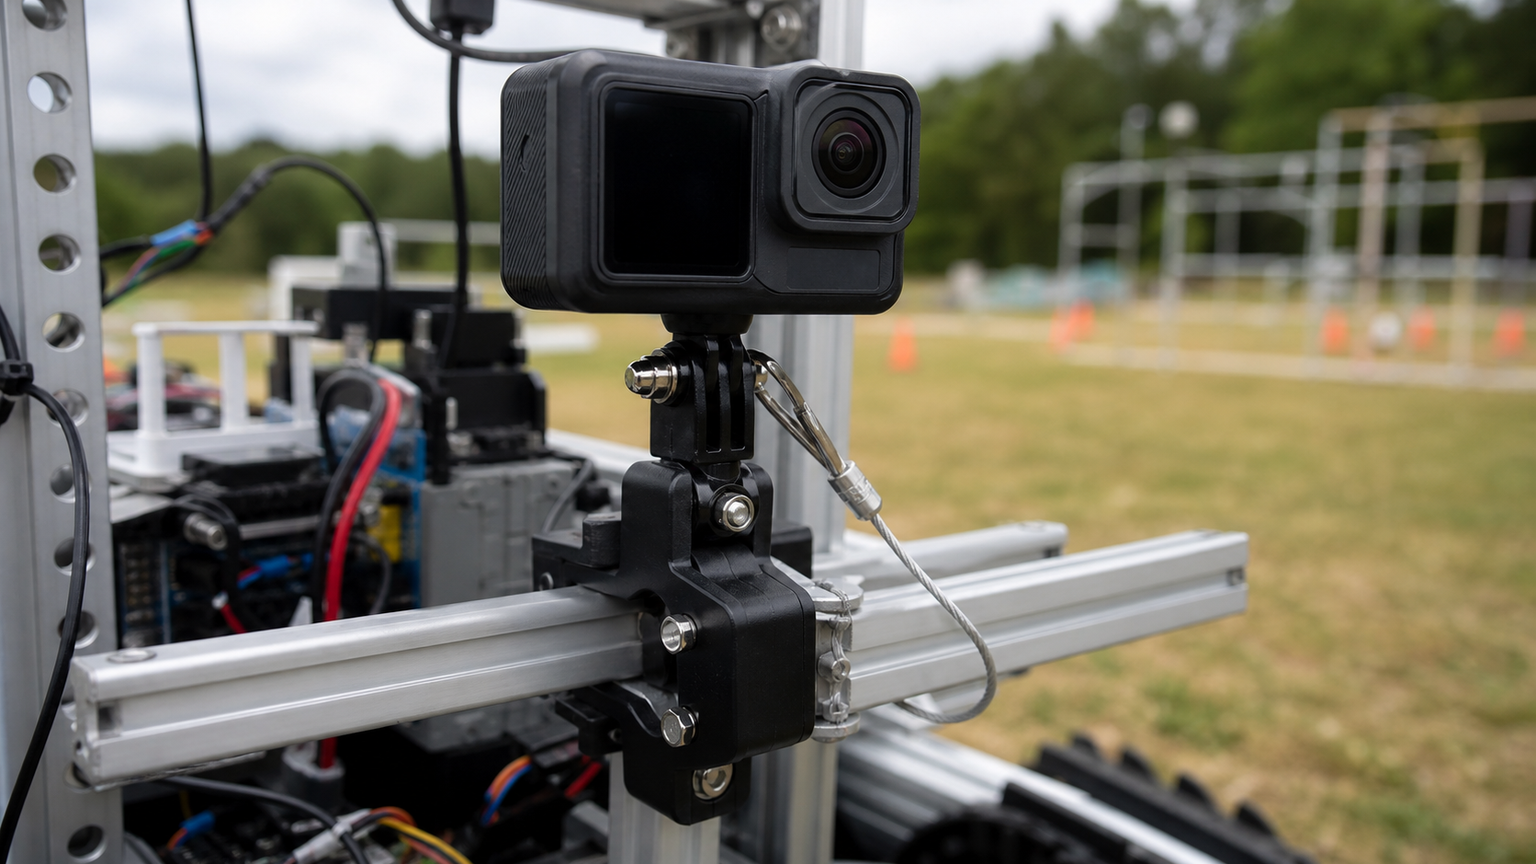
If the goal is to see wheel slip, bumper contact or arm flex, mount a small camera close to the mechanism. If the goal is to understand driver behavior or field spacing, a static wide or 360 camera may be better. If the goal is outdoor route context, a drone can help only when the site, rules and safety plan make flight appropriate.
This supports TVG’s earlier focus on field-ready creator workflows, including field backup planning for creator and maker labs. Capturing the video is only the first half of the job; preserving and reviewing it is the other half.
Mounting and audio beat headline resolution
A high-resolution camera is not useful if vibration makes the footage unreadable or if the microphone is buried inside a protective case. Teams should prioritize secure mounts, tethers, lens protection, battery swaps and a repeatable file-naming workflow. A clean 1080p clip that shows the failure is more valuable than a shaky high-resolution clip that only looks impressive.
Where drones fit
Drones are useful for outdoor mapping, route review and wide context, but they introduce separate constraints. The FAA’s recreational flyer guidance is a reminder that flight location, line of sight, altitude and registration rules may apply. For many robot tests, a tall tripod or 360 camera is simpler and safer.
TVG Take: build a field documentation kit around questions: close mechanism evidence, whole-field awareness, overhead context and data recovery. Buy the camera type that answers the test question with the least operational friction.
Use different cameras for different evidence
A frame-mounted action camera is strong when a mechanism fails suddenly. It can show vibration, impact and part movement from the robot’s point of view. A 360 camera is better when the team needs to review driver position, field layout, traffic around the robot or events that happen outside a fixed camera angle.
A drone is a different tool. It can show route geometry or outdoor positioning, but it requires a pilot, a safe location and compliance with flight rules. If the test can be documented from a mast, balcony or tripod, that simpler setup is often more repeatable than launching aircraft for every run.
Plan the battery and media path
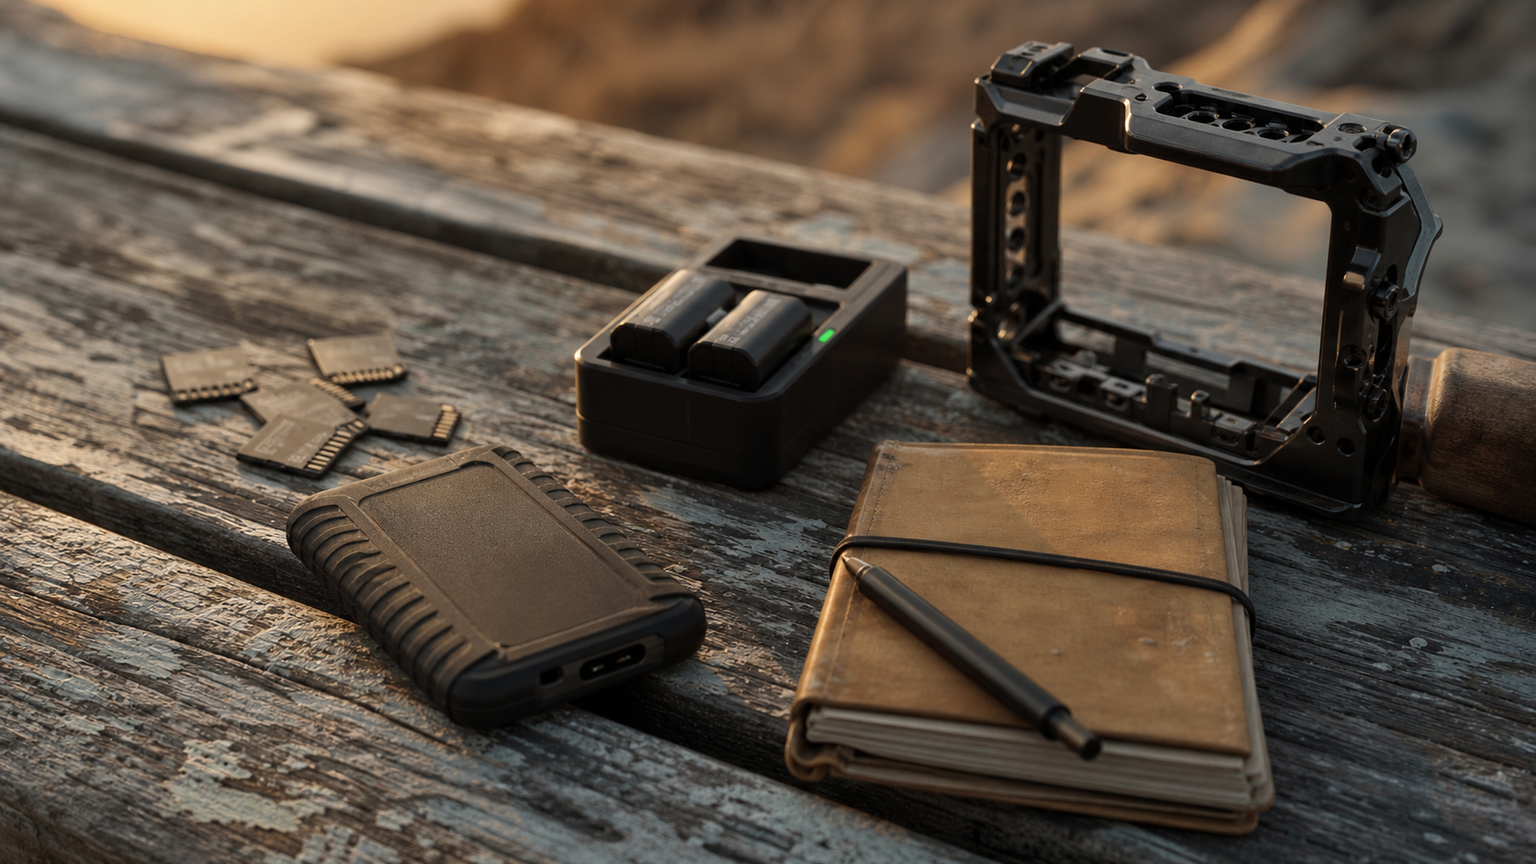
Camera batteries, memory cards and file transfer steps should be planned like any other test equipment. Bring more cards than the expected run time requires, rotate cards rather than deleting footage in the field, and create a simple folder convention when files land on a laptop or SSD. A field video that cannot be found later is almost the same as footage that was never captured.
Audio also deserves attention. Team comments, motor noise and impact sounds can help explain what happened. Waterproof cases and wind can make that audio useless, so run one short test clip before the important run. If the audio is critical, use an external recorder or place a separate camera near the driver station.
TVG’s recommended starting kit
For most teams, start with one rugged action camera, one static wide camera or 360 camera, two clamps, two tethers, spare batteries, a card case and a rugged SSD. Add a drone only when overhead context is essential and the team has a safe, legal way to fly. That kit is less glamorous than buying every new camera, but it answers more engineering questions.



