
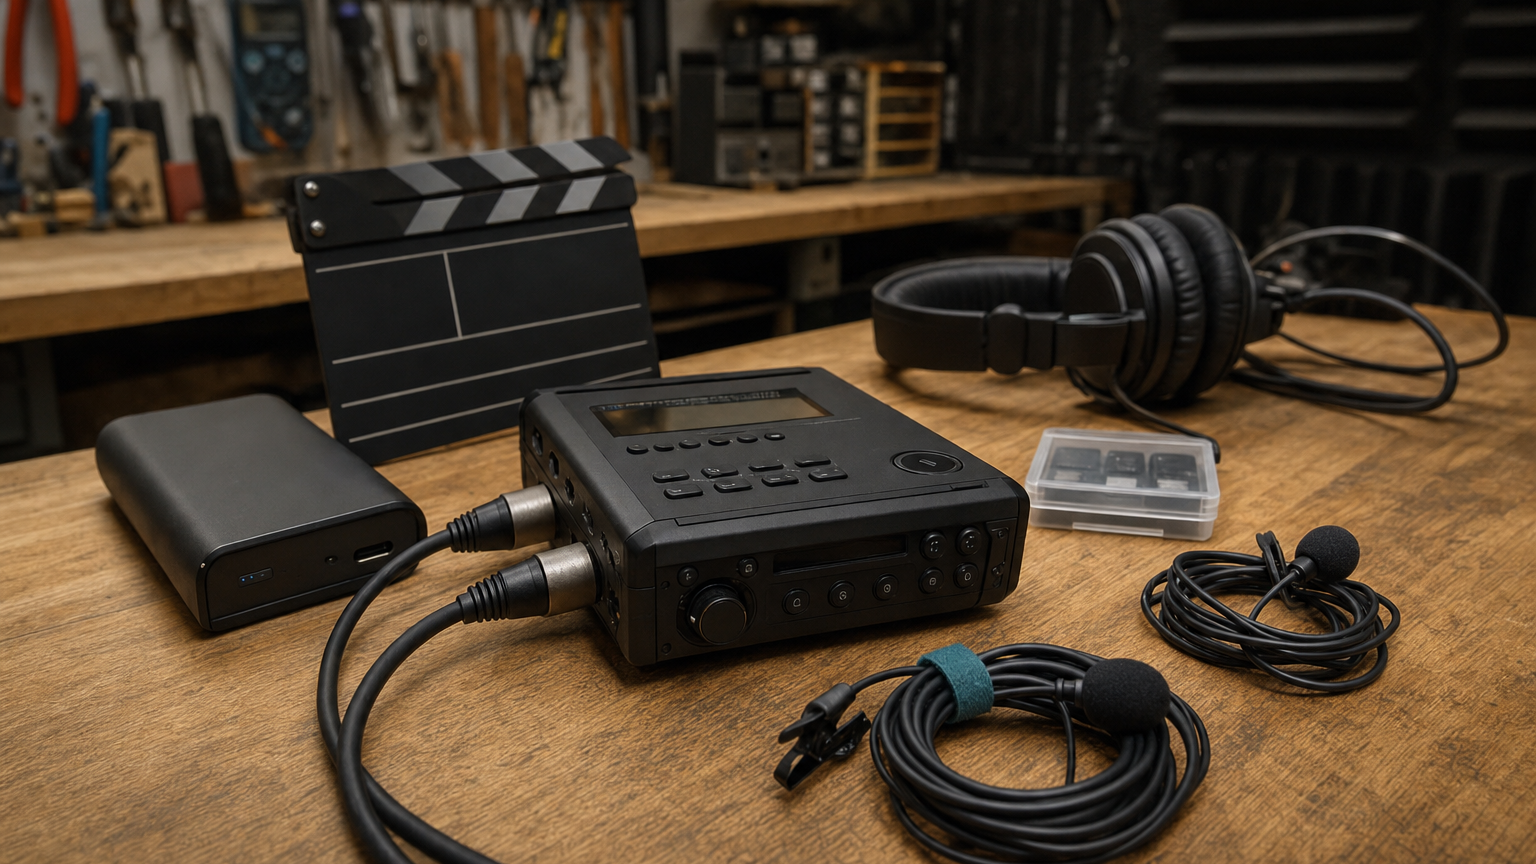
Bad audio can make a good robotics demo feel unfinished. A shaky camera can be forgiven if the viewer understands what the robot did, what failed, and what changed between test runs. Clipped narration, noisy room audio, and unsynced interviews are harder to rescue.
That is why 32-bit float recorders keep showing up in creator kits, field-documentation bags, and school media closets. Products such as the TASCAM FR-AV2 and Zoom F3 advertise 32-bit float capture, compact field operation, and features aimed at video production. For maker labs, the question is not whether the term sounds professional. It is whether the workflow actually solves the problems a lab has.
This guide focuses on practical specs: dynamic range, timecode, input types, USB-C power, file handling, and the points where a recorder can still fail even when it records in 32-bit float.
Quick answer
32-bit float recording is most useful when your lab captures unpredictable sound levels: robot motors, tool noise, student narration, outdoor demos, sudden applause, or a quiet explanation followed by a loud test. It does not replace microphone placement, wind protection, sync discipline, or a repeatable file workflow. Treat it as a safety margin, not a magic audio button.
What 32-bit float actually helps with
Traditional recording workflows require careful gain staging. Set gain too high and loud moments clip. Set it too low and quiet speech may be buried under noise when raised later. 32-bit float recorders are designed to preserve a much wider range of recorded level so that an editor can recover loud peaks or raise quiet material with less damage than a conventional fixed-point file.
TASCAM describes the FR-AV2 as a compact 32-bit float field recorder with a timecode generator and mixer. Zoom positions the F3 as a two-input field recorder built around 32-bit float capture. Sound Devices explains the concept in detail, noting that the format is about preserving headroom and post-production flexibility rather than making every recording automatically good.
For a lab, that matters during real demonstrations. A small mobile robot may sound quiet during setup and then suddenly scrape, collide, or spin a fan. A teacher may speak softly while a student holds the camera. A drone or action camera may capture wide shots while a separate recorder captures cleaner narration.
Spec 1: Inputs matter more than the badge
Do not buy only because the box says 32-bit float. Start with the input problem.
- XLR/TRS combo inputs are useful for powered shotgun microphones, handheld interview mics, and more durable cable runs.
- 3.5 mm lavalier inputs are convenient for simple creator kits, but they vary widely in plug-in power support and noise performance.
- Line-level input matters if you are capturing from a mixer, wireless receiver, or classroom AV system.
- USB audio interface mode can make the recorder double as a livestream input, but check whether it supports the sample rate and channel count you need.
For robotics and maker content, one or two reliable external mic inputs are often more valuable than a long list of onboard effects. A recorder sitting on a bench with its built-in microphones several feet from the speaker will still capture room echo and machine noise.
Spec 2: Timecode and sync
Timecode is not required for every lab. It becomes valuable when you record with multiple cameras, an action camera on the robot, a phone for close-ups, and a separate audio recorder. Without a sync plan, every edit begins with manual waveform matching and guesswork.
The FR-AV2’s official feature set includes timecode support. That can reduce friction for teams that regularly document field tests or produce polished event videos. For simpler one-camera demos, a visible clap, hand clap, or slate at the start of each take may be enough.
The practical rule: if your lab loses time in editing because video and audio drift or because students cannot identify which audio file belongs to which take, timecode and clear file naming deserve attention.
Spec 3: Power and mounting
USB-C power is a real workflow feature, not just a convenience. A recorder that can run from a power bank may survive long field days, competition pits, and classroom sessions where batteries disappear.
But power introduces new failure points. A loose USB-C cable can stop a recording. A noisy power bank can add interference. A recorder mounted under a camera cage may block ports or make gain controls hard to reach. Before a public demo, test the full rig with the same cable routing, power bank, camera, and microphone placement you plan to use.
TVG’s earlier guide to portable LED light specs for maker-lab video made a similar point: the best spec is the one that survives the setup, not the one that only looks good on a product page.
Spec 4: File format and handoff
32-bit float files can be larger and may require an editor that handles them correctly. Before standardizing on a recorder, confirm that your editing software can import the files, normalize levels, and export the final audio without confusion.
A lab should also decide where audio files go after capture. A practical workflow might be:
- Create one folder per project or test day.
- Copy camera cards and recorder files before editing.
- Rename files by test number, camera angle, and audio source.
- Keep original recorder files unchanged.
- Export a normalized working copy only after backup.
This connects directly to TVG’s recent CFexpress and SD card workflow guide. Good capture hardware is only half the system. The other half is repeatable ingest and backup.
What 32-bit float does not fix
It does not make a microphone closer to the speaker. It does not remove wind rumble from an outdoor robot test. It does not identify who is speaking in a crowded classroom. It does not prevent a lavalier cable from rubbing against a jacket. It does not create a sync plan.
Those basics still matter:
- Place the microphone close to the voice or sound source.
- Use wind protection outdoors.
- Monitor with headphones during critical recordings.
- Record a short test clip and play it back before the real run.
- Label takes verbally when students or team members are rotating roles.
Buyer checklist for labs
When comparing recorders, TVG would check:
- Does it support the microphone types your team already owns?
- Can it run safely from USB-C power without blocking controls?
- Is timecode useful for your editing workflow, or is a slate enough?
- Can students understand the record/pause/hold behavior without training every time?
- Does the display remain readable outdoors or under event lighting?
- Can your editing software handle 32-bit float files correctly?
- Does the recorder create files that are easy to match with camera footage?
TVG Take
For maker labs, 32-bit float is worth considering when documentation matters and sound levels are unpredictable. It is especially useful for robotics demos, classroom project videos, field interviews, and noisy workshop explainers. But the recorder should be evaluated as part of a complete capture workflow: mic placement, power, storage, sync, backup, and editing handoff.
If a lab already loses good demo footage because audio clips or because students forget to set gain, 32-bit float can reduce one common failure. If the problem is distant microphones, bad room acoustics, or missing file discipline, buy wind protection, cables, labels, and training before buying a more advanced recorder.



