
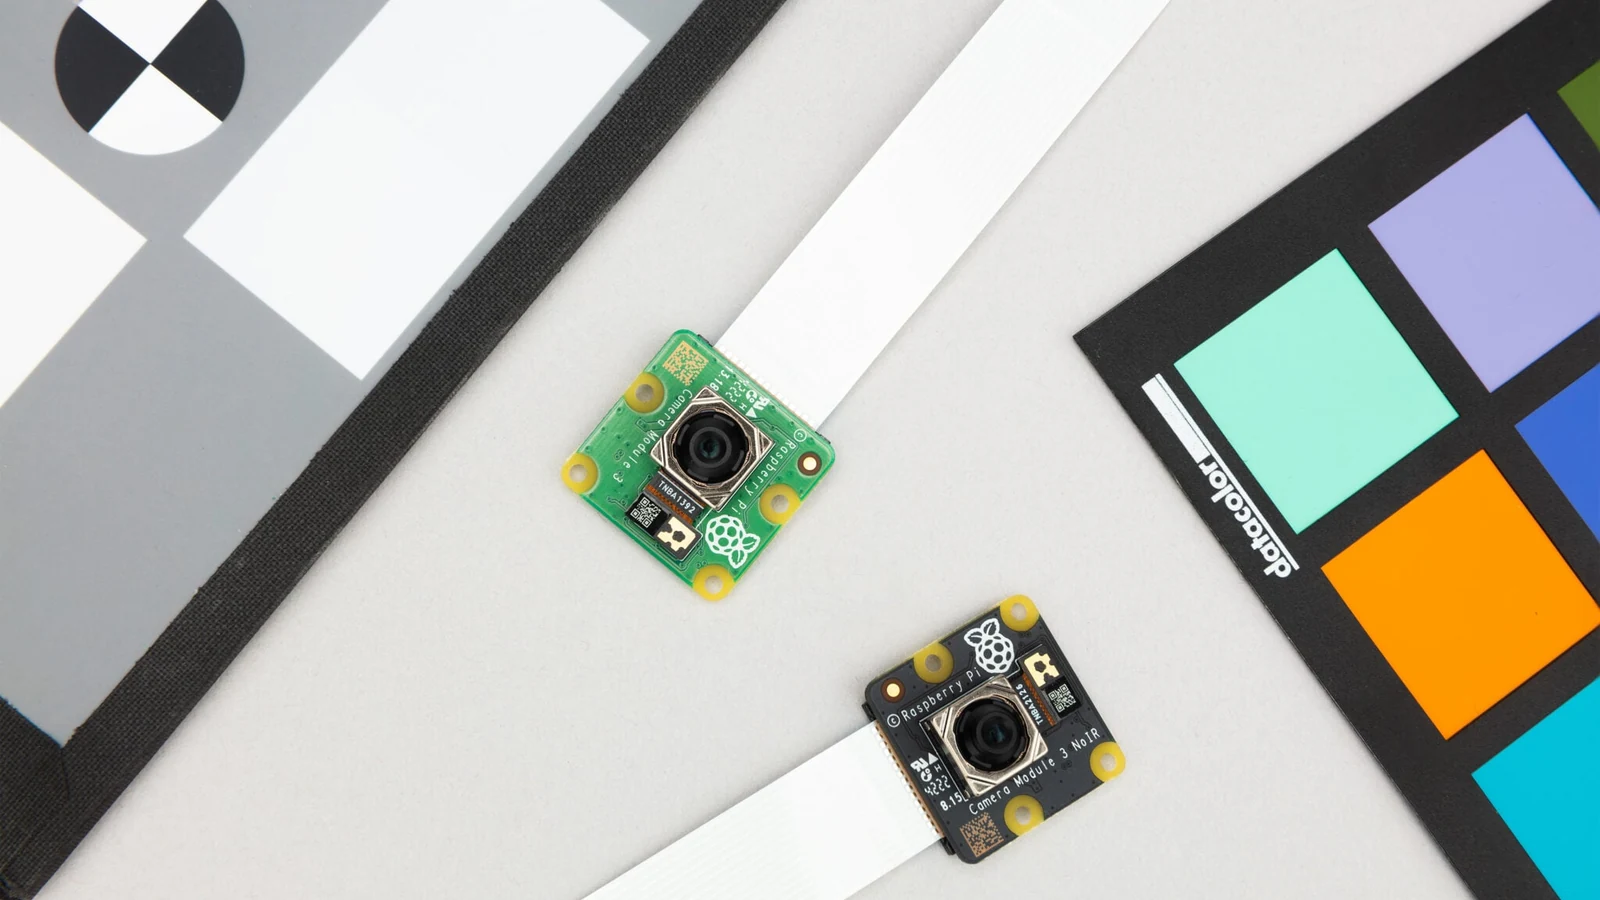
A robot camera can look sharp on a workbench and fail during a demo because the target is closer, the robot is moving or exposure time has changed. A useful checkout separates those variables instead of treating every soft frame as a focus problem. The procedure below is a repeatable method, not a report of TVG test results.
Lock the scene before judging the lens
Place a flat, high-contrast target at the working distance the robot will actually use. Keep the camera mount, lighting and target position fixed. If the camera has autofocus, allow it to settle and record the selected lens position when the API exposes it. Raspberry Pi’s libcamera controls distinguish autofocus modes and lens position, which helps make the setup repeatable.
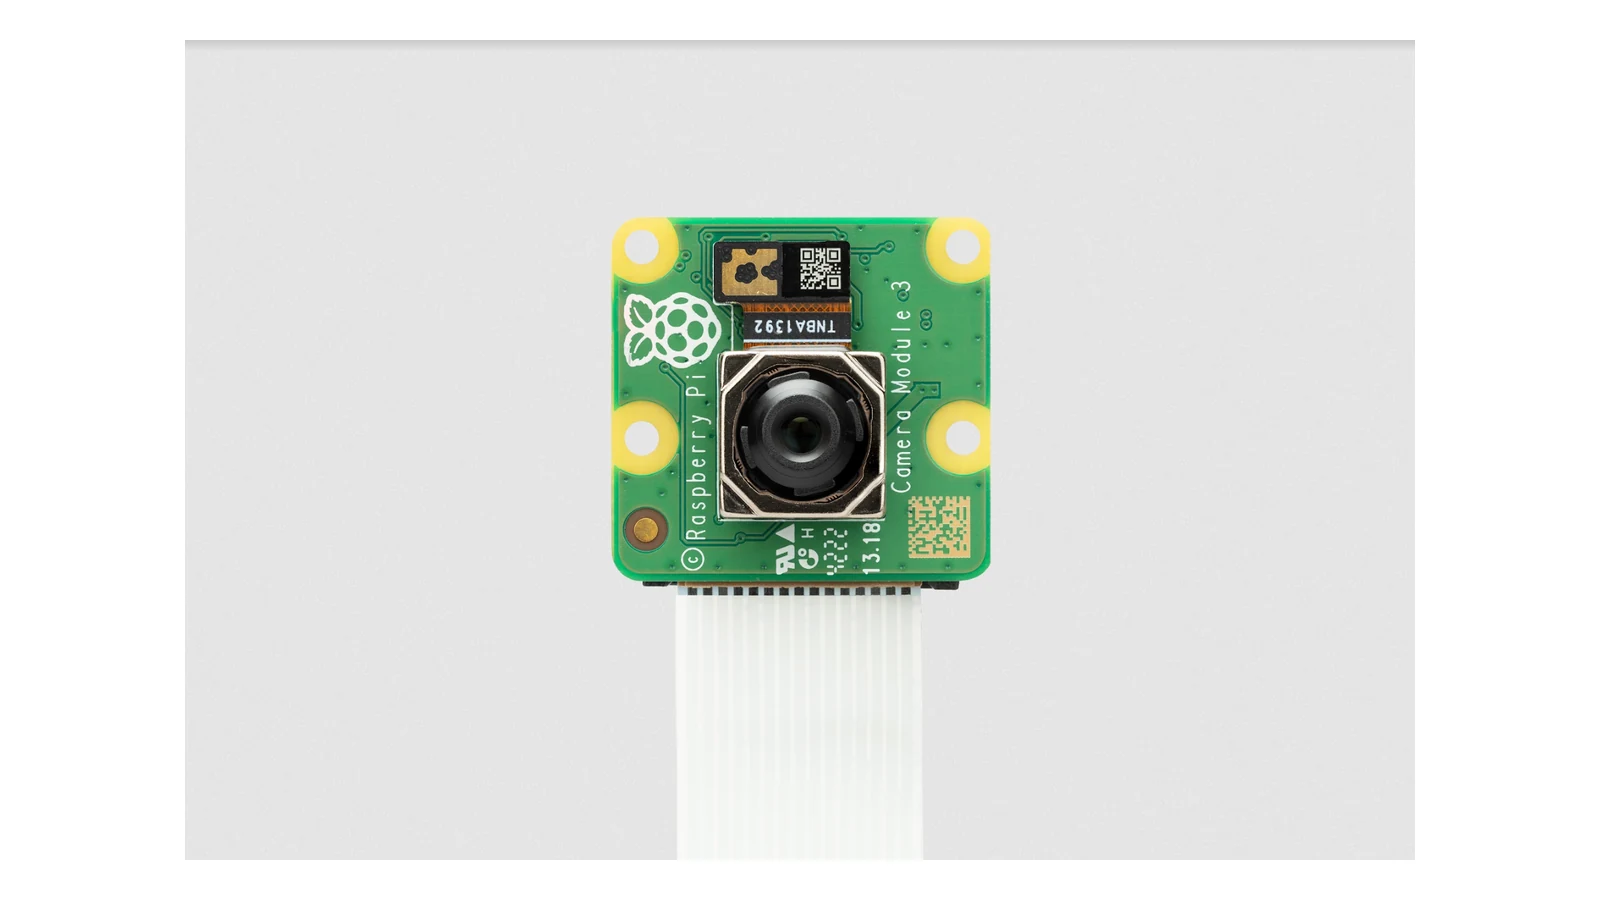
Judge fine detail near the center and edges. If the center is sharp but the edges are not, check lens seating, target flatness and camera alignment. If nothing is sharp, verify working distance and focus control before changing image-processing settings.
Separate exposure blur from focus
Next, keep the target still and shorten exposure time while adding light or gain as needed. A long exposure can smear a moving robot or target even when the lens is correctly focused. Basler’s imaging guidance expresses the tradeoff directly: allowable exposure falls as image velocity increases. Gain may preserve brightness, but it also raises noise, so it is not a free substitute for light.
Repeat the capture with the robot stationary, then with the planned motion. Comparing those frames distinguishes a static optical problem from motion blur. Record exposure time, gain, frame rate, resolution, autofocus mode and working distance alongside the images.
Use calibration targets for geometry
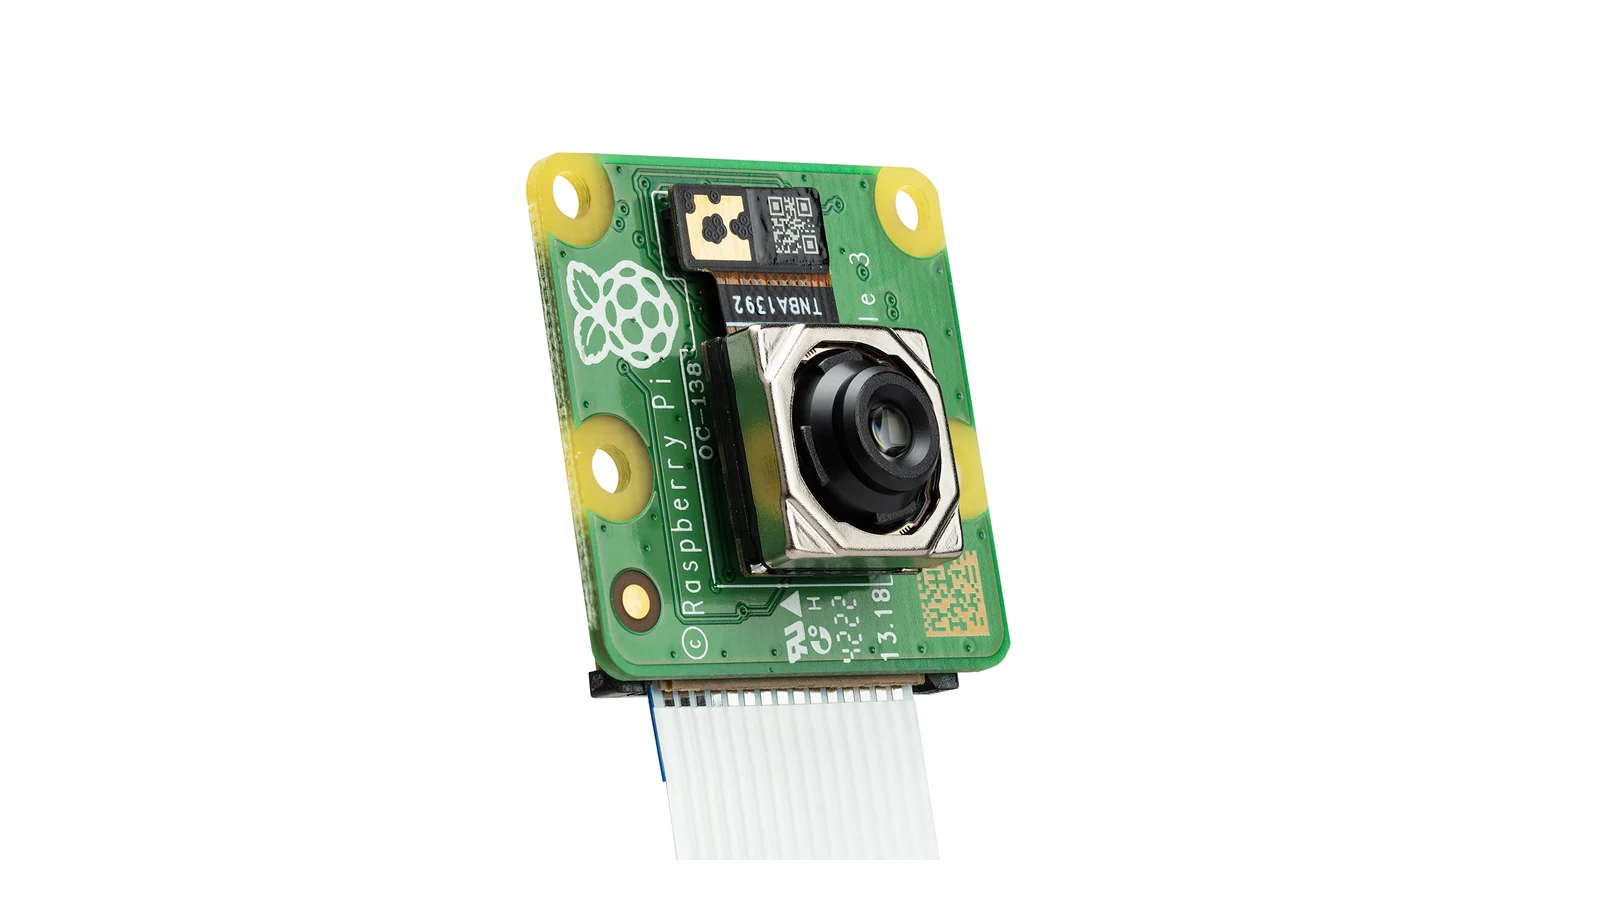
A checkerboard or ChArUco target supports camera calibration, but it is not just decoration. OpenCV’s calibration workflow needs multiple views with the full pattern detected at different positions and orientations. Calibration estimates lens distortion and camera geometry; it does not fix motion blur or guarantee focus.
Before demo day, save one known-good still target, one motion frame and the settings file. Re-run the same sequence after changing a lens, mount, resolution or lighting. Also inspect the ribbon cable, connector latch and camera bracket; intermittent links and vibration can resemble an imaging problem. That small evidence set makes a last-minute failure easier to classify: focus, distance, exposure, motion, calibration or a loose mechanical mount.




That’s a really practical checklist, especially the cable labels – that’s a common issue to spot during a demo.