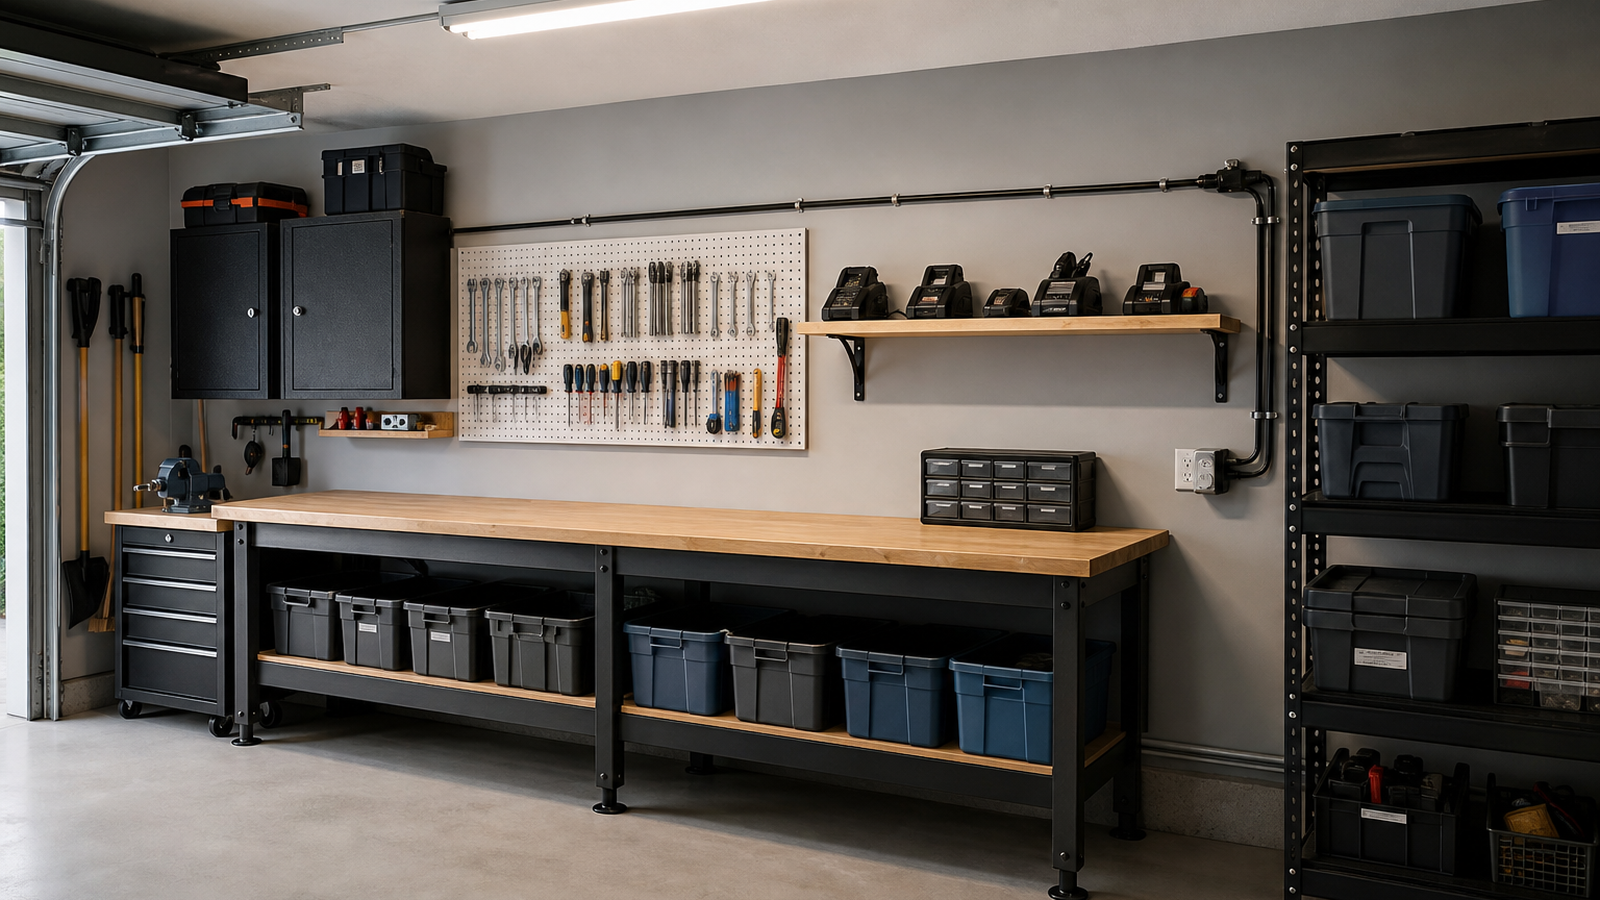
An e-bike charger often lands wherever there is an open outlet: under a bench, behind a tool cart, on the floor near a door, or beside a pile of project parts. In a maker garage, that is the wrong starting point. Charger placement is an engineering checklist because it combines electrical load, heat, cord routing, storage behavior, battery condition, and emergency access.
Quick answer
Place e-bike charging on a stable, nonflammable surface with ventilation, clear access, visible cords, certified equipment, battery inspection space, and separation from solvents, cardboard, sawdust, textiles, and blocked exits. Do not charge damaged packs or bury chargers under tools and storage.
This is general engineering guidance, not a product review or emergency-response instruction. Follow manufacturer instructions and local electrical and fire-safety requirements.
Use safety sources before garage habits
The U.S. Consumer Product Safety Commission has public micromobility safety guidance, and NFPA publishes e-bike and e-scooter safety advice for homes. UL’s UL 2849 certification program covers e-bike electrical systems. Those sources point to the same practical theme: charging behavior matters as much as the bike’s headline specs.

Choose a charging zone, not just an outlet
A good charging zone is visible and boring. It should not require running an extension cord across a walkway. It should not be stacked with cardboard boxes, oily rags, 3D-printer filament spools, sawdust, aerosol cans, paint, or soft materials. It should leave enough room to unplug quickly without crawling behind equipment.
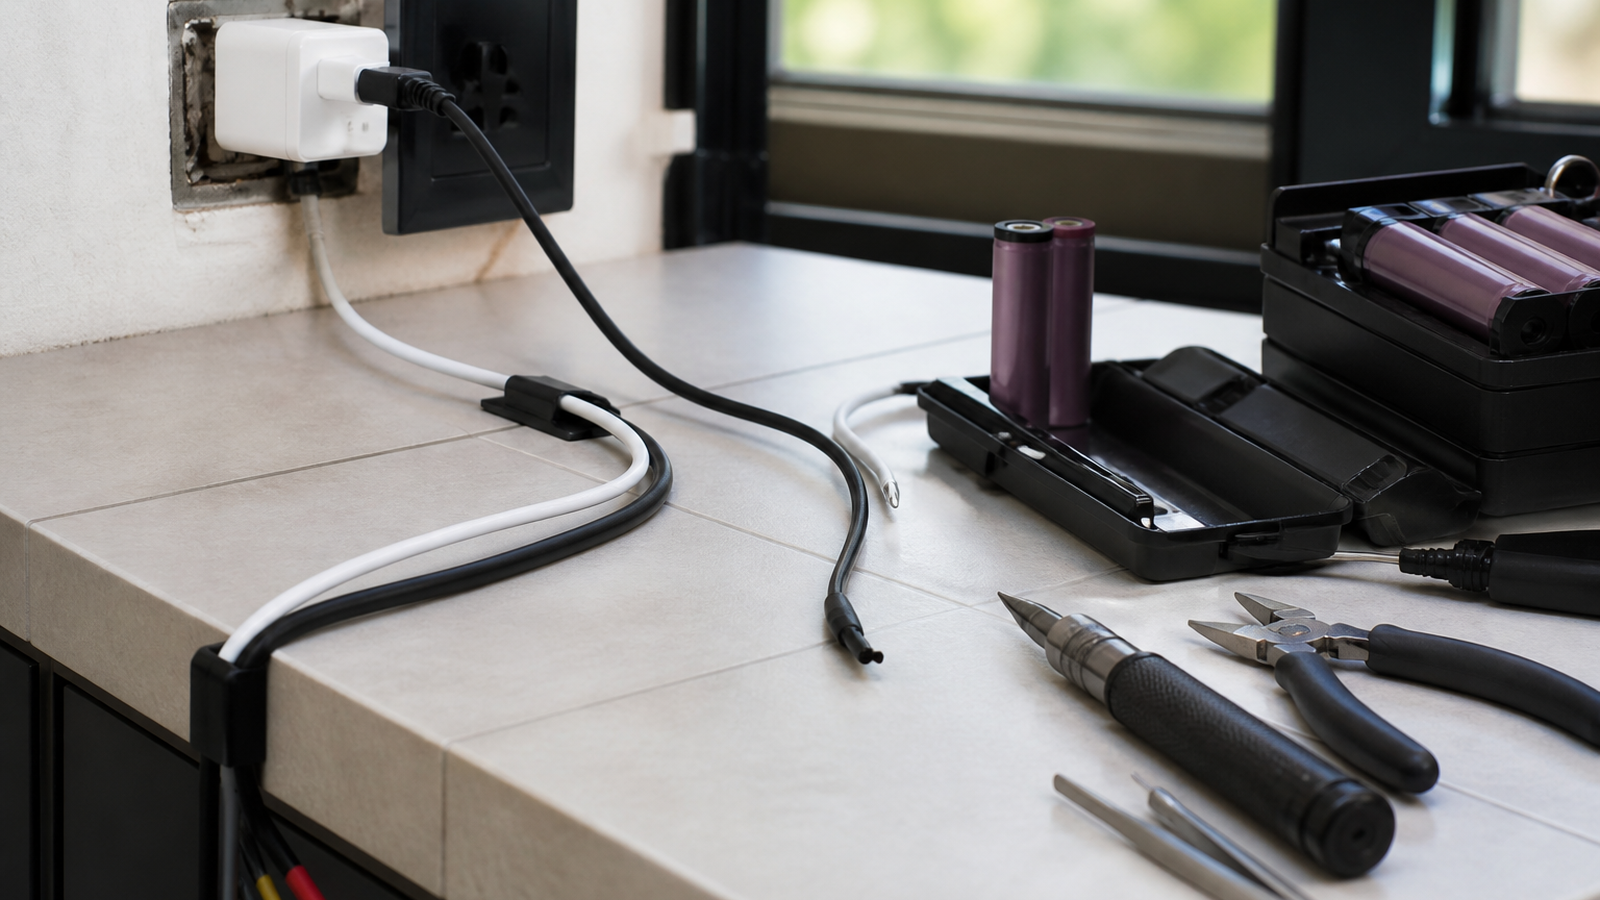
For maker garages, the same discipline used for bench power applies here. TVG’s USB-C PD trigger-board power guide focused on low-voltage projects, but the mindset carries over: power paths should be visible, rated, documented, and easy to disconnect.
Inspect the battery before making the charger permanent
A neat shelf does not make a damaged pack safe. Look for swelling, cracks, impact damage, heat history, water exposure, loose connectors, or a charger that does not match the battery. If the pack or charger looks wrong, stop using it and follow the manufacturer’s service guidance.
Plan around the rest of the garage
Maker garages change every week. A safe charging area in January can become a blocked corner after a 3D-printer enclosure, CNC cart, or storage rack moves in. Put the charger zone in the same periodic review as extension cords, battery storage, dust collection, and emergency access.
TVG’s earlier e-bike battery storage checklist covers longer-term storage. Charger placement is the daily-use companion.
TVG Take
The best e-bike charging setup is not fancy. It is visible, separated, ventilated, easy to unplug, and boring enough that a tired person will use it correctly. Treat it like a small electrical workstation, not a spare corner.
Write down the house rule
The safest charging corner still fails if nobody knows the rule. Put the charger, battery, and bike in one expected location. Keep the path visible. Make it normal to unplug after charging and abnormal to charge under a blanket, behind a door, or on top of project clutter. If several people share the garage, the rule should be visible in behavior even if there is no sign on the wall.
Also plan for seasonal changes. Winter storage, summer heat, rain-soaked rides, and crowded project weekends create different risks. A monthly charger-zone reset is a small habit that prevents the workbench from slowly swallowing the charging area.