Matter-over-Thread devices are supposed to make smart homes less fragmented. That promise is real enough to matter, but it can hide a basic engineering truth: a sensor in the wrong place still creates bad automations.
The Connectivity Standards Alliance describes Matter as a common standard for smart-home interoperability, while the Thread Group describes Thread as a low-power wireless mesh networking technology designed for connected home devices. The combination can simplify product choice. It does not eliminate RF planning, battery behavior, or placement discipline.
Quick answer
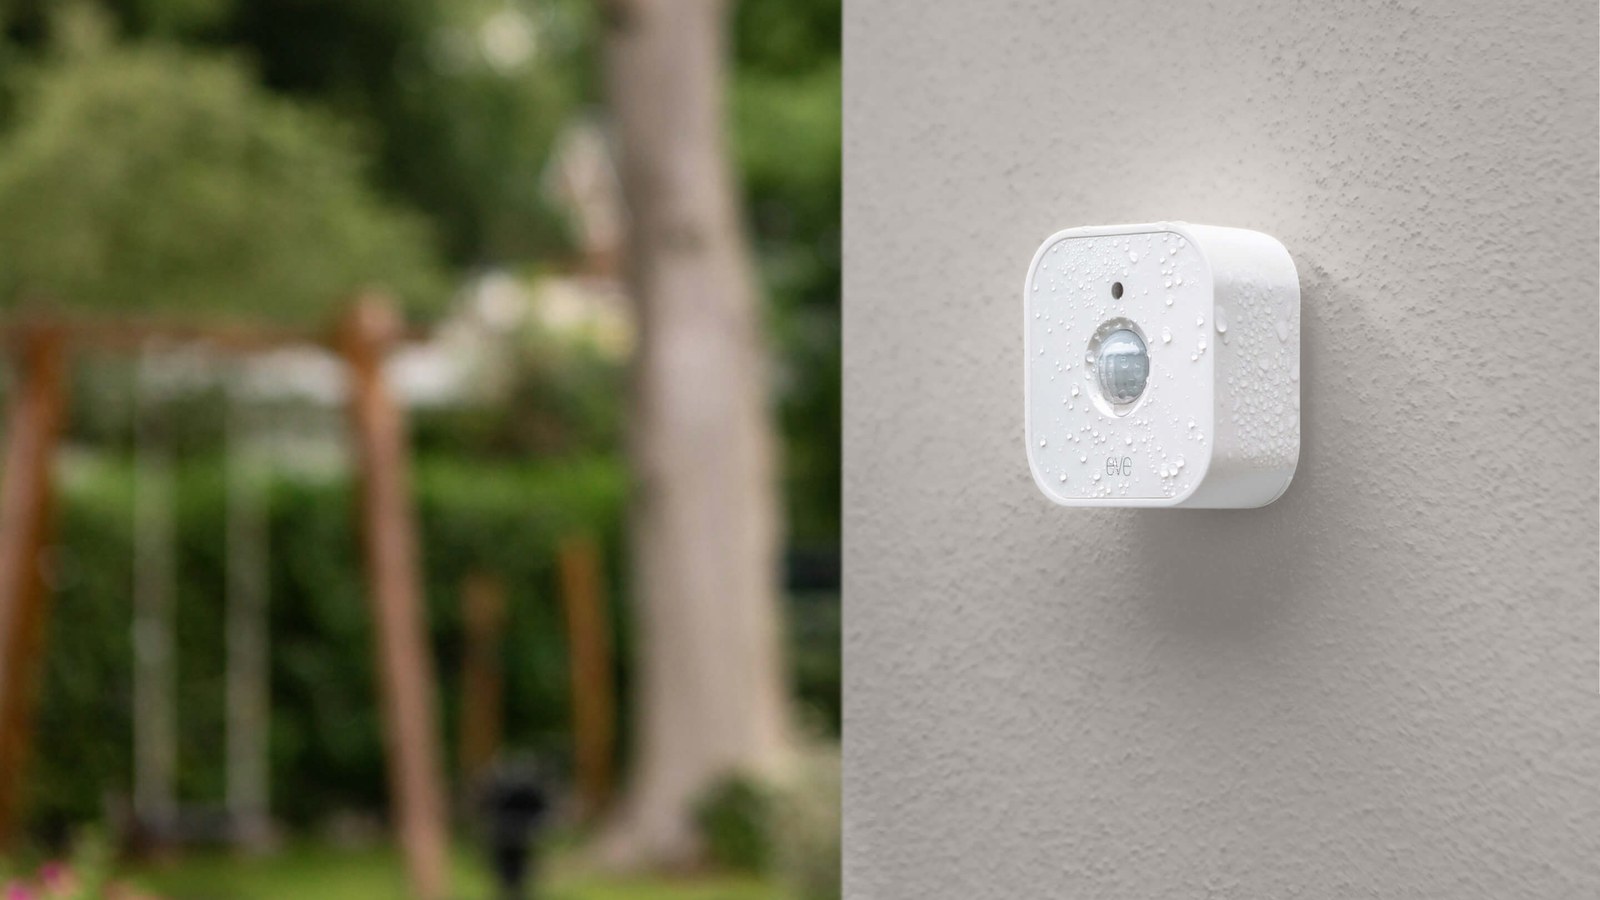
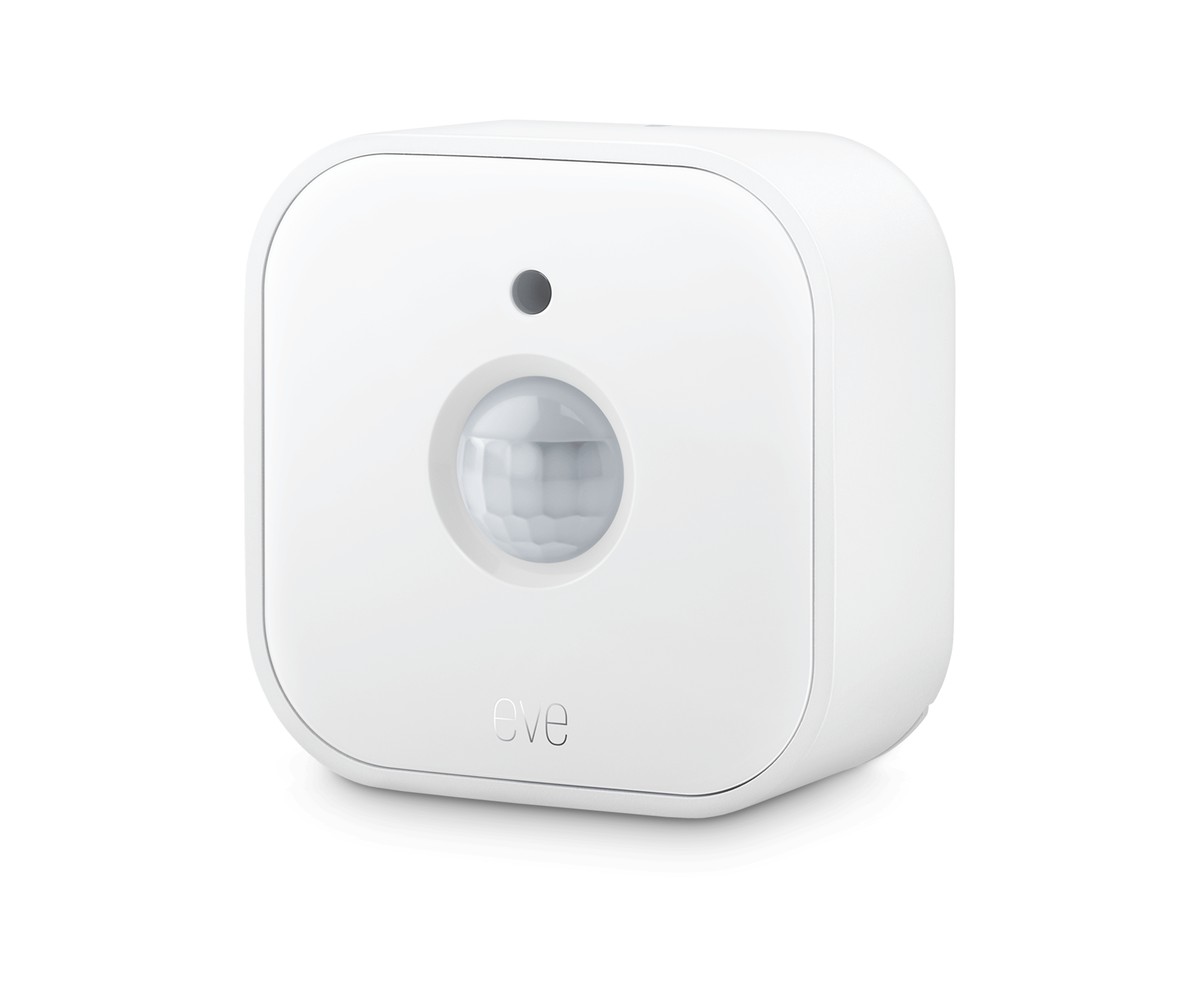
Put Matter-over-Thread sensors where the event is clean, the mesh is strong, and the automation consequence is safe. Door and window sensors need stable mounting. Motion sensors need field-of-view testing. Leak sensors need the low point where water actually appears. Presence and air-quality sensors need placement away from misleading heat, airflow, and direct sun.
Why the standard is not the whole system
IKEA’s announced Matter-compatible smart-home range is a useful sign of where the market is going: more affordable devices, more sensors, and less platform lock-in. That is good for households and home-lab builders because it reduces the penalty for mixing ecosystems.
Reliability still depends on the physical layer. A Thread network needs enough routing devices and sensible border-router placement. Battery sensors need a signal path that does not force them to struggle. Automations need rules that handle missed events and delayed state changes.
TVG has already covered Thread sensor placement and Wi-Fi 7 backhaul discipline. The same principle applies here: standards help most when the installation is not sloppy.
Placement checks by sensor type
- Contact sensors: mount where the door or window closes consistently and the adhesive is not doing structural work.
- Motion sensors: test walking paths, pets, sunlight, HVAC movement, and nighttime behavior before tying them to lights or alarms.
- Leak sensors: place where water collects first, not where the device looks neat.
- Air-quality sensors: avoid direct vents, cooking bursts, and sun-heated shelves unless those are the events you intend to measure.
- Buttons and remotes: put them where a guest can understand the control without a phone.
Home-lab test method
Before trusting an automation, log several days of events. Record missed triggers, false triggers, battery drops, mesh route changes, and latency. Move one device at a time. If everything changes at once, you will not know what fixed the problem.
For automations with safety consequences, keep a manual fallback. A smart leak notification is useful; a visible shutoff plan is better. A motion rule can save energy; a switch should still work when the network is down.
TVG Take
Matter-over-Thread lowers the friction of building a mixed smart home, but it does not make every sensor placement intelligent. Treat sensors like measurement instruments. Mount them, test them, document them, and only then decide what the automation should control.