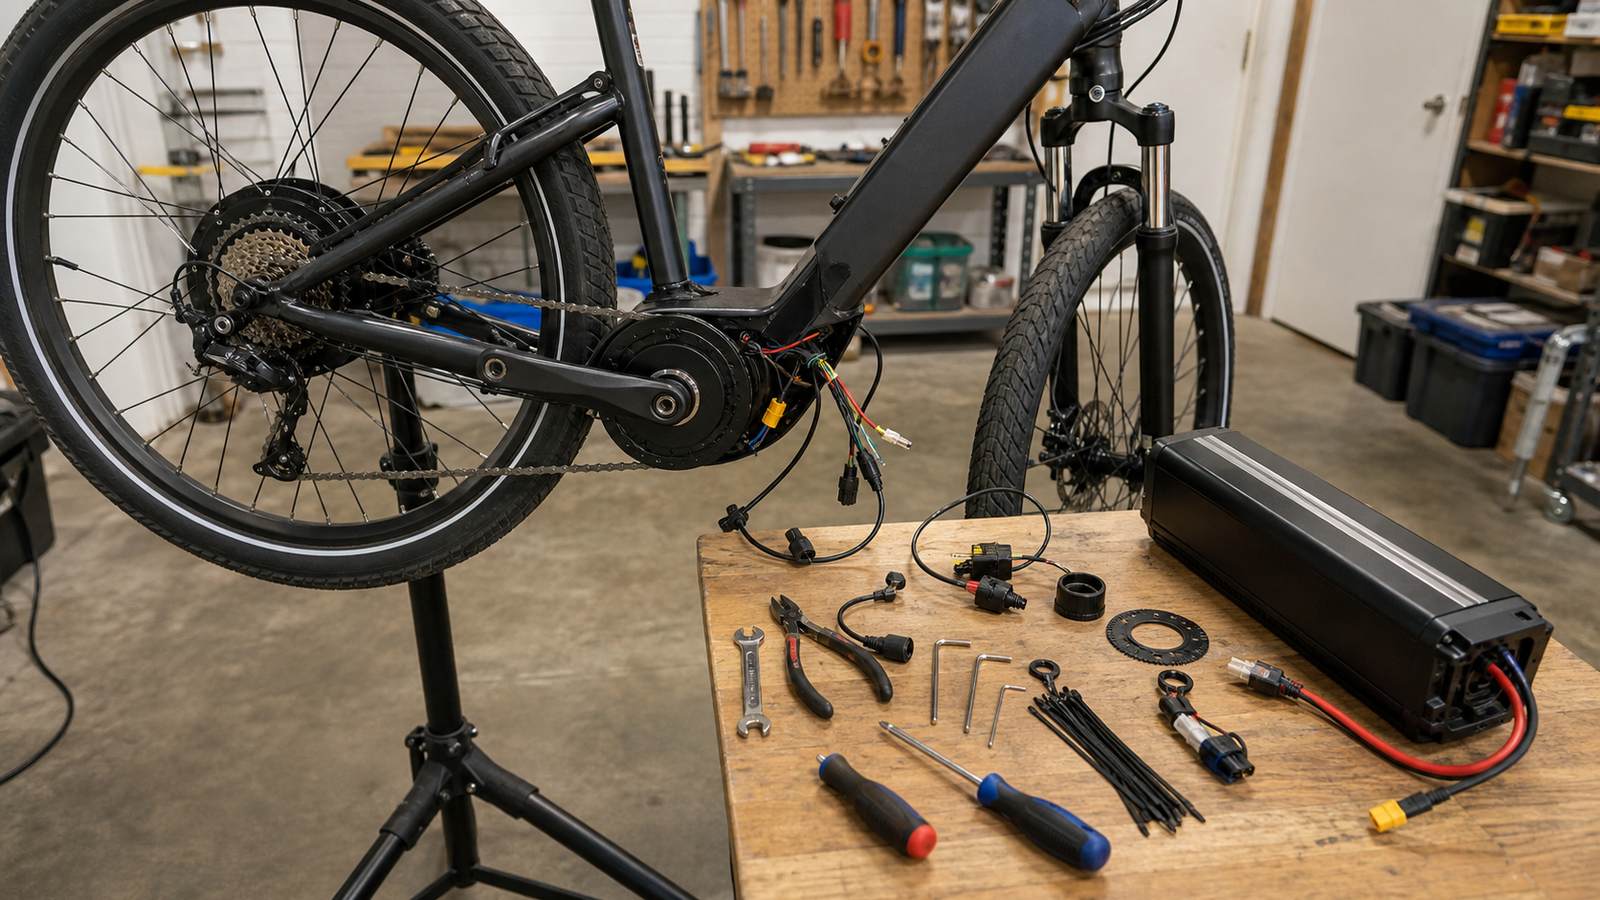
E-bike assist feel is often described with vague words: smooth, jumpy, natural, delayed. Underneath those impressions is a sensor problem. The controller has to decide what the rider is asking for, and it usually learns that through cadence sensing, torque sensing, or a combination of both.
For maker garages, school transportation projects, and repair-minded owners, the distinction matters. A cadence sensor and a torque sensor can both be working while producing very different ride behavior.
Quick answer
A cadence sensor tells the controller that the cranks are turning. A torque sensor estimates how hard the rider is pushing. Cadence-based assist can feel simpler and more on/off. Torque-based assist can feel more proportional, but it depends on calibration, wiring, controller tuning, and mechanical condition.
What the sensors tell the controller
Major e-bike system suppliers such as Bosch build complete systems around motor, battery, control, and sensor integration. Consumer education groups such as PeopleForBikes explain e-bikes by class and assist behavior. For diagnostics, TVG cares about the lower layer: how the input signal reaches the controller and what can go wrong.
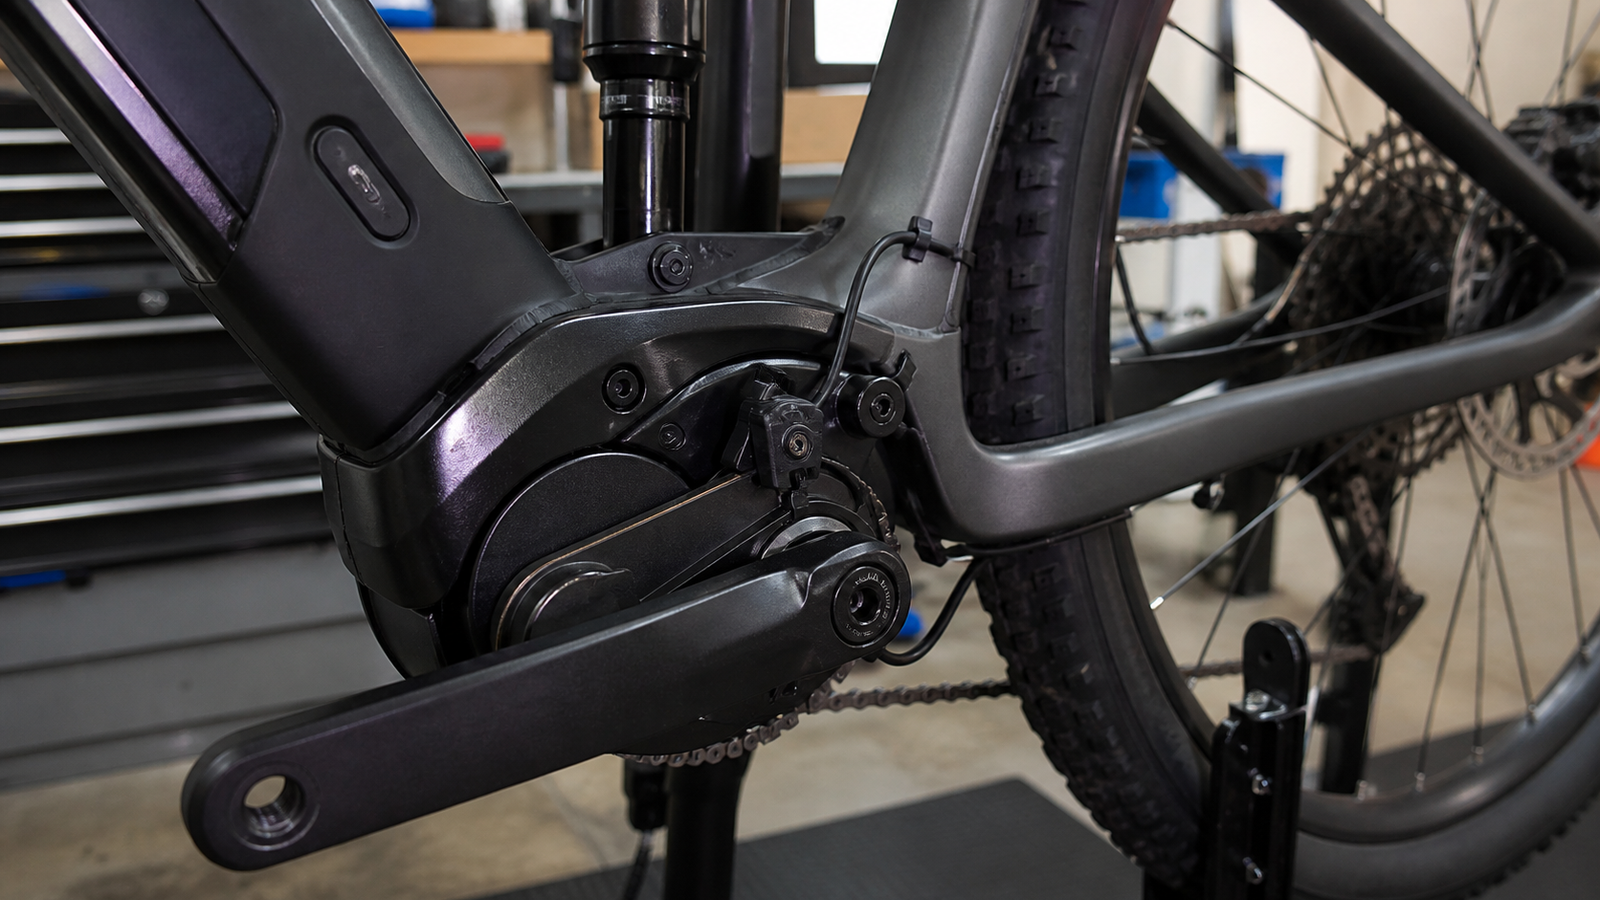
A cadence sensor may use magnets or another rotation detector near the crank. If spacing, alignment, or wiring is wrong, assist may cut in late, pulse, or fail. A torque sensor usually needs a more integrated mechanical measurement path. It can feel better when tuned well, but faults may be harder to diagnose casually.
Maker-garage diagnostic checks
- Start safely: lift and secure the wheel, isolate the battery when inspecting wiring, and avoid loose clothing near moving parts.
- Inspect connectors: intermittent assist can come from harness strain or corrosion.
- Check alignment: cadence rings and sensors need correct spacing.
- Separate brake cutoffs: a stuck brake sensor can masquerade as motor or pedal-assist failure.
- Look for calibration steps: torque systems may require zeroing or service procedures.
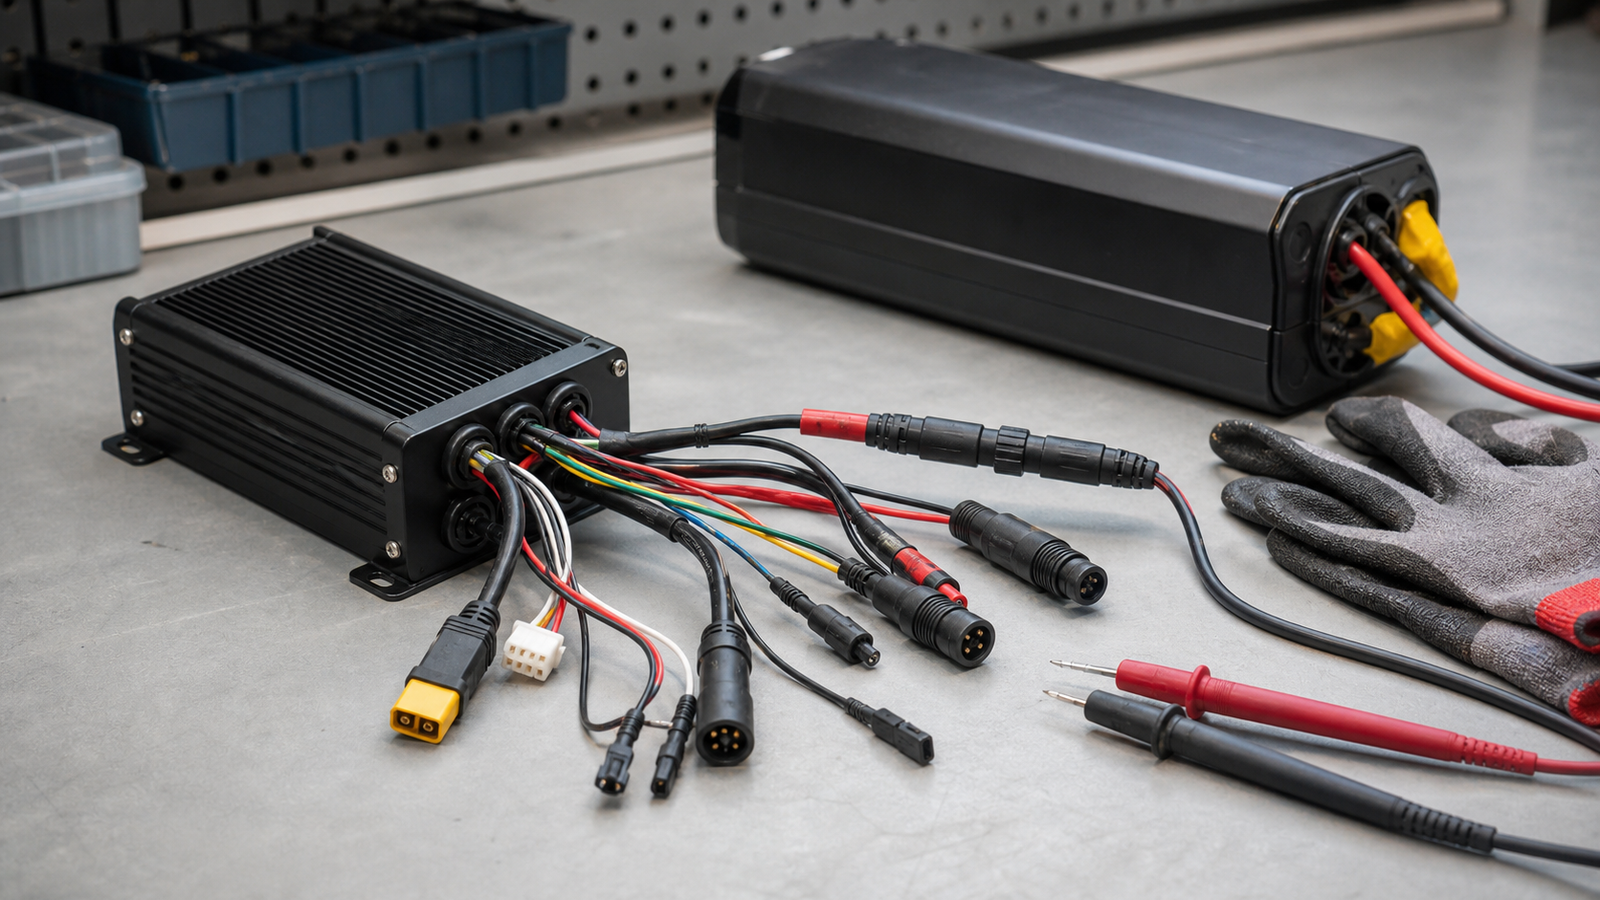
- Avoid guessing with high voltage: battery and controller work deserve proper tools and caution.
Repairability and product readiness
A system that rides well but hides all sensor behavior behind proprietary tools may be harder for a maker garage to understand. A simpler cadence system may be less refined but easier to inspect. Neither is automatically better. The right question is whether the bike’s documentation, connector access, parts availability, and service mode match the owner’s needs.
TVG’s e-bike charging maker-garage guide covers the safety side of the same category. Sensor diagnostics should be approached with the same respect for power, motion, and documentation.
TVG Take
Torque sensing is not magic, and cadence sensing is not automatically crude. They are different input signals into a control system. The better e-bike for a maker-minded owner is the one whose assist behavior, service information, and sensor path can be understood without turning every diagnosis into a black box.