Robot teams often jump from a bad vision result to expensive explanations: the sensor is too cheap, the model is weak, the lighting is impossible, or the processor needs an upgrade. Sometimes the real problem is simpler.
The lens is dirty. The focus shifted. The mount moved. Glare changed. The camera was never recalibrated after a crash.
Quick answer
Before replacing a robot camera or retraining a vision model, inspect the lens, clean it safely, verify focus, check mount rigidity, control glare, and rerun calibration when the camera or lens geometry changes. These steps cost little and prevent teams from debugging software around a physical optics problem.
Why this belongs in the reliability checklist
Camera documentation from Raspberry Pi and calibration guidance from OpenCV both point to a basic truth: computer vision depends on the image formation process. If the lens, focus, distortion, exposure, or camera pose is wrong, software sees a different world than the team thinks it is seeing.
For small robots, the camera is exposed to dust, fingerprints, tape residue, impacts, field debris, and vibration. A drivetrain test on a school floor can put more grime on a lens than a clean desk demo ever shows.
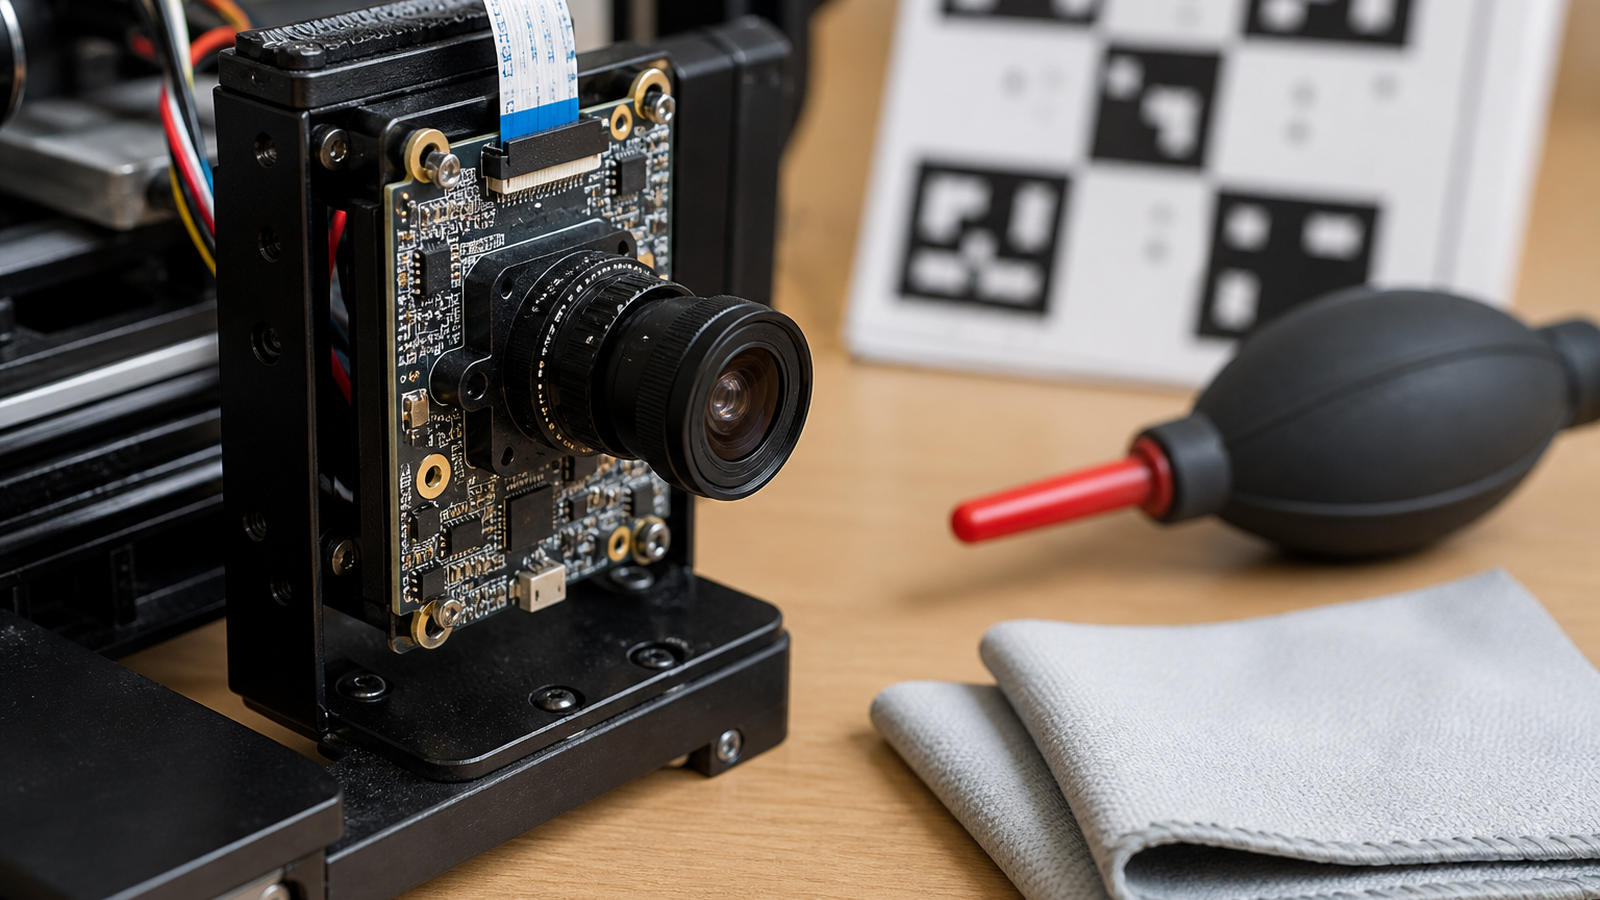
Basic inspection sequence
- Power down the robot if the camera area is near moving parts.
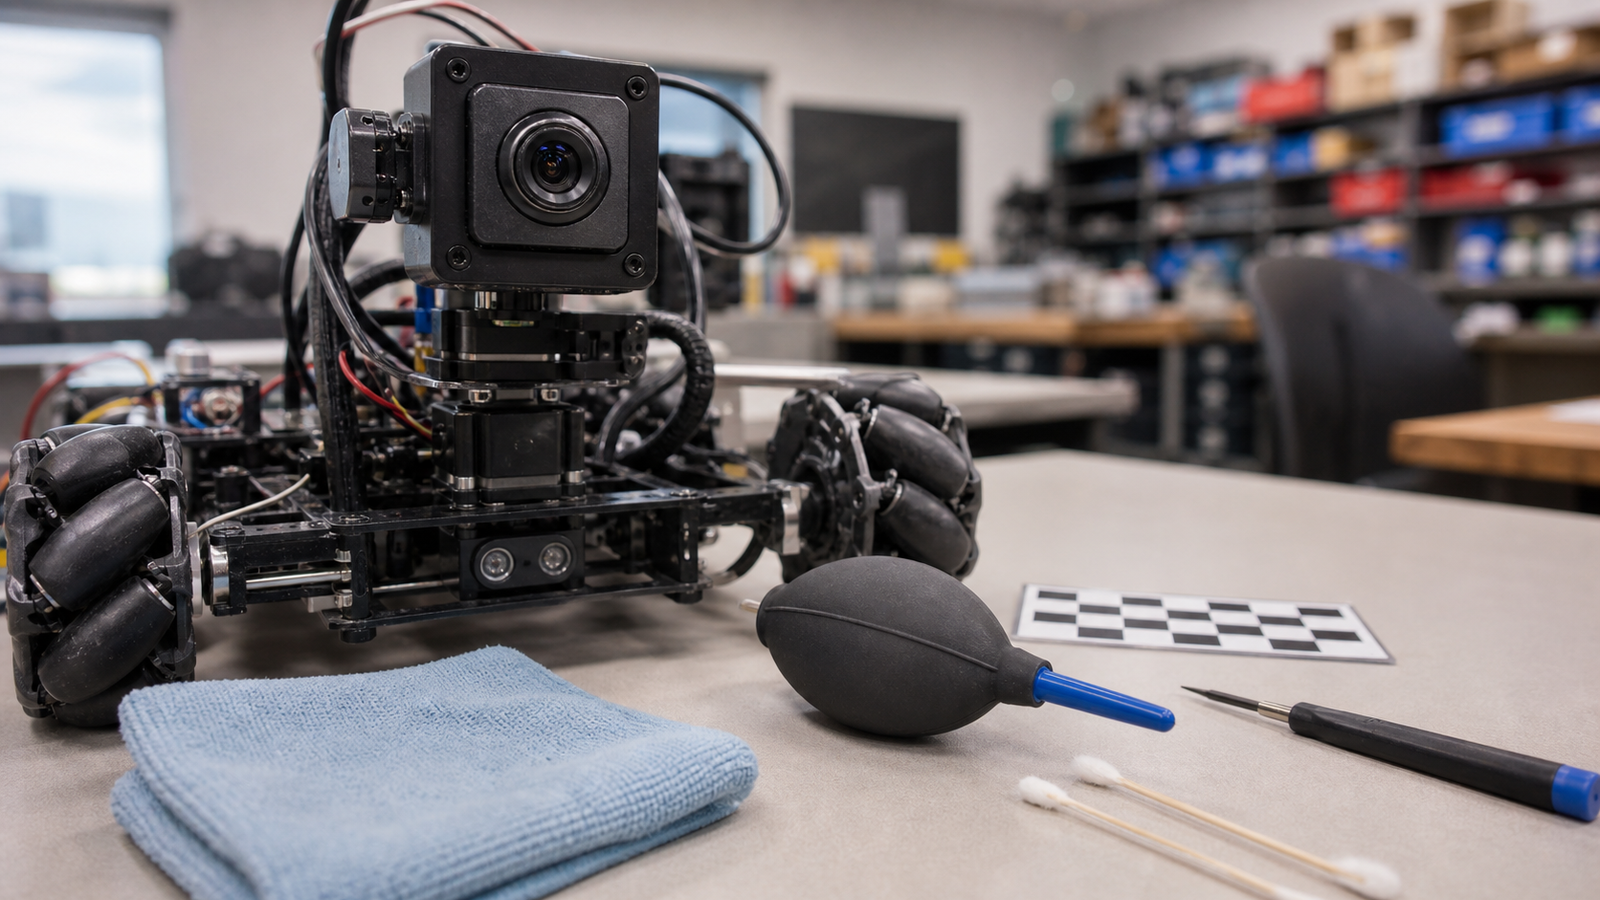
- Inspect the lens under angled light for dust, oil, scratches, or residue.
- Use a blower first; avoid dragging grit across the lens.
- Use appropriate lens-safe cloth only when needed.
- Capture a focus target at the actual working distance.
- Check whether the mount, cable, or housing moved during the last test.
- Rerun calibration if the lens, focus, mount, or camera module changed.
Glare and vibration
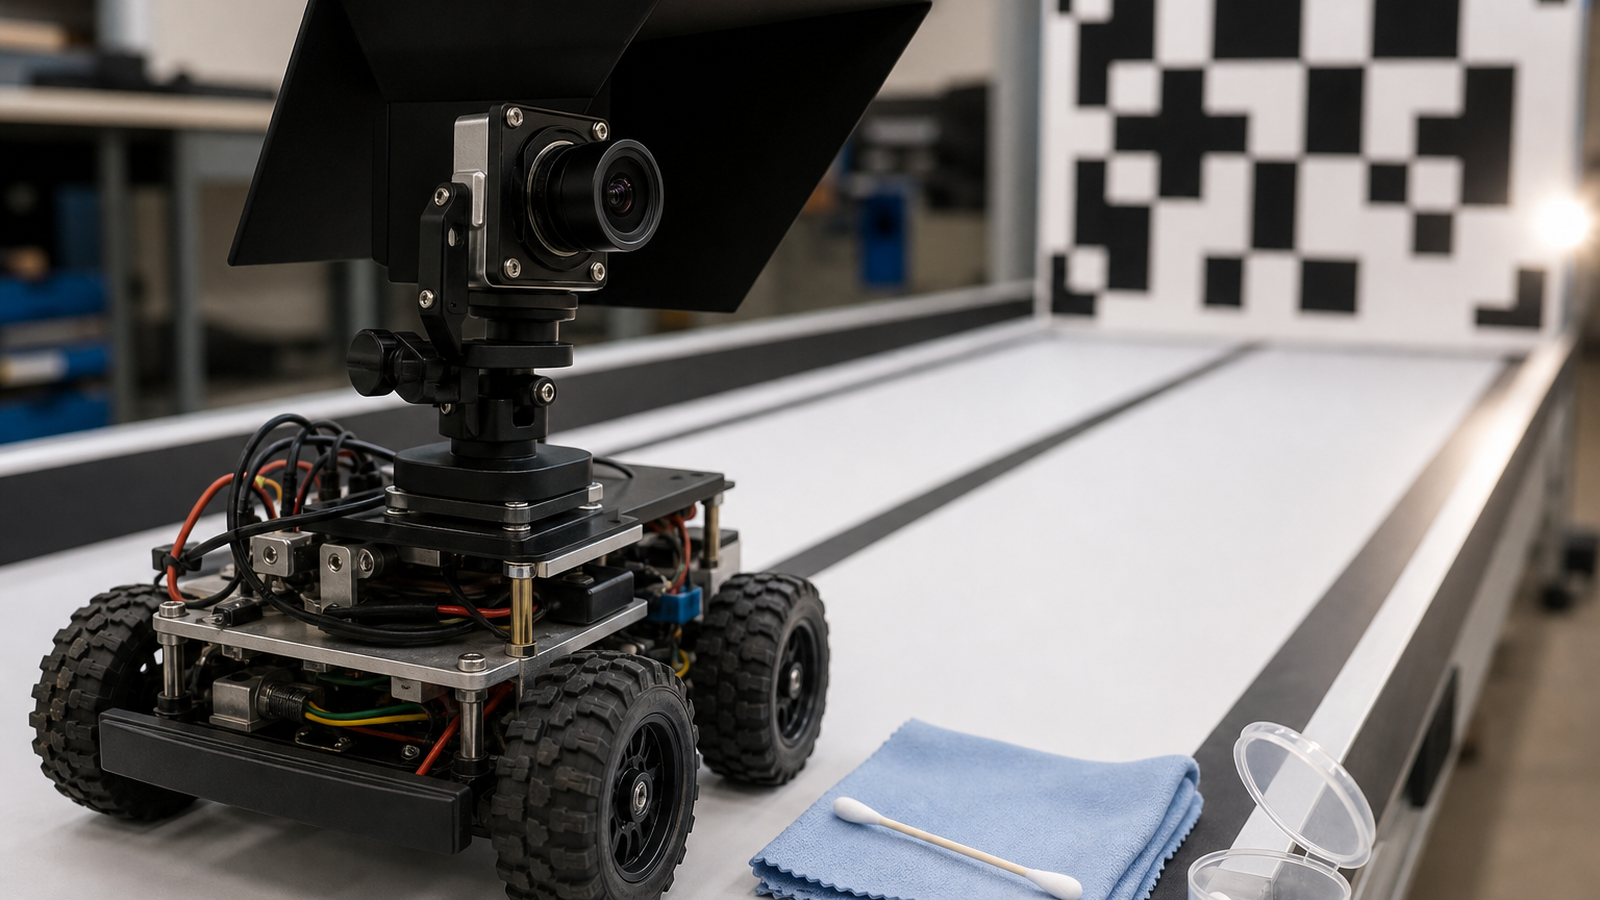
A clean lens is not enough if the camera points into a reflective floor, shiny field element, LED strip, or window. Glare can reduce contrast and confuse both classical vision and AI-based perception. A small hood, different camera angle, or matte surface near the target may do more than a new model.
Vibration is the other cheap failure. A camera mount that looks rigid by hand may blur frames during acceleration. If the vision problem appears only while the robot moves, record a test pattern during motion and compare it with a static capture.
TVG Take
Robot vision reliability starts before code. A clean, focused, rigidly mounted camera gives the software a fair input. A dirty or shifted lens turns every downstream step into guesswork. Add lens and focus checks to the pre-test routine, especially for STEM teams that share robots across many hands.
Make it part of pre-run setup
The best time to find a lens problem is before the robot leaves the table. Add a quick camera capture to the same pre-run routine that checks battery voltage, wheel fasteners, radio link, and emergency stop behavior. Save one reference frame when the robot is known to work so later teams can compare focus and exposure.
For youth robotics teams, this habit is especially useful because robots are handled by many people. A camera may be touched during transport, bumped during a match, or twisted while a student reroutes a cable. A 30-second optics check can save an afternoon of unnecessary software debugging.
Related TVG reading
For readers building the same engineering context, these TVG Report pieces connect the current topic to practical hardware, field workflow, and maker-lab decisions:
- Wi-Fi 8 Should Be Judged by Reliability, Not Just the Next Router Badge
- Robot Camera Cable Labels Are Cheap Insurance Against Vision Debugging Chaos
- Torque Sensor vs. Cadence Sensor: What E-Bike Controls Teach STEM Builders