
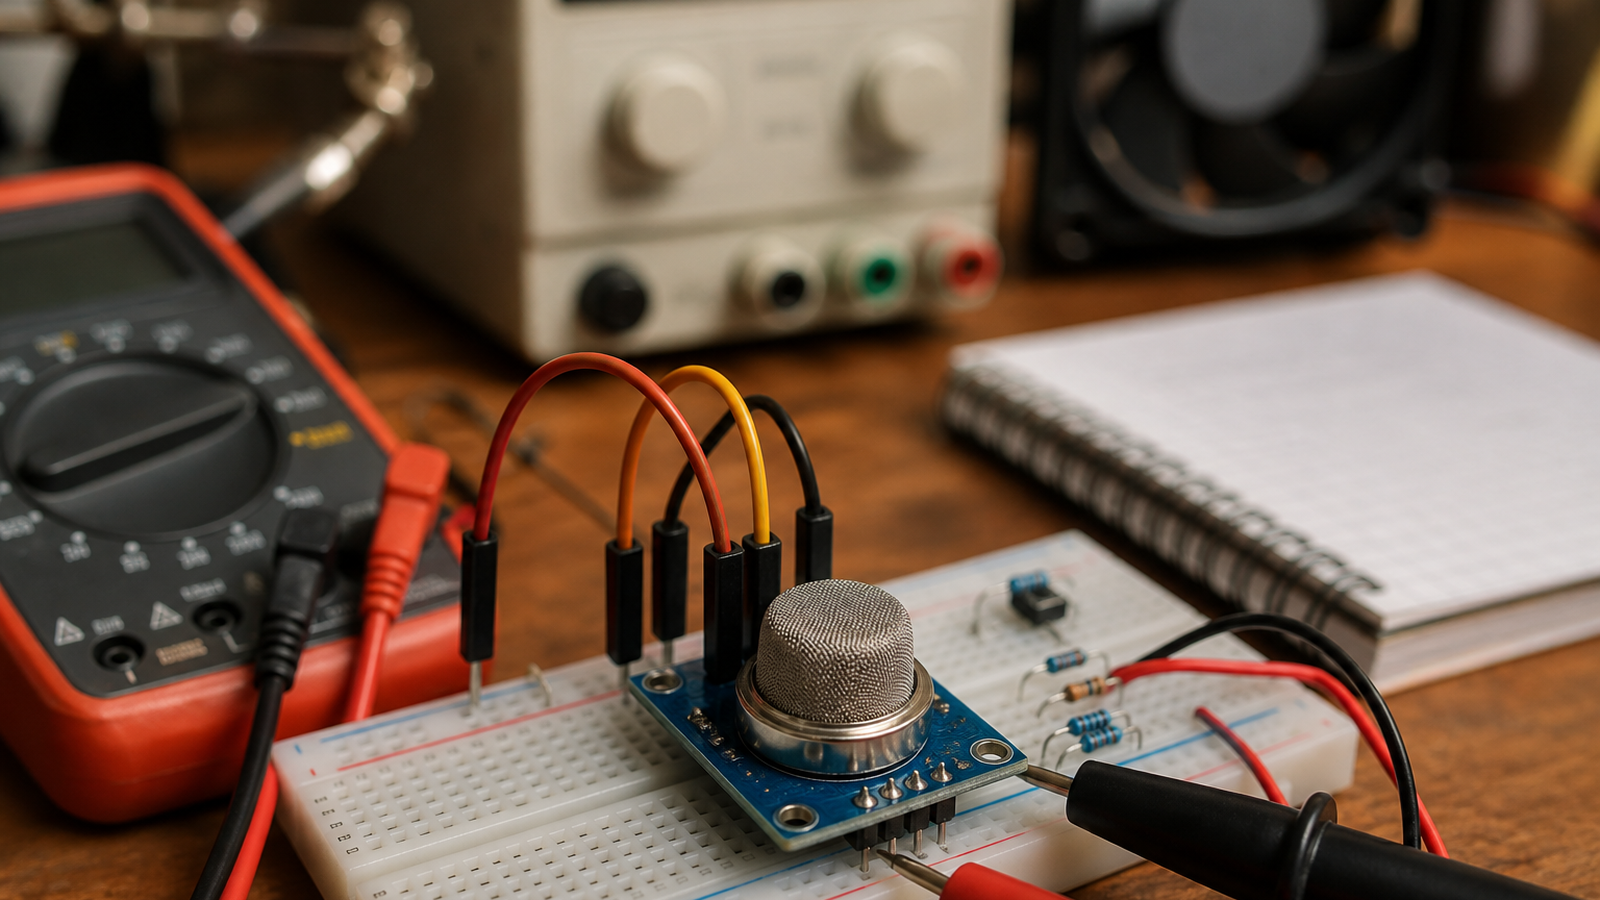
Hackaday’s recent roundup of sensors and breakout boards to avoid in product designs called out a familiar maker-lab part: MQ-series gas sensors. That is a fair warning, not because the parts are useless, but because they are easy to over-trust.
MQ gas sensors are common in Arduino and Raspberry Pi projects because they are cheap, visible, and simple to wire. A student can change the air around the sensor and watch a value move. For teaching, that feedback is valuable.
For product-like systems, the same simplicity becomes a trap. A moving number is not the same thing as a calibrated measurement, and a demo that reacts to smoke or vapor is not a safety instrument.
Quick answer
Use MQ gas sensors for learning, rough experiments, and controlled demonstrations. Do not use them as the sole decision point for safety, compliance, or unattended operation unless the system has a documented calibration process, environmental compensation, and a known failure response.
What makes MQ modules tricky
Many MQ sensors use a heated sensing element. That means power draw, warm-up time, enclosure airflow, ambient temperature, humidity, and contamination can all affect behavior. The module may expose an analog output or a simple threshold pin, but neither output automatically tells the builder whether the reading is accurate.
The common breakout-board experience also hides important details. The trim potentiometer on a module can make an LED switch at a chosen point, but that is not the same as calibrated gas concentration. If a project page says the module detects a gas, the next question should be: under what conditions, against what reference, and after what burn-in period?
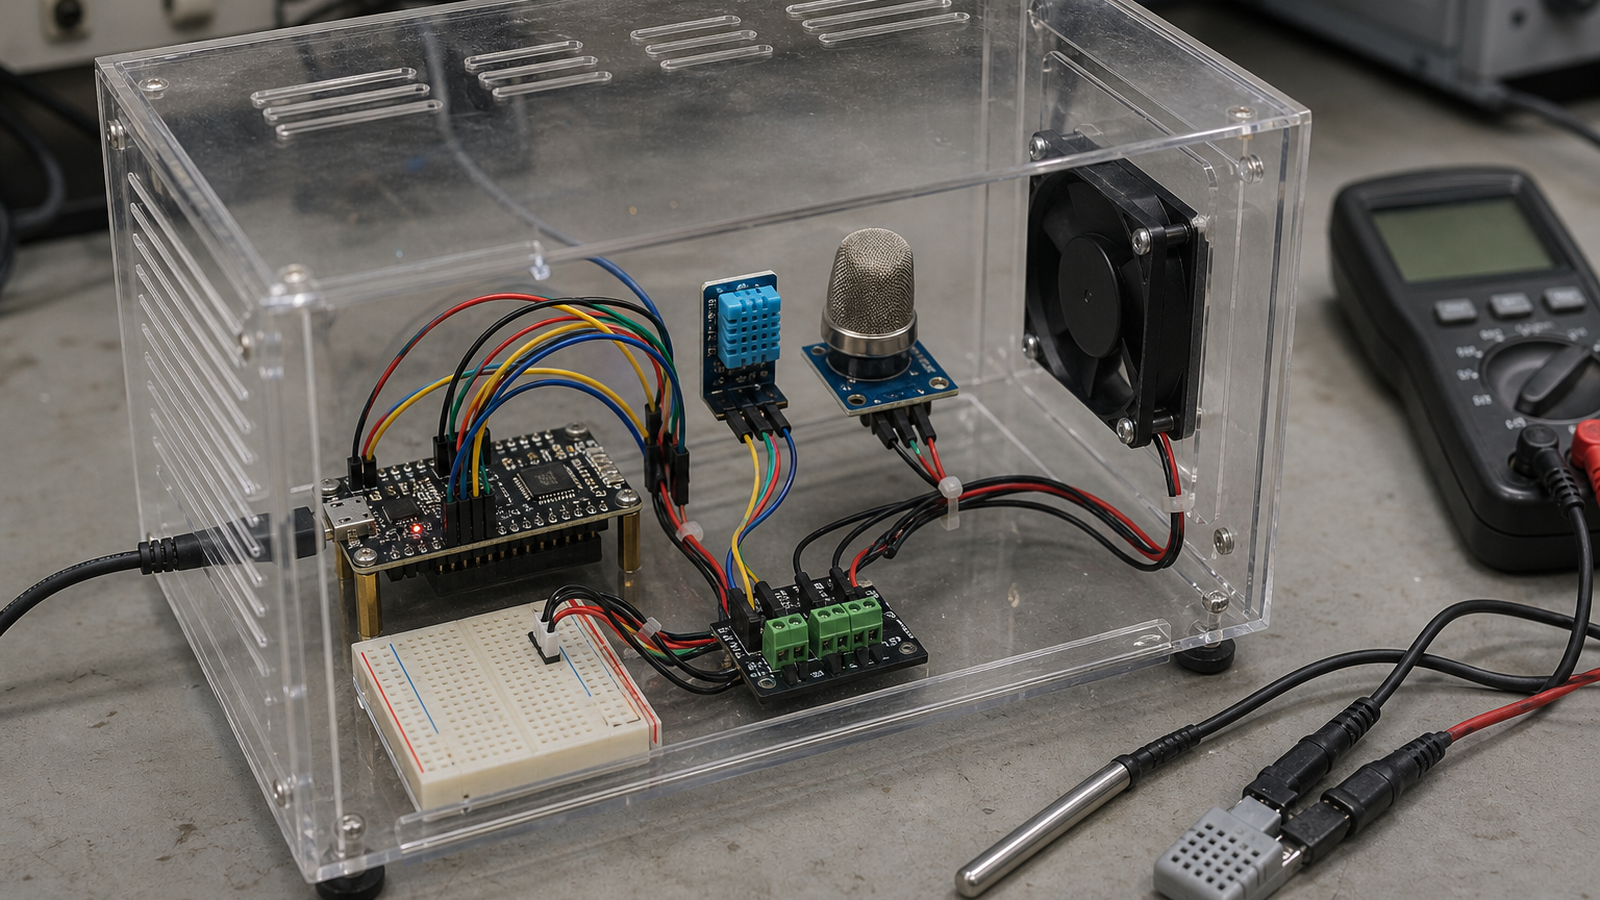
A maker-lab validation checklist
- Power: measure heater current and confirm the board can supply it continuously.
- Warm-up: log the reading from cold start until it stabilizes.
- Reference: compare behavior against a known instrument or documented test source, not just smell or smoke.
- Environment: repeat tests at different airflow, humidity, and enclosure positions.
- Failure mode: decide what the system does when readings are noisy, disconnected, or out of range.
That checklist is similar in spirit to TVG’s guidance on thermal cameras for 3D-printer diagnostics: sensors can be extremely helpful if the team understands what the measurement does and does not prove.
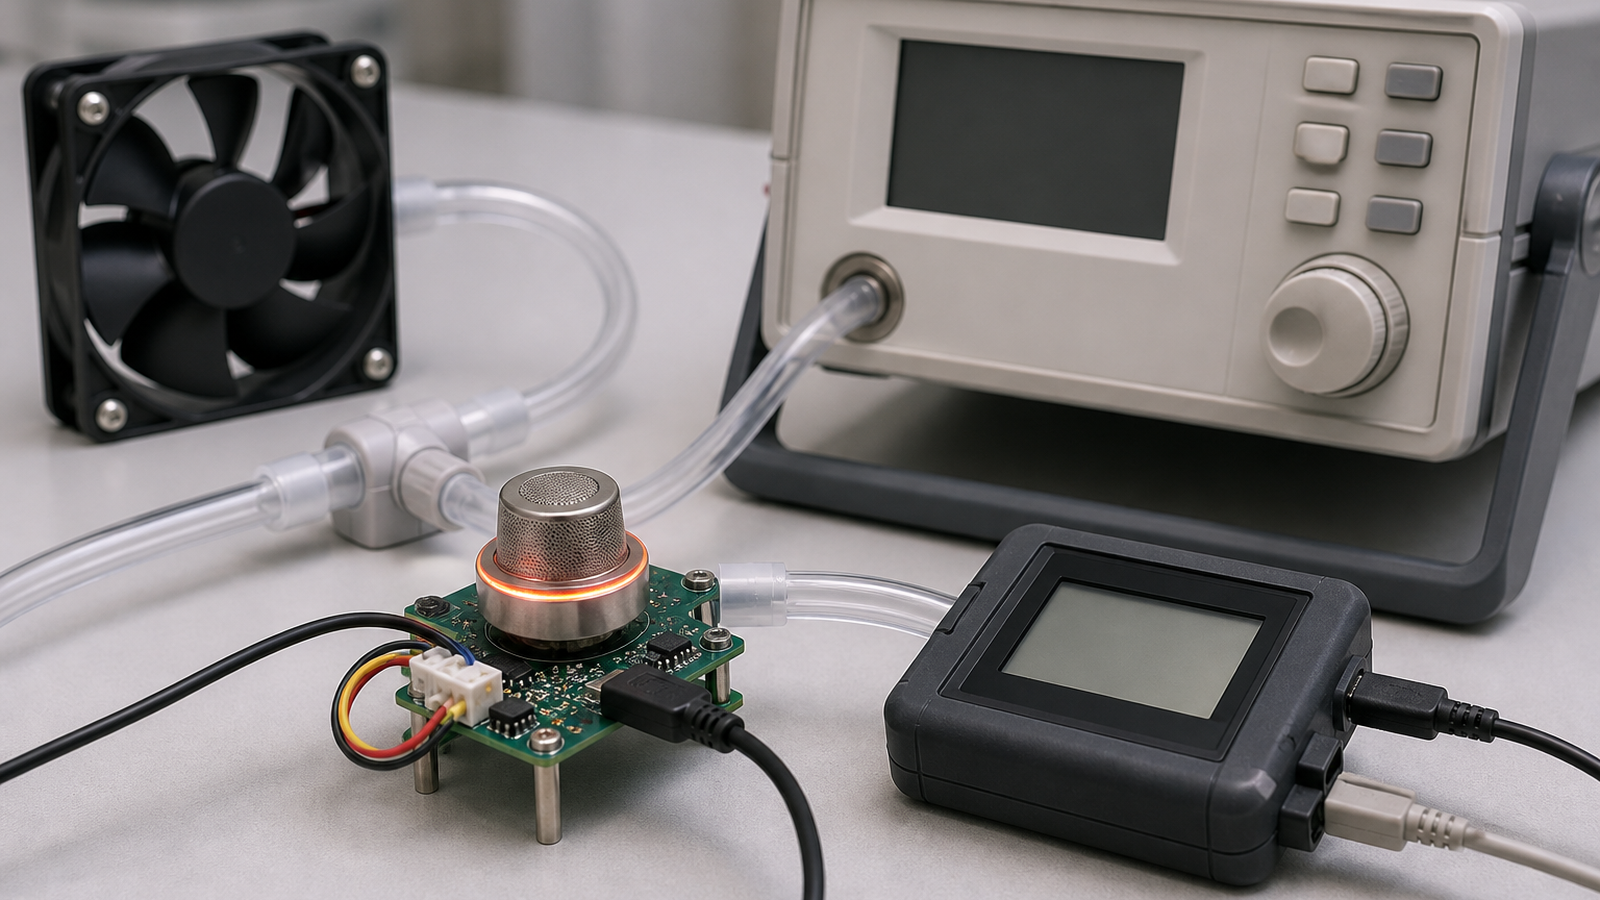
Where MQ sensors still make sense
They remain strong for classrooms, sensor-fusion lessons, alarm-state logic, enclosure-design demonstrations, and data-logging exercises. They also make a good case study in why accessible hardware and reliable measurement are not the same thing.
A STEM team can build a better project by being honest in the documentation: the device indicates a sensor response under tested conditions. It does not certify air quality or guarantee safety.
TVG Take
The practical lesson is broader than one sensor family. Breakout boards are invitations to learn, not shortcuts around validation. If a project makes a claim about the real world, the team needs a test method that survives beyond the demo table.
How to write honest project documentation
The documentation should avoid product-style language such as “detects dangerous gas” unless the team can support that claim with calibration and a reference method. A better phrase is: “the sensor output changed under the tested conditions.” That wording may sound less exciting, but it teaches the right engineering lesson.
Students can still build a strong project around an MQ sensor by logging baseline drift, heater warm-up, airflow changes, and threshold behavior. The best version of the project explains why a low-cost sensor reacted, why the number moved, and what evidence would be needed before anyone relied on the device outside a supervised experiment.
A final check is whether the project has a non-sensor fallback. If the sensor is used to control a fan, sound an alert, or mark a logged event, the team should define what happens when the sensor is unplugged or saturated. A safe design treats sensor failure as a state to handle, not as an impossible case.



