Editorial mode: Template B — Analysis / Guide.
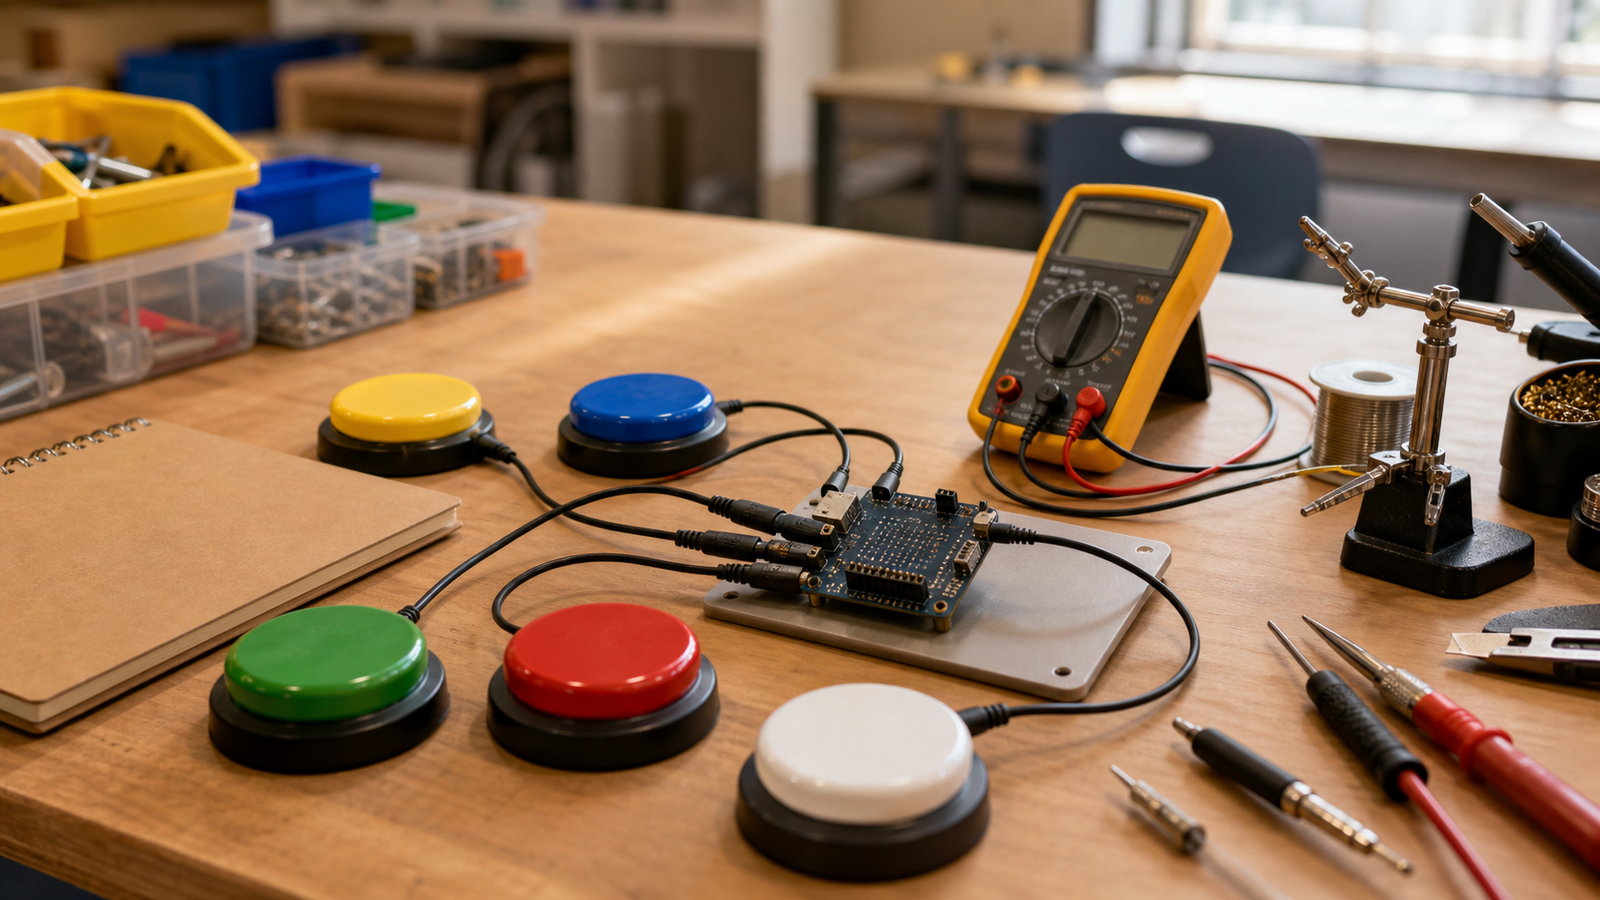
Adaptive switch interfaces are a strong STEM lab project because they make a basic electronics lesson matter. A button is no longer just a button. It becomes a question about access, latency, switch force, mounting, connector durability, software debouncing and whether another person can actually use the system after the demo.
Adafruit’s adaptive-controller learning materials and Microsoft’s adaptive-accessories work show how input devices can be customized around real users. TVG’s classroom angle is to avoid toy prototypes. A useful lab should teach students the difference between a switch that works once on a desk and an interface that is dependable enough to be helpful.
Quick answer
A good adaptive-switch STEM project should document the switch type, connector, mounting method, debounce strategy, latency, cable strain relief, cleaning plan and user feedback. The goal is not novelty; it is reliable access.
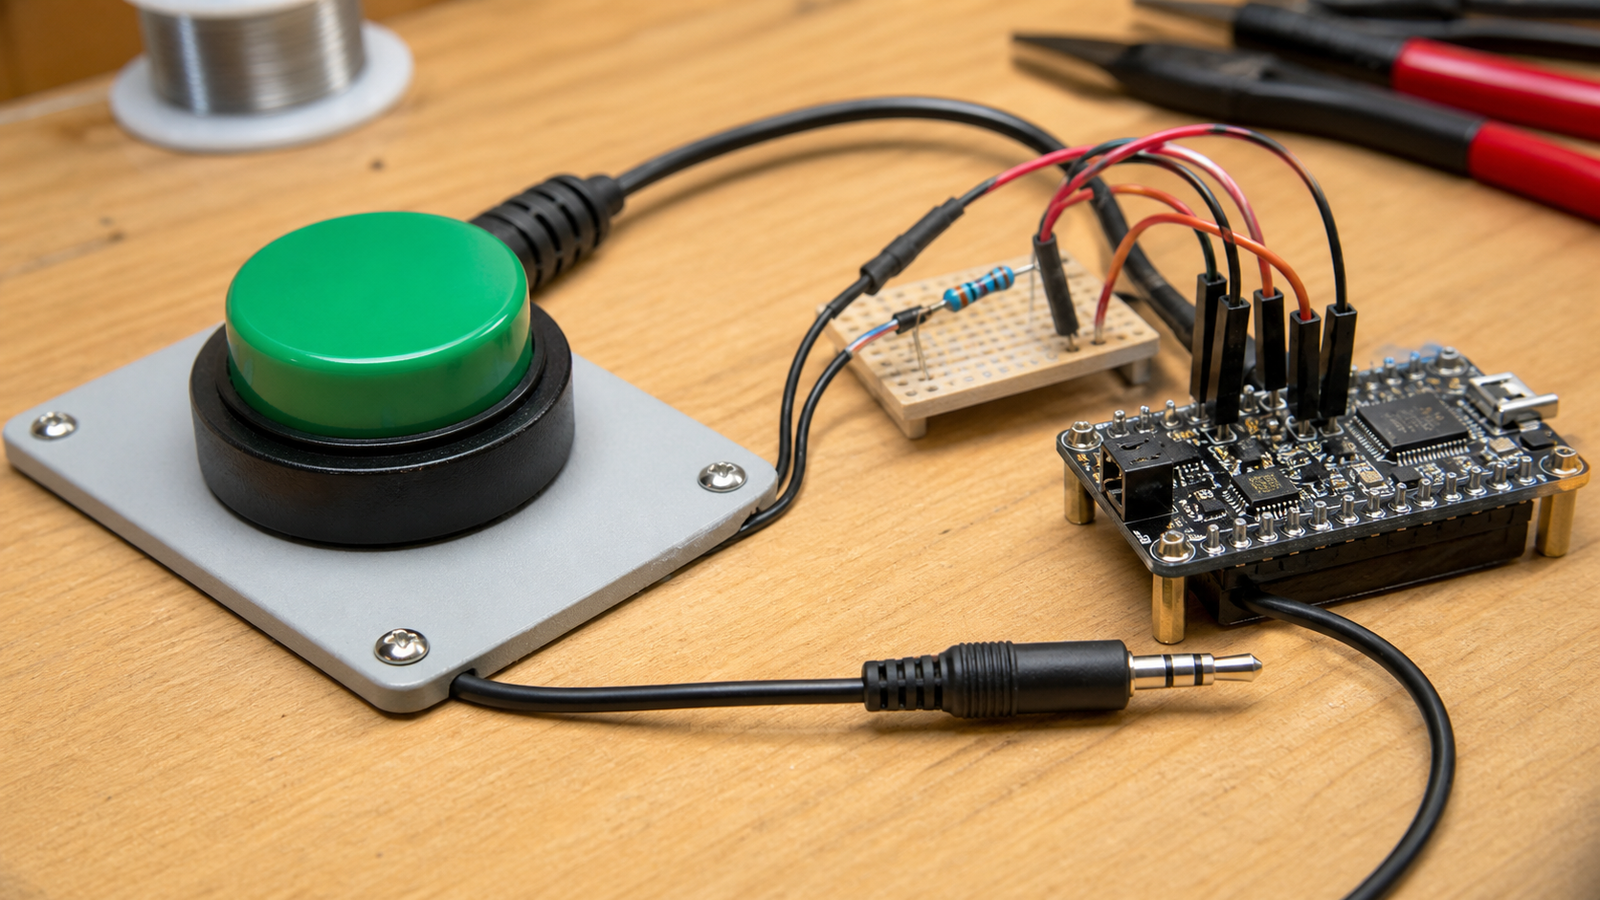
Teach inputs through human constraints
Students often learn buttons through a simple LED demo. That is useful, but adaptive interfaces add real constraints. A switch may need a light touch, a large target, a secure mount or a cable that can survive repeated movement. The code has to avoid false double-presses without adding frustrating delay.
That creates a natural lesson in debouncing. Build the same input three ways: no debounce, timed software debounce and a more deliberate event-handling approach. Then measure missed presses, false triggers and response time. The accessibility context gives the engineering tradeoff a reason.
Mounting is part of the design
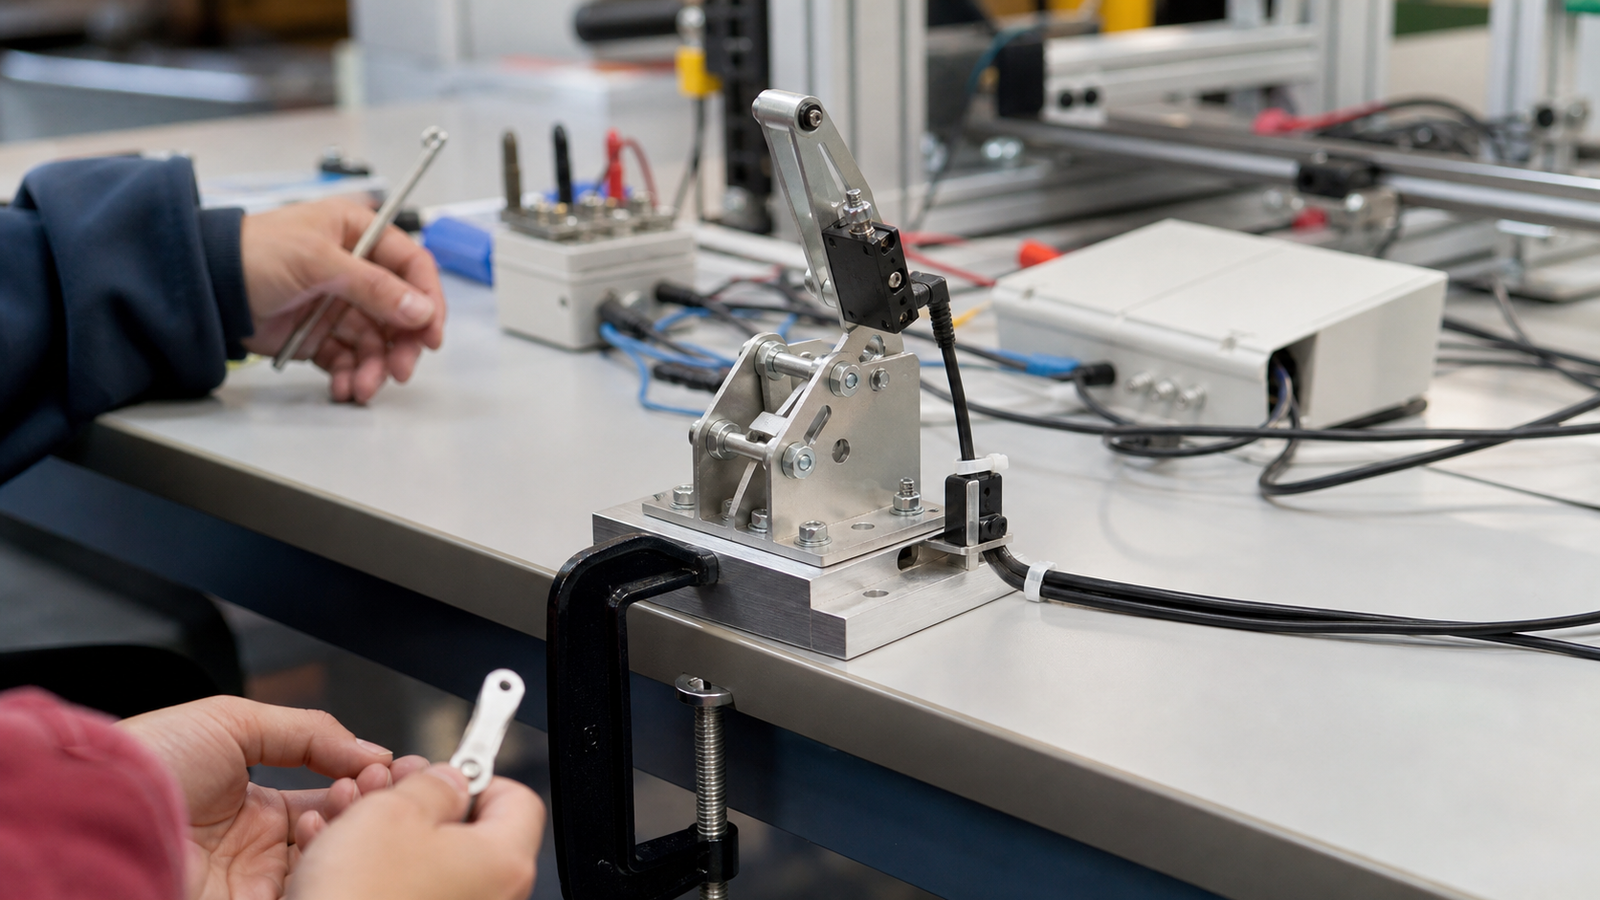
A switch sitting loose on a table is not a finished interface. Students should think about angle, reach, clamp strength, cable path and whether the device can be repositioned without tools. A reliable mount may teach as much as the circuit.
Documentation matters too. Record the connector type, input voltage, pull-up or pull-down choice, enclosure notes, mounting dimensions and cleaning method. If only the original builder understands the setup, the project is not maintainable.
Lab checklist
- Use safe low-voltage inputs and protect exposed wiring.
- Measure response time instead of assuming the input feels instant.
- Test false triggers from vibration, cable movement and repeated presses.
- Document connector choices such as 3.5 mm switch jacks when used.
- Design for mounting before calling the prototype complete.
- Ask for feedback without implying the prototype replaces commercial assistive technology.
This supports TVG’s broader accessibility-tech coverage, including the earlier adaptive switch interfaces maker/STEM article.
Keep the claims modest
Students should not present a classroom prototype as a finished medical or assistive device. The stronger framing is that the project explores access engineering: how switch force, mounting, cable reliability and software timing change usability. That framing is honest and still meaningful.
Teachers can also bring in comparison examples. A commercial adaptive switch may look simple, but it usually reflects durability, cleaning, mounting and connector decisions that a one-day prototype has not solved. Studying that gap helps students understand why dependable hardware costs more than a parts list.
TVG Take
Adaptive switch projects are worth doing when they are honest about reliability. They teach inputs, timing, mechanics and empathy at the same time — but only if the lab treats the user-facing details as engineering requirements.
Procurement is part of the lesson too. A classroom may start with inexpensive buttons and printed brackets, but real accessibility work may require a stronger enclosure, sealed surfaces, a safer mount or a different switch force. Discussing those upgrades teaches students that engineering value includes maintenance and dignity, not only whether the circuit toggles an input.