
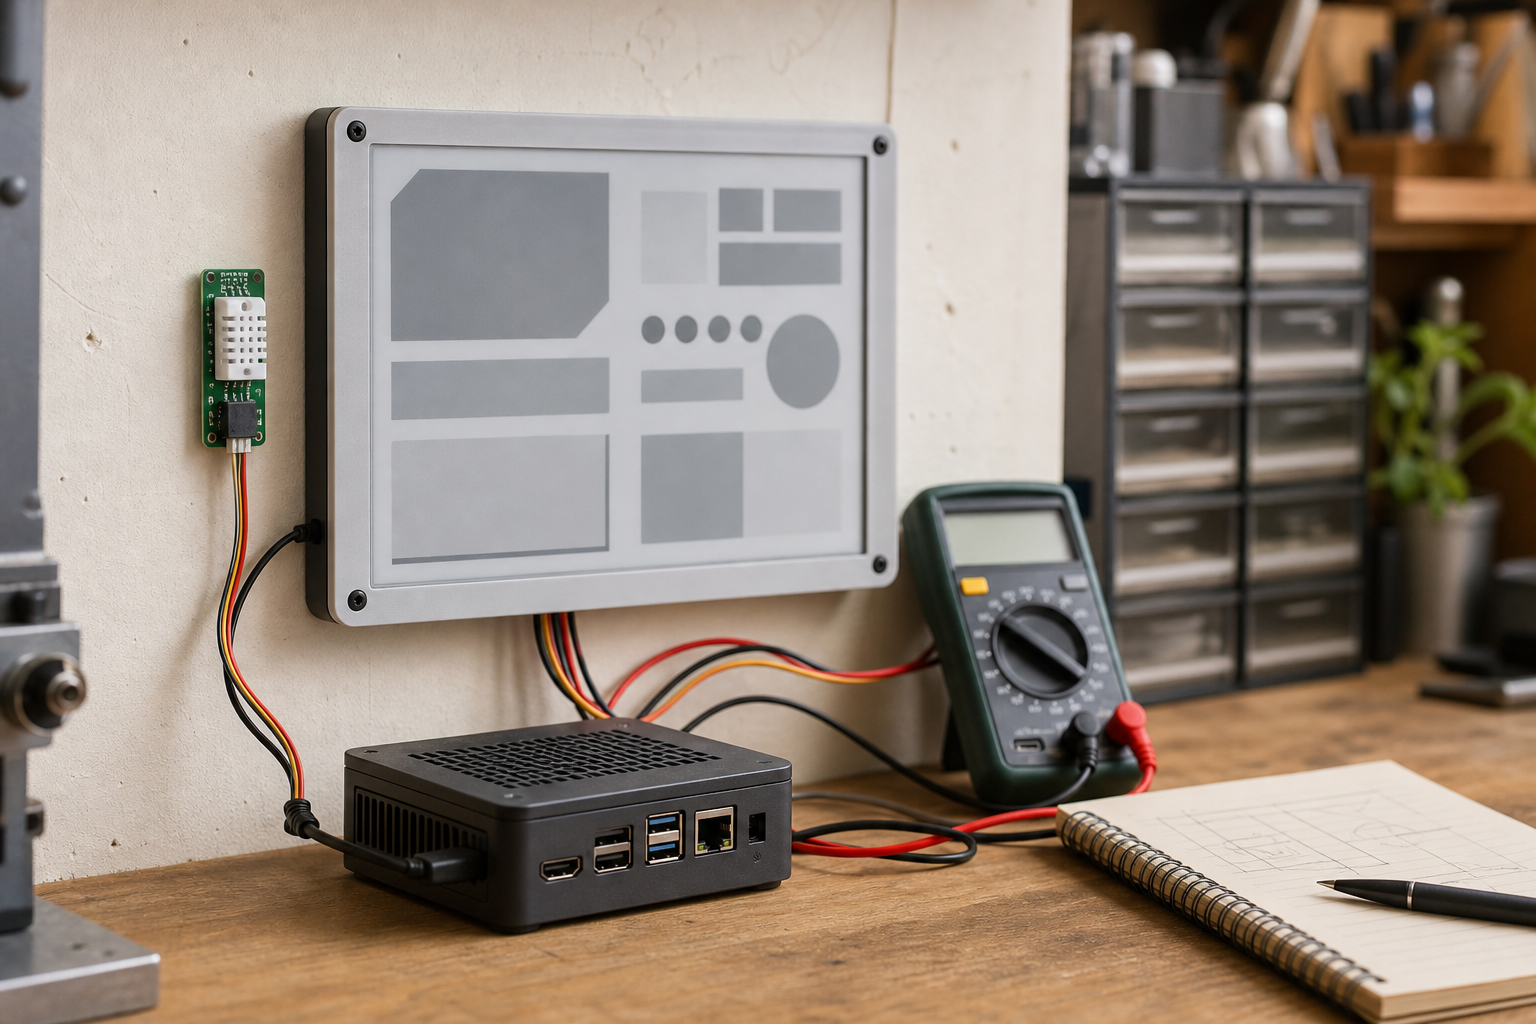
E-ink dashboards are having another moment in maker circles because they solve a problem that normal tablets often handle poorly: a lab status screen that can stay visible all day without glare, fan noise, charging anxiety, or a bright slab of glass demanding attention.
A recent Hackaday write-up on modern Kindle and generic e-ink dashboards points to the appeal. A repurposed e-reader or purpose-built e-paper panel can show weather, room status, sensor values, queue reminders, print progress, or shop notes by refreshing an image at intervals. Home Assistant can act as one data source for people who already run sensors and automations, while a small server can render dashboard images for a display client.
That does not make every e-paper panel a good lab dashboard. The right question is not “Can it show a web page?” It is whether the display technology, refresh behavior, mounting, data source, and maintenance path match the job.
Start with the refresh interval, not the screen size
E-paper is strongest when information changes slowly. A room temperature, 3D printer queue, battery state, calendar block, storage reminder, or machine status summary can update every few minutes without feeling stale. A camera preview, CNC toolpath animation, live chat window, or rapidly changing graph belongs on a conventional LCD or OLED display.
That distinction should drive the dashboard design. If the lab needs a “glance board” for state, e-paper is a strong fit. If the lab needs a command screen for constant interaction, a tablet or monitor is usually better.
The engineering reason is simple: e-paper changes state differently from emissive displays. It is excellent for persistent, paper-like information and low power, but refresh speed, ghosting, and partial-update behavior can vary widely by panel, controller, firmware, and software stack.
Black-and-white resolution versus color resolution
Specs can be misleading because e-paper panels often have different behavior for monochrome and color. E Ink’s Kaleido 3 page, for example, describes 16 levels of grayscale and 4,096 colors, with 300 ppi black-and-white resolution and 150 ppi color resolution. That is useful context for maker labs: color can help separate categories, but fine text and line art may still be best in high-contrast monochrome.
For a dashboard, do not over-design the color layer. Use color sparingly for status bands, warnings, or section grouping. Keep critical values readable in grayscale. If a print queue, room state, or tool check depends on a red/green distinction, add shape or position cues so the dashboard remains legible in poor lighting or on a lower-color panel.
Front light, ambient light, and placement
E-paper is reflective, so placement matters more than it does with a bright tablet. A dashboard near a window or under workshop lighting can be readable with little energy. A dashboard in a dim garage corner may need a front light or a separate task light.
E Ink says Kaleido 3 uses ComfortGaze front-light technology designed to reduce reflected blue light. That kind of detail is useful for e-readers and long reading sessions, but a lab board has different priorities. The practical checklist is: can the screen be read from the normal standing position, does it wash out under the actual lighting, and can users see it without leaning over a bench or blocking a machine path?
Repurposed Kindle or generic panel?
The Hackaday article describes approaches that use an old Kindle as a display client and notes the practical catch: some methods depend on whether a specific Kindle can be jailbroken or otherwise made to run the needed client. Amazon firmware changes can affect that path, so a drawer full of old e-readers is not automatically a reliable deployment plan.
A generic e-paper module avoids some e-reader lock-in, but it pushes more work onto the builder. You may need a driver board, enclosure, refresh code, power design, and a small host such as a Raspberry Pi, ESP32-class board, or similar controller. That is often a better learning project, but it is not always the fastest way to get a durable shop display.
TVG’s rule of thumb: use a repurposed e-reader when the goal is a quick read-only status board and the device is already supported by the chosen software path. Use a generic panel when the enclosure, mounting, power, and sensor integration are part of the project’s value.
Home Assistant as a data source
Home Assistant’s dashboard documentation describes its dashboard as an at-a-glance view for lights, room temperature, presence, and current state. Its integrations directory also shows why it is attractive for labs: sensors, cameras, 3D printing, energy, environment, notifications, and many other device categories can feed a single local system.
For an e-paper dashboard, Home Assistant does not have to be the whole front end. It can simply be the trusted data source. A separate script or service can render a PNG or static page that the e-paper client fetches on a schedule. That keeps the e-paper side simple and avoids making a slow-refresh display behave like a live tablet.
The same pattern works outside Home Assistant. A lab could render a dashboard from a print-server API, a calendar feed, a local MQTT broker, a sensor database, or a plain JSON file updated by scripts. What matters is that the display receives a clean, stable image at an interval the panel can handle.
Power and enclosure checks
Low power is a major e-paper advantage, but the full system still needs sizing. A panel that holds an image without constant refresh is efficient; a Wi-Fi client, always-on server, front light, or USB power brick still consumes power. Battery operation is realistic for slow updates, but only if sleep behavior and wake timing are designed from the start.
Enclosure quality is also not cosmetic. A workshop dashboard may sit near dust, soldering fumes, resin printers, vibration, or temperature swings. The mount should protect the flex cable, prevent accidental unplugging, and keep the display visible without creating a snag point around tools or moving carts.
Spec checklist before building
- Update interval: Can the information tolerate one-minute, five-minute, or longer refreshes?
- Panel type: Is monochrome enough, or does the dashboard need limited color for quick sorting?
- Resolution: Are the smallest labels still readable from the normal viewing distance?
- Lighting: Is the board readable in the actual lab location at morning, afternoon, and night?
- Software path: Is the client supported, or does it depend on a fragile jailbreak or unsupported firmware state?
- Data source: Is Home Assistant, MQTT, a print-server API, or a static render pipeline the source of truth?
- Power: Does the system need battery operation, USB power, PoE, or a safe wall adapter?
- Maintenance: Can someone rebuild the dashboard image generator after an OS or Home Assistant update?
TVG Take
An e-ink dashboard is best treated as a low-refresh status appliance, not a cheap tablet replacement. It works well when the lab chooses a few durable signals, designs for readability, and accepts that slow refresh is a feature rather than a bug.
For robotics classrooms, maker labs, and small studios, the strongest uses are print queues, room and equipment status, build reminders, battery-charging notes, and field-kit checklists. Keep the dashboard simple, render it locally, and test it in the actual lighting before committing to a wall full of panels.
Sources
- Hackaday: “Modern E-Ink Dashboards, Kindle And Otherwise”
- E Ink Kaleido 3 product information
- E Ink brand and signage application overview
- Home Assistant dashboard documentation
- Home Assistant integrations directory
Internal reading: For related field-display and documentation workflows, see TVG’s e-reader display technology guide and portable monitor specs checklist.



