
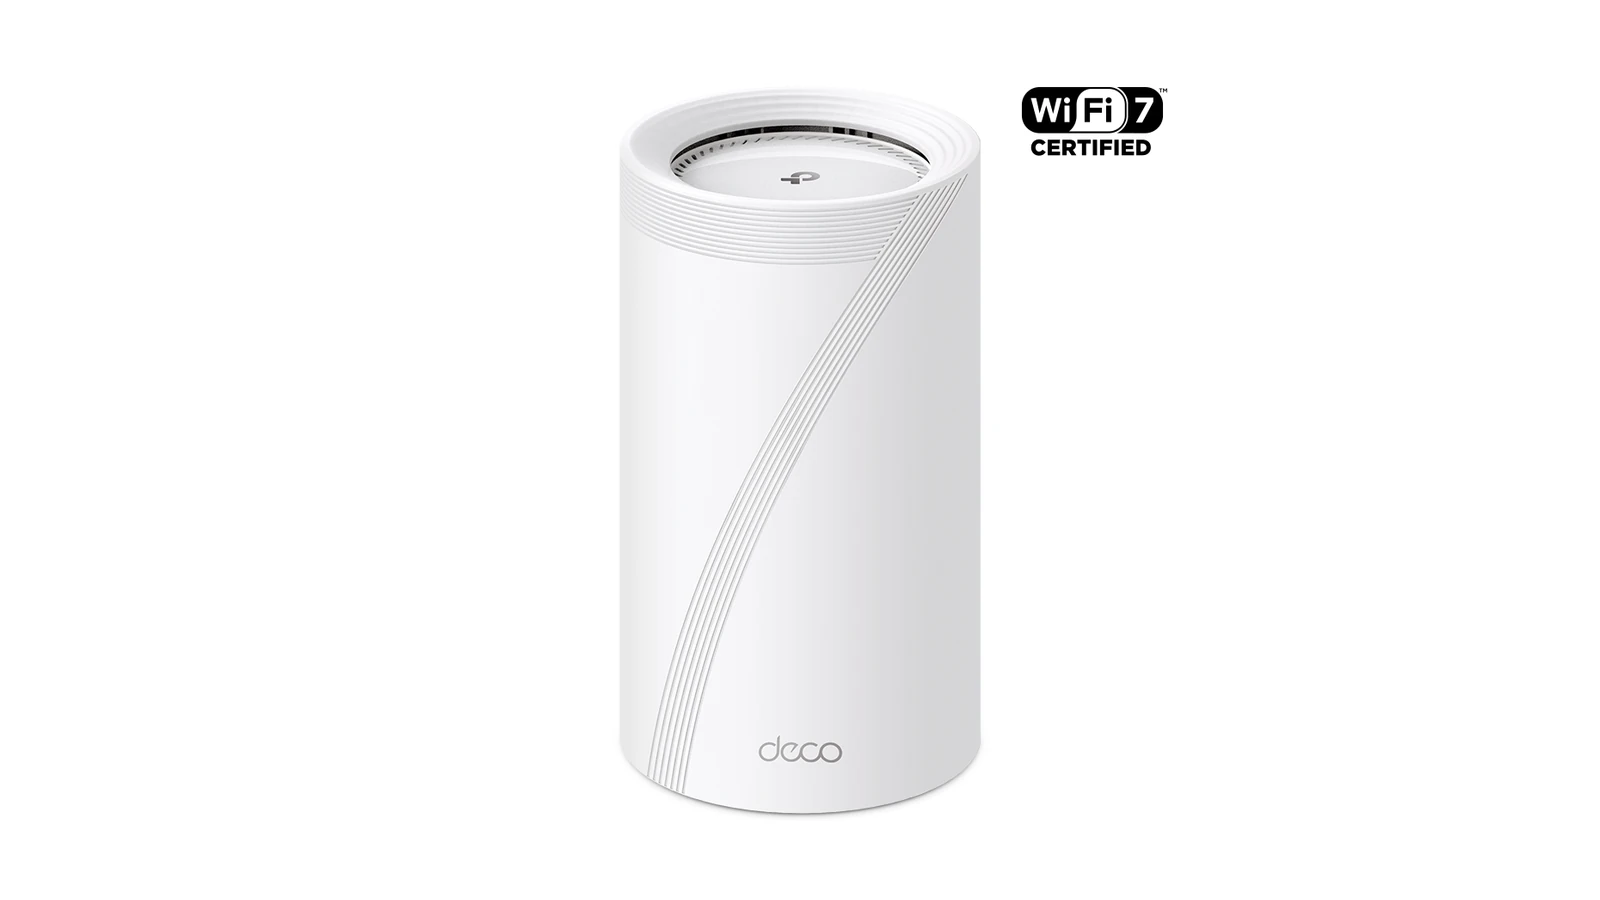
Wi-Fi 7 Multi-Link Operation can let compatible devices use more than one link, but a Wi-Fi 7 router does not guarantee that every camera or robot client is operating in MLO. Troubleshooting starts by proving the negotiated client state, not by reading the access point’s box.
Confirm both ends support the same feature
Record the router model, firmware, security mode and enabled bands. Then identify the client radio, driver and operating system. The Wi-Fi Alliance describes MLO as a Wi-Fi 7 capability, but implementation and supported link combinations vary. A client may connect normally on one band while the router advertises broader capability.
Establish a single-link baseline
Test the camera close to one access point with one known band and minimal traffic. Log signal level, link rate, packet loss and stream interruptions. If the baseline fails, adding MLO creates more variables rather than fixing the radio, driver, power or application problem.
Separate wireless from the wired path
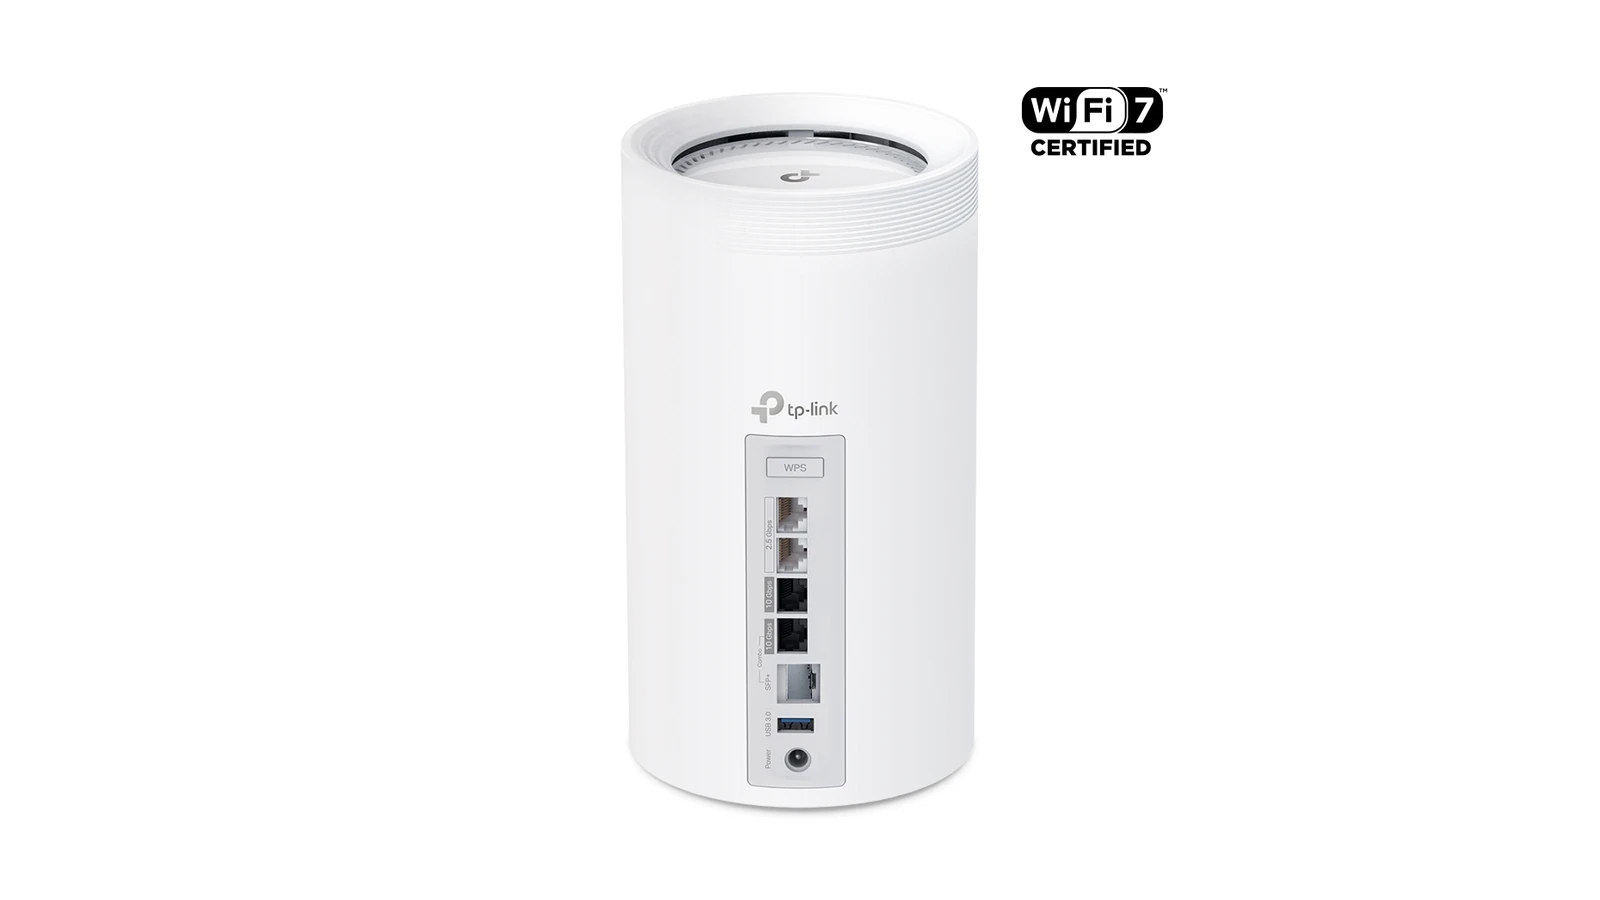
A mesh node can show a strong client link while its backhaul is congested or weak. Confirm whether backhaul is Ethernet or wireless, inspect switch-port errors and test the stream from a wired host on the same local network. A camera freeze can originate in the encoder, client link, mesh backhaul, switch or viewing application.
Change one band condition at a time
6 GHz offers wide channels but shorter practical reach through obstacles; 2.4 GHz reaches farther but is often crowded. Channel width, automatic channel changes, radar events on applicable 5 GHz channels and neighboring networks can all alter behavior. Record each change and repeat the same traffic test instead of moving the robot and changing router settings together.
Use Ethernet as a diagnostic control
If the camera supports wired Ethernet, compare the same stream and workload over cable. A clean wired run narrows the fault toward wireless conditions or the client driver. It does not prove that MLO is active, and a successful speed test does not prove a latency-sensitive video stream will remain stable.
The official TP-Link product images identify a Wi-Fi 7 access point family; TVG did not test that hardware. For any installation, use the router and client diagnostics to verify the actual links in use.
Save a short incident record with time, client location, selected access point, band, channel and stream result. That evidence is more useful than repeatedly rebooting every device, because it shows whether failures follow one location, one radio link or the application itself.



