
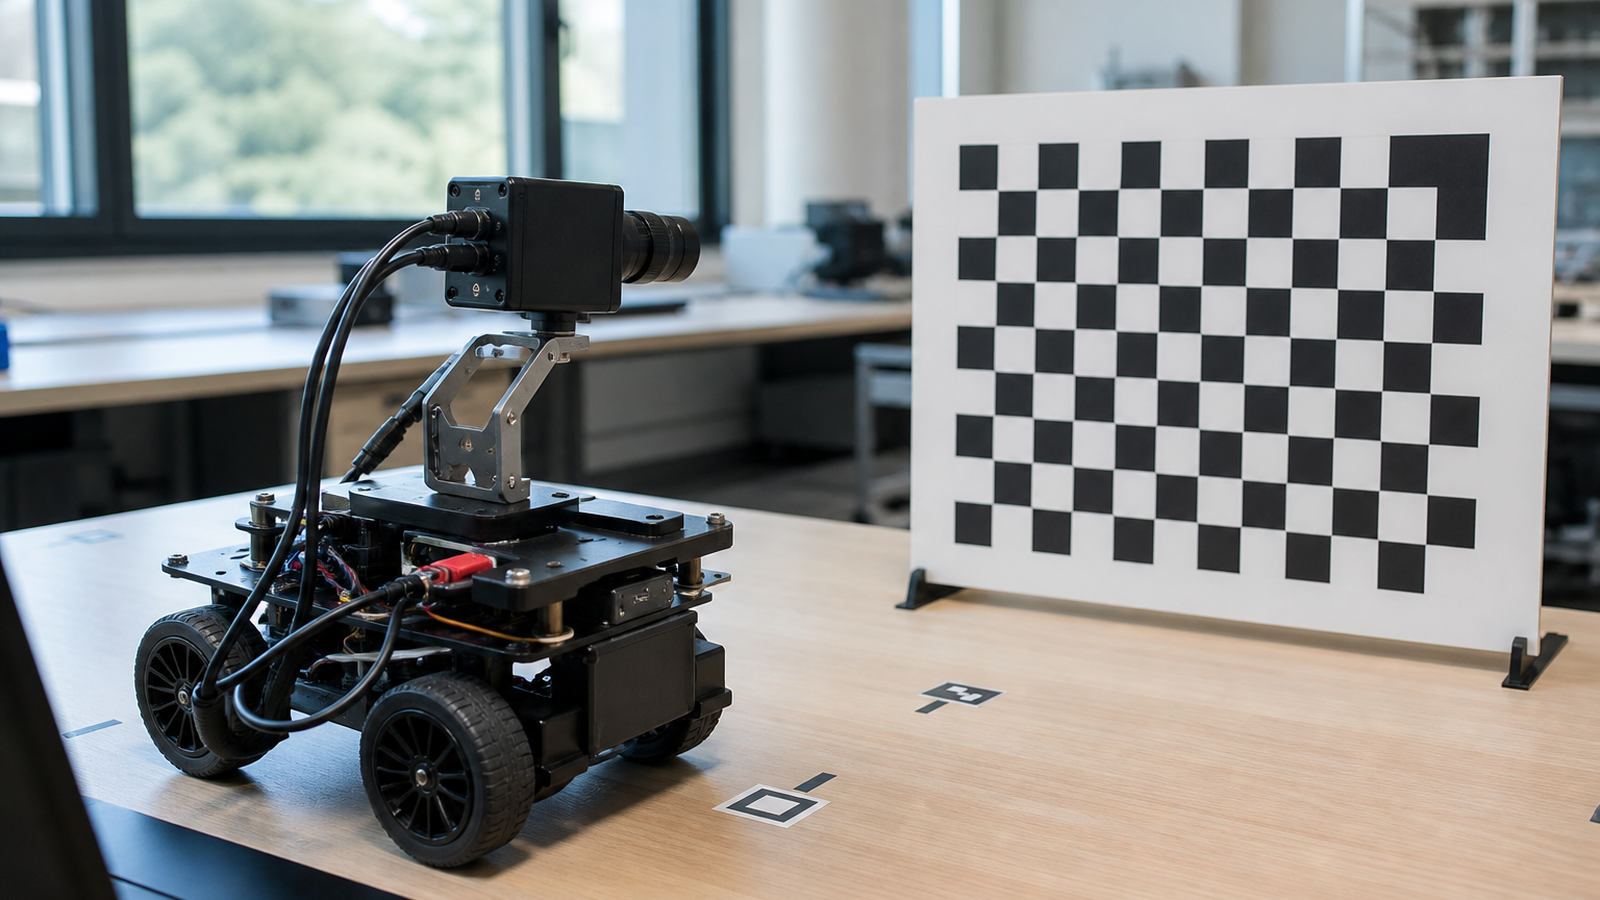
A robot camera’s field of view sounds like a lens spec until the robot misses the AprilTag, loses the line, clips the shelf edge, or sees too much ceiling and not enough floor. The useful question is not “wide or narrow?” It is whether the camera sees the right geometry at the right distance with distortion the software can understand.
This support guide builds on TVG’s robot-vision cluster, including recent coverage of global shutter versus rolling shutter and AprilTag print-size issues. Field of view connects those topics because a camera can have the right shutter behavior and still be mounted in a way that makes perception unreliable.
Quick answer
Choose robot camera field of view by task distance, target size, mounting height, distortion, and lighting. Then calibrate the camera with a known target and test it on the robot, not only on a desk. A wide lens may help a robot find targets sooner, but it can also reduce useful detail and introduce distortion near the edges. A narrow lens may improve detail but make target acquisition fragile.
Start with the task, not the lens
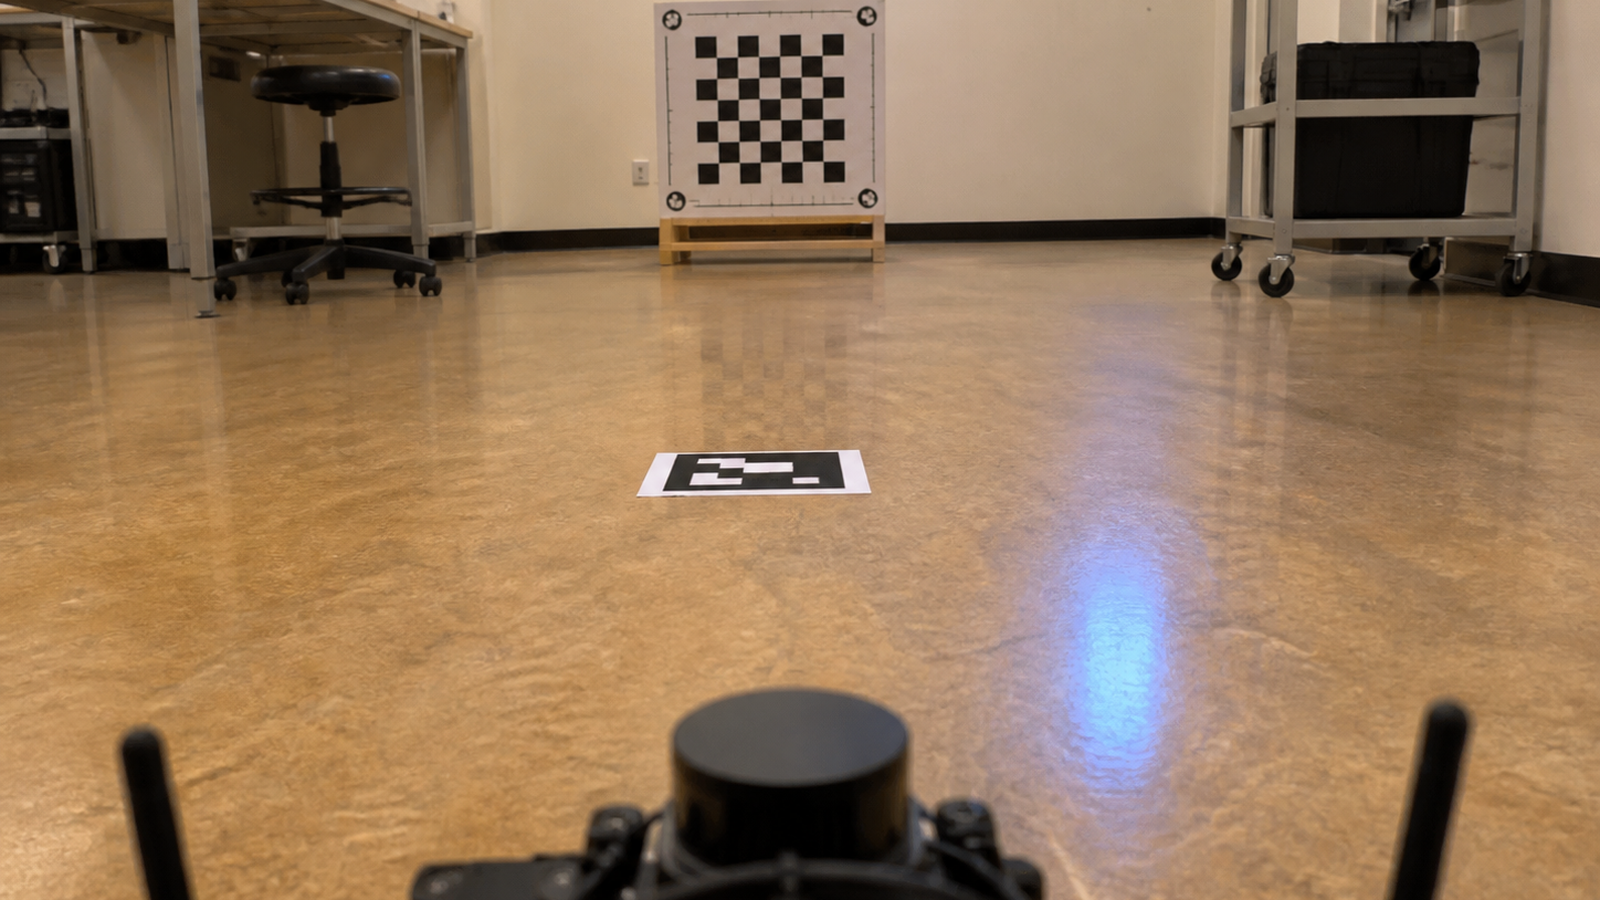
A line-following robot, AprilTag localization demo, warehouse shelf scanner, and inspection rover do not need the same view. The first step is to mark the closest and farthest distance where the target must be recognized. The second step is to decide how much horizontal and vertical tolerance the robot needs when it approaches from a bad angle.
Students often discover that a wider lens makes the robot feel smarter during search but weaker during measurement. More scene enters the frame, but each target occupies fewer pixels. If the target is small, low contrast, moving, or partly occluded, the camera may “see” it without giving the algorithm enough detail to act confidently.
Calibration changes the conversation
OpenCV’s camera calibration workflow estimates intrinsic and extrinsic camera parameters from views of a known pattern. In practical terms, calibration helps software understand focal length, optical center, and distortion. That does not make a bad mount good, but it can turn a vague image problem into measurable parameters.
For maker teams, the important habit is repeatability. Use a printed target that stays flat, take multiple views, keep lighting consistent enough to compare runs, and record the camera model, lens, resolution, mount height, and software settings. If the mount changes, the calibration story changes too.
Checklist for robot teams
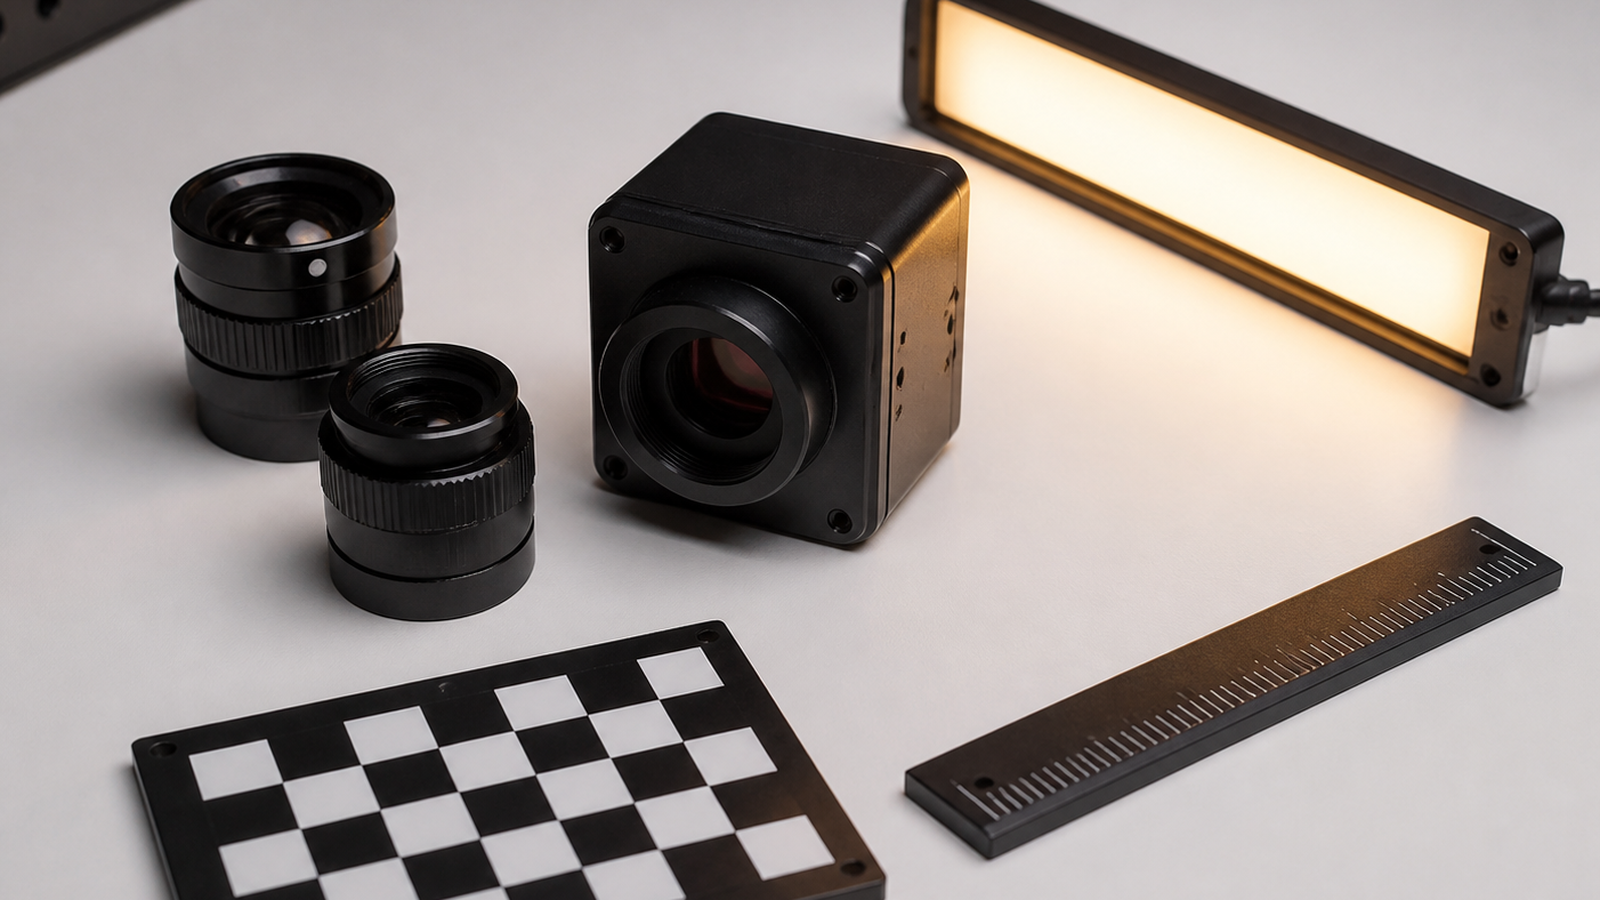
- Measure target size in pixels: Do not rely only on the lens angle printed in a product listing.
- Check edge distortion: Test targets near the frame edges, not just in the center.
- Lock the mount: A loose tilt joint can invalidate yesterday’s calibration.
- Test at robot height: A desk-level camera view is not the robot’s view.
- Vary lighting: Glare and shadows can break tags, lines, and object edges.
- Log settings: Resolution, exposure, focus, frame rate, and lens choice should be recorded.
TVG Take
Field of view is a system decision. It includes the lens, mount, robot motion, target geometry, lighting, and calibration method. The best classroom lesson is to make students prove that the robot sees the right thing from the robot’s actual point of view before changing code.
Related TVG reading
- Robot Camera Calibration Should Be a Checklist, Not a One-Time Setup
- MIPI CSI Camera Ribbon Cable Strain Relief Can Save a Robot Vision Debug Session
- PoE Camera Cable Strain Relief Is a Robot Vision Reliability Fix Hiding in Plain Sight



